 It seems every time you turn around, a new case has hit the market. This is actually a good thing as it means with a little bit of looking you should be able to find one to suit your needs and tastes. MSI is a well-known brand in the graphics and mainboard market, but certainly isn’t my first thought when it comes to cases. We have seen one other offering from MSI this year in terms of a budget case – the Raptor. It reviewed fairly well, which makes us a bit curious as to what a mid-level offering will bring.
Product Name: MSI Ravager
Review Sample Provided by: MSI
Review by: Jakob Barnard
Pictures by: Jakob Barnard
|
Case Type |
ATX Mid Tower |
|
Material |
Steel |
|
Color |
Black |
|
Front Bezel Material |
Mesh |
|
Dimension |
205(w) x 480(l) x 450(h) mm (Case) 205(w) x 460(l) x 430(h) mm (Chassis) |
|
Front I/O Panel |
USB3.0 x2 USB2.0 x2 HD Audio 97 Audio |
|
Motherboard Compatibility |
ATX / Micro ATX |
|
Power Supply Mounting |
Bottom |
|
3.5” Internal Drive Bays |
6 |
|
5.25” Drive Bays |
3 |
|
Slot Expansions |
7 |
|
Pre-installed Fans |
1 x 120mm Front Blue LED Fan 1 x 120mm Rear Fan |
|
Optional Fan Expansions |
2 x 120mm Top Fans 2 x 120mm Side Fans |
|
Survival Pack |
User Manual Dog Tag Screws Pack |
|
Warranty |
3 years |
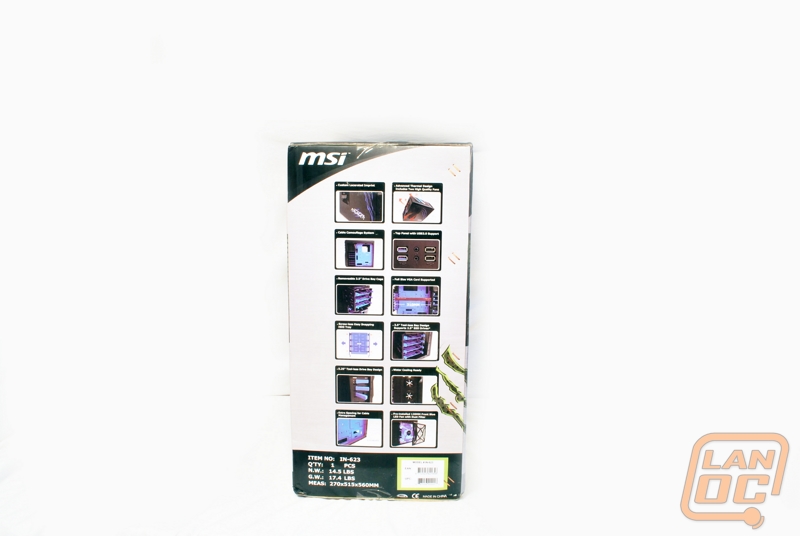
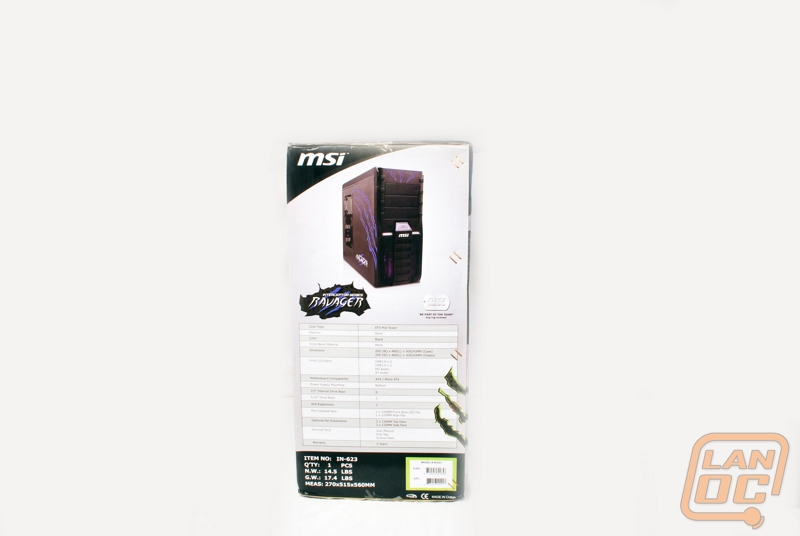
Packaging
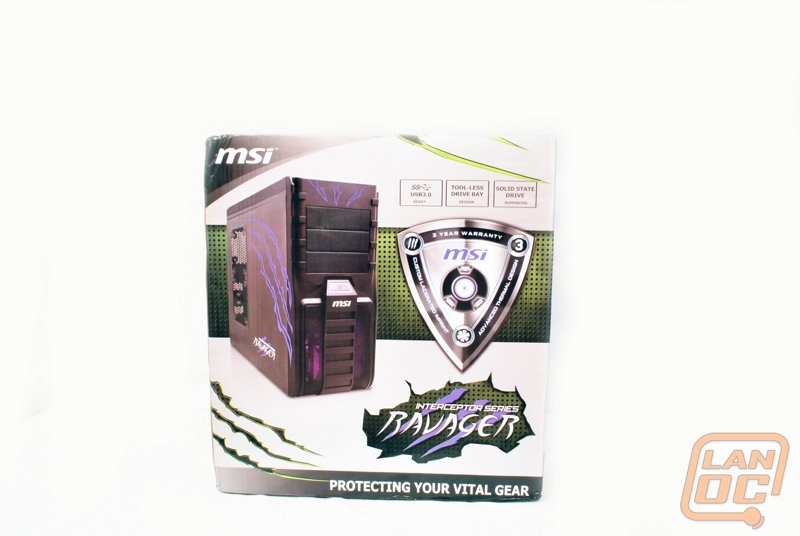
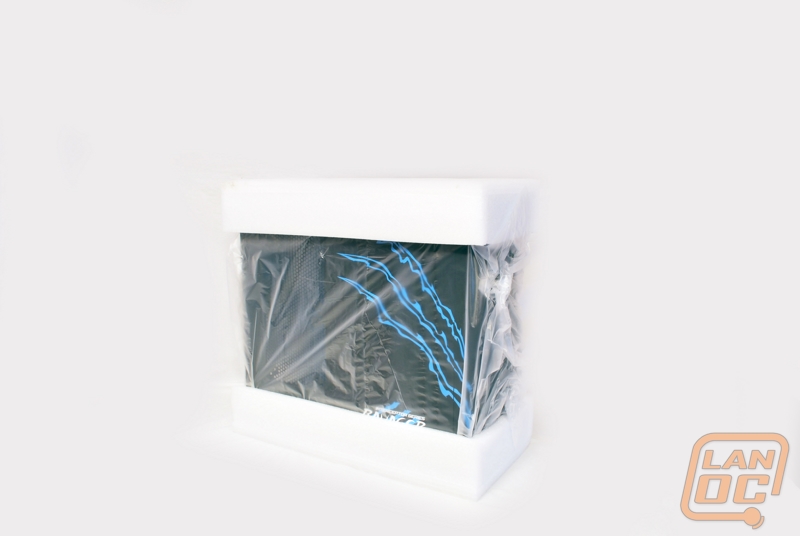
The packaging is colorful and shows off the features of the case. Clearly “Ravager” is meant to evoke thoughts of a vicious animal. One side of the box displays pictures of various features while the other lists the specifications. Note the specifications on the box are accurate, but the specifications listed on the MSI are not. They list a media card reader, while the box does not. I suspect this is merely a typo or an early draft of the specifications that wasn’t updated for the production model. Inside of the box the case was protected with the usual foam caps and a plastic bag.
On the next page we will take a look at the exterior features of the Ravager case.
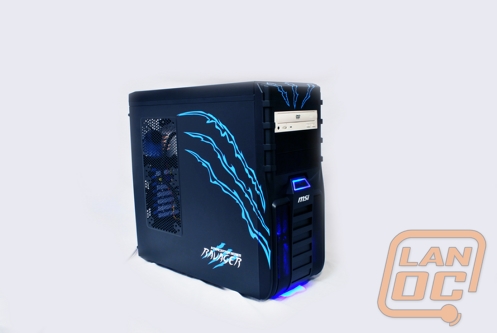
Exterior Design
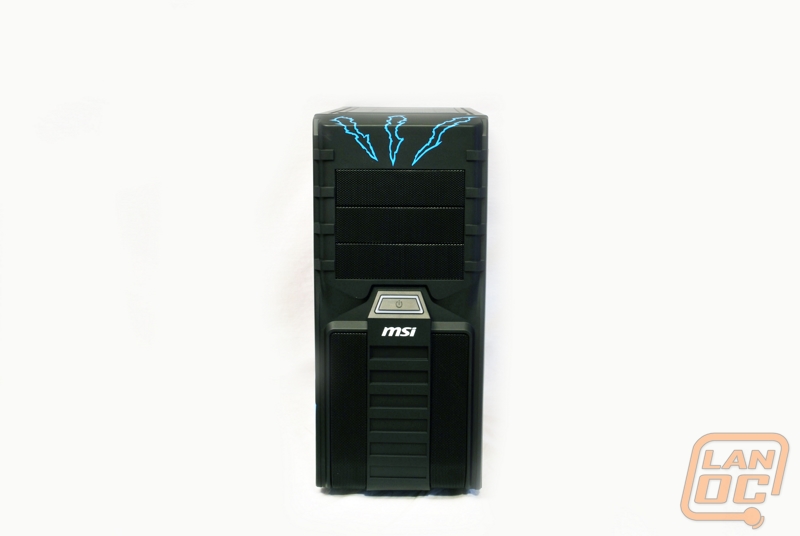
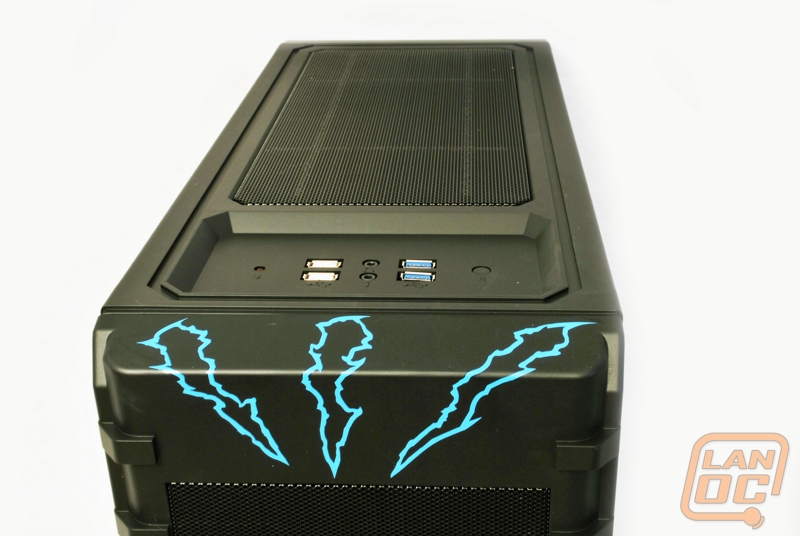
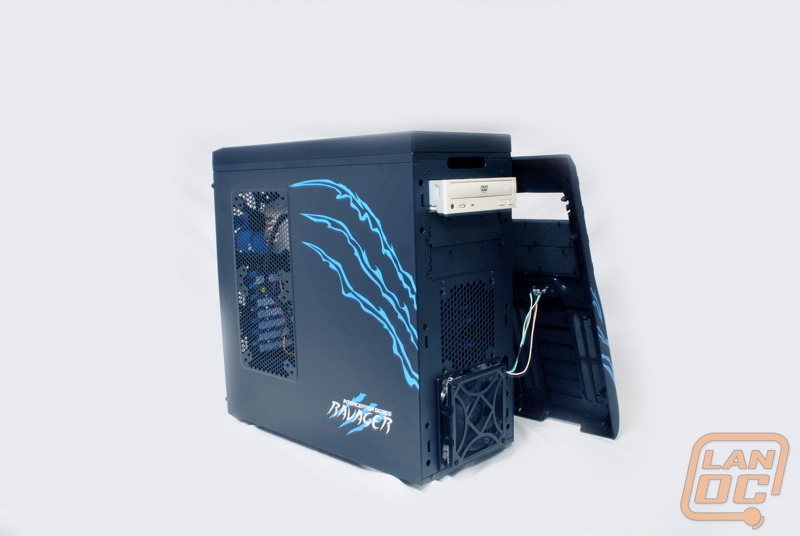
Blue and black is clearly the theme here. The case has claw mark graphics in various locations acting to highlight the case. The front of the case of the case is black and wire mesh with a single large power button. Underneath the power button is displayed the MSI logo. Here you can also see the three external 5.25” drive bays, and above those, the bottom of the blue graphics.

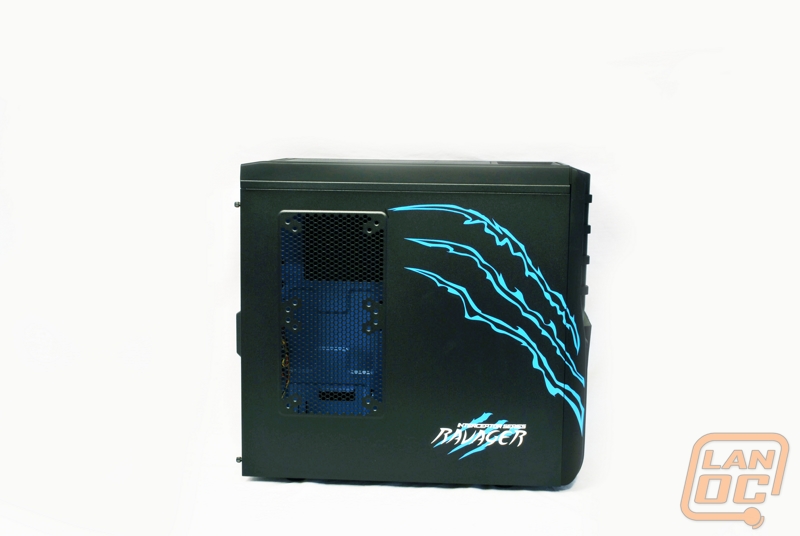
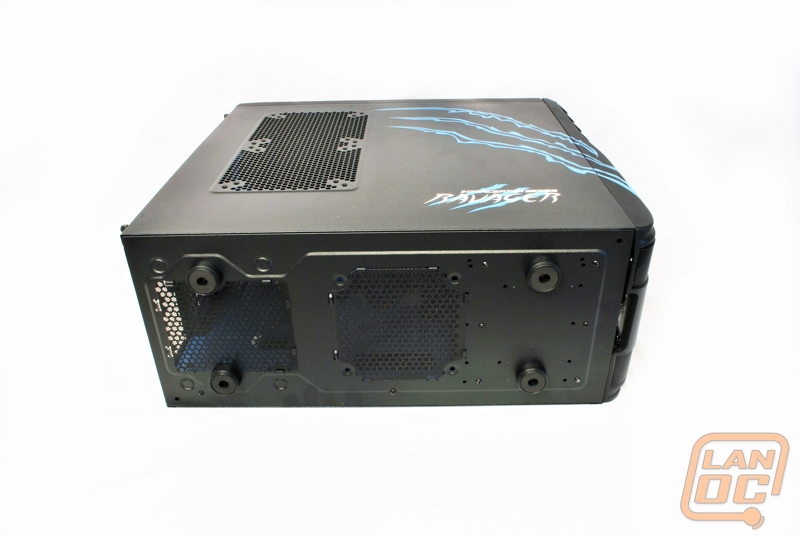
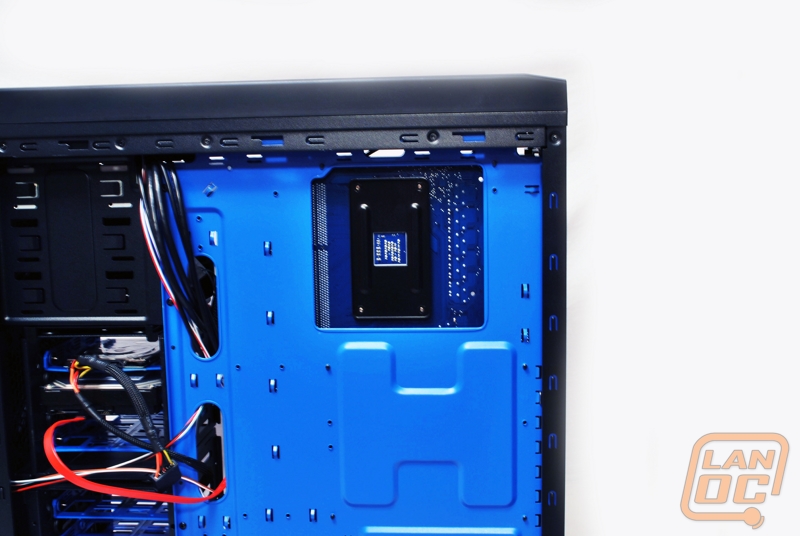
Turing the case to the side we can see the Ravager logo, more blue claw graphics, and an open mesh window for two optional 120mm fans. Turning to the back of the case, we get to see for the first time that the blue motif is carried to the inside as well. The blue blades of the rear 120mm fan are clearly visible and the expansion slot plates are blue as well. Also note the bottom mount PSU position and water cooling support. I am happy to see that the bottom mount position for PSU placement is pretty much the standard these days. The other side of the case is solid with more blue claw marks displayed.

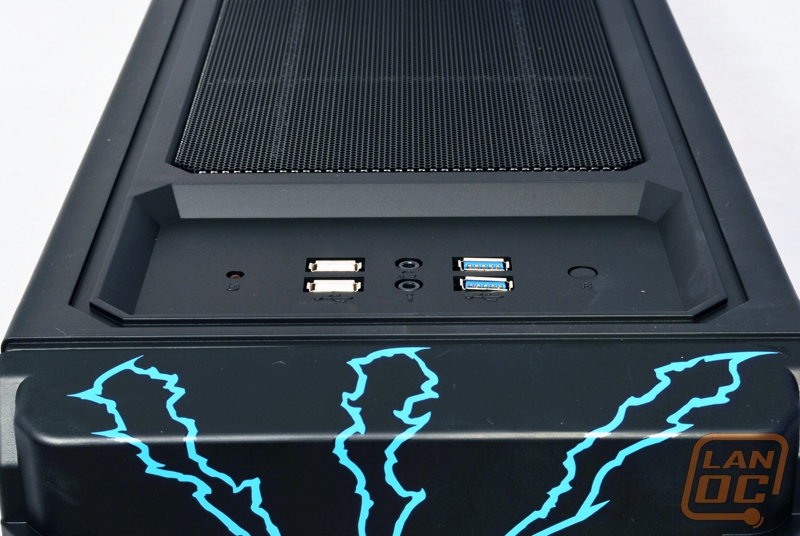
The top of the case is simple. There is a recessed IO panel with two USB 2.0 ports and two USB 3.0 ports. Also found here is an activity light, audio jacks, and the reset button. The rest of the top is black mesh, underneath which you can add an additional two 120mm fans.
The bottom of the case has removable filters for both the PSU fan opening and an additional 120mm fan slot.
Now we will crack open the case and take a look at the inside.
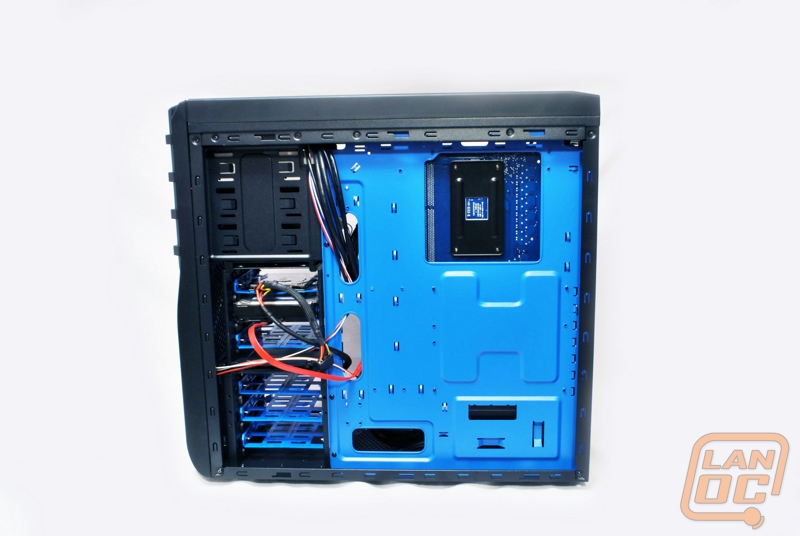
Interior Design
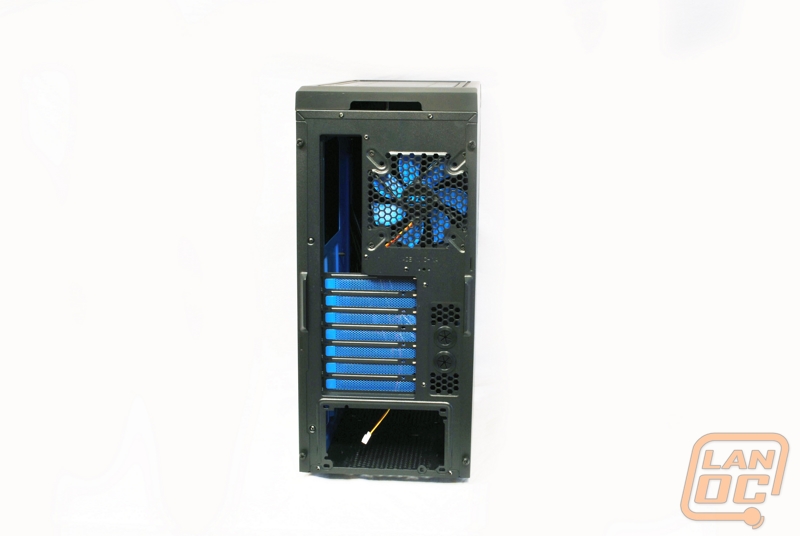
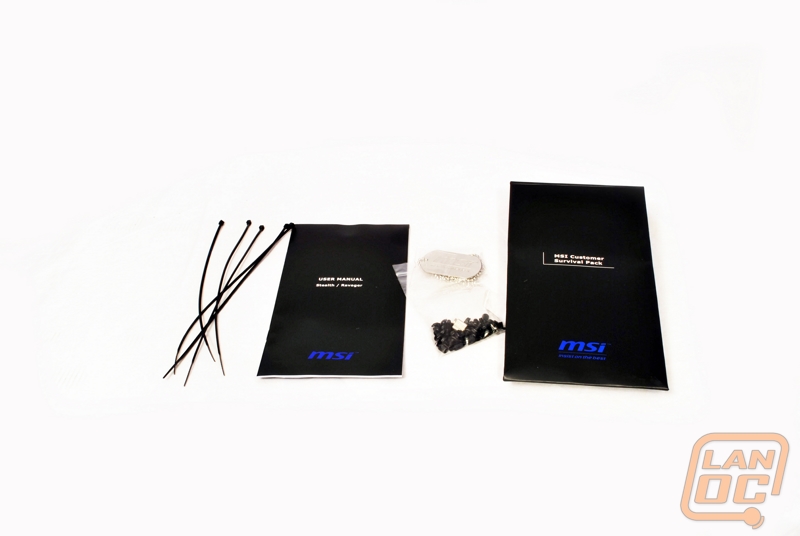
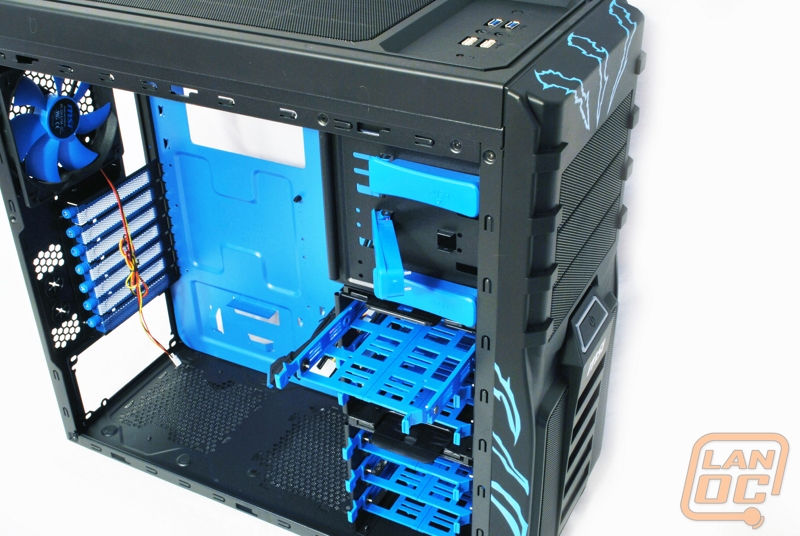
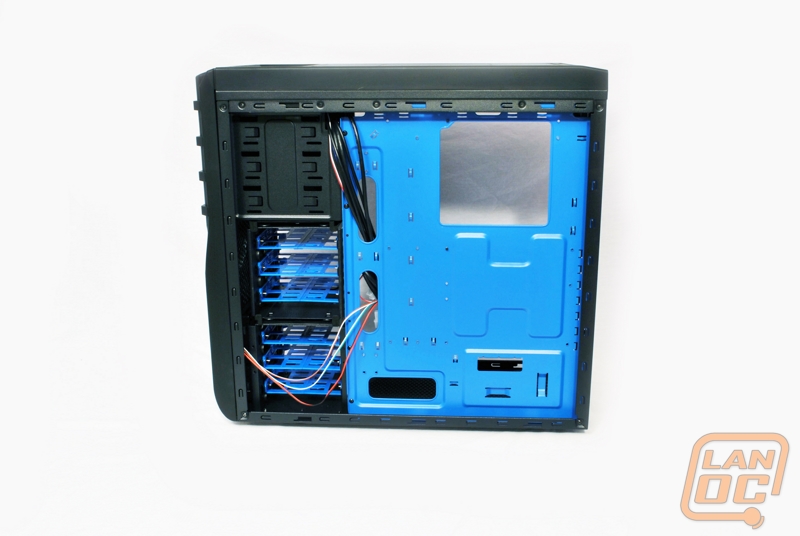
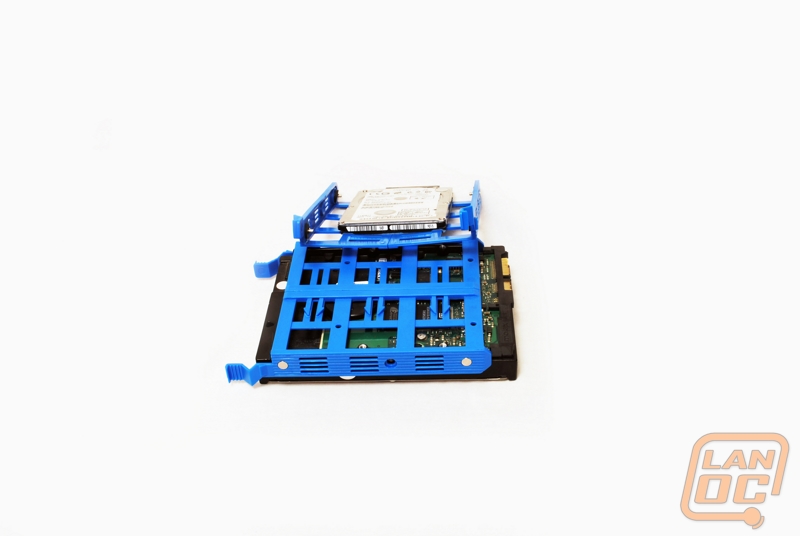
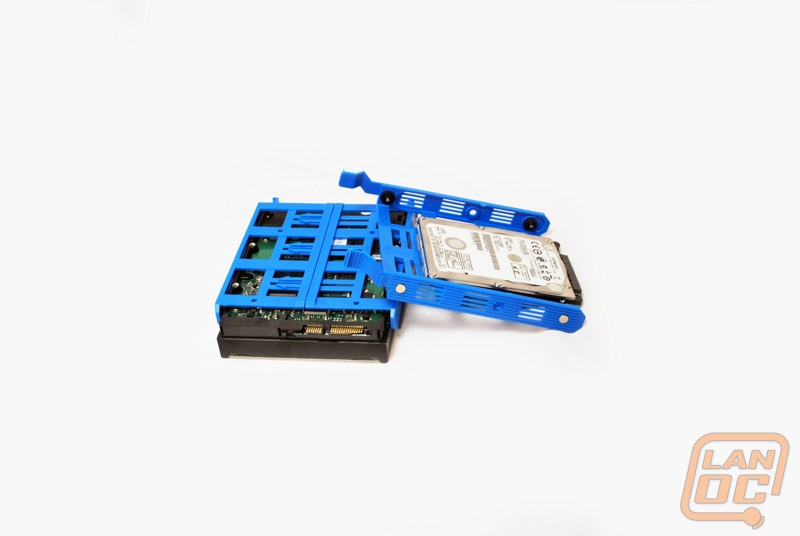
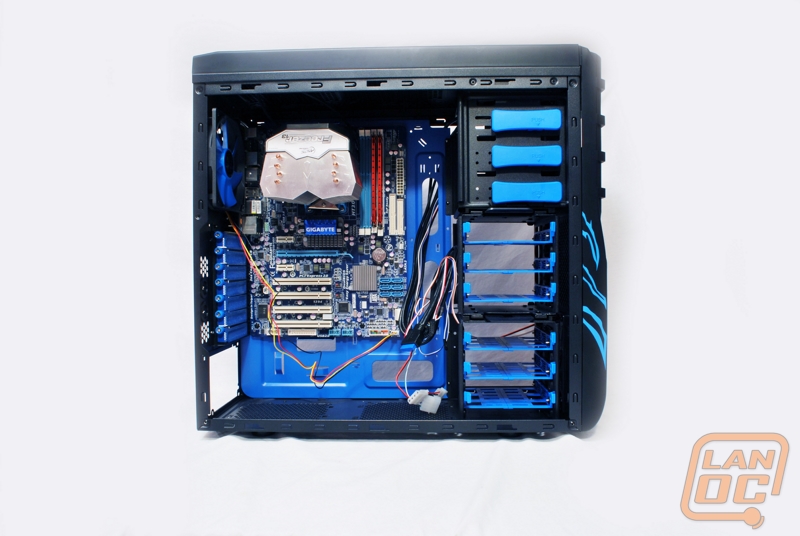
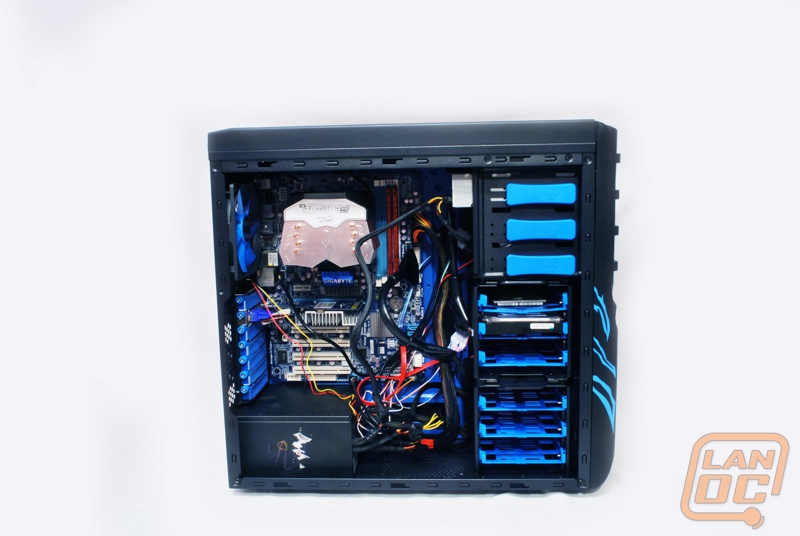
The accessories pack is of course the first place to look. MSI has included instruction for us, cable ties, the usual baggy of hardware, and a MSI dog tag. Popping the side of the case off your first thought will be – wow… that’s blue. The blue styling of the outside is carried into the case. It really kind of grows on you – it’s different. We can see the large opening for the CPU cooler backplate, the various cables, and our drive bays. We see the tool-less drive bays: Three 5.25” bays and six 3.5” bays. Note these trays will also support 2.5” drives.
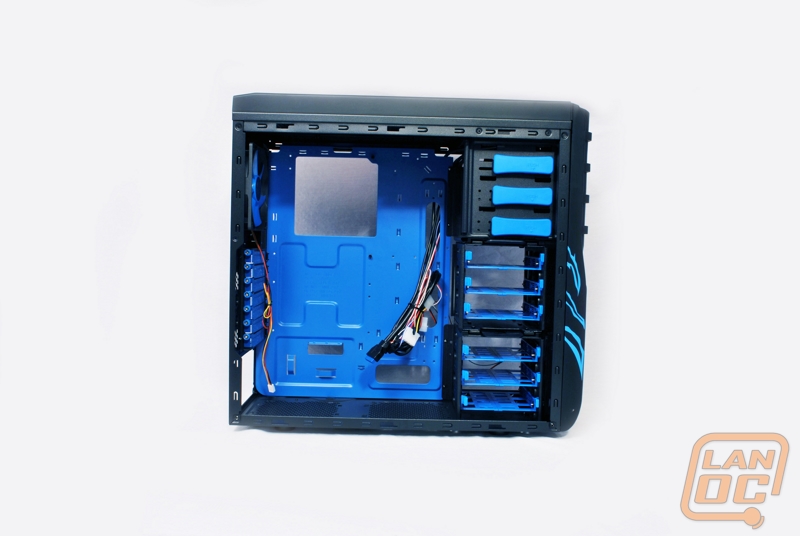
Taking a close look at the expansion slots, we see that they use thumbscrews here. In fact the only area I see that isn’t designed to be tool-less is the mainboard tray itself which uses the traditional standoffs. The drive trays are simple in form and function and point towards the back of the case. I prefer this orientation as in a mid-tower ATX case it gives more room around the mainboard and allows you to stash the cables behind the tray.
With the tool-less design throughout, let’s try adding some hardware to the case and see how it goes.
Installation
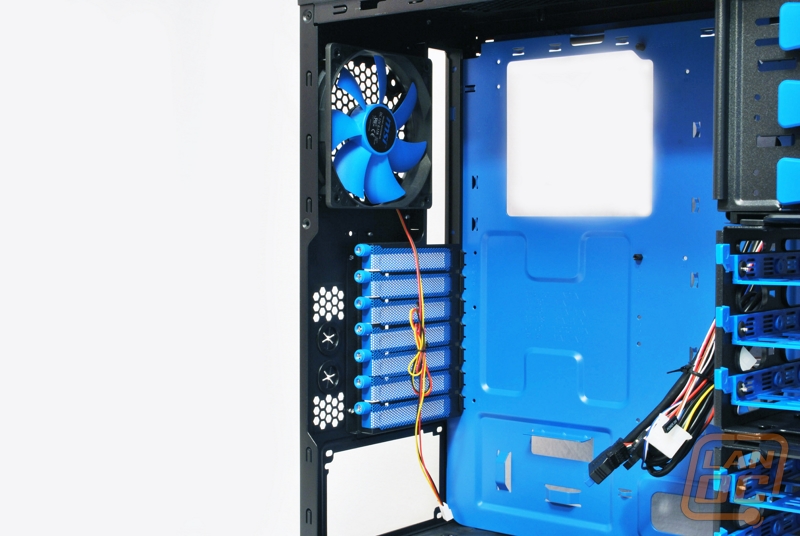
Revisiting the drive trays for a moment, 3.5” drives are quick and easy to install. You simply flex sides out a little bit and click the pins into the screw holes on the drive. On the tray there are also holes to support mounting a 2.5” drive. This is important now that SSD’s are becoming more and more common. (Not having 2.5” drive support these days is an instant disqualification in my book.) The upper 3.5” bay is removable if you want to eek a bit more room out in that section.
Once the mainboard standoffs were installed the install was rather easy. However, this is where I must pause and note a serious frustration I had with this case. It took me 30 minutes to install five standoffs. The included screw head (which fits over the standoff and allows you to install them with a screwdriver instead of trying to use ye ‘ole pliers) is the only way I was able to get the standoffs in. I suspect this is due to the manufacturing process. I strongly suspect that the holes are drilled and then the mainboard tray goes to the paint line. Once I got it threaded about halfway through it must have worn off enough paint that they installed. This is just a frustration to be prepared for.
Other than that, there was plenty of room around the mainboard tray to get everything installed.
The backplate opening looks to be sufficient, but might be a little tight on some CPU coolers or a different socket type.
I would have liked to spend more time making the wiring pretty, but we didn’t have the time available. However, with the included ties and available room behind the mainboard, you should be able to do a pretty clean wiring job and keep air flowing through your case. Pulling the front of the case off you can see the included 120mm blue LED fan and what looks to be support for an optional second 120mm fan here.
Now if you have been counting, I have listed off six slots for optional 120mm fans. Apparently the specifications (which only list four optional locations) do not include an additional front or bottom fan. Personally I wouldn’t add an additional fan in either of those locations, but it is puzzling why they don’t tout six optional locations.
Conclusions
Turning on the power, the blue glow that emanated from the bottom of the front was pretty darn cool. The claw theme at first seemed a bit gimmicky was well tied together with the all blue interior. It really made me wish for a full window and some internal lighting, but that might be just me. All in all the case grew on me the more I worked with it. There was the frustration with the standoffs, which I believe some work could be done in that area, but other than that I didn’t run into any issues with the case.

There is a discount on Newegg at the moment bringing this case to less than $100 USD. On top of the discount there is a $25 gift card bringing this case down to around $75 USD (as well as another $10 off code). At that price point it brings the case down closer to the budget range and a very attractive price for the quality and styling. It is also important to note MSI includes a three year warranty similar to their Military Class products. MSI put together something unique with the Ravager, its blue styling stands out from everything else on the market while giving you everything you would expect from a case at this price point. Rolling all of that together this this is a good buy, a great deal considering the newegg deals.