Performance
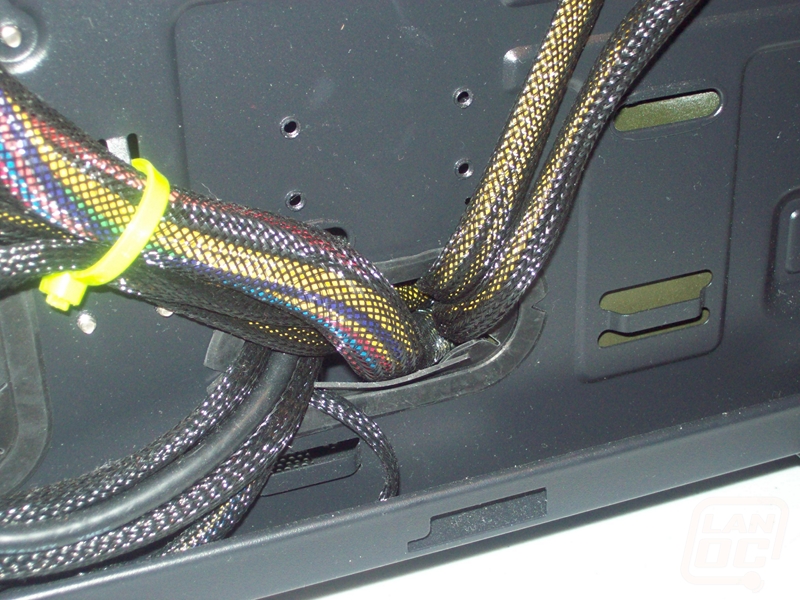
With a windowed side panel, finished interior, and cut-outs in the motherboard tray, one can expect to invest some time in cable management. Though there is a bit of room to work with behind the motherboard tray when the right side panel is installed, it isn’t a lot; the optional fan that can be mounted on the rear-side of the CPU cutout can only be a 15mm thickness, if that gives you an idea of the space between. When the majority of the routing takes place in one area, such as the column between the bay cages and the motherboard as is with the DarkForce, you can find yourself with thick bundles quickly. It can be achieved, however, after a little bit of planning.
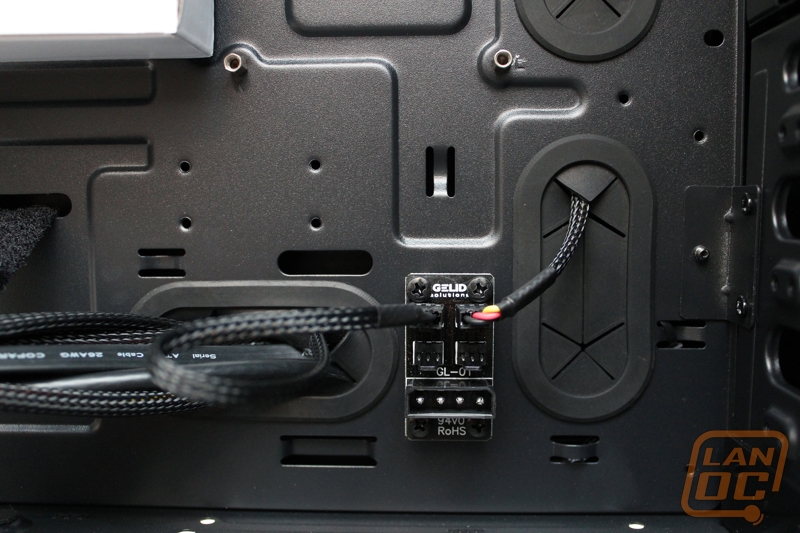
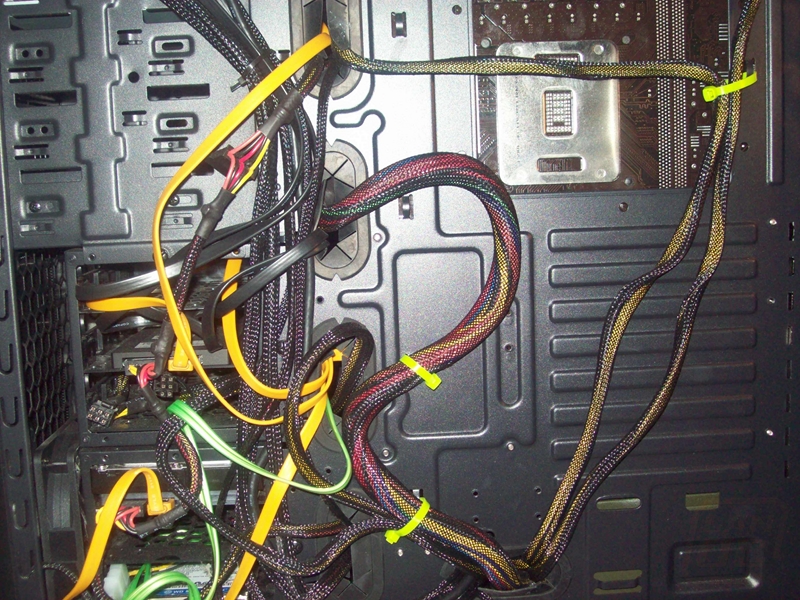
The motherboard tray has rectangular cutout in the upper left hand corner that is great for the CPU power, and can potentially hide the rear exhaust cabling as well. The grommets that outline the motherboard do a great job of allowing escape for cabling, but this is where you may need to think before you act. The most troublesome is likely to be the grommet beside the power supply: though you will be distributing the power rails to different parts of the chassis, nearly all of them will need to be routed behind first, through this one hole. Then on top of that, if your pin headers such as USB and front-panel line the bottom of the board as most do, you’ll need to bring those through from the back via this hole as well. That’s a tight fit, and creates a pretty congested highway of cables that will fight you when trying to put the right side panel back on. Modular power supplies will be extremely helpful here; if you have to hide extra power cables that are connected, you may be forced to try to hide them as subtly as possible on the bottom of the case.
The one other thing to be aware of with cables is when installed hard drives. The back of the cages come really close to the right side panel. Right angled SATA cables are almost a necessity here, and if you have thicker SATA power connectors, you might run into some trouble. Where the cables enter the connector tends to be stiff, and that bend from the plastic to the cord is going to get some pressure in it when the side panel is on. In some extreme cases, we saw cables that jutted out so far that it was starting to bend the PCB of the drive. We were able to relieve some pressure by pulling the hard drive out from the front, attaching the rear side panel, and then gently sliding the drive bay back into position. But it is something to keep in mind.

It will take some work, but the end result is definitely worth it. The case looks extremely sharp with an all back finish and tidy cabling. And truly, cable management in any mid tower is not easy. Gelid Solutions has lifted some of that burden with convenient grommet placing and wiring the included fans to the PCB extenders situated on either around the tray.
I’m sure you’ve noticed how many times I’ve used the word mesh thus far. The majority of the surface area, aside from the side panels, is open air allowing excellent breathing. Of course, this also means dust. Though Gelid has included the layer to keep fight dust, they will require some upkeep. The front of the case especially, being in-take, can become covered unsightly covered in dust. On that note, the designed airflow with the included fans in front intake and rear exhaust, as we typically see. With an open air top, an active heatsink has the option of being mounted vertically or horizontally, to exhaust the air out of the rear or through the top. The front intake is situated precisely in front of the bottom hard drive cage, with an optional fan bay right above it to cool the top cage as well. If you’ll be running the case without upgrading fans, be sure to install in the lower cage.
One of the big advantages about a mid-tower for me is the portability. Being able to transport the DarkForce to and from LAN parties while reducing the strain on my back is a huge perk, and it’s achieved without sacrificing being able to show off. It does fall victim to a little pet peeve of mine, the case doesn’t have any real grasping points, with a pretty consistent shape all around. So I’m inclined to carry it like any other box. With a little pressure on the front placeholders, they can be popped out pretty easily, requiring you to remove the entire front panel and clip it back in place. Otherwise the DarkForce is a pleasure to tote around. It’s crafted out of steel and weighs in at a little over twenty pounds empty, so you’re still likely to get your work out.
