Inside
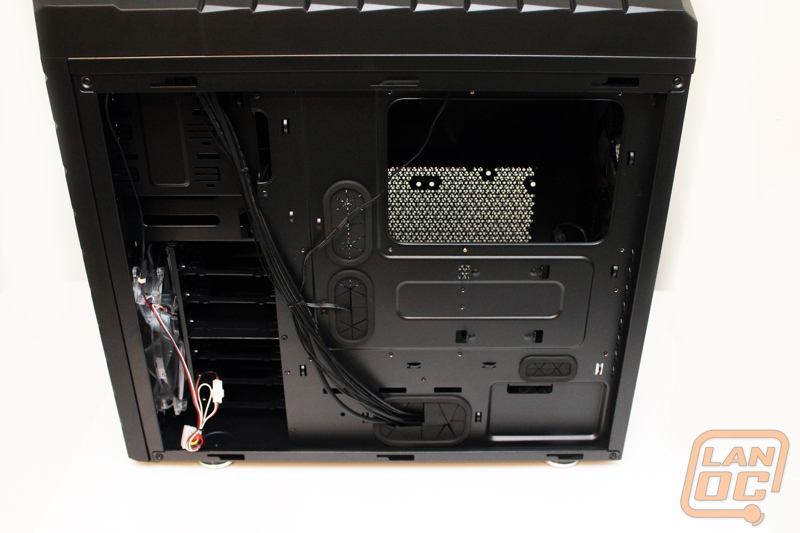
Starting around on the back side of the interior we actually have a lot going on. First it’s great to see that this is all black in finish even though you know no one will ever see this side. From here you can see how large the CPU backplate access hole is, you shouldn’t have trouble with getting to any backplate in the HAF XM. You can also see all of the black finished front panel wires that blend in great with the black interior. You would almost think that Cooler Master has been looking over my shoulder. I have been mounting small 2.5 inch laptop hard drives in my cases to make for extra water cooling room for years now. The HAF XM actually has tabs to do this same thing.
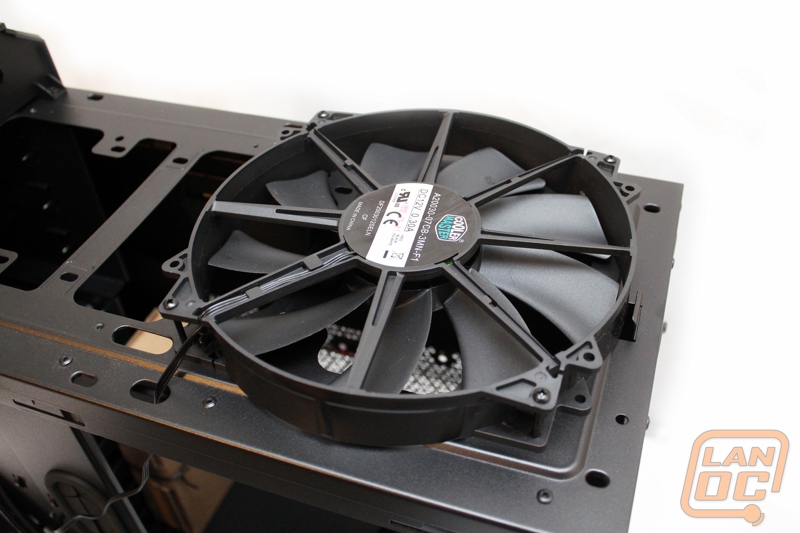
Here is a peak under the top panel after it is removed, as you can see they packed that 200mm fan in. I love the small wire hole that goes right to the back, behind the motherboard tray as well.
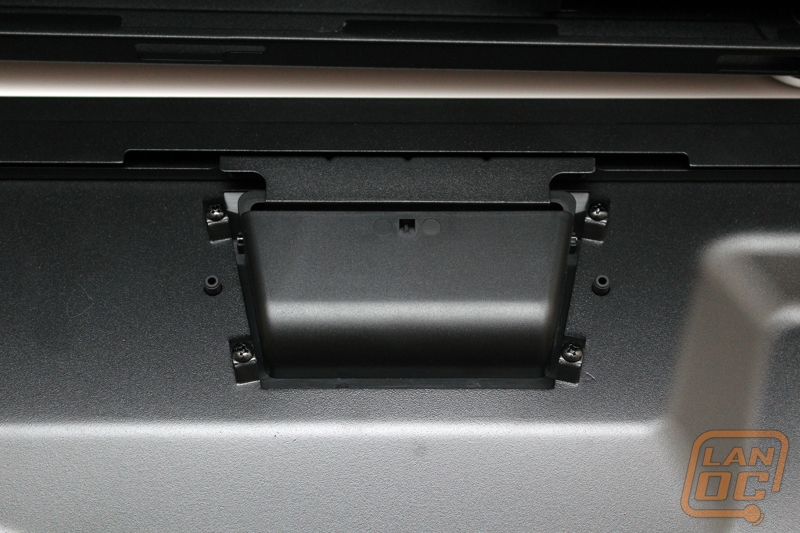
Here is a peak at the back side of the side panel door handle.
I spoke about it before but look at the side of that CPU back panel access hole. Also in this photo you can see the rear exhaust fan and its thin flexible black wire.

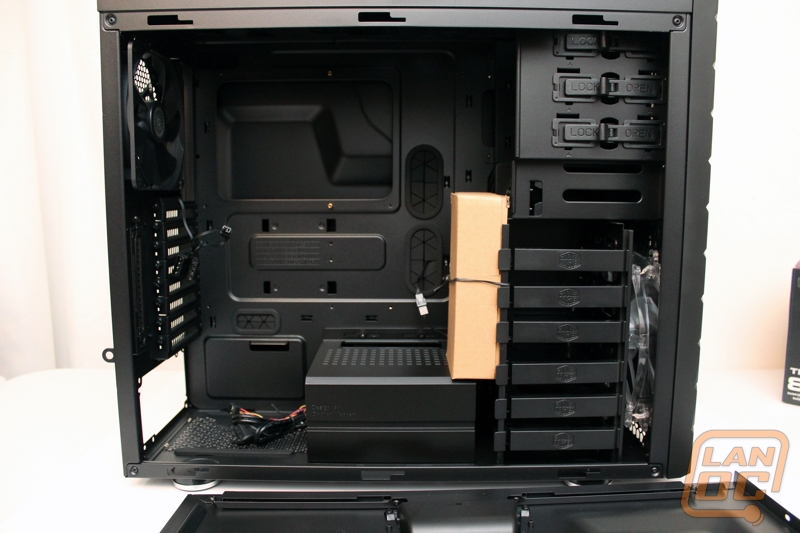
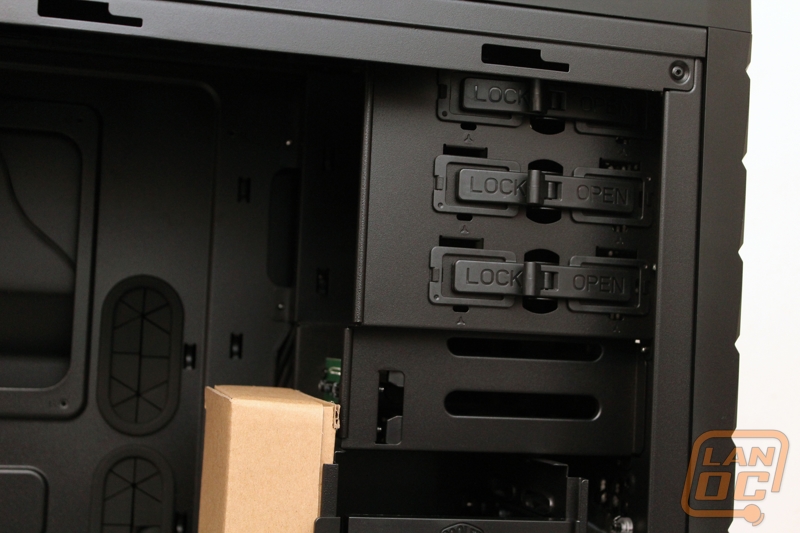
Along the right side you have total of six hard drive trays that slide out and are tool less. Above those drives you have the two front panel hot swap bays and then the three 5 ¼ bays. Each 5 ¼ bay has an easy to use lock to keep your device in place. Down in the bottom left corner under the PSU fan you can see the fan filter Cooler master has put in place to keep dust out of this case. They have actually gone through this trouble on all of the input fans, it’s not important to have them on the exit vents because air will only be going out. As I said in our opening fan filters are one of the many ways that newer feature filled cases have made life much easier.