Inside
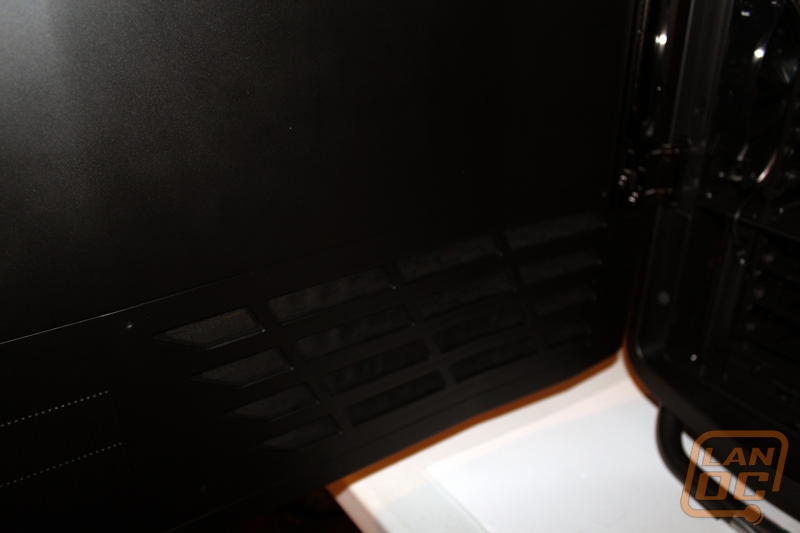
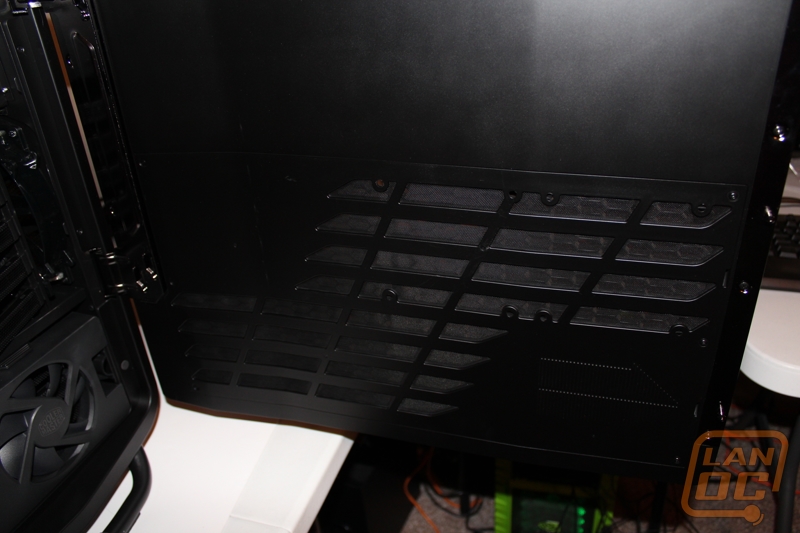
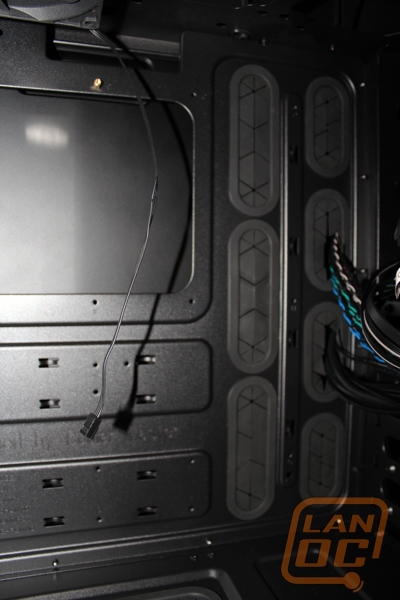
Starting on the back side we get our first view of the Cosmos II’s giant side panels as we check out the area between the motherboard tray and the side door. Even though the door itself is very thick there is still more space for wire management than we would typically find, even on a high end case. You can see that Cooler Master routes all of the front panel wiring through this back area already but there is still more than enough room for the rest of the wiring needed. This is also a great view of the cases wire management holes and grommets. There are seven grommet’ed holes along with two at the top of the case that do not have grommets. Not counted in that is the full access you have to both the bottom and top hard drive trays. The access given at the rear means no problems packing all of the drives in this case that you would like. Normally wiring behind hard drive trays is especially cramped, but the added width of the Cosmos II means more than enough room this time around. As mentioned before you can also see the vents in the side panel, from this side you can see the finer mesh used to keep dust out of the case.
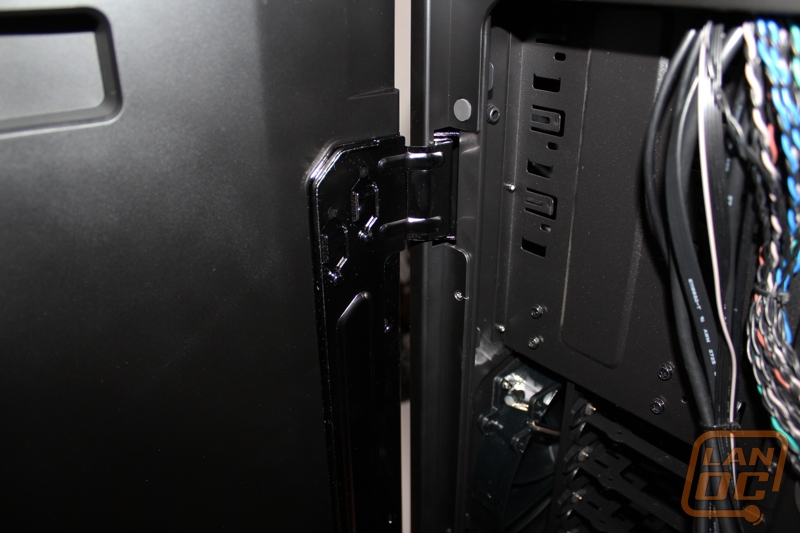
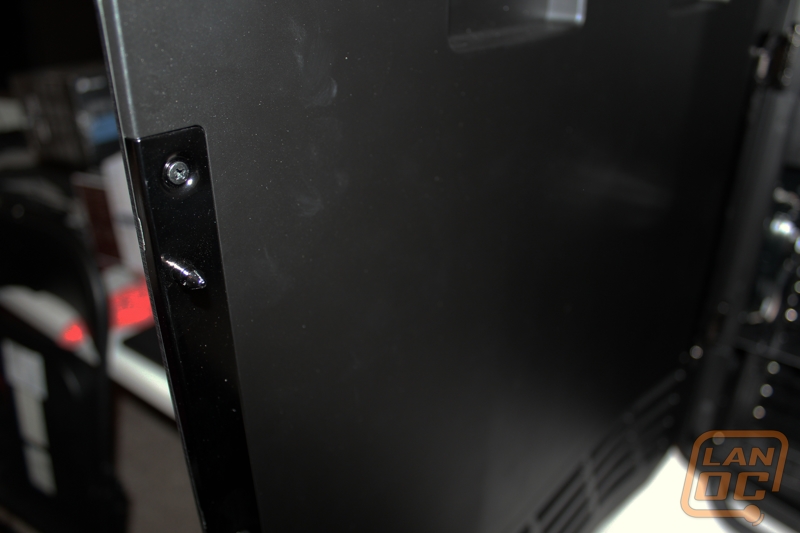
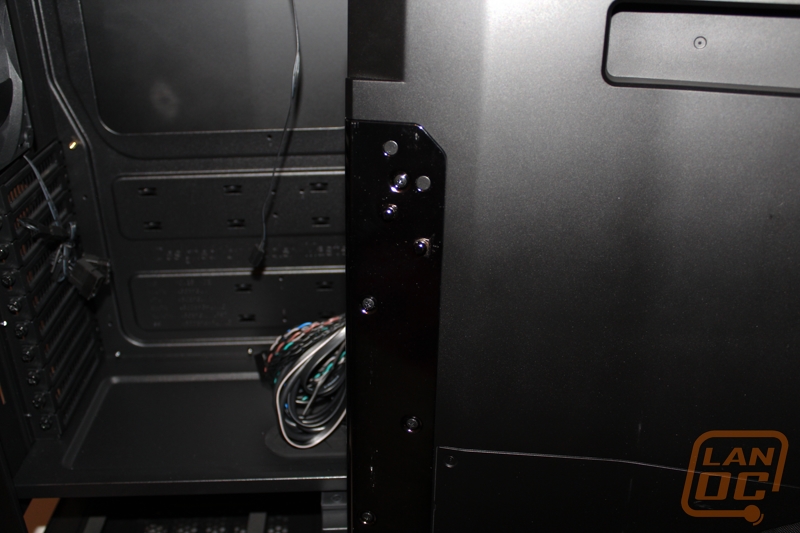
The side door mechanism is both complex and simple and functions like a car door. The first image below shows the hinge mechanism. You might be wondering why they went with a design apart from the standard hinge design we have seen on other cases with hinged doors. This design is stronger to hold the heavier doors but still allows the door to be lifted clean off of the hinges if needed. At the other end of the case there is just one small latch that works with the latches on the back of the case.
Each door on the Cosmos II is much thicker than a standard case side panel. Other than adding to the style I’m not sure what purpose this added thickness gives. Together the doors add up to almost two inches, space that could be used for something more useful.
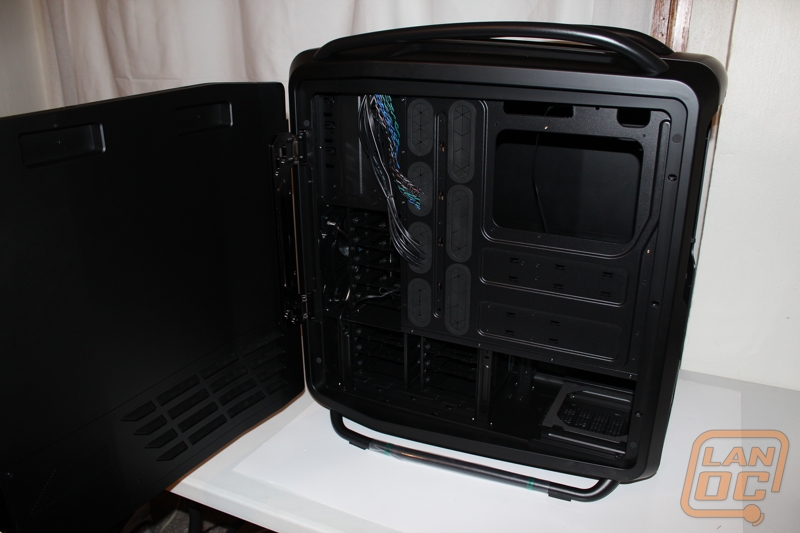
Standing back and getting a full view of the more functional left side of the case shows the amount of work put into the Cosmos II. Much like the 800D the interior is compartmentalized, but not to the extent that Corsair went with, something that later cause them problems with air cooling.
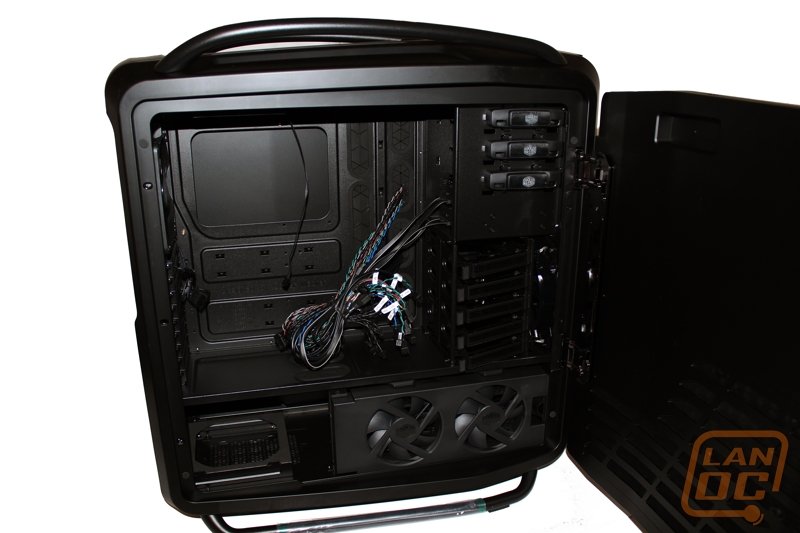
As you can see the left side panel has twice the ventilation as the right side, but otherwise they are just alike.
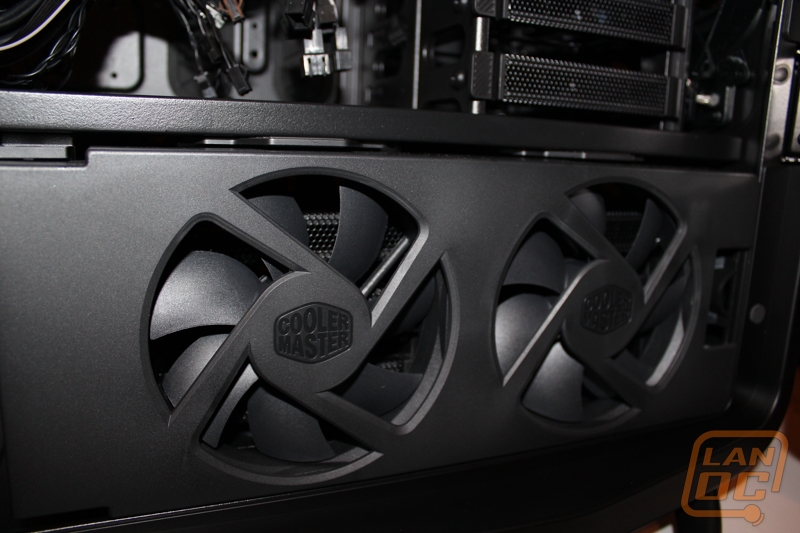
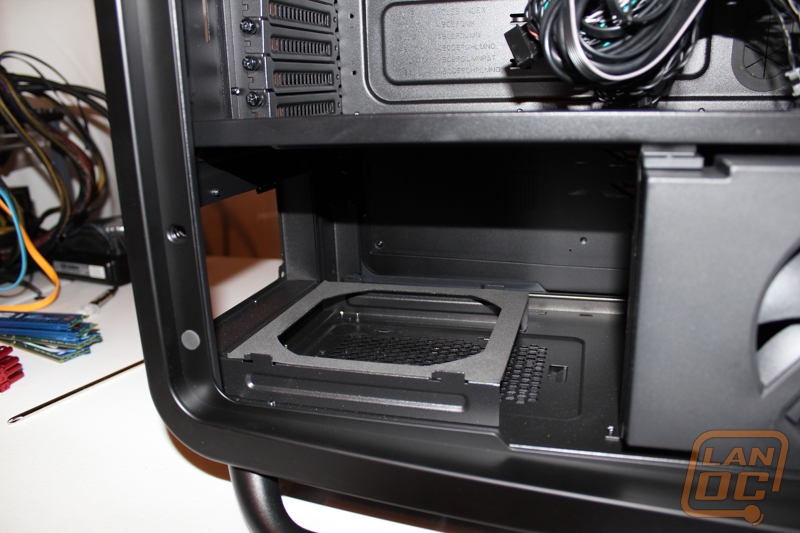
In the bottom right corner there is a hinged plate with two fans pulling cool air in through the vents in the side panel.
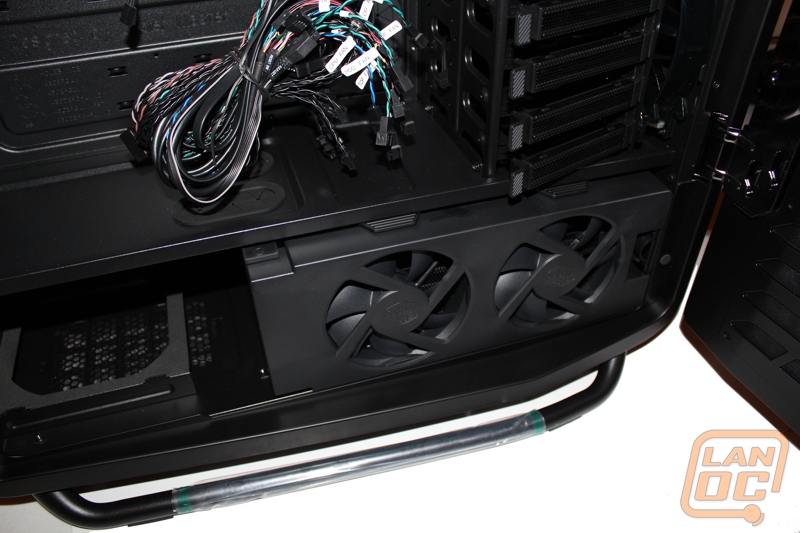
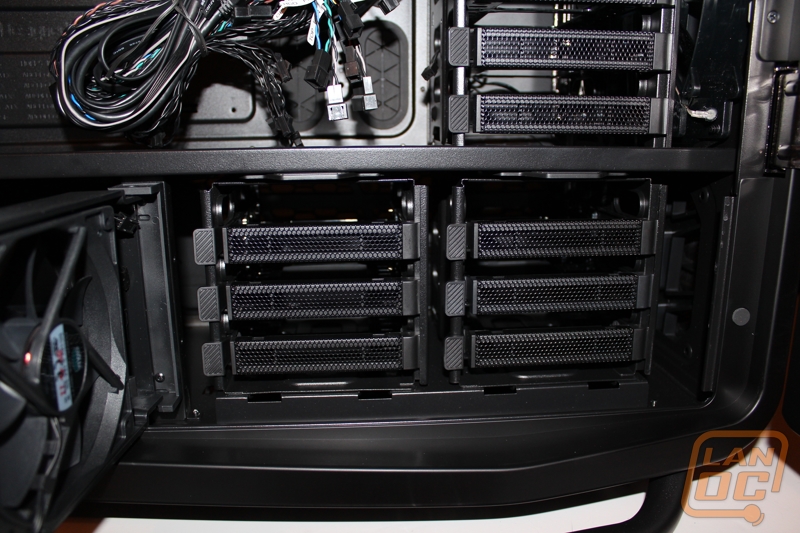
Behind those two fans are six hard drive trays. If you look closely you can see that each tray’s front latch is made of mesh to make sure they don’t block too much air flow to the hard drives. What is really interesting about this area is if you decided to go with water cooling in the Cosmos II you can remove both cages and Cooler Master included brackets to mount a 240mm radiator in their place, this way the fans can be put to use to cool your CPU or Video Cards.
On the bottom left side you have your PSU mounting area. This area is design to work with modern power supplies that intake from the bottom and blow air out the back. With the adjustable plate under the PSU, once mounted, the PSU’s cooling is separate from the rest of the case.
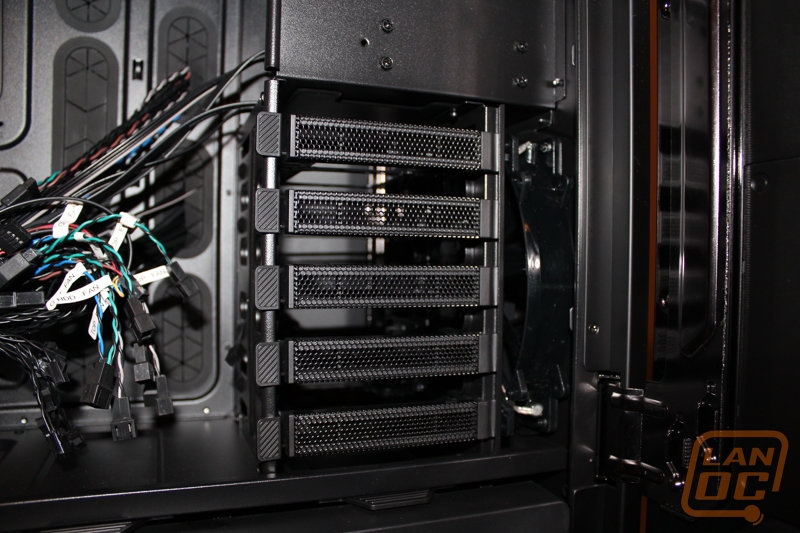
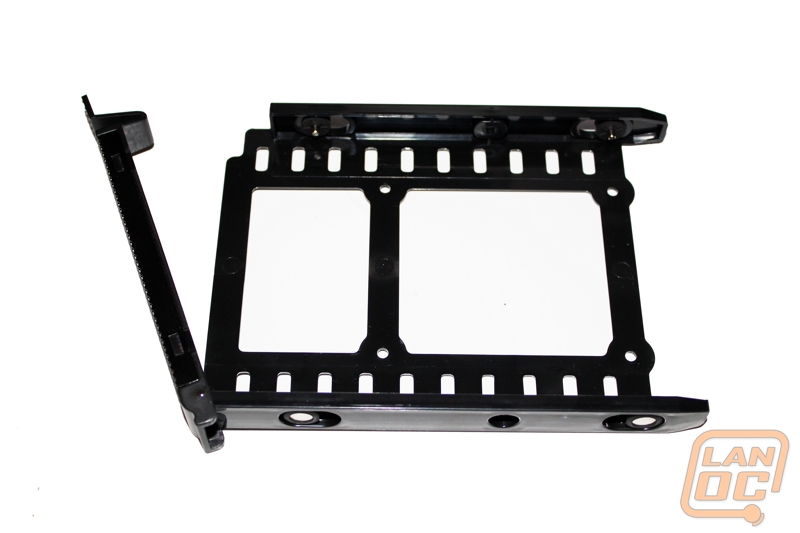
Above the bottom hard drive cages there is a second cage that holds five drives. Just like the bottom trays each tray has ventilation across the front. This time cooling comes from a 200mm fan facing the front of the case blowing in over all of the drives. Each of the trays holds a 3.5 inch drive with four rubber mounted pins. This design is tool-less and vibration free. You can also mount your 2.5 inch drives using four holes in the bottom of the tray.
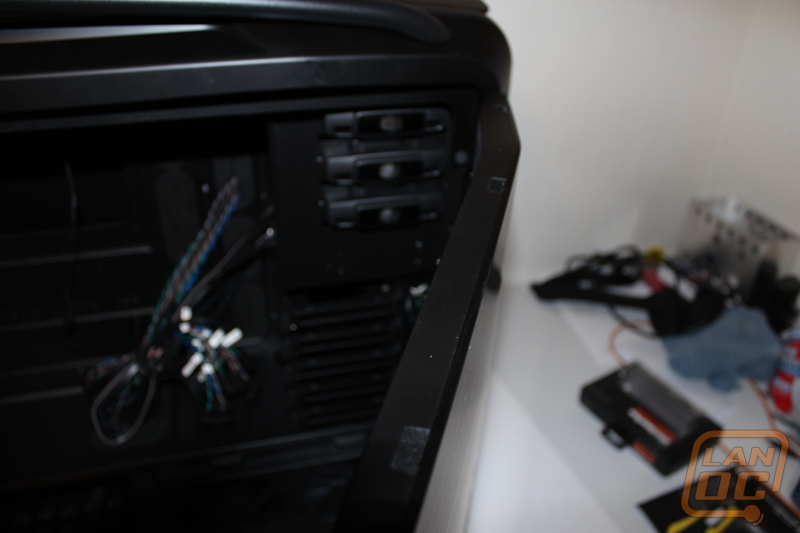
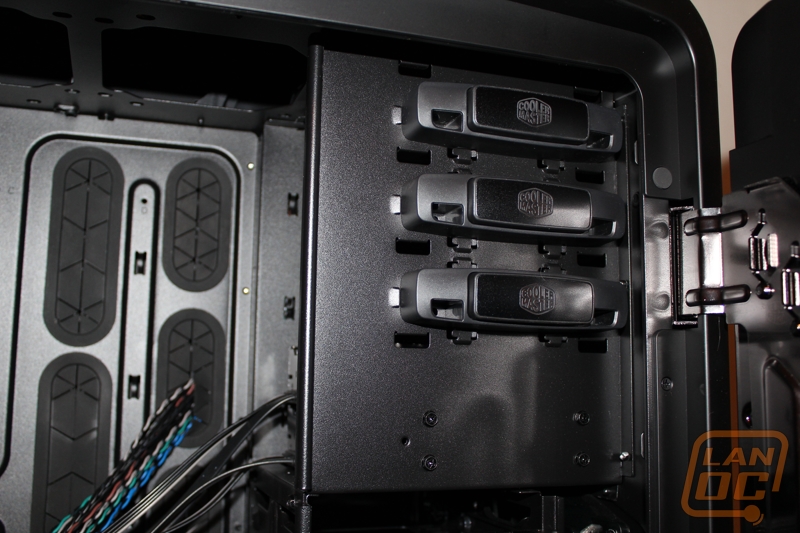
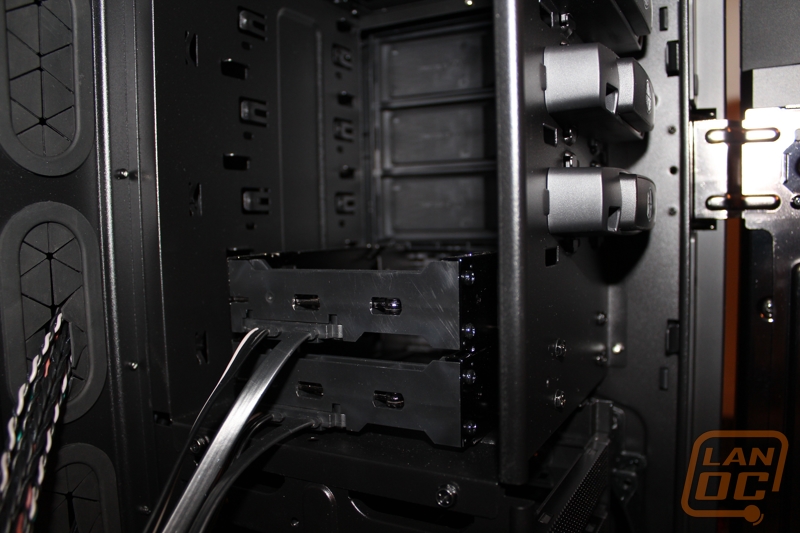
Above the second drive cage in the top right corner of the interior of the Cosmos II you have three 5.25 drive bays with the two hot swap bays below them. All three of the 5.25 drive bays is tool-less using a push button system similar to what we have seen on past Cooler Master cases, but with a little better style. The two hot spots have been wired for you meaning no unsightly SATA cables or power cables bundled up behind the hot swaps. It’s a shame there isn’t a side panel window to be able to see details like this.
Even from the inside the 10 PCI slots stacked up on the back side of the case is still impressive, even after seeing it from the outside of the case. This is also a good view of the fan wires; it’s nice to see that cooler master made sure to go with black wiring on each fan using a thin easy to router cable type.
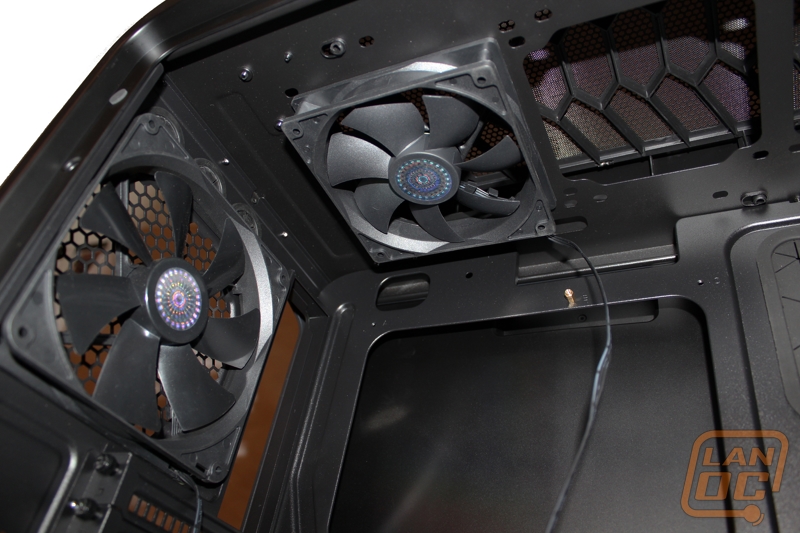
In the top right corner you have the 140mm fan blowing out of the back and a 120mm fan included along the top. You can also see the extremely large CPU backplate access hole. When compared to the 140 and 120mm fans you can get a good idea of its size. Next to the 120mm fan up top are two more locations for more fans as needed. It’s interesting to see the choice to go with 120mm fans up top when we have been seeing 200mm or larger fans on most cases. This is to have better compatibility with water cooling configurations, you can slip a nice 360mm radiator up top if your careful.
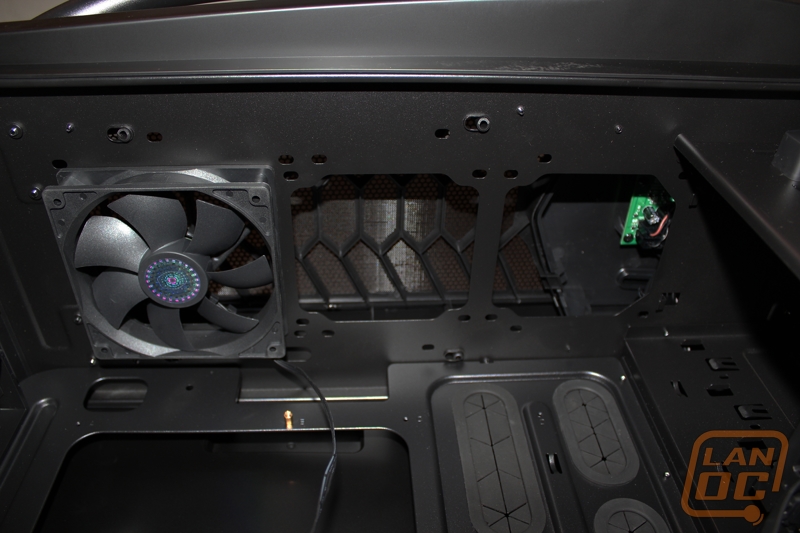
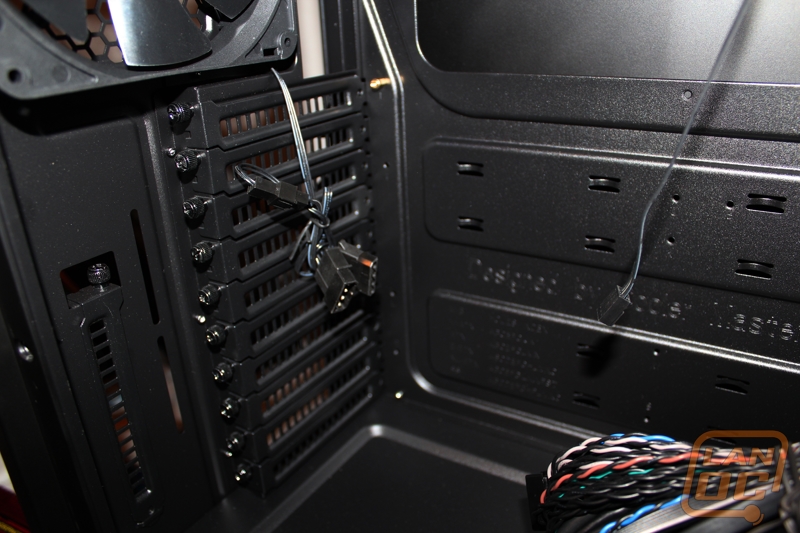
As mentioned before there are seven wire management holes with grommets visible from the back. These holes are laid out in a way that you can get wires to your motherboard no matter the boards’ width or height. What you couldn’t see from the back though are the two grommet’ed holes on the bottom plate that divides the top and bottom sections. These holes are good for both running wires to your video cards and for running tubing into the bottom section to that 240mm radiator.
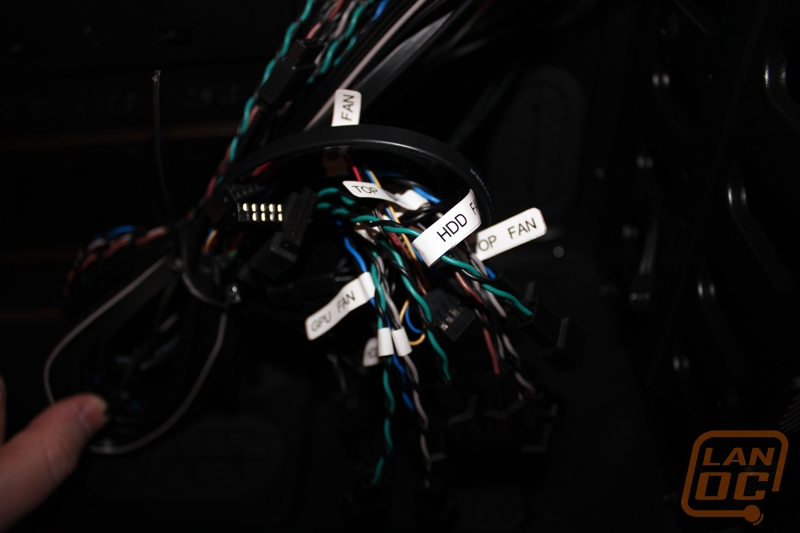
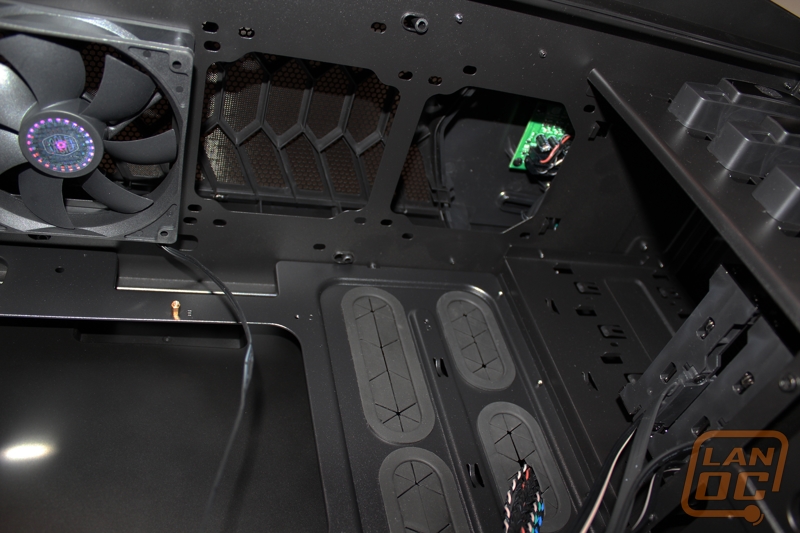
The entire fan controller wiring has been labeled with small tags. All of the other wiring is black to match the interior of the Cosmos II.