Exterior Breakdown
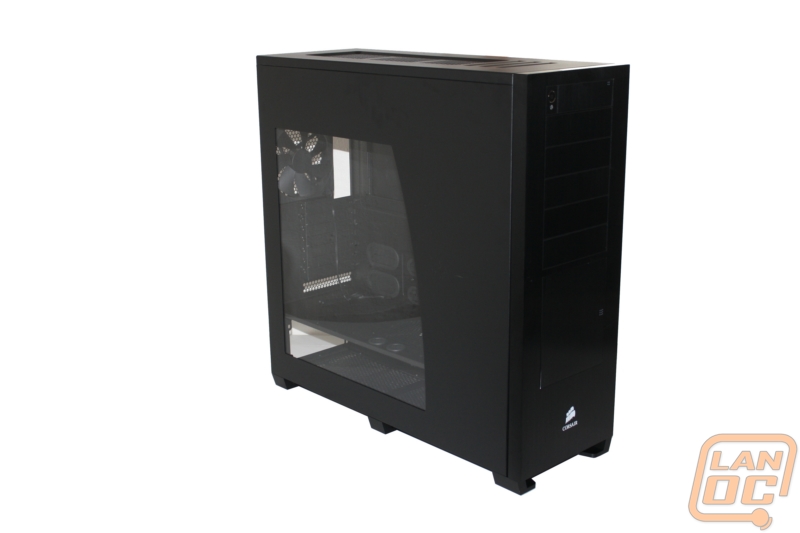
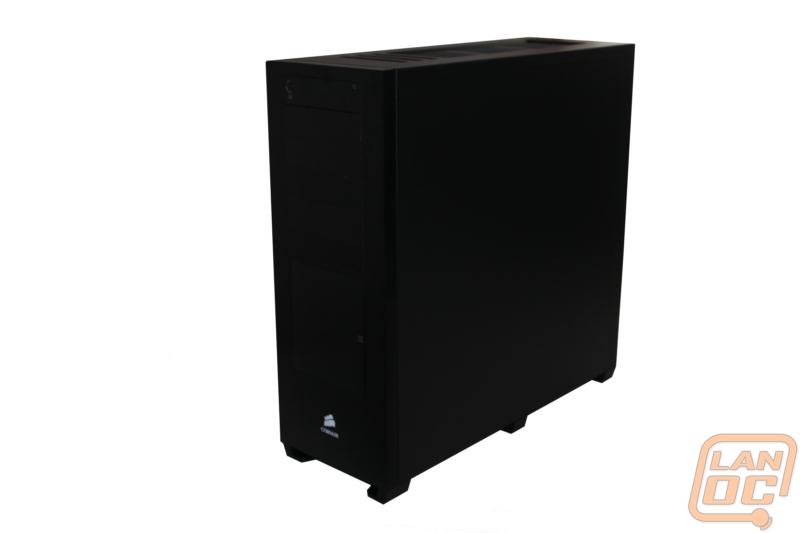
The 800D comes in at a 24 inches tall, 24 inches deep, and 9 inches wide; there is no doubt that this is a big case. The exterior of the 800D is simple and elegant. Corsair’s design is very boxy and similar in some ways to a Lian Li design. Where Corsair has set itself apart is with their attention to detail. From this view we can see the left side panel and its sail-shaped side window. This window design is unique yet still simple enough not to be distracting or overwhelming.
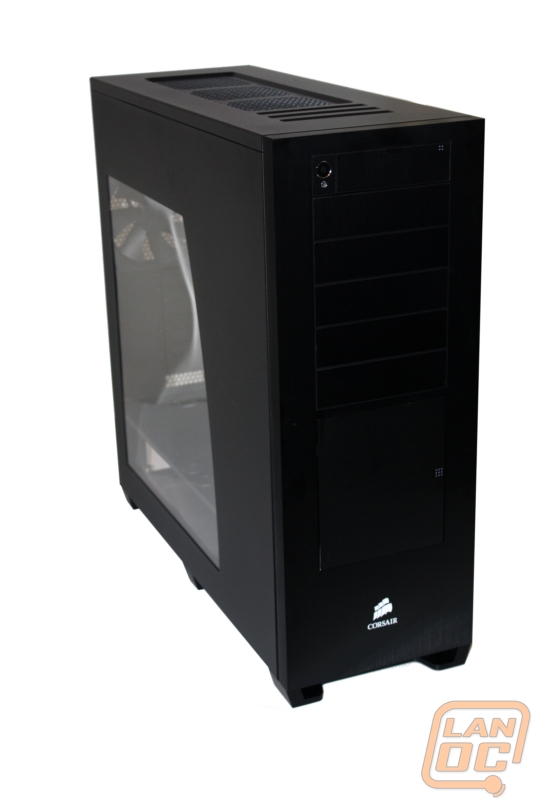
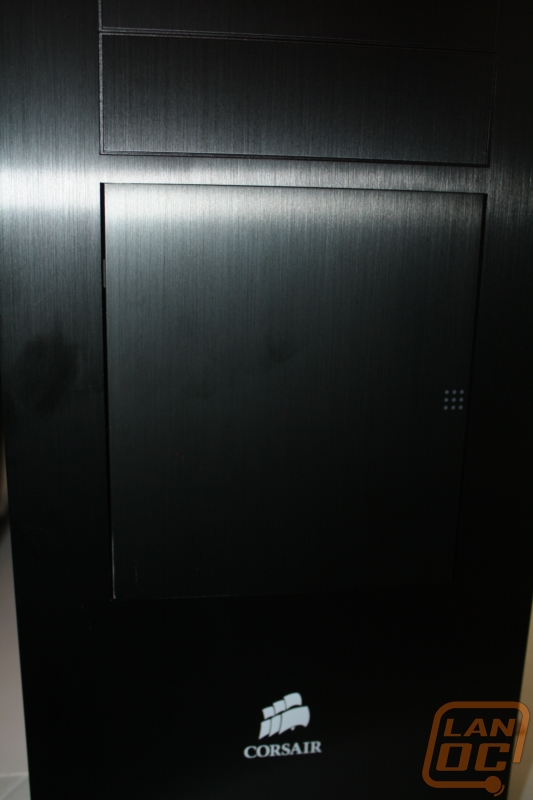
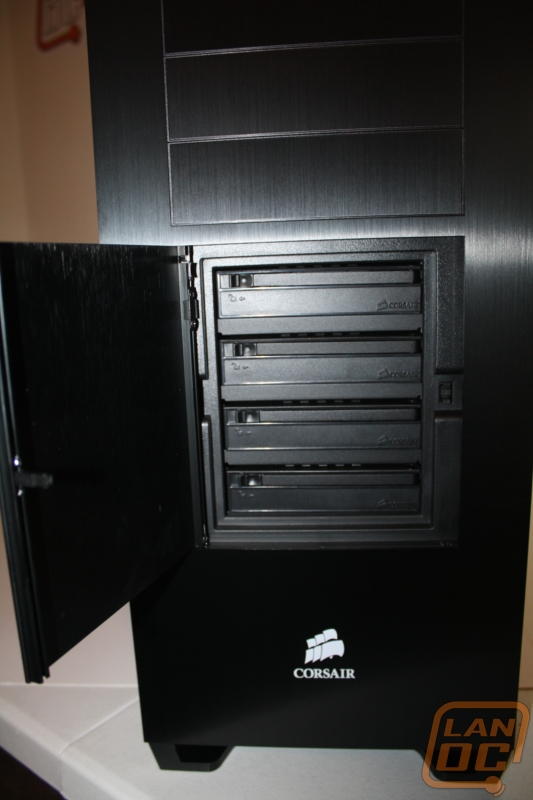
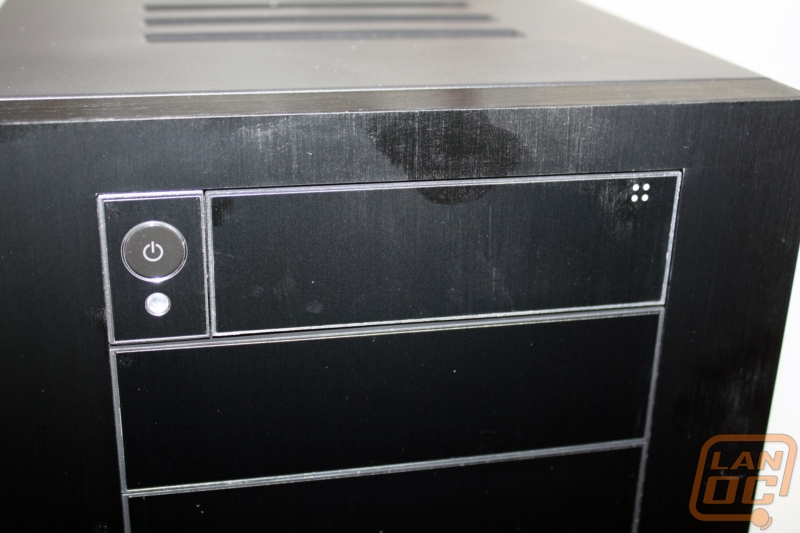
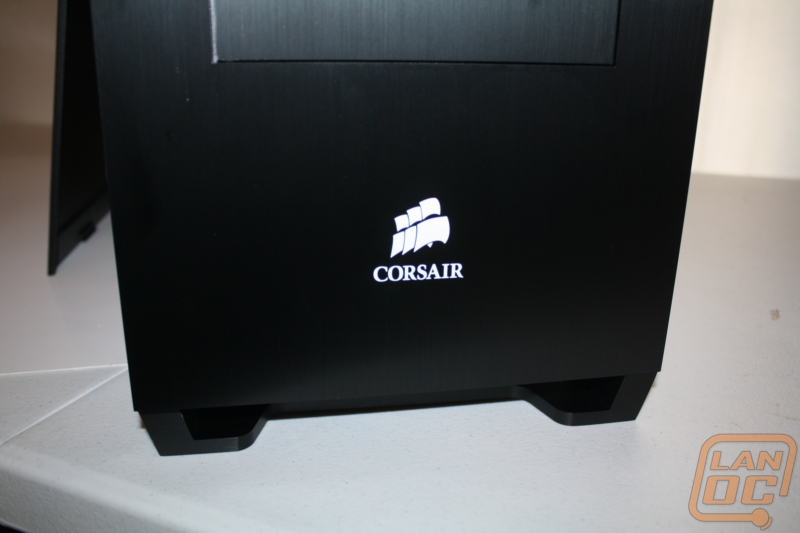
Around front you have five 5¼" drive bays, the power button on the top left, and a large door below the drive bays (we will see what is behind it soon). The entire front is one solid piece of aluminum in a black color to match the rest of the case. Down towards the bottom the Corsair logo in white really pops against the black.

Here we can see behind the spring loaded door on the front we have found 3 inch hot swap bays
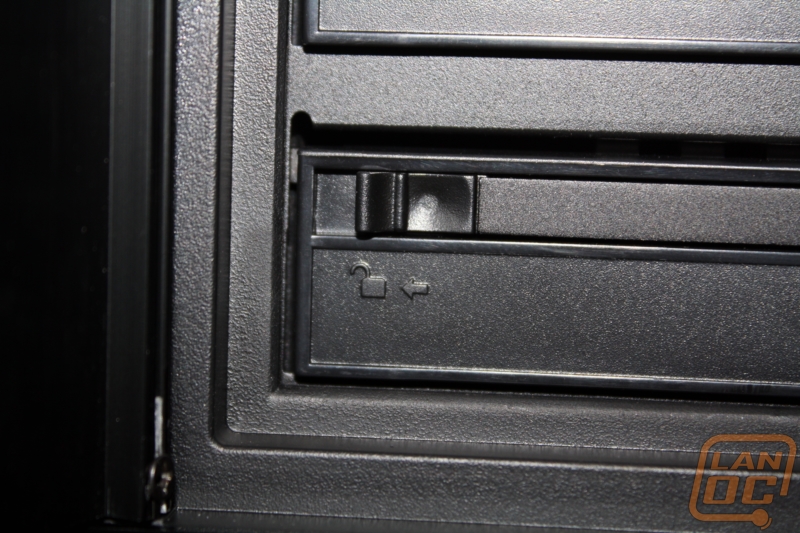
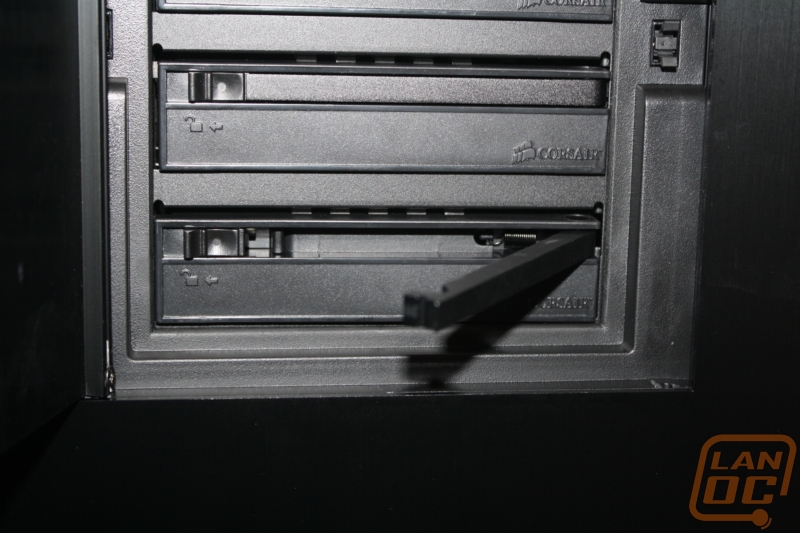
Each of the bays has a small lock and latch holding them in place. Once unlocked the latch pops out and you can pull the drive bay out.
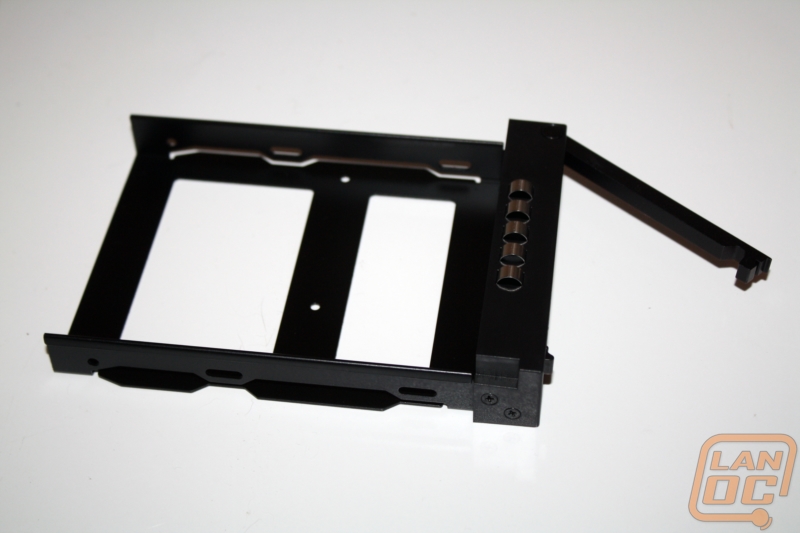
Here is a look at the hot-swap drive bay. You can see mounting points for both 3½ inch hard drives and the smaller 2½ inch hard drives and SSD’s. There are noticeably no rubber vibration dampeners on this design. I would also love to see this design be tool-less, similar to some of ICY-Dock designs. Swapping out drives is nice, but it’s not very convenient if you have to find your spare screws and a screwdriver each time you do it.
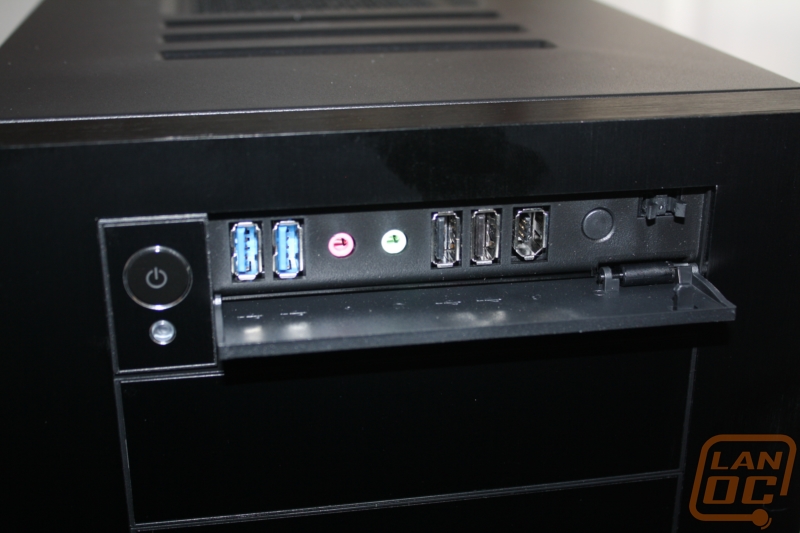
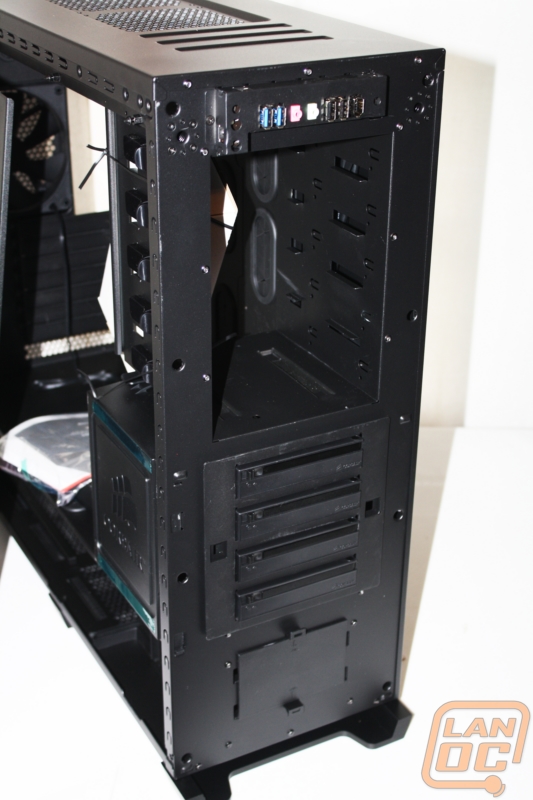
Next to the power button on the top front you have a small spring loaded door that hides the front I/O panel, keeping the clean look of the 800D. Our I/O panel includes the USB 3.0 connections that Corsair upgraded the 800D to recently. We have a total of two USB 3.0, two USB 2.0, a Firewire port, both microphone and headphone connections, and a small reset button just in case you need to abort mid-game. You can also see in this photo how easy the aluminum design picked up greasy finger prints. We literally had just taken this out of the plastic and already had one. That’s the last time we scarf down chips mid-review.
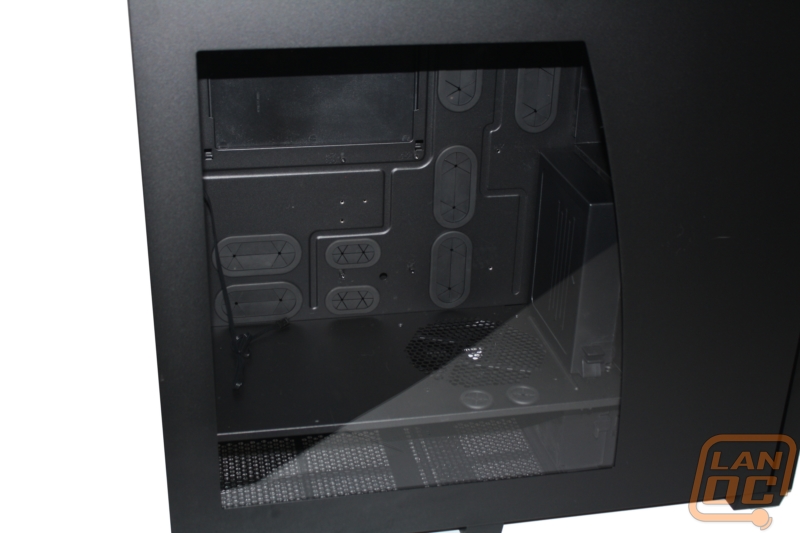
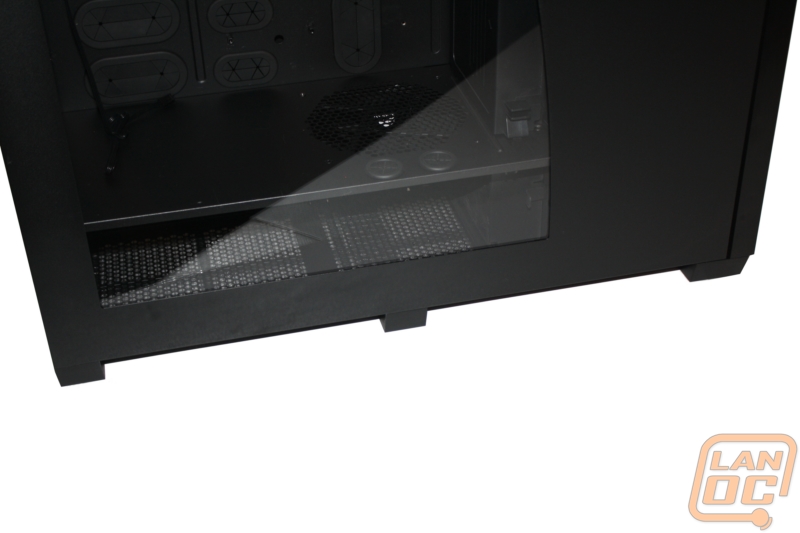
Here is a better view of the side panel window. This gives you a good idea of what components will be seen with the side panel on. Considering the strong focus on wire management its almost odd that the window shows the bottom power supply section at all.
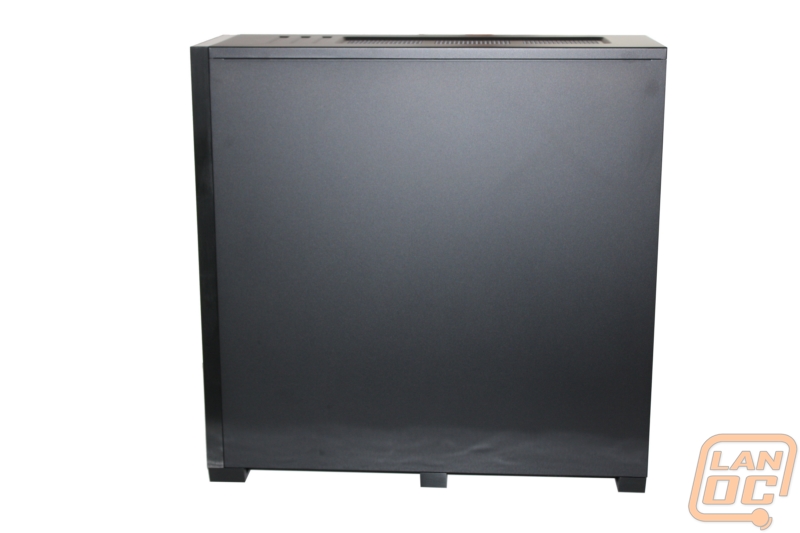
The opposite side has nothing exciting going on at all. Just a plain black side panel.
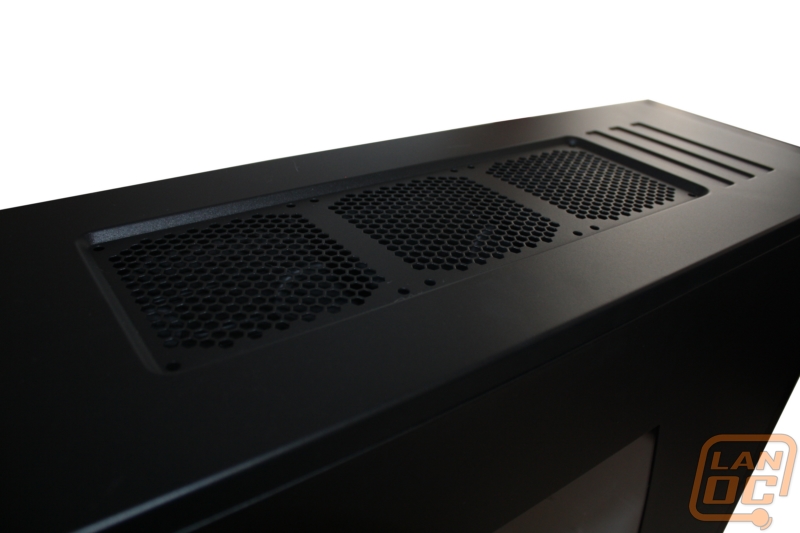
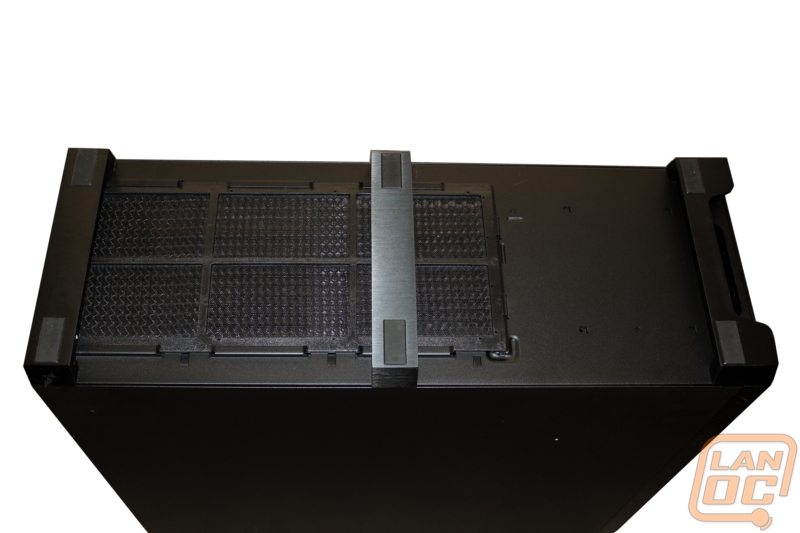
Up top you have no plastic like many of the cases available on the market today. In place of the plastic Corsair has included three 140mm fan grills in a slightly recessed area that is the perfect size of a 360mm radiator. The styling is really subtle here, but Corsair was careful not to just make the top perfectly flat with no design at all. The recessed fan area and the indents behind that area both make the top distinguished without going overboard.
Rather than go with a standard stick-on rubber foot Corsair really helped the 800D stand out with its unique foot design. Along the entire bottom you have three feet that extend from one side to the other. These feet give a nice amount of clearance to get airflow under the case to the power supply, even in a carpeted room.
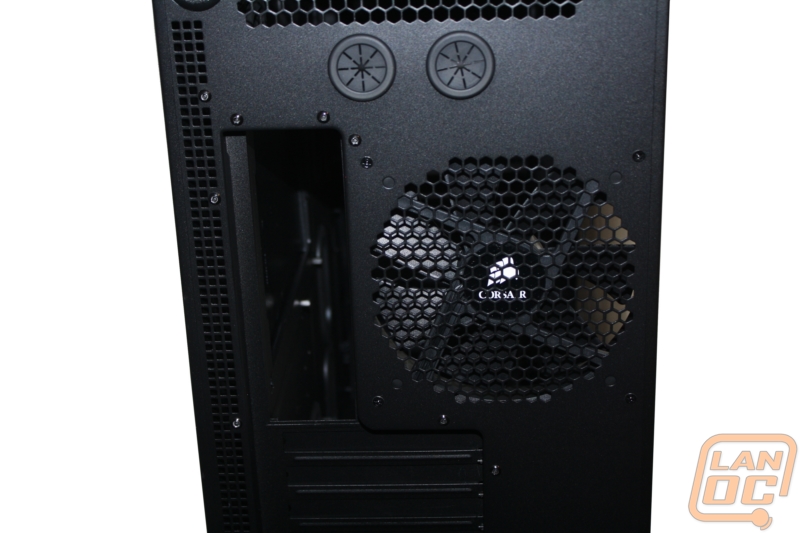
Around back you can see the entire back has the same black finish as the rest of the exterior. The configuration has the power supply down at the bottom along with numerous areas that have been vented for extra cooling.
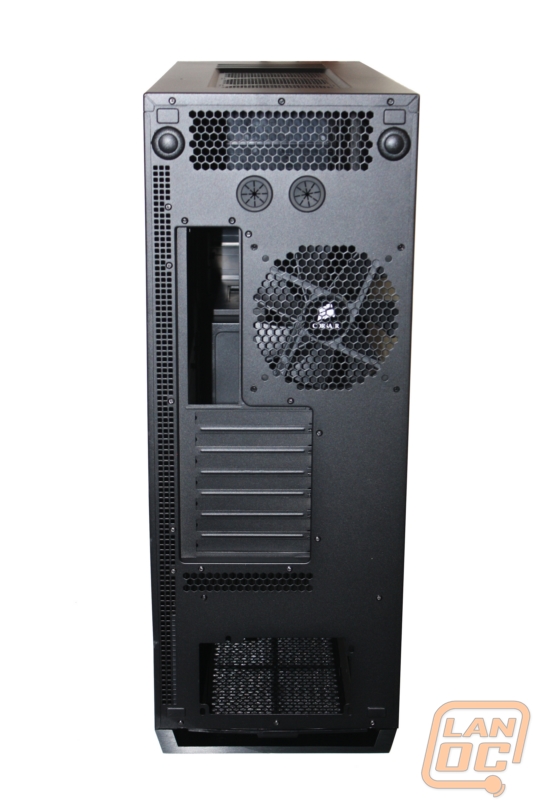
Up top you have one of the most interesting parts of the case. Two black buttons located on each side of the highest vent. Each button, when pushed, releases the corresponding side panel. We have seen something similar on a few other cases like the Cosmos. But it is still always nice to see a case that doesn’t require thumbscrews to hold the side panels on. This keeps with the slick styling that Corsair was going for.
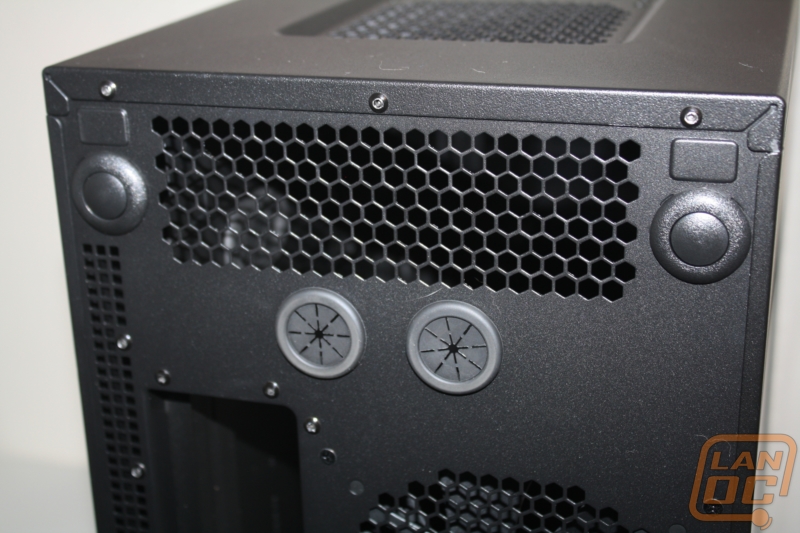
Down a little farther you have two holes with grommets in them to help you route your water cooling lines in and out of the case if needed. Below then you have the rear I/O panel with another 140mm fan location. You can see the mounting holes for a 120mm fan if you would want to swap to something different also. This is also a great view of the vent on the far left of this image. Corsair uses this vent as part of its three zone cooling solution, this one being specifically for cooling the hard drives. You may be trying to picture it now, read our interior section for more information.
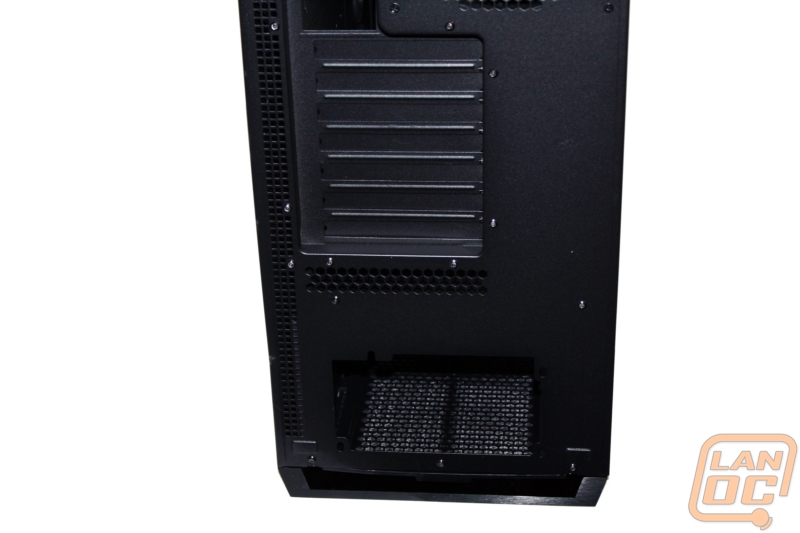
For the PCI slots Corsair has included seven. I was hoping to see eight, meaning support for an XL-ATX motherboard so we could put our super-sized Gigabyte Assassin motherboard to use, but that is unfortunately a no-go. You can still fit e-ATX and just about everything else though. Down at the bottom you can see the power supply mounting location, as we mentioned before its all the way at the bottom, a fairly standard location now.
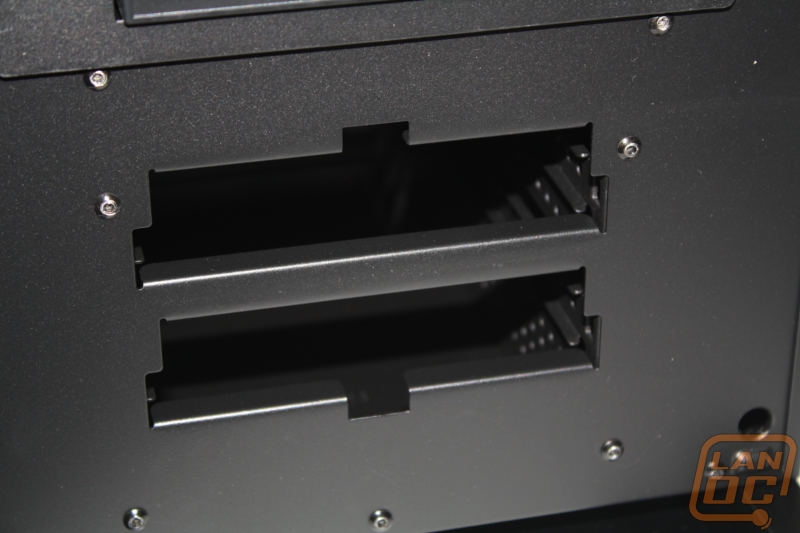
With the front panel pulled off you can see a few things. Most notably below the four hot swap bays there is a small plastic insert covering up something. With two clips holding it down it was easy to remove.
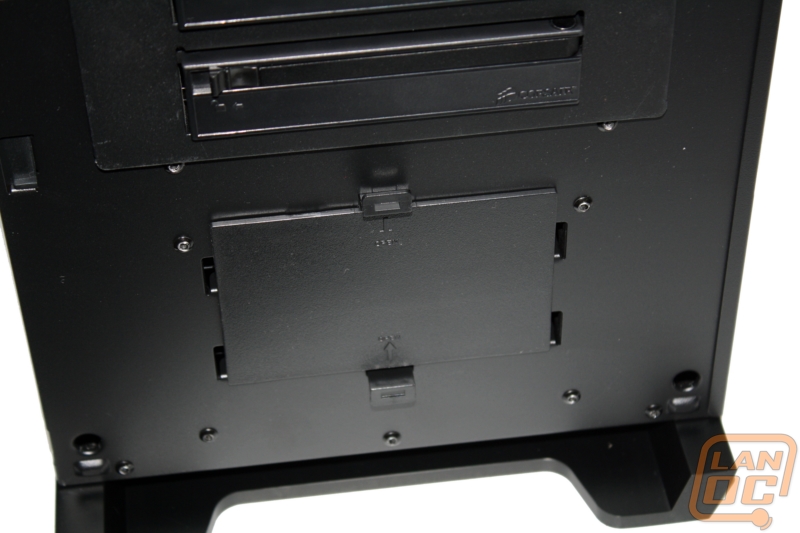
With the panel removed you can spot two more drive bay’s for 3½ inch hard drives, just in case you need them. These are not hot swap compatible, but they would be perfect for a pair of SSD’s in raid for your OS drive. You wouldn’t have to worry about pulling the wrong drive out when messing with the hot swap.
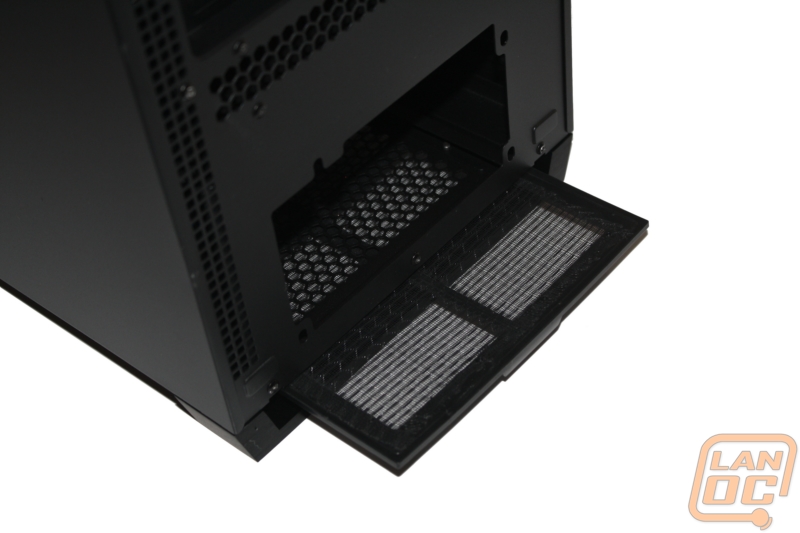
Last but not least, here is a look at the built-in fan filters into the bottom of the case.