 Thermaltake is known for making a variety of quality parts. We have tested more than a few examples ourselves even. Today we will be taking a closer look at their M9 VI1000 mid tower case. We will find out if it is a good improvement over that beige case, and if it is going to keep everything cool and quite. If our past experiences with Thermaltake are anything to go by, I expect this to be a quality case with some interesting styling. But we aren't here to guess, keep reading to find out how it really performed.
Review Sample Provided by: Thermaltake
Review by: Garfi3ld
Pictures by: Garfi3ld
Specifications
| Case Type | Mid Tower |
| Material | SECC |
| Color | Black |
| Side Panel | Transparent Window |
| Motherboard Support | Micro ATA, Standard ATX |
| 5.25" Drive Bay | 9 or 6 |
| Int. 3.5" Drive Bay | 1 (convertible from 5.25") |
| Expansion Slots | 7 |
| Front I/O Ports | USB x 2, HD Audio |
| Cooling System | - Front (intake) : 120 x 120 x 25 mm blue LED fan, 1300 rpm, 17 dBA - Rear (exhaust) : 120 x 120 x 25 mm blue LED fan, 1300 rpm, 17 dBA |
| Liquid Cooling Capable | No |
| Liquid Cooling Embedded | No |
| Power Supply Supported | Standard ATX PSII |
| Power Supply Included | No |
| Dimension (H*W*D) | 17.3 x 7.9 x 19.5 in 440 x 200 x 495 mm |
| Net Weight | 14.1 lbs 6.4 kg |
| Warranty | 3 Years |
Packaging
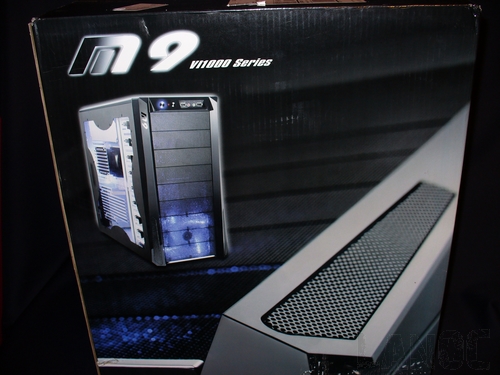
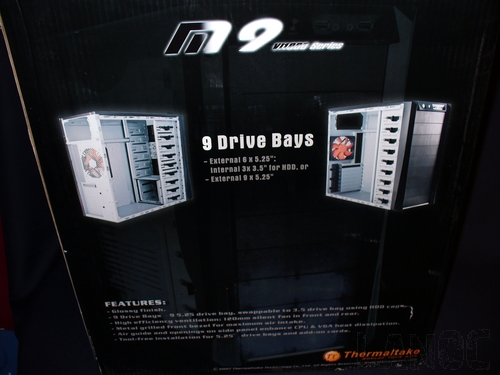
The M9 VI1000 Series came in a typical box for a pc case. Thermaltake included a couple pictures of the case with the blue fan lit up on the front. When we turned it around, we found pictures of the inside of the case along with a few features.
-Glossy finish -9 Drive Bays - 9 5.25" drive bay, swappable to 3.5" drive bay using HDD cage -High efficiency ventilation: 120mm silent fan in front and rear -Metal grilled front bezel for maximum air intake -Air guide and openings on side panel enhance CPU & VGA heat dissipation -Tool-free installation for 5.25" drive bays and add-on cards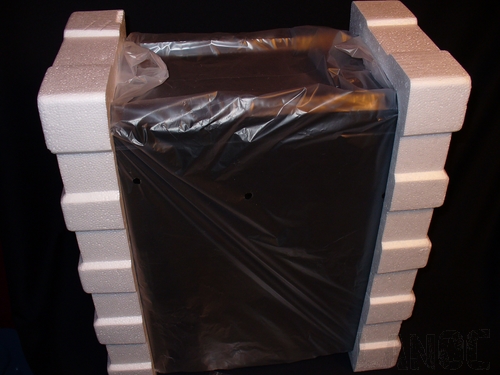
Inside we found the M9 packed away securely in a plastic bag with Styrofoam on the front and back keeping it safe during transport. Once we took off the packing material, you can see they also covered both the side window and glossy parts of the case in plastic to keep them from being scratched or damaged. We left both on until after putting everything in the case to prevent any damage. All of the parts and pieces were all inside the case and taped down to keep them from flying around. Overall, the packaging was effective, but standard. Our Test Rig Abit IN9 32X-MAX 680i Intel Q6600 Quad core CPU B3 stepping Thermaltake V-1 heatsink Four gigs of A-Data G Series Ram EVGA 7800GT Video Card Antec Quadro 850 Watt Power Supply Lite-On DVD Burner Running Vista Ultimate and XP
Outside
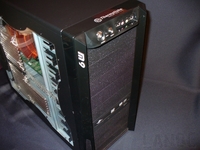
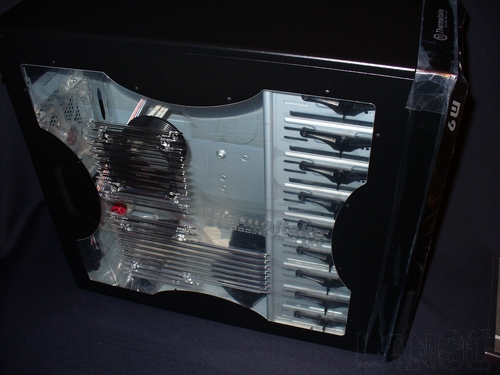
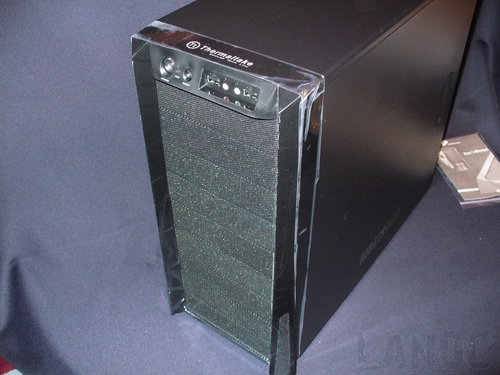
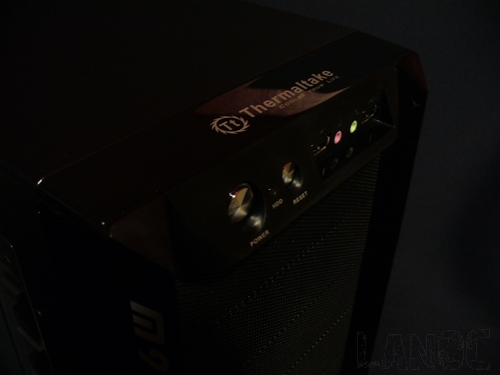
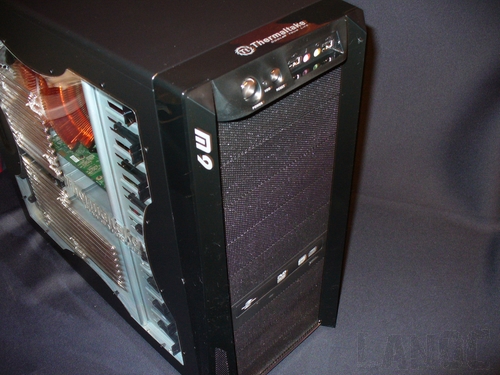
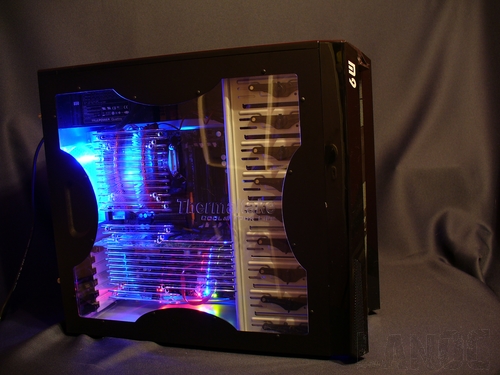
We examined the whole case starting with the front. The front panel has a full mesh front similar to the Antec 1200 and 900 along with the Thermaltake Armor series also. The only thing that distinguishes the front from a mesh wall are the angular portions that stick out on each side, even they have mesh in them. At the top of the front panel, you will find the power button, a HDD light, a Reset button, two USB plugs, and a microphone and headphone jack. Considering this case was released recently I am very disappointed in the lack of an eSATA plug on the front panel, this should be standard on every case by now. Moving on to the left side panel where you will find an X shaped window. The X shape leaves room for a small dent to help remove the panel. They also cut slots above the standard CPU and GPU, inside both slots they also included holes to install fans. Another detail in the window is the Thermaltake logo engraved into it a nice touch as long as you do not mind showing off your case brand. The back of the case is very plain. You will find one 120mm fan on the silver back; it is disappointing that the case is not black all of the way around. The final side is just a plain; they have put a few holes at the bottom of the door to give a little more ventilation to the case, along with another indent to help take the door off. Overall the outside of the case is simple and has a budget gamer feel too it.
Inside
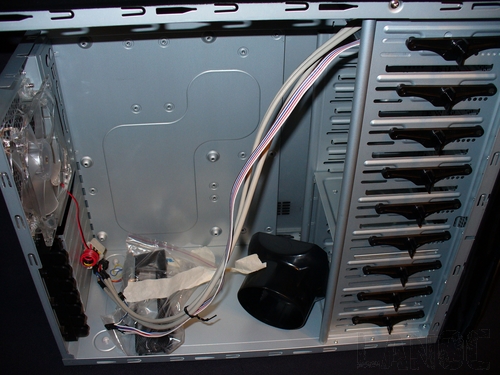
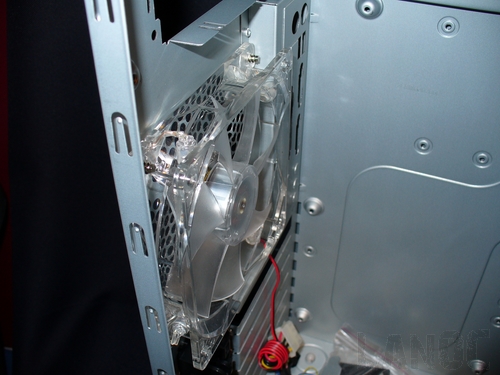
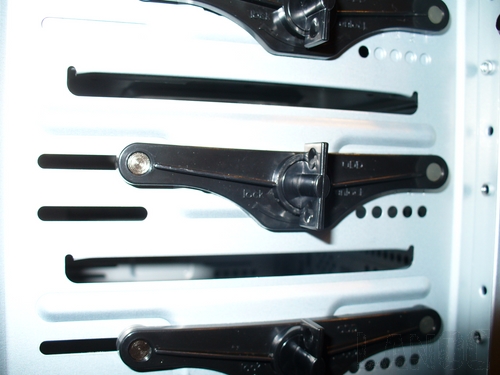
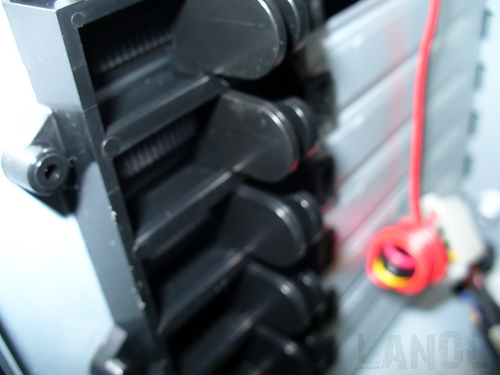
After removing the thumbscrews and the windowed side panel, we start to dig into the guts of the M9. Right away I see the cables for the front panel in bright beige hanging there, we sleeve almost all of the power supplies and fans that we buy now, why do they not sleeve the case wires on cases with windows? I am impressed with the quick screwless designs for both the drives and the PCI slots its great to see this feature on a case in this price range. We had the Antec 1200 in here before that did not have anything screwless and cost twice as much. What I was disappointed about was the lack of cable management room. They haven't included any holes on the motherboard tray and there is no room between the backside panel and the motherboard tray. I would also like to see the inside of this case all black, it's something fairly simple that really could make this case look like a $300 case. Overall they have packed a lot of features into this case, a little more attention to detail and it would put the M9 into a class of its own.
Installation/Setup
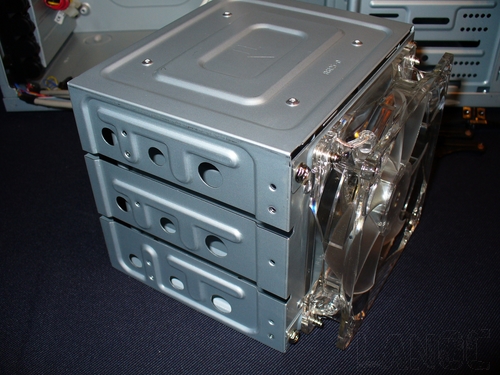
Starting with the hard drive due to questions on whether I would be able to pull the hard drive cage out with the motherboard in. I was surprised to find a blue led fan attached to the front of the cage, I don't have to worry about the hard drives getting too warm with a 120mm fan blowing over them. Next I pulled the front panel off so I could slide in our DVD burner. The screwless tool worked wonderfully, although I would like to see something on the backside to keep both sides secure. Next, it was time for our full ATX motherboard, I only had to install two standoffs before I could pop in my new I/O panel and drop the motherboard in. With the motherboard secure I was able to bring in our power supply, 4 screws secured it to the case and brought with it a large wiring mess. I tried to clean up the wiring as best as I could, but without any room to hide it I was not very successful. With all of the wiring hooked up, I dropped our Q6600 in along with the Thermaltake V-1 that we tested in the past. I did have to remove the included vent that attaches to the window in order to fit the V-1. All buttoned back up I plugged the computer in for a test run and it ran smoothly.
Performance
A case only really needs to do two things. It must keep your components running cool, and while doing that the noise level shouldn't be uncomfortable. In order to see how well it keeps everything cool I ran our normal heatsink test and compared the results with the testing we did in the Antec 1200. Against 32 idle and 55 under load the M9 performed well, with a 32 idle and 58 under load. It didn't outperform the Twelve Hundred, but with only two 120mm fans against the 5 120mm fans and a 200mm fan it performed admirably. The M9 will do a fine job cooling even the most extreme setups.
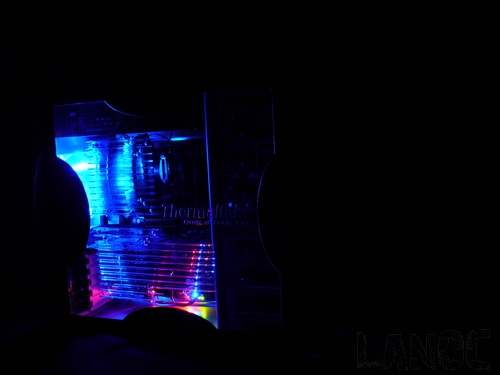
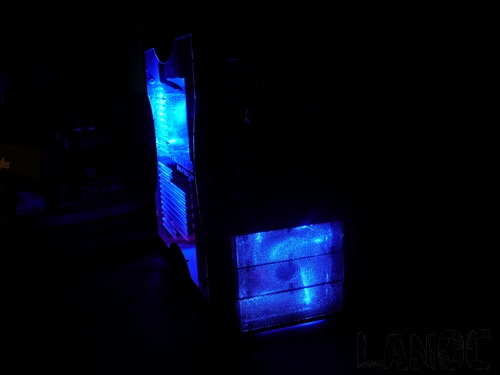
My other concern was the noise level. Considering the two included fans are 120mm it shouldn't be that bad. The first thing upon startup I noticed was a "surge" of noise. After a few seconds, the noise calmed down but it was not ever what I would consider super quite. I believe if you replaced the fans, you could make an improvement, but the open design of the case also means that every computer part is going to be a little louder than normal.
Overall
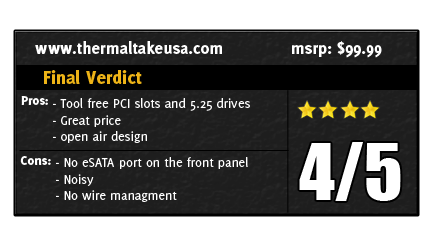
In the past this has always been a case I have recommended to people who are doing mid range budget gaming builds. The reason for my recommendation was the Thermaltake name, style, and price range. Now I have even more reason to recommend it, to less than $100 you get features that you don't always see in cases two or three times that price. Of course, there is room for improvement. They did not include an eSATA plug on the front panel, which is very disappointing. I would also like to see the whole case be black, it would really improve the looks of the case. During testing, the case was noisier than I would like, but it did perform well otherwise. Overall I would recommend this case too anyone who is looking to build a basic gaming computer, but if you are going all out I would look into cases in a higher price range.
