Photos and Features
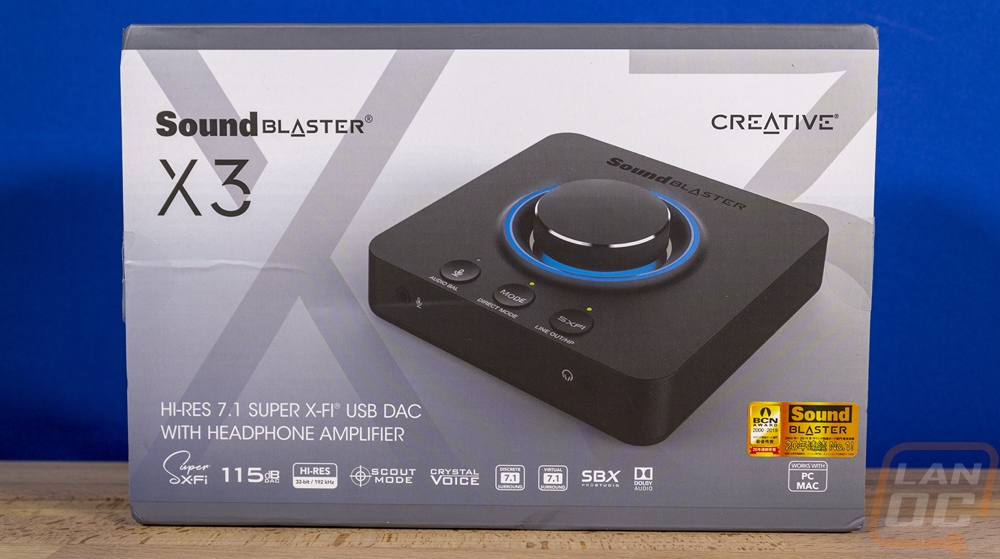
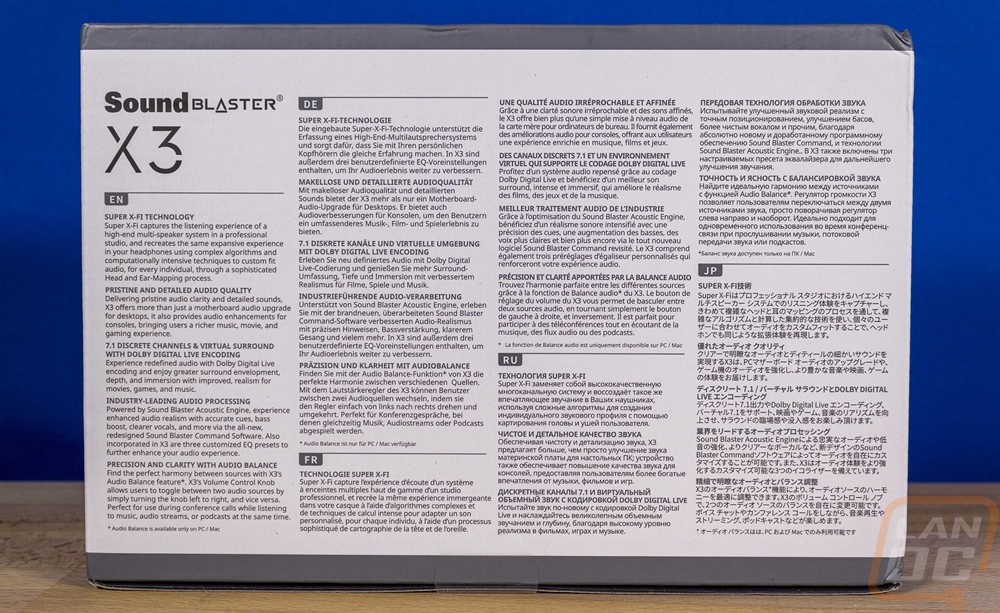
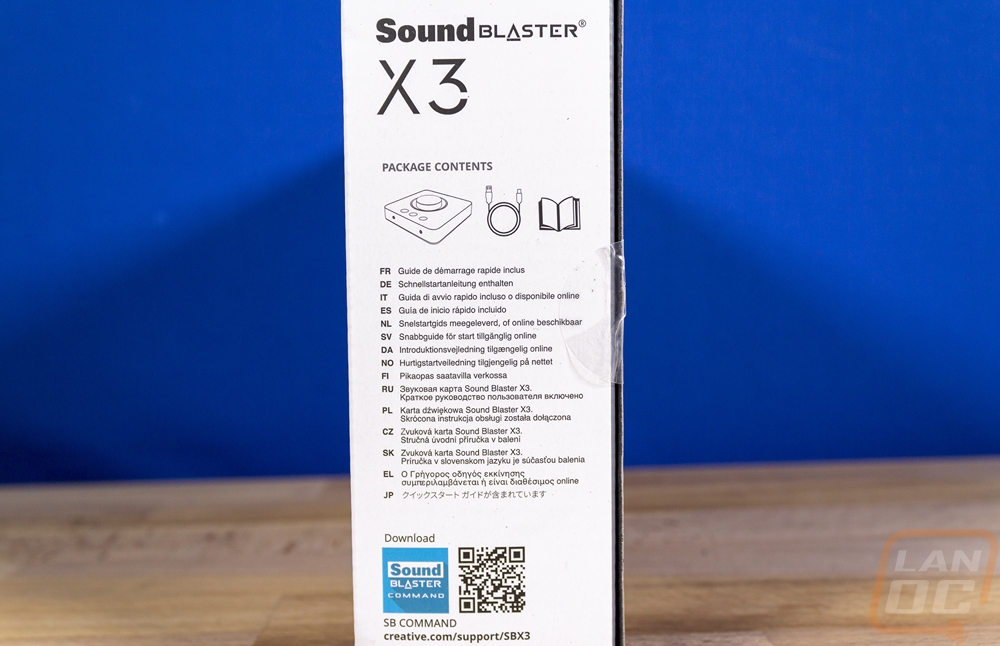
The box for the Sound Blaster X3 starts with a white background which has the X3 name in grey across the entirety of the background with a picture of the X3 in front of that. They have both the Creative and the Sound Blaster branding above the picture and the X3 name a second time in a large black font. They have a short description that helps tell you what the X3 is down near the bottom along with a whole row of different icons to represent key features. Most of those features are listed again on the back with a longer explanation of each of them. Then that is repeated across multiple languages which makes the back of the box one big wall of text. They also have a drawing on the side of the box that shows what comes in the box as well.
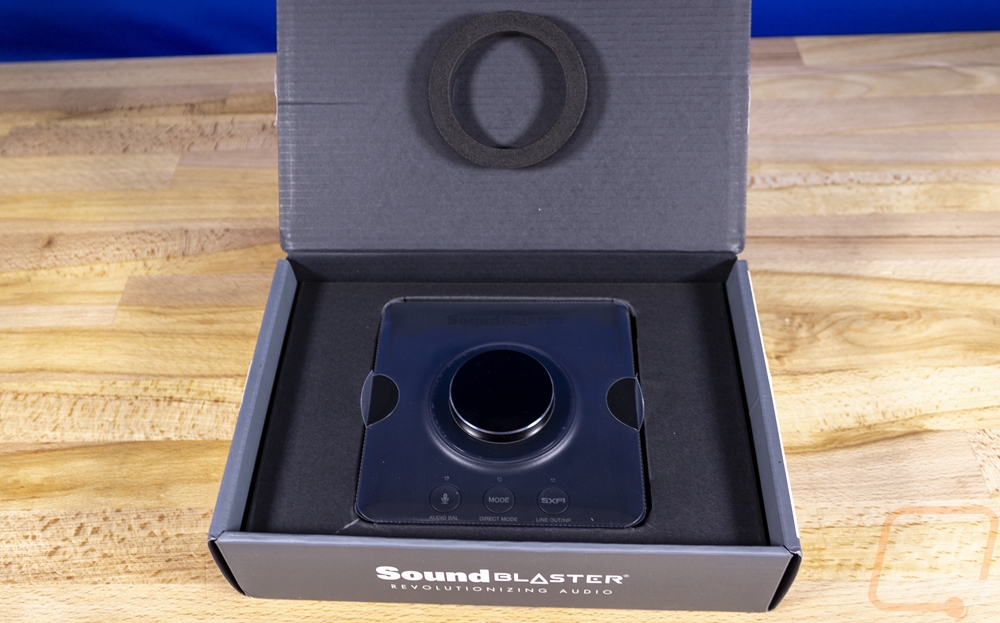
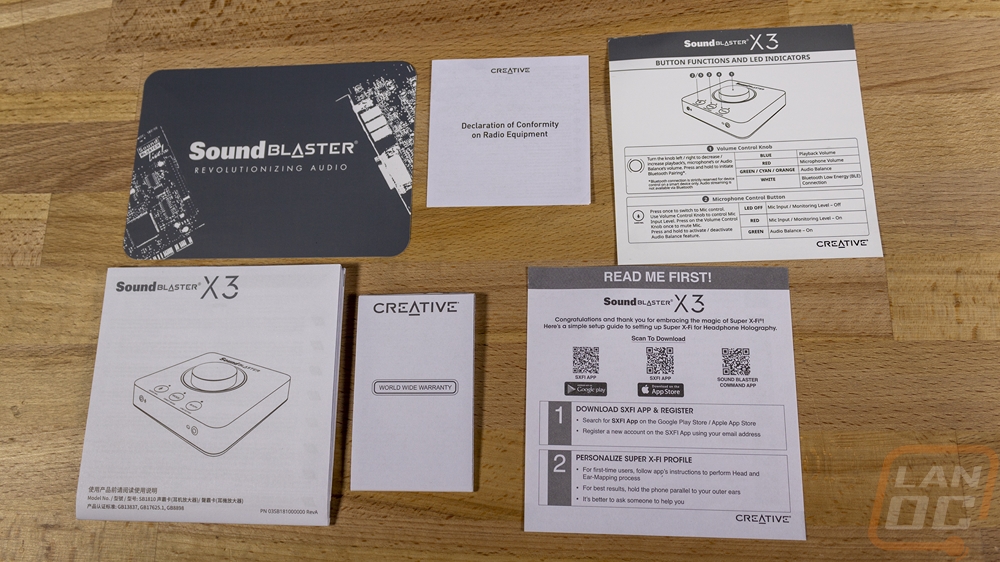
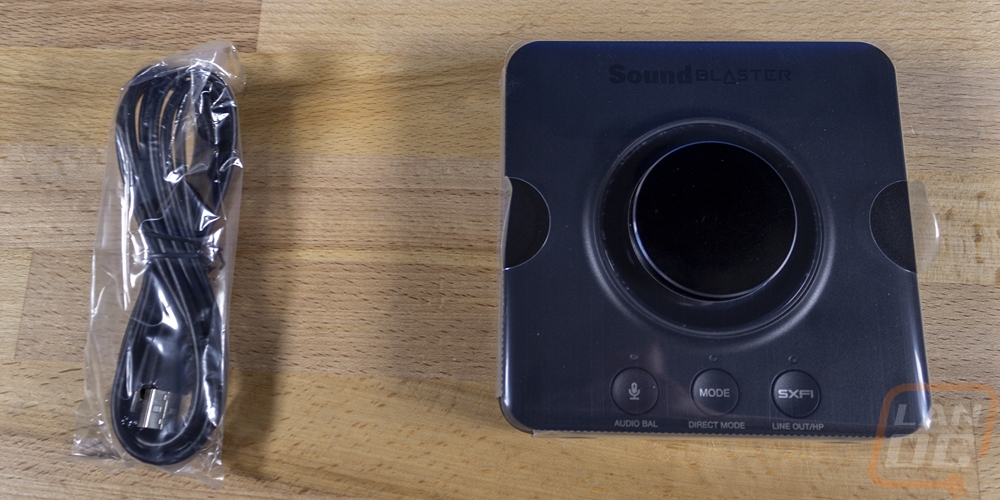
When you open the box up, Creative has the X3 sitting in a cardboard cutout to keep it locked in place. They also have a foam ring up on the top which goes around the top volume knob to lock everything in place and keep the X3 safe. The X3 comes wrapped up in plastic, as does the USB cable. Then up under it, you get a huge pile of documentation. There is a paper that tells you how to get setup with the SXFI app as well as has a link to the PC software as well. There is a small warranty booklet and more legal speak in the declaration of conformity on radio equipment paper. There is a card welcoming you. Then finally there is a user manual and a smaller card that shows what each button does that you can keep at your desk when you first use the X3. With so many products now not coming with any documentation at all, it did feel weird ended up with so much for a relatively small product like the X3.
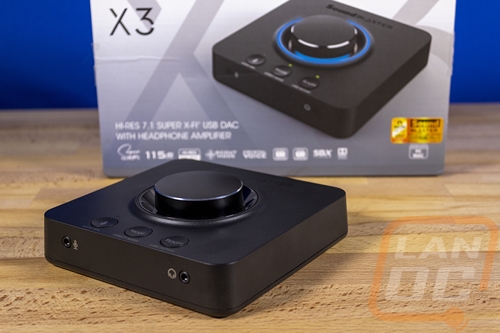
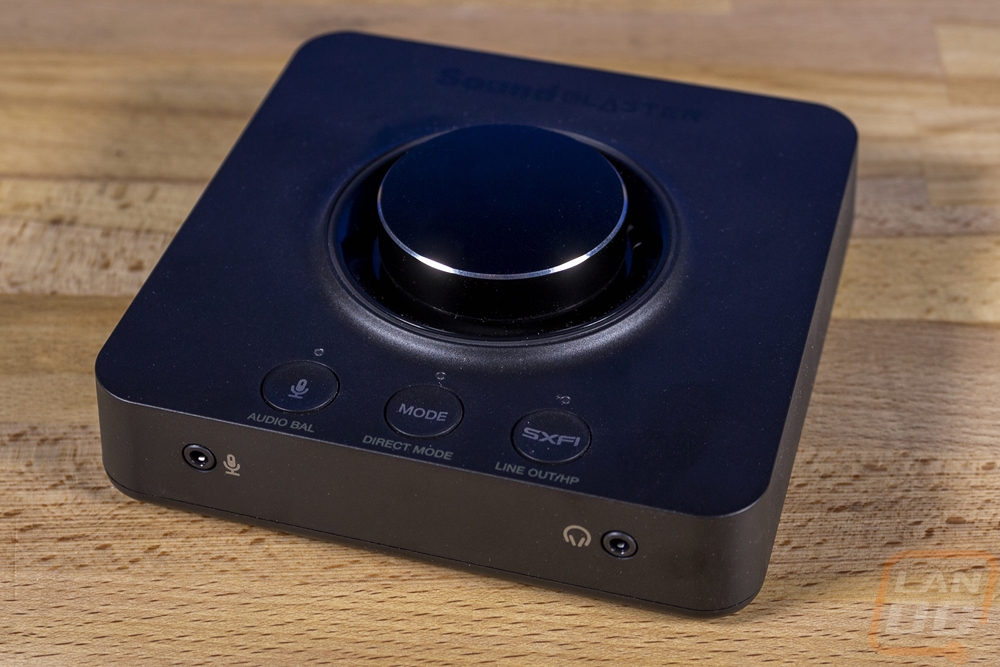
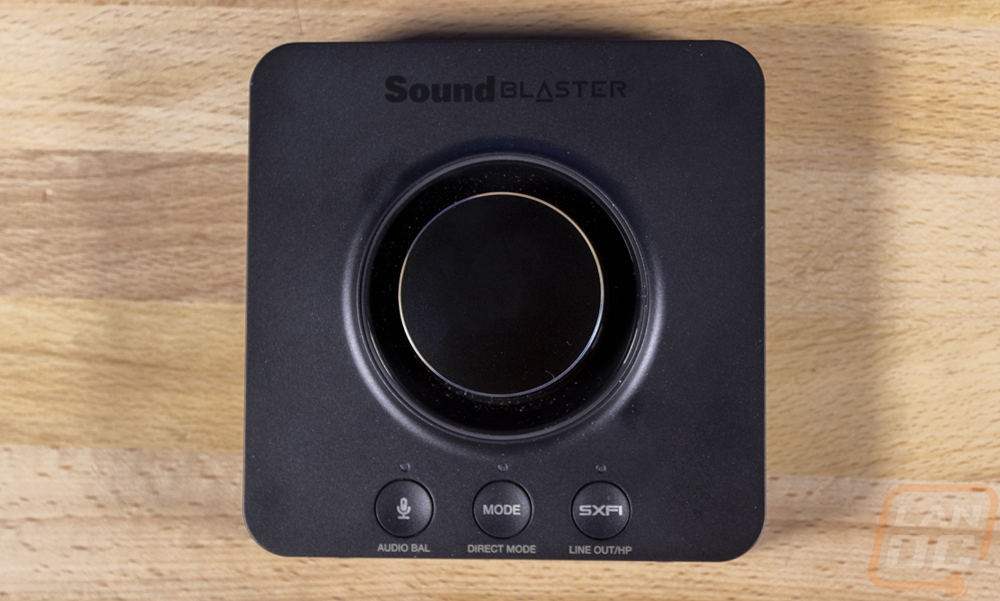
So here is the first look at the X3 and what you have is a 129 mm x 129 mm square with rounded corners and a huge aluminum volume knob up on top. This is different from a lot of the older school headphone amps and DACs but is still similar in design to things like the GSX 1000 from Sennheiser (now EPOS). It is a lot like an Apple TV or a Roku, only dedicated to audio-only and with the huge volume knob. The X3 isn’t exclusively a headphone AMP as it does support 7.1 output to speakers, just like it isn’t PC specific and can be hooked up to game consoles as well.

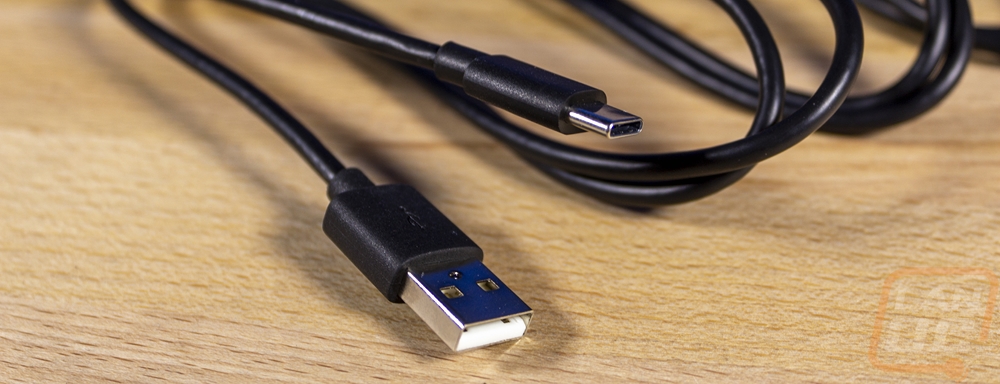
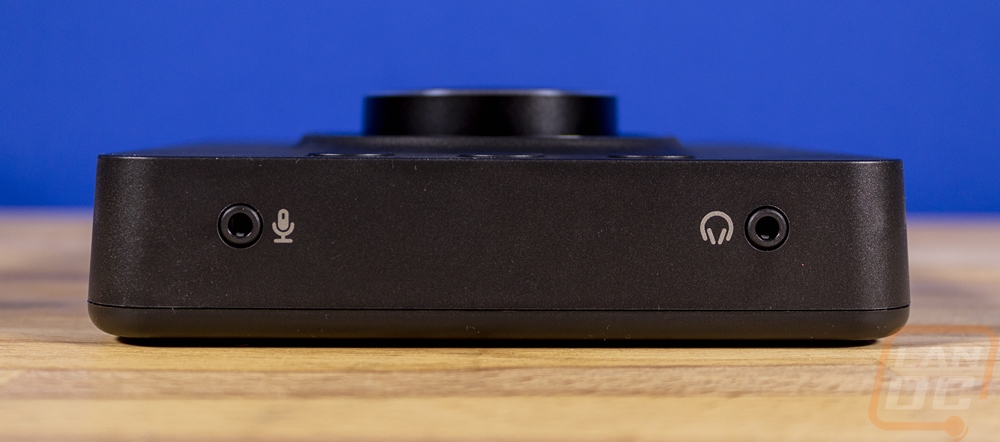
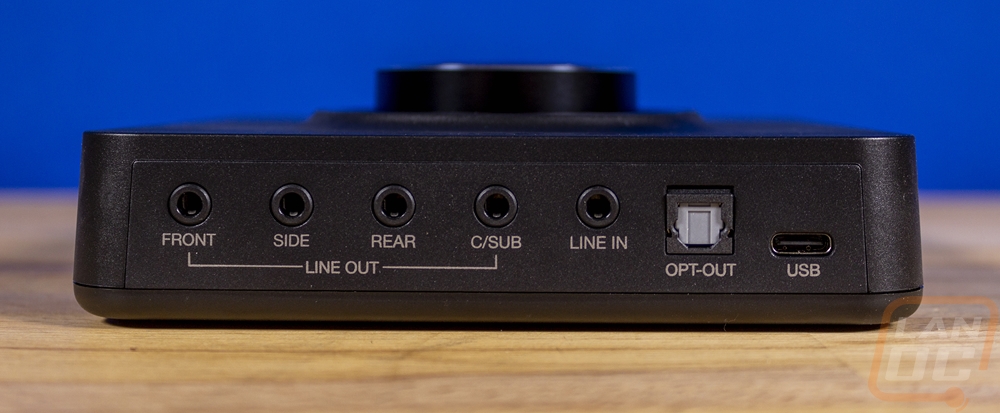
All of the connectivity options are packed into the back and the front edges of the X3. The front keeps things simple with just your headphone and microphone 3.5mm jacks. The headphone is the audio out and the microphone being the audio in. When you flip the X3 around, the rear has a LOT more going on. The four connections on the left are all 3.5mm jacks and are for a speaker out. This is where you would hook up a 7.1 PC speaker system and they have designated these all with the Line Out legend under them. The line in is just that, another input just like the microphone port. Here you can hook up your phone or another audio source to play through the X3 to your speakers or headphones. Then next to that is an optical out or a TOSLINK connection. This optical connection is what you would hook a receiver up to if you wanted to tie the X3 into your home theater or a soundbar. Then down at the end is a Type-C USB connection, for hooking up to your PC or other game consoles. I’m really happy to see that they went with Type-C over micro USB as Type-C is easier to plug in to and a stronger connection.
Up on top, it is very hard to ignore the large aluminum volume knob in the center of the X3. This is of course to control your volume. The entire housing is shaped around with, with it rising up a half-inch away from the knob then sinking down in around it. That ring around the knob also has an RGB LED ring around it that lets you know when it is powered up by powering up blue. The knob itself has a small amount of resistance and has bumps in the resistance but isn’t a potentiometer like some volume knobs which have an end and beginning, this can be spun around and around. It also has a button under it when you push down on it for quick muting. Below that are three other buttons. The left is an audio balance button that you can use to switch between input sources aka flip between your microphone or the line in on the back. This also turns the ring around the volume control red (and a red light above the button) and lets you control that input volume including a full mute when you push the button in. The second button is the mode button, this flips through three different equalizer modes that you set in the software as well as a flat EQ profile as well. There is an LED above this button that goes from not on for flat, then white, pink, and blue for other modes so you know which you are in without getting into the software. Then the last button is the SXFI button. This is their Super X-Fi audio mode which I will talk more about in the performance section, pressing this button turns it on and off and the LED lets you know if it is on with a green light and off with a yellow button.

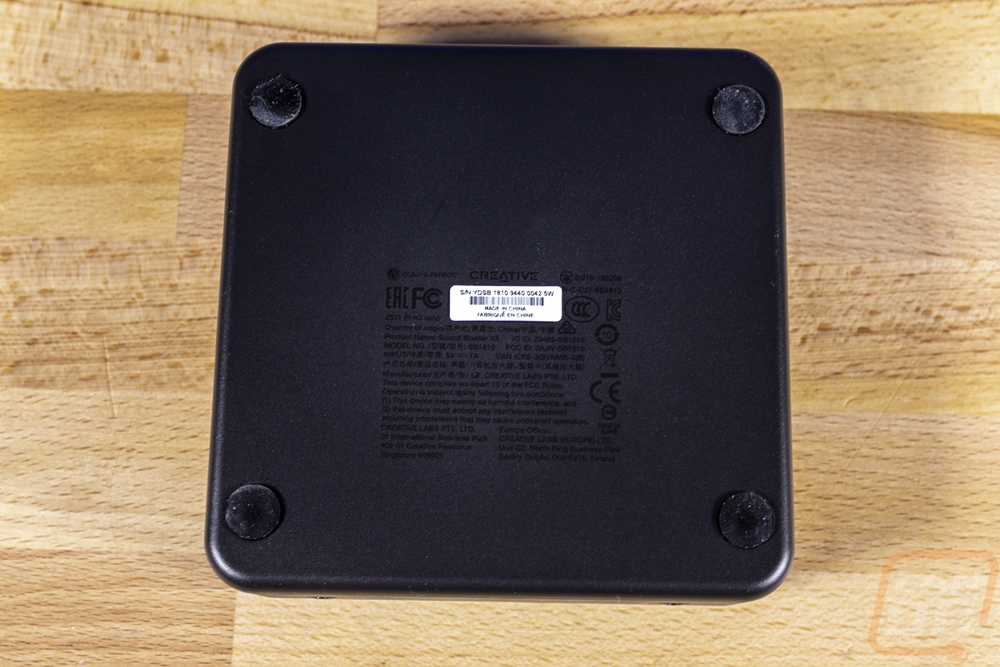
The bottom of the X3 is very simple. There are four rubber feet in the corners. Then in the center, they have all of the certification logos and required legal info etched into the button of the black plastic housing. Then the serial number along with a bar code for the serial is just a sticker that is stuck in the center in a desiccated spot.
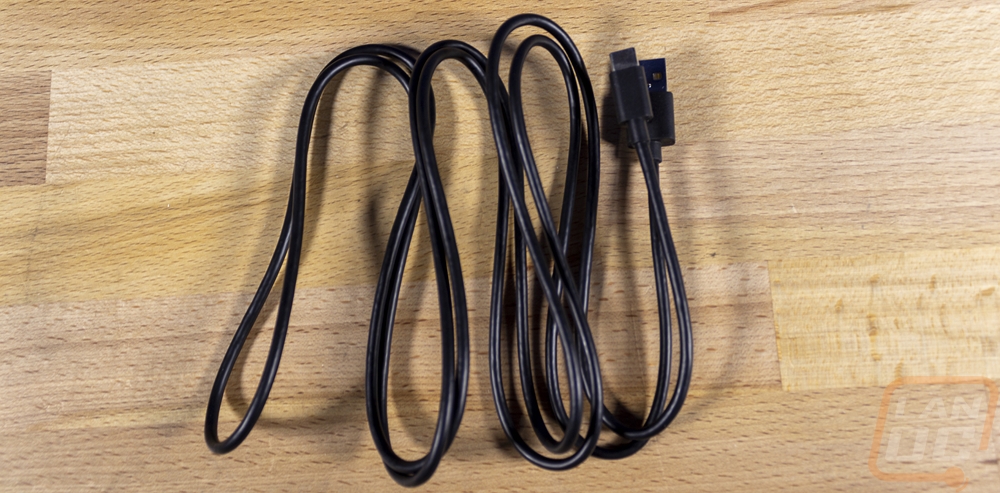
The USB cable that is included with the X3 is just a standard USB cable with a Type-A connection on one end and a Type-C on the other end. This is good because it can be easily replaced if damaged. The cord itself is 6+ feet long and should be able to reach your PC easily with most desk setups.