Creative iRoarGo
So Creative is someone we work with a lot so it wasn’t a surprise at all that they were interested in sending over one of their speakers. They also came highly recommended on my personal friend's list, but then again the Creative reps are also on there, maybe they were slipping tips to people for the recommendations ?. I’m joking obviously, but I was excited to see what they would send. I took a look at their Roar 2 three years ago, and the iRoarGo is an extension of that series. It’s a shame I didn’t keep that one around in the first place, but I left it for my parents to use around their pool and they are still using it.
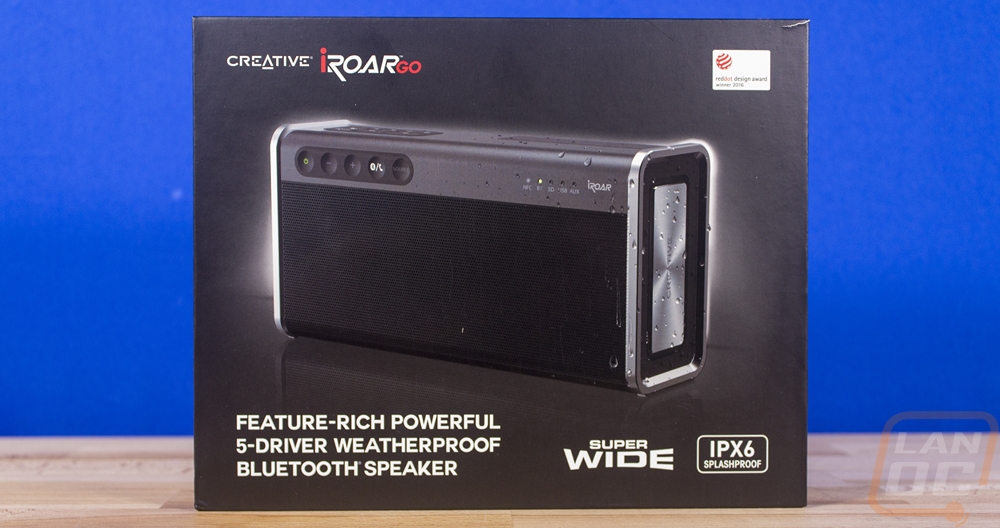
Anyhow, the iRoarGo comes in a black box and the picture on the front is the main focus. I was actually surprised the branding and model name weren’t a little larger. But I like seeing the product on the front. The rest of the front just mentioned the IPX6 splashproof rating, the 5 drivers, and that this speaker is super wide. On the back Creative lists off all of the features and gives short descriptions of each feature. Beyond that, they do have a specification list in a tiny font as well as a picture that shows you everything you can expect inside of the box.

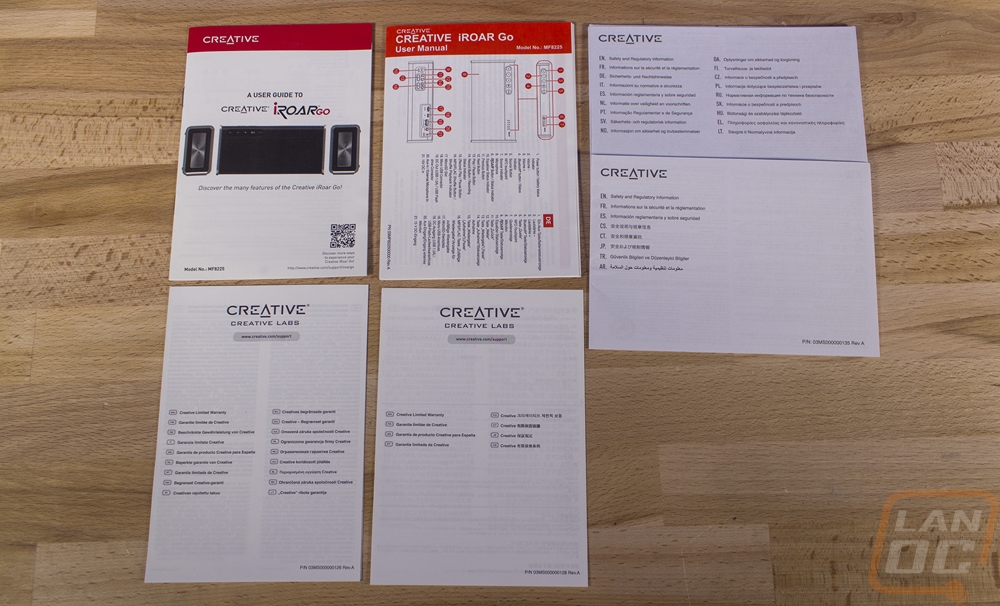
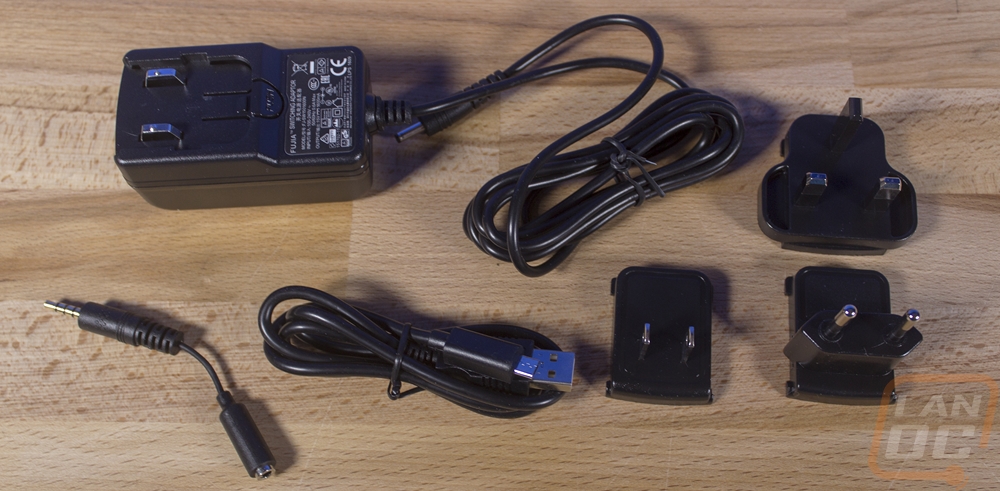
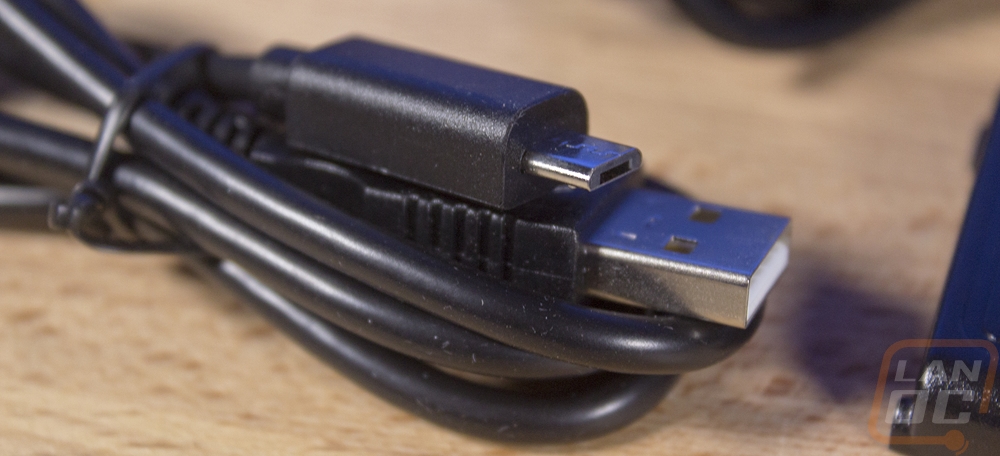
In the box with the iRoarGo you have a stack of papers. They have the normal warranty stuff in a few different languages, but the papers with the red up top aren’t to bad. You have a user manual and a user guide. The main thing here is just the breakdown of what each button does, most people will figure everything else out. Also in the box, you have the power cable. The iRoarGo uses a power wart with a DC plug, not a micro-USB plug so if you need to charge it up you will have to have this charger with you not just take advantage of USB chargers being all over. The ac adapter comes with swappable plugs for the US and most of Europe. There is also a USB cable included as you can directly hook to your PC or Mac desktop or laptop and use this speaker as your soundcard and speaker. The small headphone jack looking adapter is actually so you can hook up a microphone to the iRoarGo for recording audio or to use this setup as a portable PA.
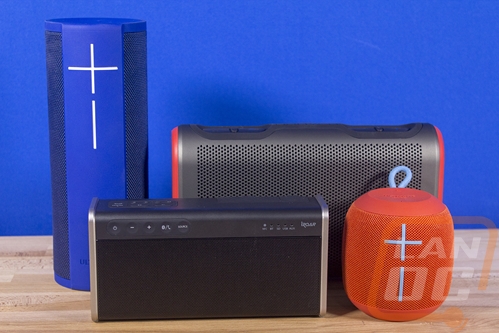
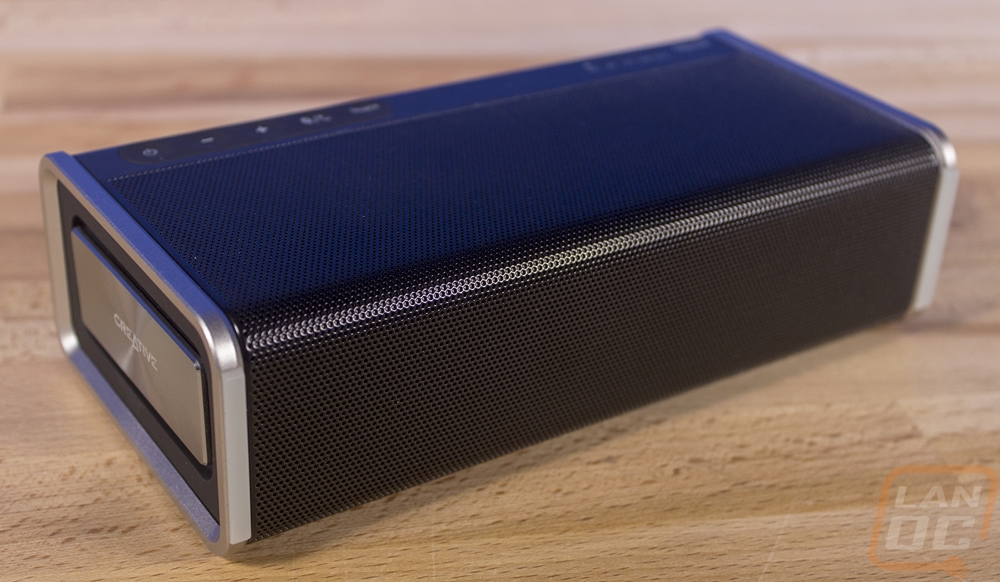
So the overall shape and size of the iRoarGo is in line with the last Roar that I took a look at. It is 54 x 192 x 97 mm or 2.12 x 7.56 x 3.8 in inches. So it is smaller than the Megablast, actually it is the second smallest speaker tested today but it might be the most portable even though it doesn’t look it. It was basically the perfect size to fit in my pocket, of course, that is a men’s pocket for a large guy but even the Wonderboom, while small, wouldn’t fit this comfortably. It is just over 2 inches thick, but the overall width makes this a little larger. That same width allows for a large speaker grill on the front, behind it is a 2.5-inch subwoofer and two 1.5 inch tweeters (38mm and 64mm). Then there are two passive radiators on the sides. This design, unlike the two from ultimate ears, is designed to push most of its music in one direction, depending on your usage this can allow you to contain it to the area you are listening a little better.
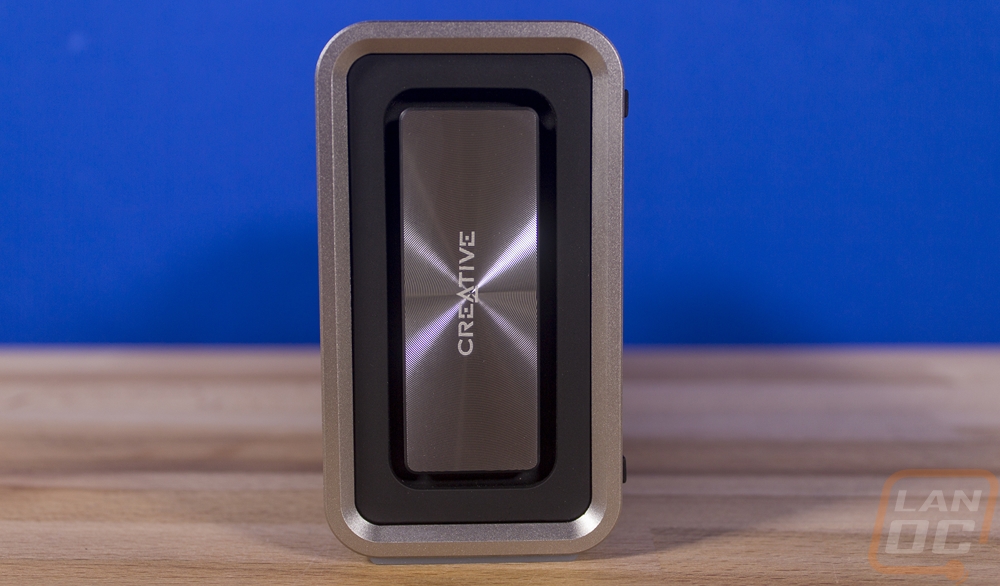
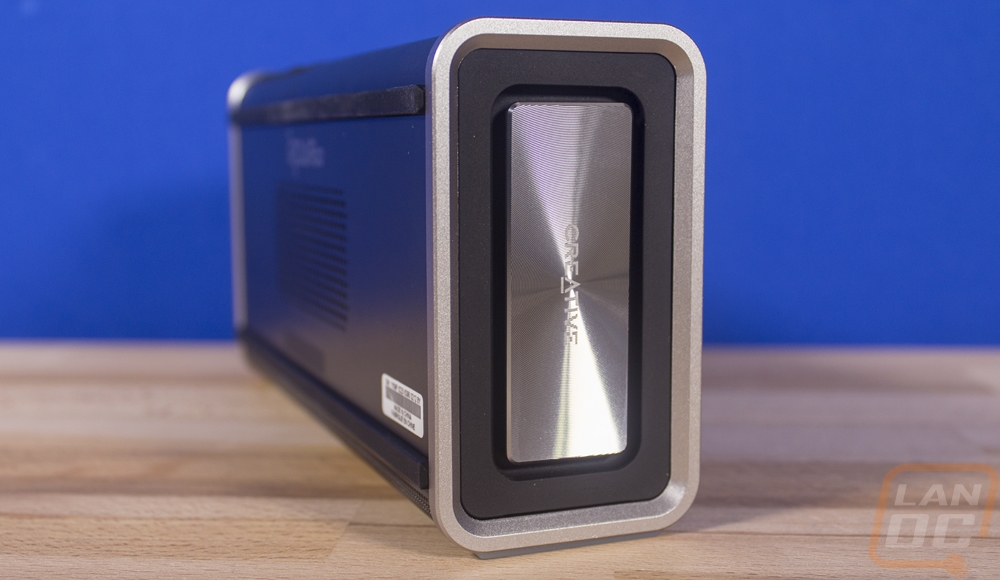
Here are the two passive radiators. They also sometimes call these drone cones because they pull some of the sound that the main drivers push into the enclosure out of the enclosure adding a little more efficiency overall. They are on both ends of the iRoarGo and because they aren’t hidden some people might think these are the “Subs” because they do move, but they aren’t.
The metal grill does wrap around to the bottom, well one of the two optional bottoms. This is for when you want the speakers to face forward not up. Creative also put thick silicone feet on both of the outside edges to keep everything from moving around or damaging the speaker.
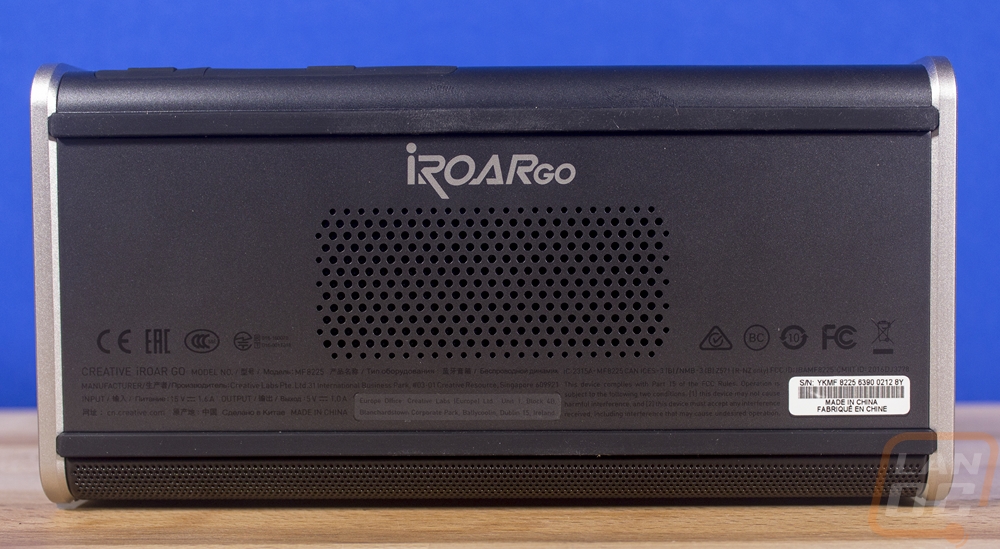
So the back is where you will find the actual product name hiding. Also back here are all of the normally required certification logos and a sticker with your serial number on it. There are two LONG feet, one along the top and the other the bottom to keep the iRoarGo lifted up off the surface and to keep it from moving around and protected. The big thing back here though is the vent in the middle. It actually has two functions. This is the port for the speaker enclosure, but they use that same air being pushed to cool the amp inside. I’m told that running the iRoarGo with this facing down will also give you more bass, I will have to try that out in testing!
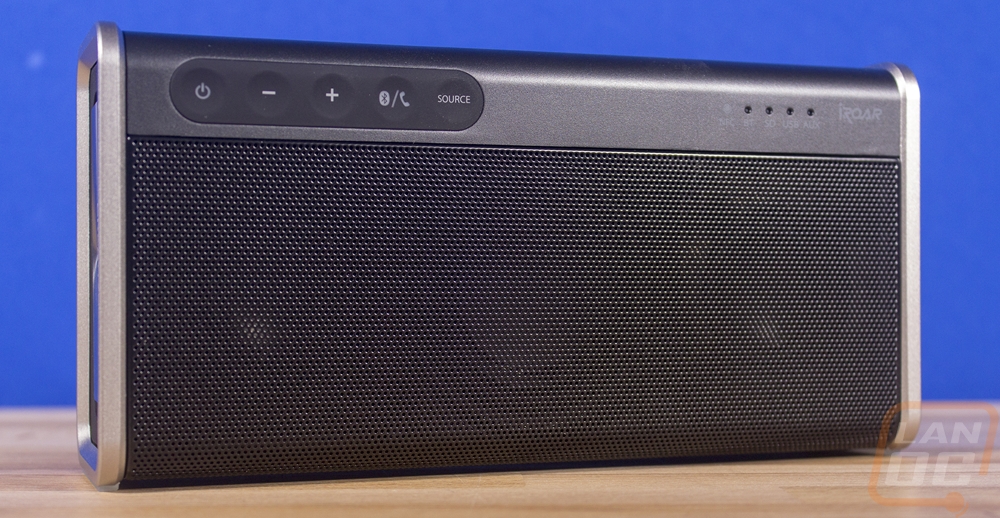
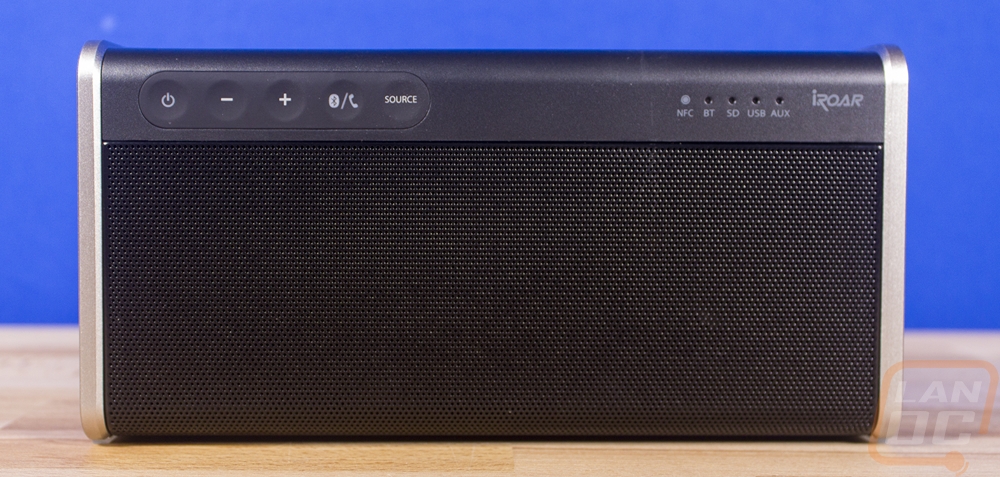
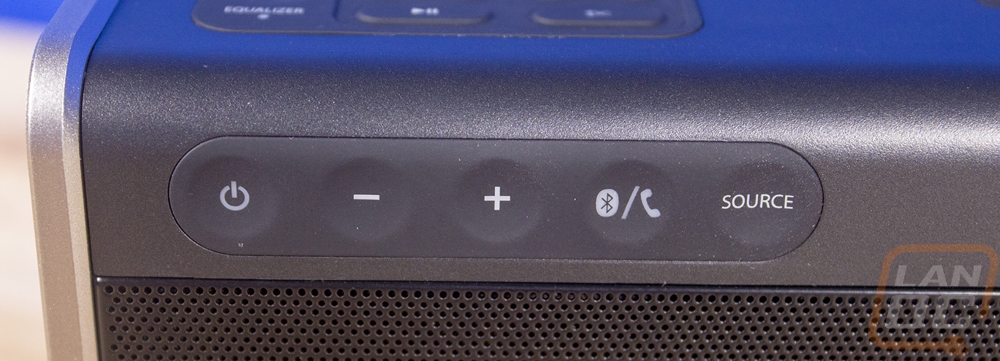
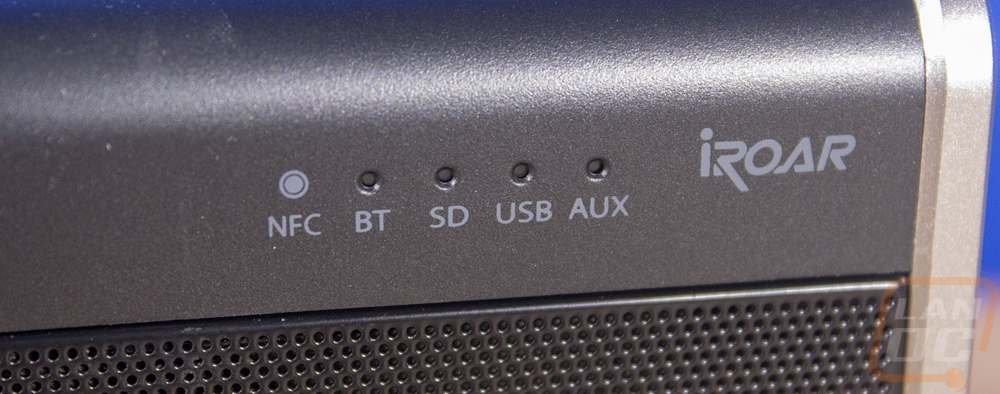
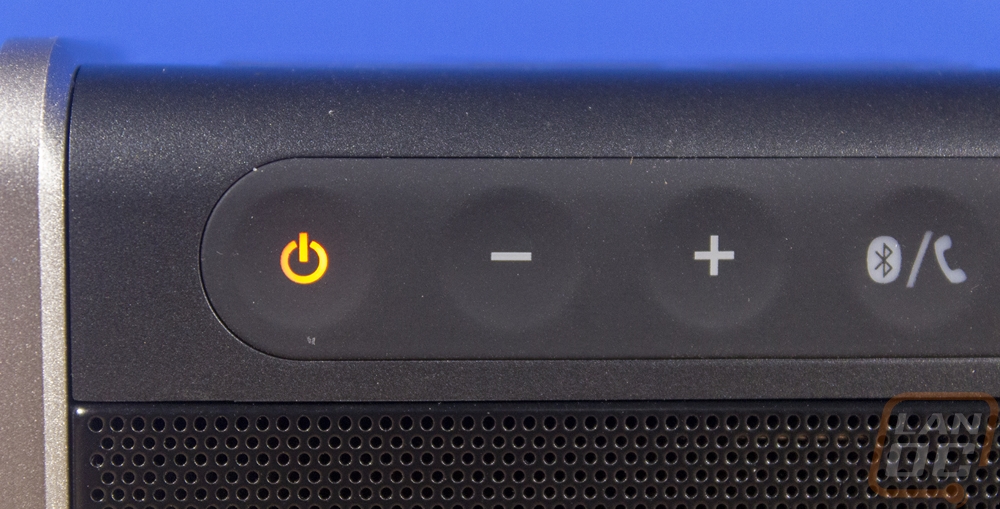
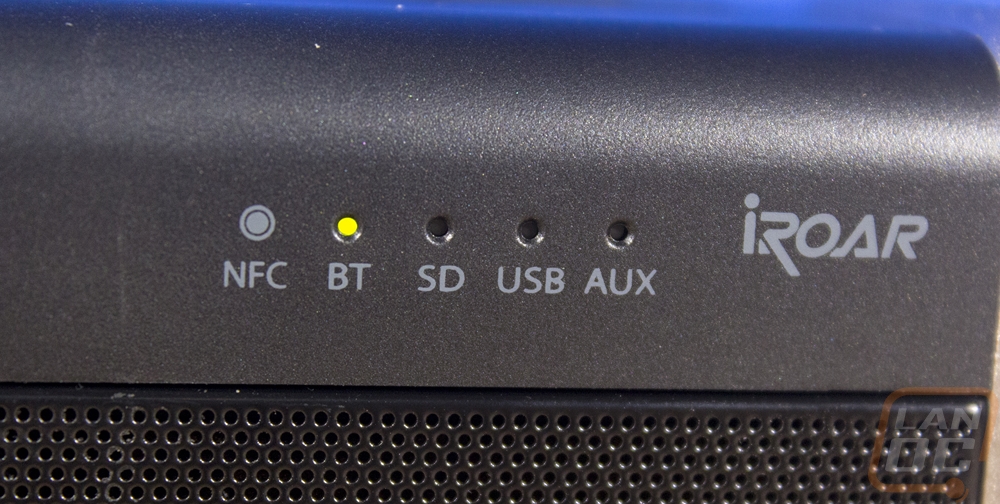
So there are two locations for controls. The controls you are most likely to use the most are on the front. All of these are your normal controls, most of the portable speakers I’m testing have these. So you have a power button and volume up and down. Then the Bluetooth/speakerphone button. All of those should explain themselves. The source button is really the only unique button here and that is because the iRoarGo has a lot of functionality that the other speakers don’t have. Beyond being a Bluetooth portable speaker, it can also be hooked up directly to your PC as I already mentioned, but I didn’t mention this also works on the PS4. You can hook up an audio jack input or a microphone to use this as a portable PA system or hook up older devices that don’t have Bluetooth. Then there is a built-in storage slot that lets you use a built-in MP3 player to just bring and play your own music without using any internet or other devices. To switch between all of those you would use the source button. Over on the other side, there are a few status LEDs to help let you know what is hooked and what isn’t. The power button and Bluetooth buttons also have LEDs in them as well. The other big feature up here is that tiny NFC logo, well with NFC on your phone you can touch it against this area and it will automatically sync the Bluetooth and get you rolling.
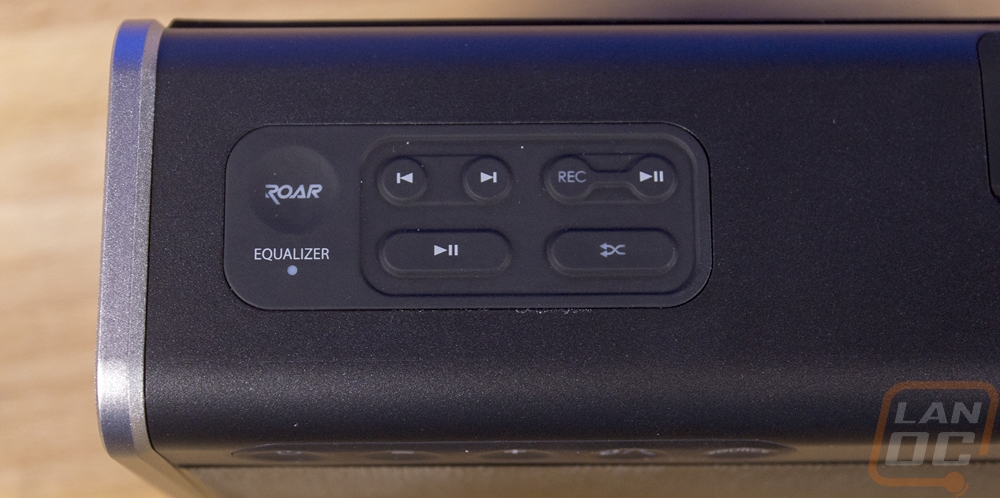
The other controls are up on the top. Here you have the play, pause, and skip forward and back that you will need for the built-in MP3 player. There is also a big shuffle button for the same reason. The record button and the play/pause button next to it though are for the built-in voice recorder. You can use the built-in microphone or hook up a microphone just like when using the PA functionality to record audio and play it back later. Then the Roar button lets you turn on the Roar mode that boosts overall loudness using the built-in signal processor, hitting it a second time turns on the equalizer that you can program using a phone app.
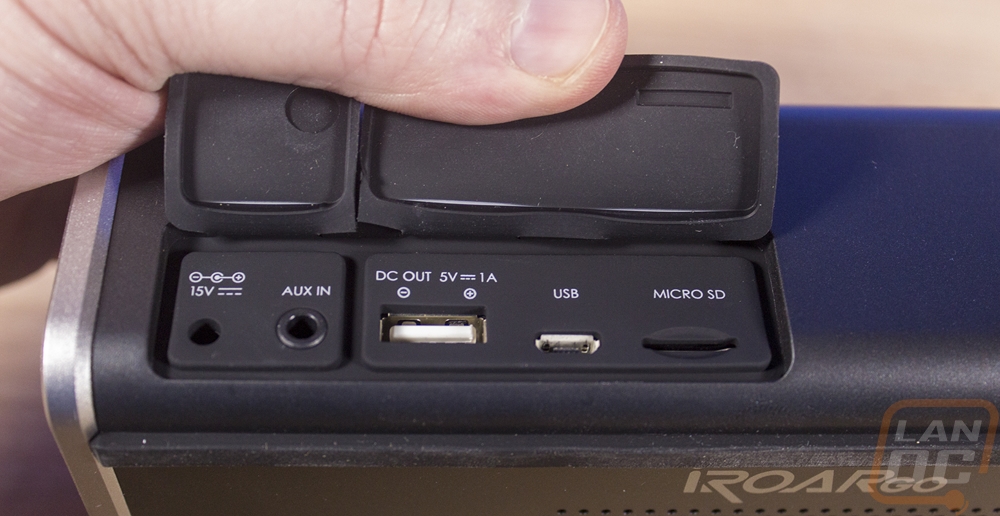
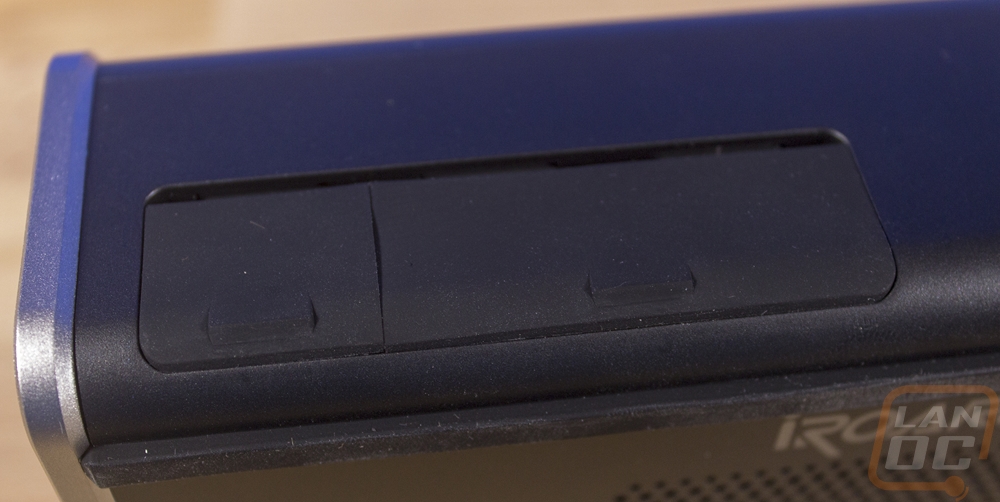
Also on the top is this rubber flap, it’s a fancy flap, isn’t it? Just kidding around, but this does play an important role. It covers all of the connections that the iRoarGo needs. This includes the power plug on the far left, the auxiliary in for audio or a microphone (using the adapter), a standard USB plug, the micro-0USB plug, and a micro SD card slot. The cover helps keep the IPX6 rating for water splashes. I wanted to talk a little about the power plug because while this is a standard design it isn’t standard in mobile devices. So you will need to bring the charger with you if you think you might need to charge it. I would much prefer a micro-USB or Type-C connection that you could charger the iRoarGo up with your mobile phone cord in your car for example. Now the micro-USB port I talked about how it hooks up to your PS4 or Mac/PC to be a speaker. But the other USB port, well you can use this for two things. Using your phones USB charging cable you can bypass Bluetooth and output audio this way. It also lets you use the 5200mAh battery built inside to charge your devices.