Photos and Features
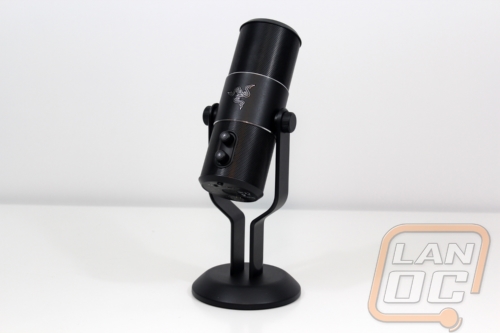
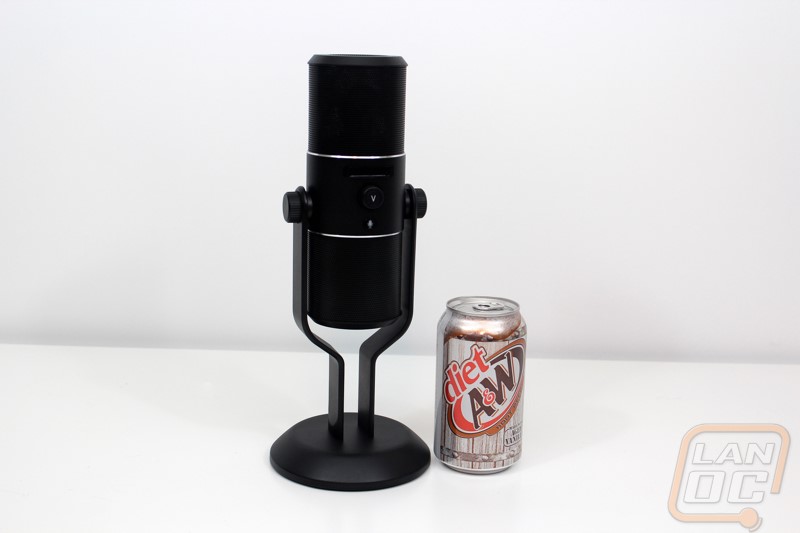
Before getting into our testing of the Seiren Pro I did want to look over the microphone and see just what it is all about. This way we know what we are working. While I don’t have one to compare with, I really wanted to compare the Seiren Pro with the Blue Yeti Pro as the Yeti line is the benchmark for a good USB microphone and the Yeti has both a normal model and the Pro model just like Razer’s Seiren lineup. Physically they share a lot of similarities but I will go over that later. At the same time they have a completely different casing and stand design. The Seiren Pro is a tube design with mesh on both the top and bottom. The bottom mesh is just for looks but the top mesh is fully functional and showing the three 14mm condenser capsules that allow the Seiren Pro to be a completely unidirectional microphone. The microphone is an impressive 11.8 inches tall and has a circular 4.8 inch footprint. For perspective the Blue Yeti Pro that is direction competition for this microphone has a similar footprint and an 11.61 height. I think the difference can be found in the round microphone mesh compared to the Seiren’s flat design. The Seiren Pro looks great though, it has a little of the standard Razer Styling without going overboard with lighting or unneeded features.
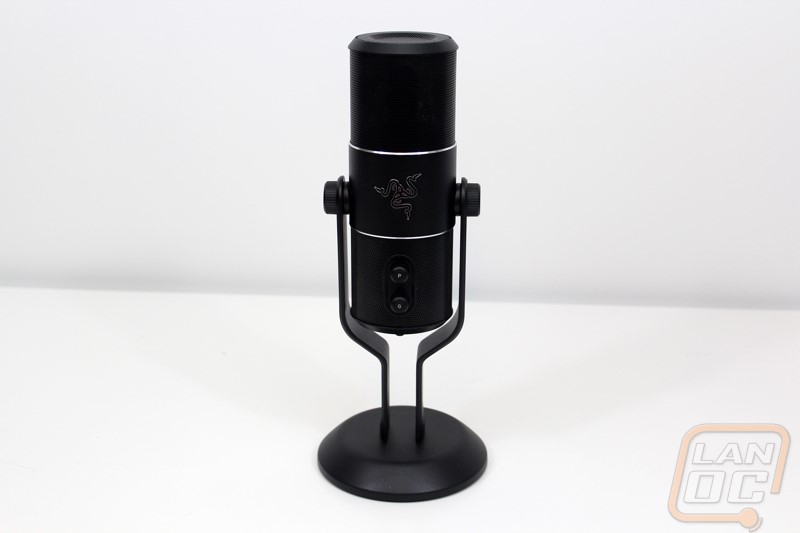

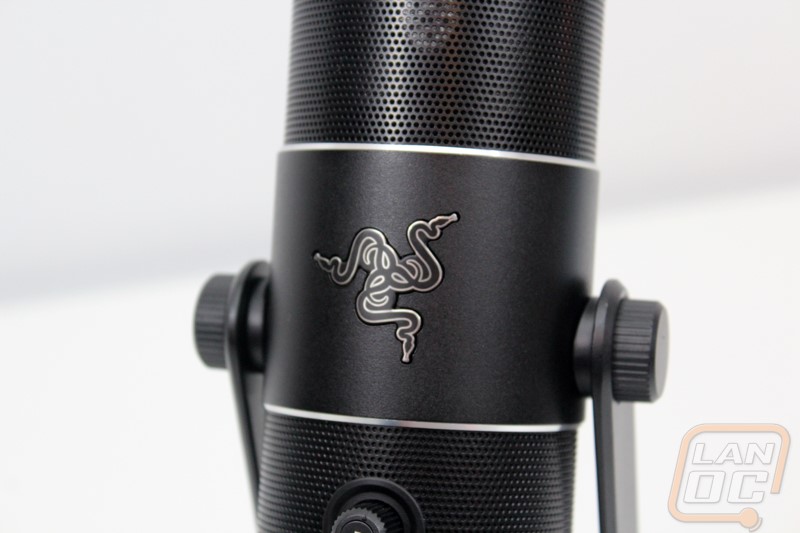
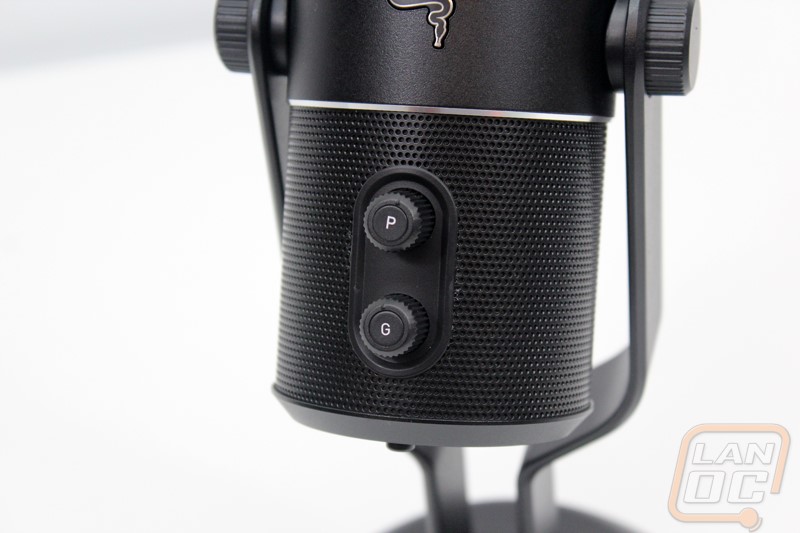
The side of the Seiren Pro in between the two mesh sections they put a metal ring. The ring has a chrome and black Razer tri-headed snake logo. The none pro model had a logo in the same location but it is actually green backlit, I get the impression they are taking the Pro serious and not adding any of the “gamer” features that Razer is known for. Up under the logo in the middle of the fake mush on the bottom are two knobs. They have P and G printed on them. The bottom G knob controls the microphones gain and the P controls the microphones input pattern.
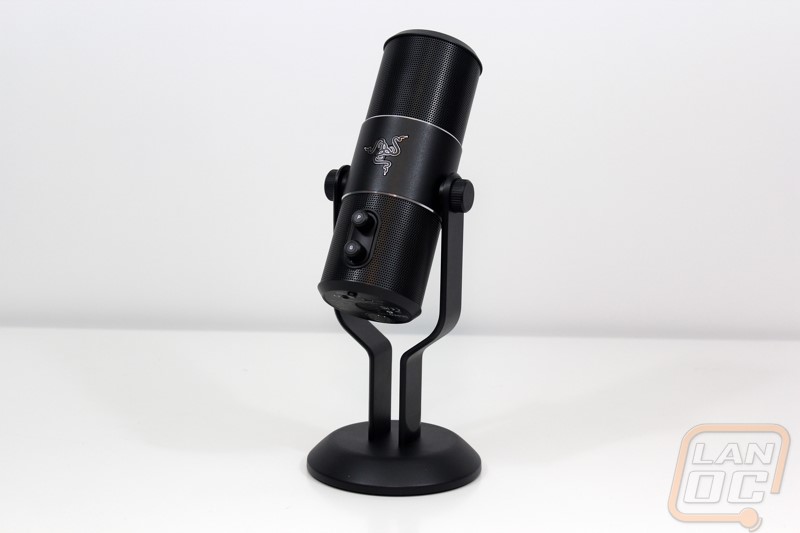
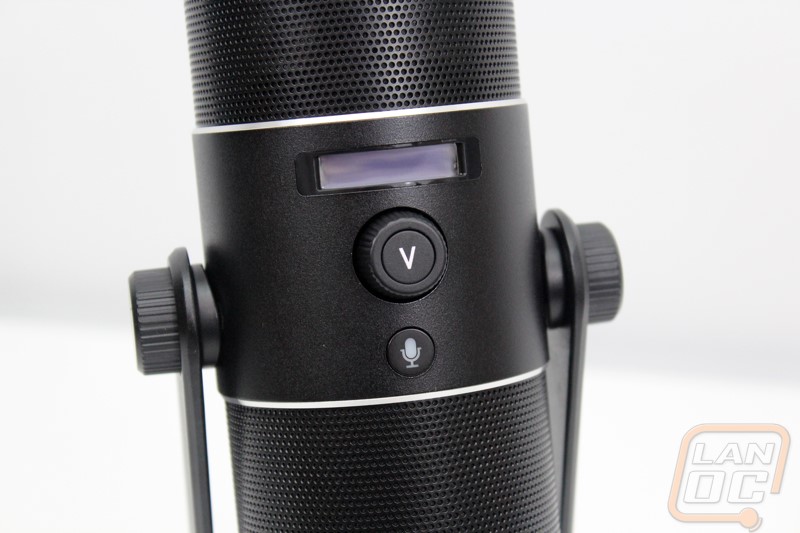
Depending on how you plan on using the microphone this could be the front or the back but on this side we have a small LED screen. The screen shows the volume when using the volume knob on this side. This is just the volume for the headphone port. You can also access the microphone mute button, when pressed it lights up red to let you know. The LED screen will also show on the left of the volume what microphone pickup pattern you are currently running.
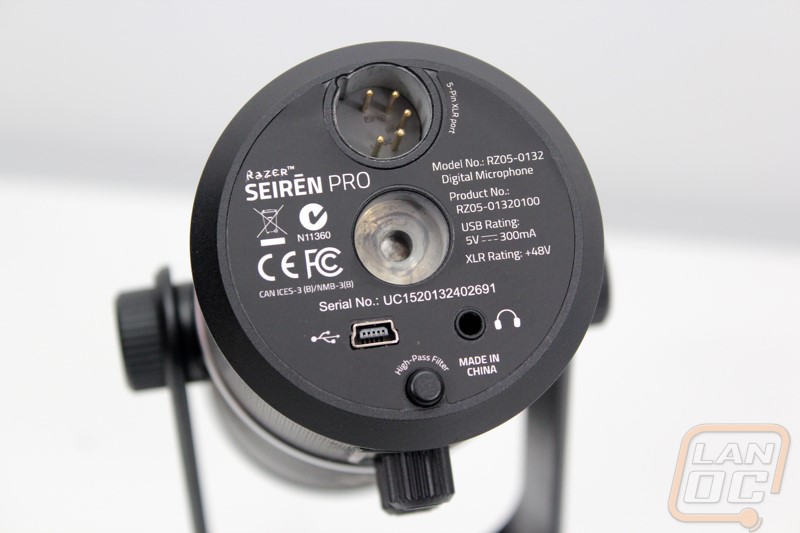
The bottom of the microphone is where the most is going on. Here we have all of the required logos as well as information on the model number and connection amp and voltage ratings. In the middle is a standard threaded microphone mount that you can use to mount the Seiren Pro on Razers shock mount or any standard microphone mount. If you look inside of the mount there is a second smaller threaded part where you can mount their pop filter. Also on the bottom is the micro USB port as well as the 3.5 headphone jack. The headphone jack is just for listening to yourself while recording, it will not play any audio from your PC. Then up along the edge is the 5 pin XLR plug. Last but not least is the small high pass filter button that they added for the Pro.
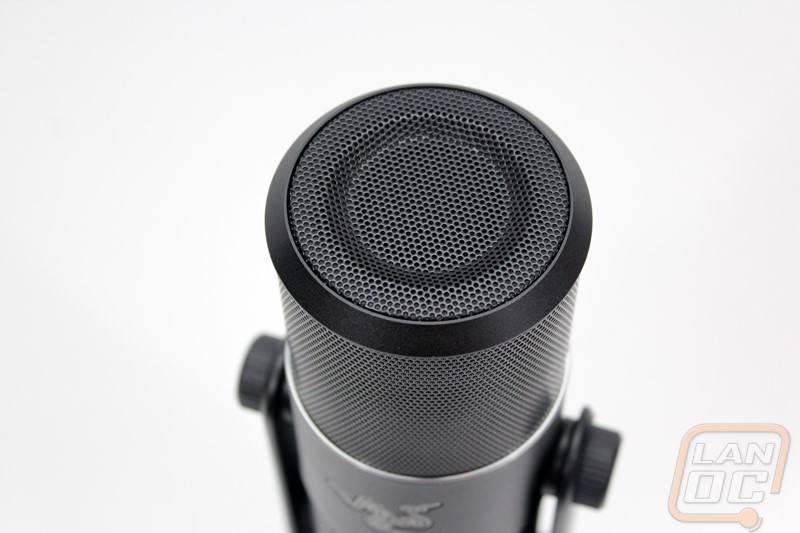
While most of the audio is recorded from the round side of the microphone Razer did include a full mesh top to make sure they don’t accidently block any sound. The Blue Yeti is different here, it uses a rounded microphone mesh where this is flat topped. The flat top does a slightly better job of showing that the microphone pics up from the sides though.
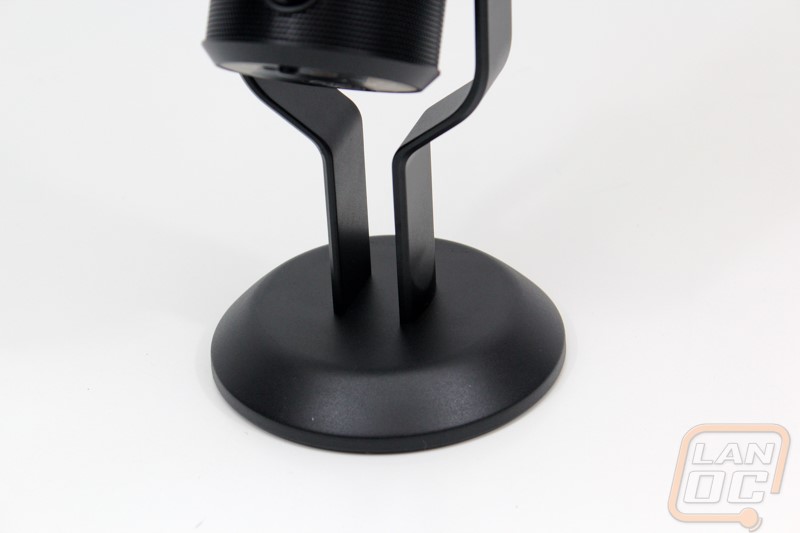
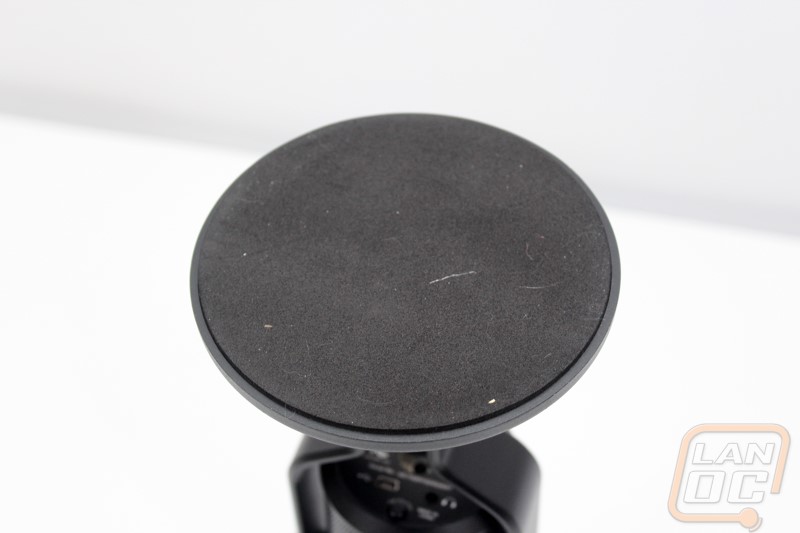
The base for the Seiren Pro is the same as on the original Seiren and a little different than the Blue Yeti. It mounts on the sides of the microphone like the Yeti but the Yeti has a more space efficient stand that mounts the microphone down lower. The two posts start about an inch together and then come out wider near the microphone. That leaves very little space for any cables coming out of the bottom of the microphone, especially if you are running an XLR cable. The bottom portion is thick and seems to be solid steel giving it more than enough weight to keep it in place. In addition to that the base has a full rubber coating on it.
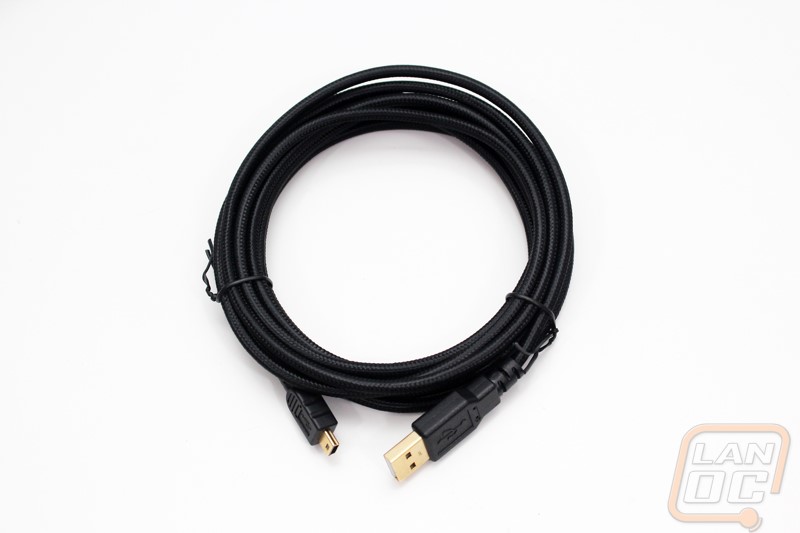
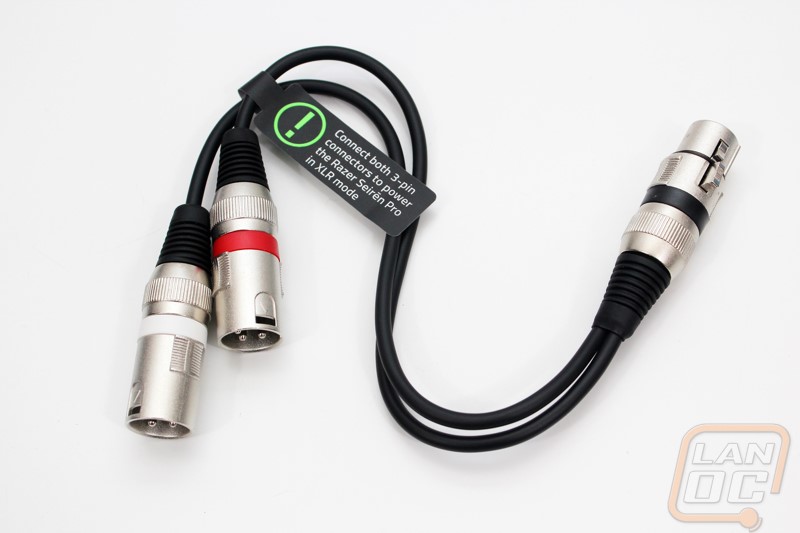
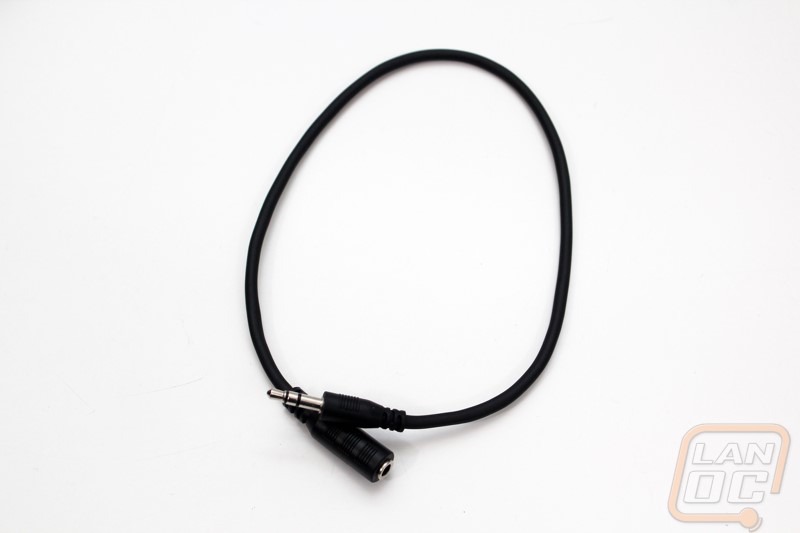
Being the pro model it does come with a few additional accessories compared to the normal model. You of course get an extremely thick USB cable with a tight plastic sleeving. You also get a headphone extension cable to make plugging into the headphone port on the bottom of the microphone easier. Then of course we have a dual 3 pin to 5 pin XLR adapter cable. For those who need to connect via 3pin you have to run this adapter and hook them both up. The microphone needs both to get enough power unless run over the 5pin.