Installation
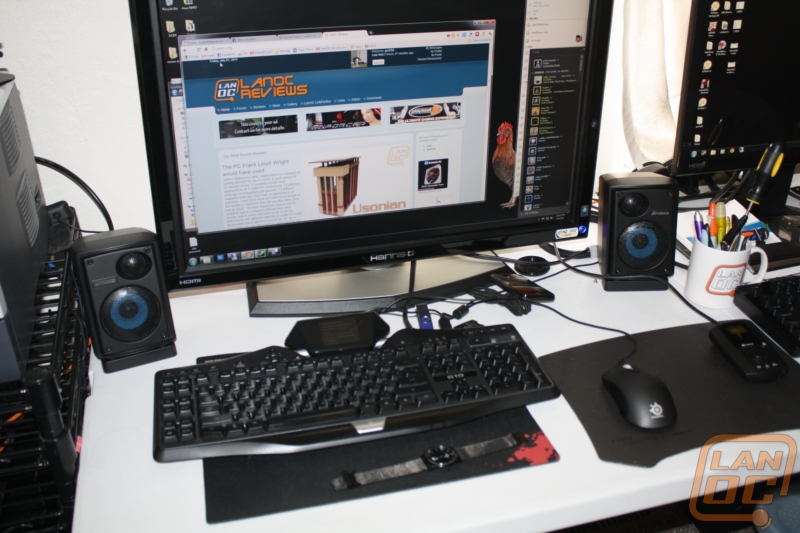
After digging the SP-2500 out of its packaging I set out on the task of getting everything setup and ready to go. I started by placing each of the speakers and the sub in the locations that I wanted them. In my case I wanted each speaker on either side of my monitor and the sub about 3 feet to my left, keeping it away from being kicked. Setting up the speakers was easy, I also used the included stands to angle each speaker up.
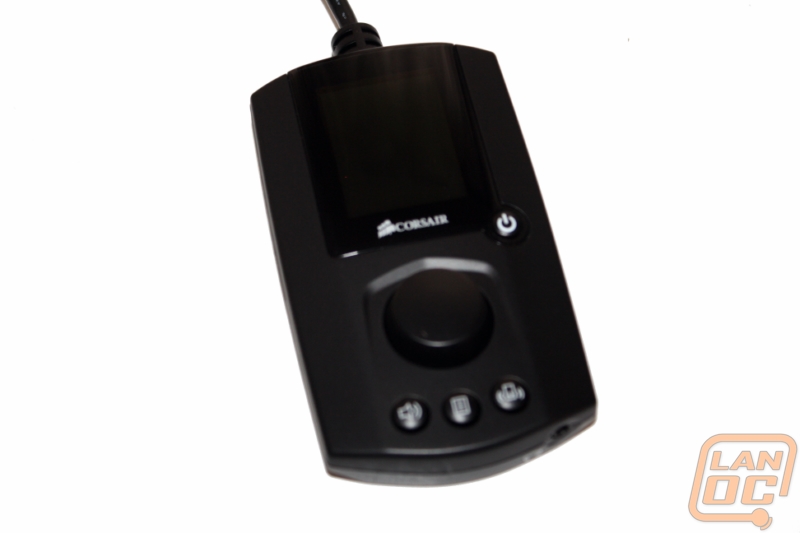
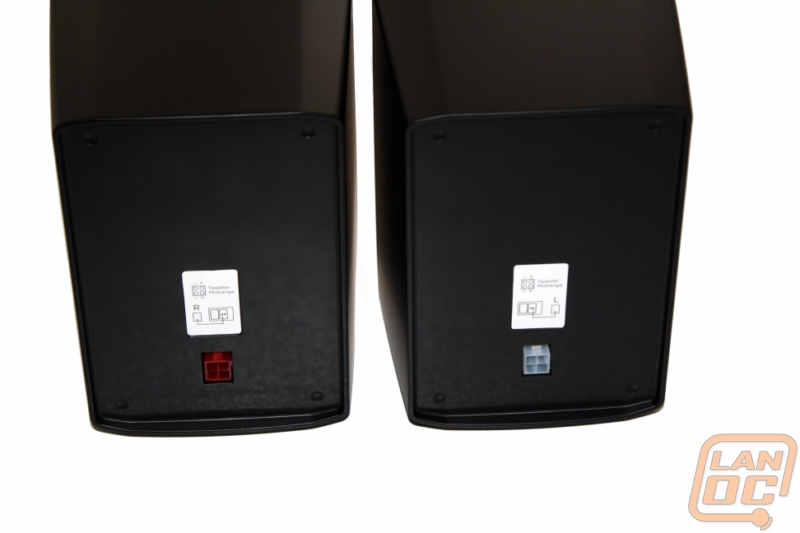
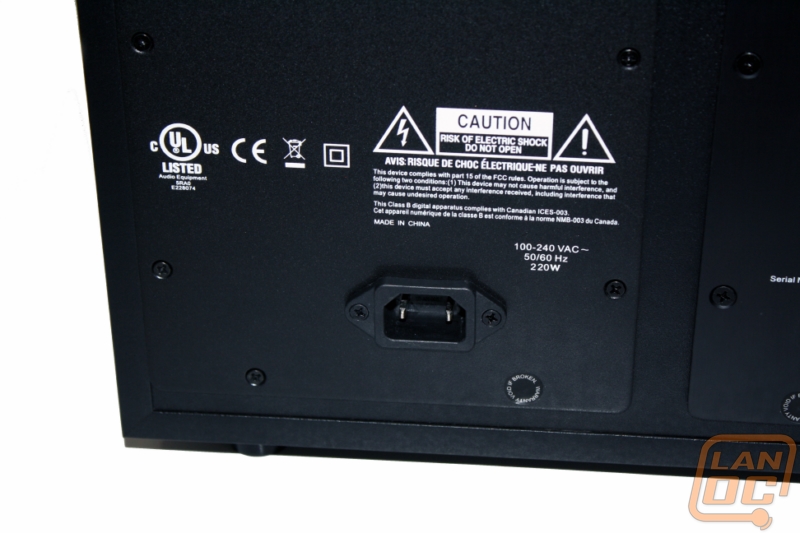
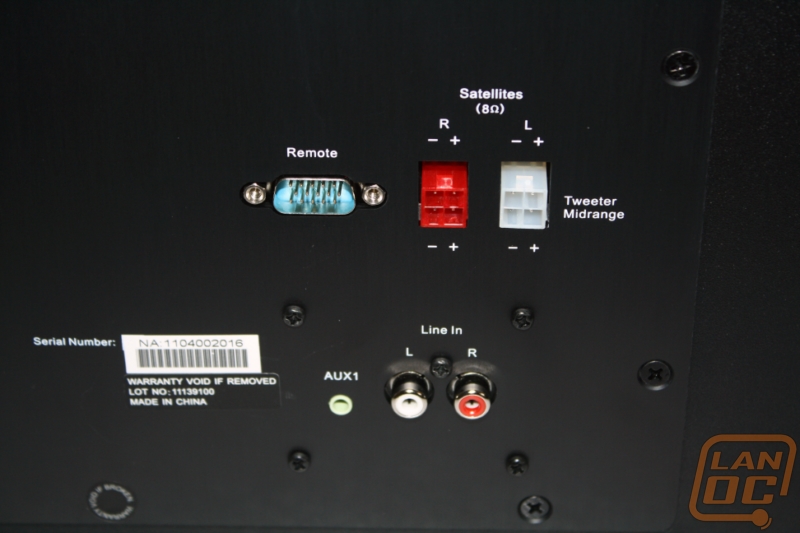
After placing the sub I moved on to wiring everything up. Each of the speakers uses a 4-pin plug just like an old P4 power connection on a motherboard, each color-coded for left and right (they are have a small diagram to show you where to plug each in also, right on the speaker). Beyond the speakers you have an SVGA cable connection for the controller, your power cable, and your choice of RCA or headphone ports for audio input. In my case I would be using the 3.5mm to 3.5mm cable to plug this into my main work PC.
When hooking up the four pin connections for the speakers I ran into a problem. The six foot long speaker cables just didn’t have the length to reach from the sub to the farthest speaker. Because of this I had to move it a little close under my desk. The move gave more than enough length, but I went ahead and contacted Corsairs customer support to see if they had any plans on selling a longer cable. As it turns out they will provide a 10 foot cable to anyone who has a problem, at no cost even! The controller can use a standard female-to-male SVGA cable to get as much length as needed. With the sub moved, hooking everything else up was simple.