Installation and Setup
With everything out I set aside some time and got started with building the Prusa i3 MK2. I should really point out though that Prusa put together amazing build instructions. These do an amazing job of walking you through the build. Because of that, I didn’t really set out to document the entire build. I took a few photos, mostly to mention a few things I experienced and that was it. Here is a link. You will notice that each section has been numbered and labeled the same way each of the part bags have been labeled, so you know exactly what you will need for each section. They also have each labeled for difficulty and time required.
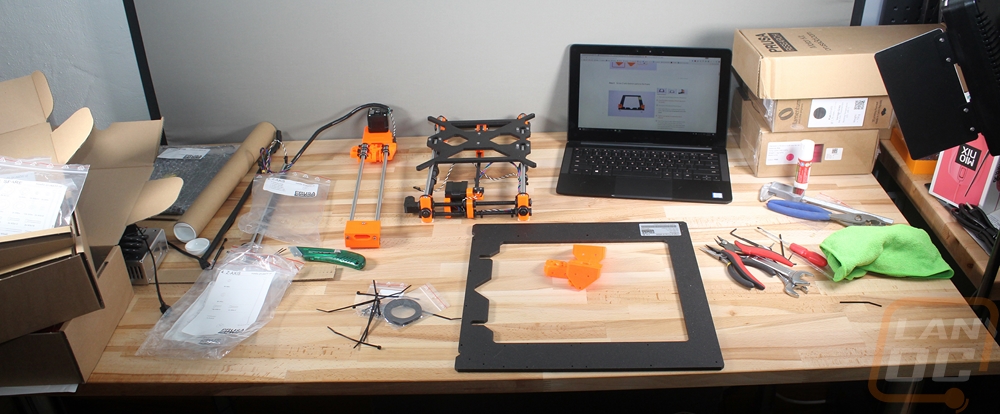
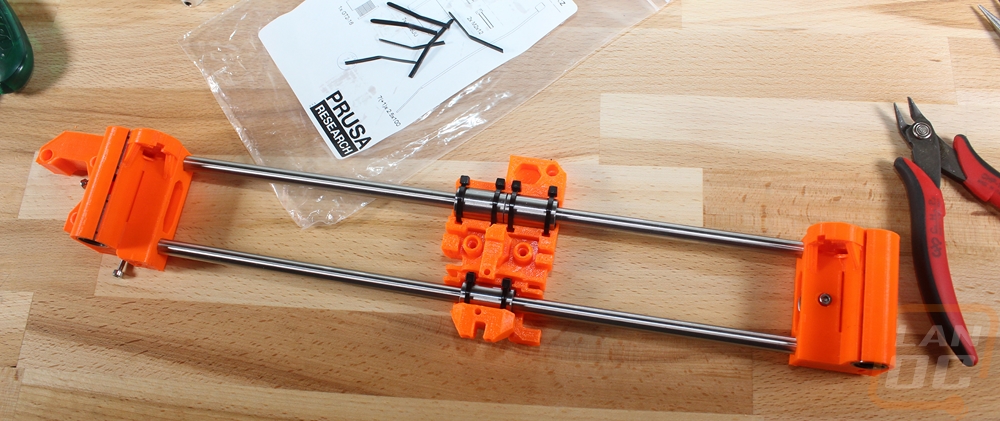
I got my laptop out and started building everything on my new at the time photo area. This is exactly what prompted me later picking up a role up build surface, by the time this goes live there will be an article on that one on the site as well. Having the parts organized the way they did helped me save space and stack the extra parts up on the sides. You basically need a full 5-6 foot wide work space to hold everything and to be able to work with a laptop open. There were a few interesting parts about the overall construction that stood out to me. For one the first section that you build that uses the threaded rods is by far the hardest part of the entire build. Once you get past that you are home free. Two unlike the SeeMeCNC printers I have worked with in the past, Prusa takes on a more traditional RepRap based idea where all of their plastic components save for the spool holder are all 3d printed. Because of that, the tolerances could be a little different from part to part, but I found that it all fit together really well other than one area around the power supply.
Another interesting thing to me was the creative use of zip ties all over the printer. I normally only use them to clean up wires but Prusa has managed to integrate them into components to hold on linear bearings for the guide rods for example. The rods themselves are zip tied in place in some areas and they are used in stuff like the hotend as well. I’m not looking down on it, it works really well, keeps costs down, and speeds up the build time. Do plan on having some spares on hand if you have to dig into the printer later on though.
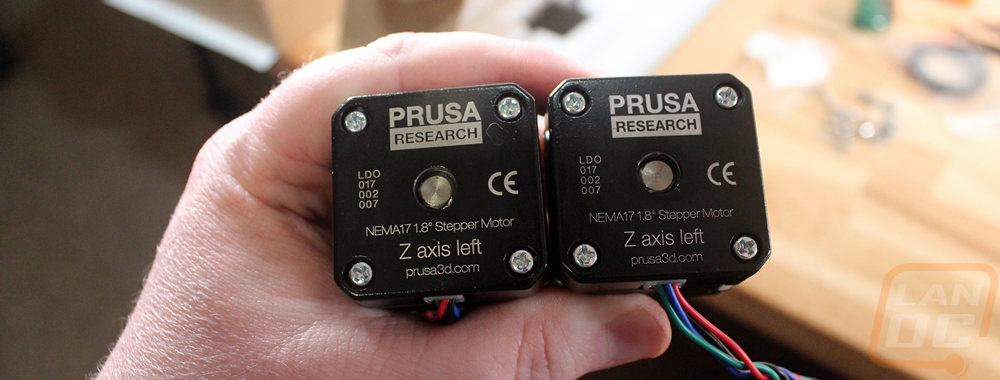
I did run into an issue right in the middle of my build the two Z axis stepper motors with the tall threaded rods on them both ended up being for the left side. I had to reach out to Prusa and they shipped me a right sided stepper really quickly. I couldn’t use the left on the right side due to the cord length and they both spit different directions so the threading is different.
While waiting on the stepper to come in I did get every other component I could put together. This basically left me to install the stepper and finish that section, then install the hotend I built while waiting, and wire everything up. Total time for construction was somewhere around 8 hours but honestly, I stopped keeping track when everything went off the rails and the part was wrong. Once together I ran into a second issue as well with the LCD screen. It wasn’t working for me at all. I pulled the screen off of another printer and tried it and it worked so Prusa sent me a new LCD screen. They did note that typically the screens aren’t bad, it’s the ribbon cables that are bad. Well, when the screen came in I swapped it out and it didn’t work... After messing around for a while I found that the ribbon cable was the original problem, but for whatever reason, that cable still worked with other screens, just not the one included with the i3 MK2.
