Packaging
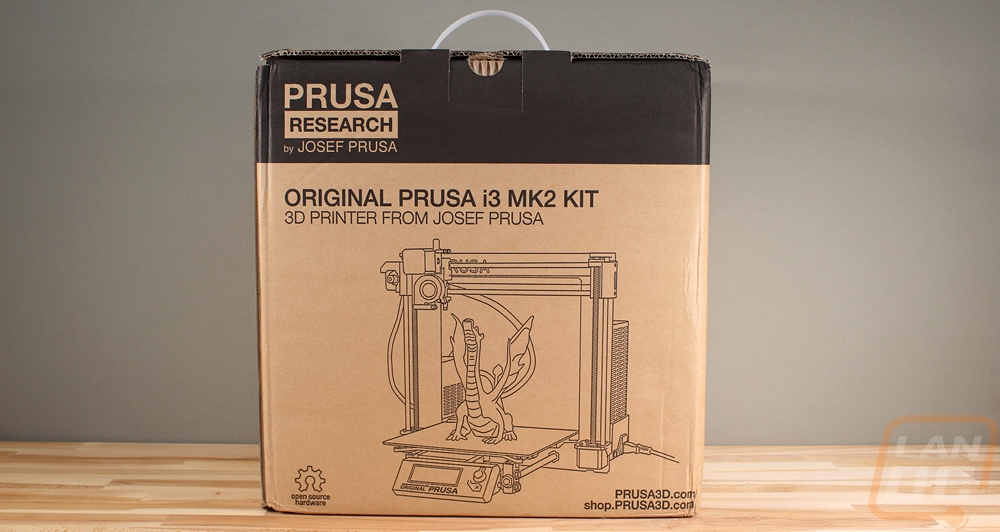
So when the printer comes in you will get a very distinctive package wrapped in solid black plastic wrap to protect the box and make sure the branding on the outside isn’t visible at all. Once you cut all of that off the printer the box itself isn’t nearly as large as you would expect, but it is heavy. It has the Prusa branding across the top in the black stripe, the model name below that, and then a line drawing of the printer built with a dragon on the print bed. I noticed that the branding is careful to have Josef’s name but when you look at their website, it looks like they are refining the branding. Given how much they have grown, into a huge new building even, I wouldn’t be surprised if they start to consider it all a group effort.
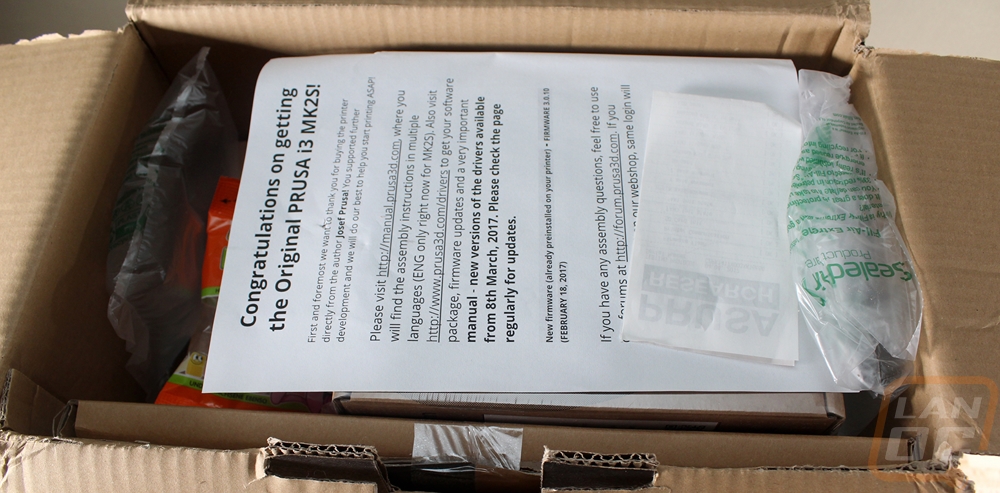
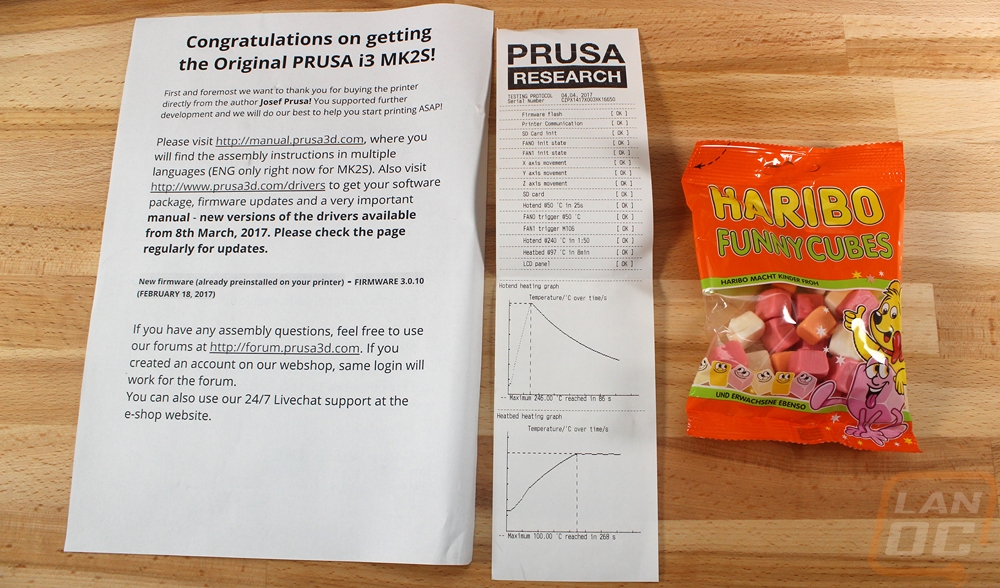
When you open the box up there are a few things right up on top. There is a paper congratulating you on your purchase with instructions on where to find a more up to date manual. They also tell you the firmware version that is installed and a URL to the forums to help answer any questions as well. Also with that paper is a small resting protocol paper that has been printed out. If you look closely they have checked to make sure things like the LCD, all of the stepper motors, the fans, and the RAMBO all work. In addition to that, they have pre-tested your hotend to make sure it heats up to 50c in 25 seconds and they have graphed its performance down at the bottom and the same thing with the heatbed as well. This is a nice touch and it will hopefully cut down on RMAs and issues, especially with their printers coming all the way from Prague in the Czech Republic. Also in the box right up on top was a bag of Haribo candy, a treat that is included with all Prusa packages. In fact, people love them so much that they have even named a variation/upgrade to the MK2 the Haribo Edition.
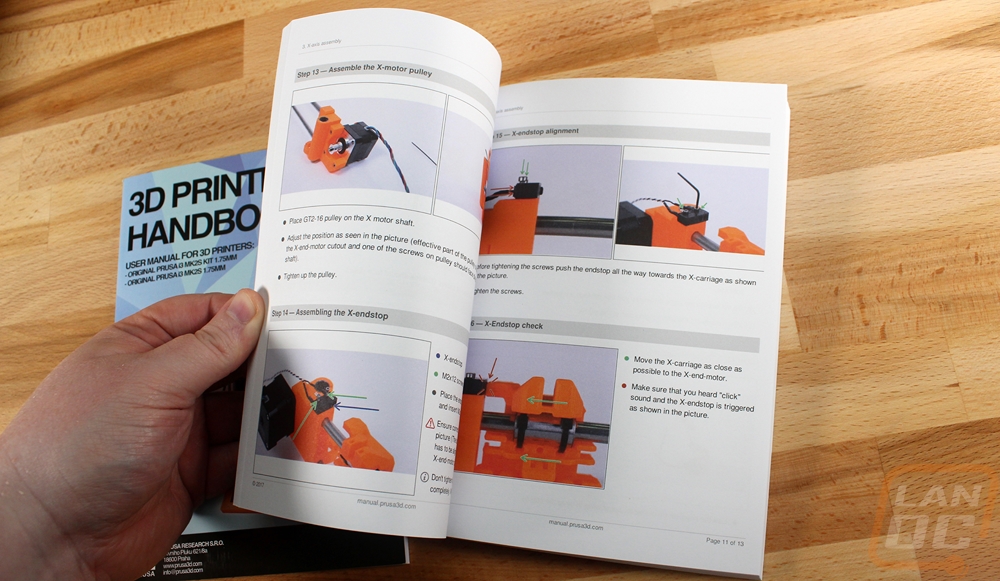
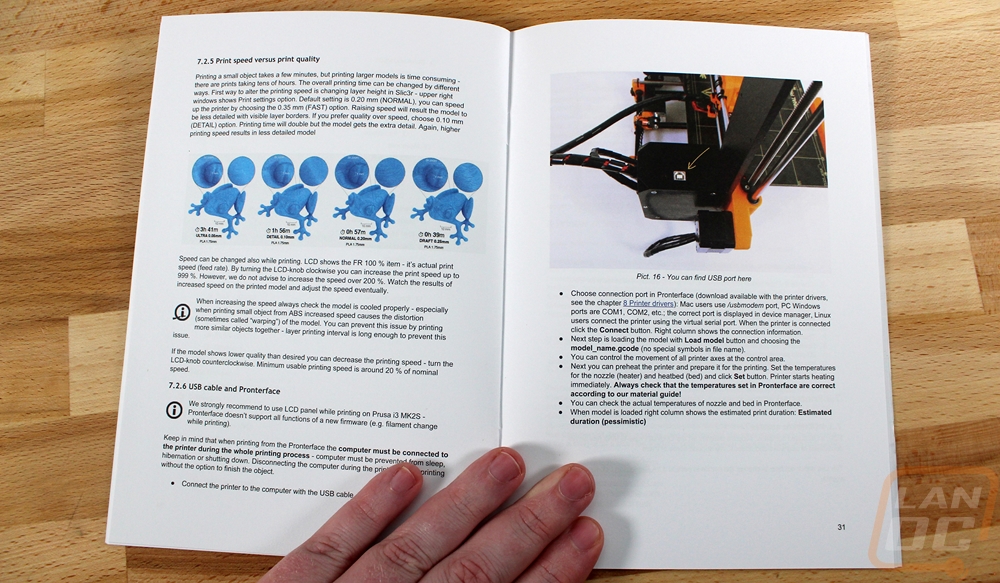
Also in the box, I found two printed books. One is a 3D Printing Handbook and the other is the assembly instructions. These aren’t your right out of the basic printer manuals, they have been printed properly. The 3D Printing Handbook should honestly be sold on its own on Amazon, it is extremely informative and would help with any printer type. The assembly instructions were also well written but I decided to take the suggestion on the original paper and to use the digital instructions because they would be more up to date and most importantly has zoomable photos. Major props to the books though, they are both full color and filled with information.
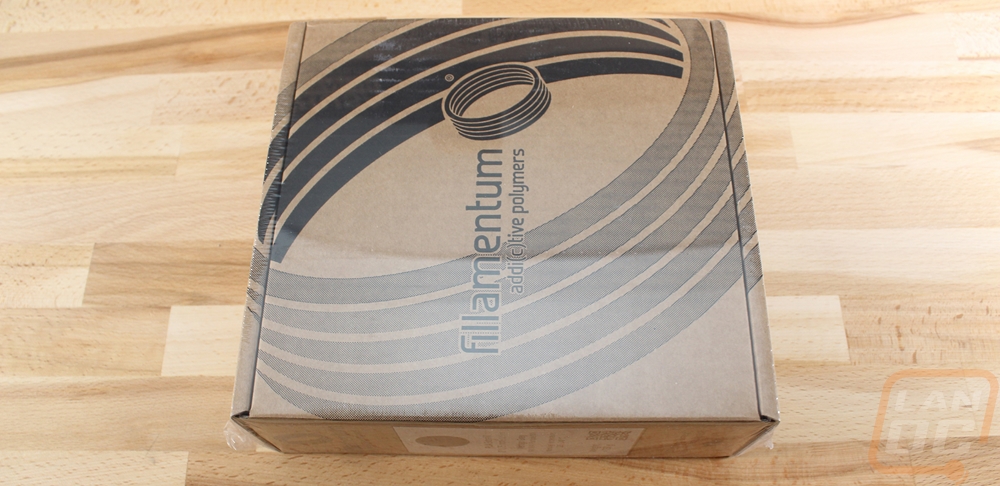
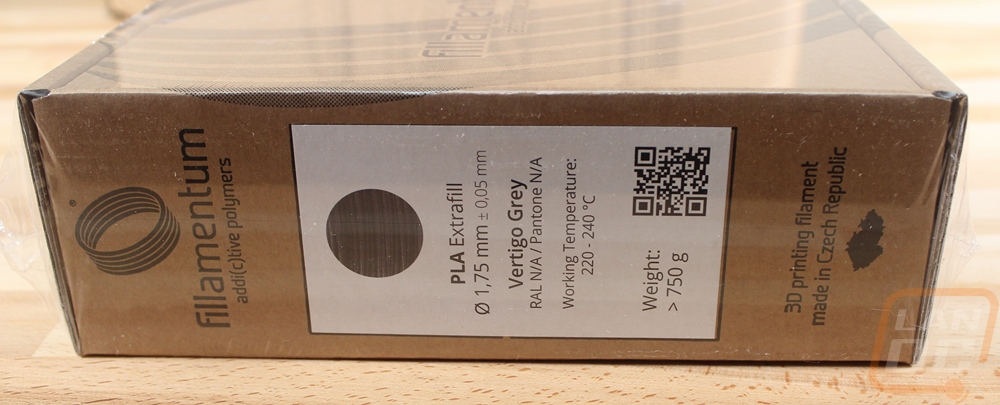
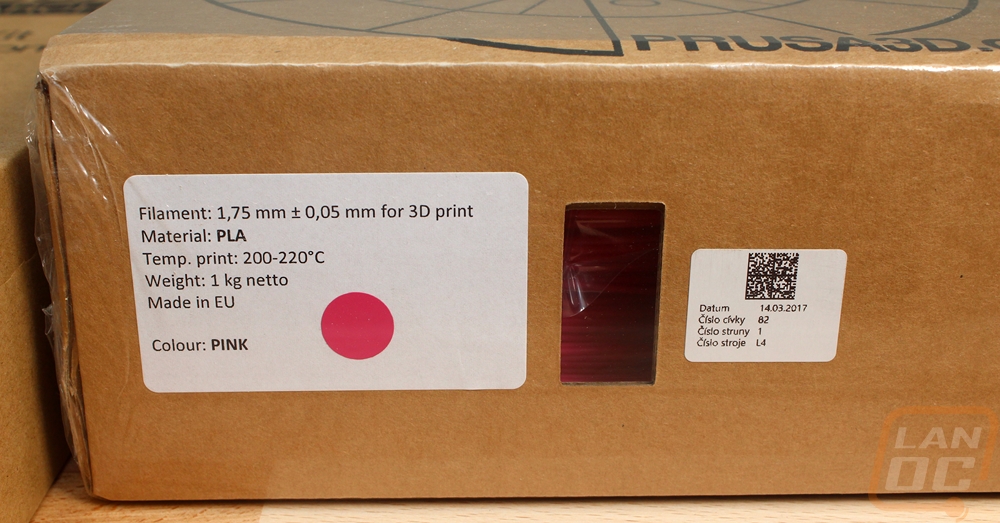
In my box, they did include two filament spools but I should note that the kit does only come with one 2.2lb/1kg spool. They sent a bright pink 1kg spool and one 750g of Vertigo Gray, both in PLA.
I pulled everything out of the box and including the two spools I had six boxes, one tube, and a loose power supply.

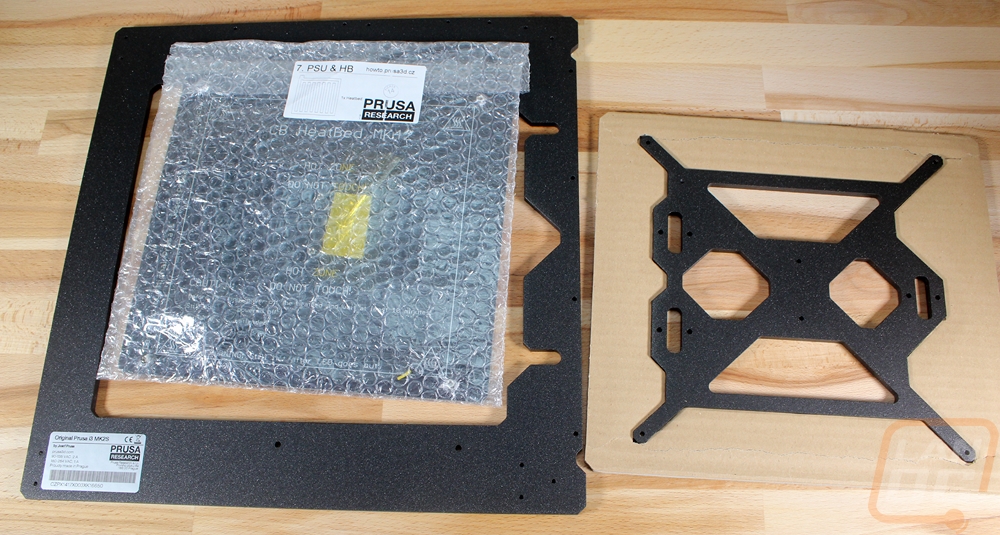
I then started to open the boxes up to make sure I had everything. One of the boxes had the heat bed, the bed support plate, and the main structure that goes up and around the top of the printer. Basically, this was all of the cut metal panels and then the heatbed.
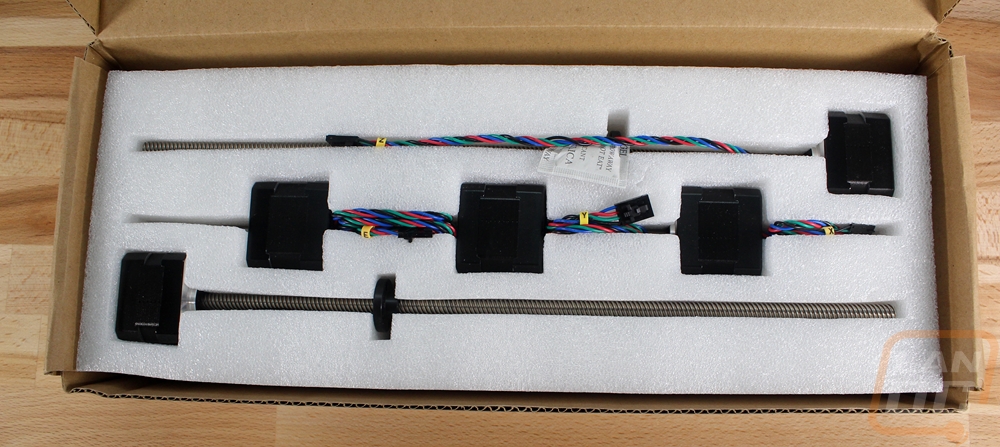
There was one box filled with stepper motors. The two long steppers are for the Z axis, then you get steppers for the extruder, X, and Y. Each has been labeled as well both on the back of the stepper and with a small clip right at the connection. This was a very nice touch that should make putting everything together much easier.
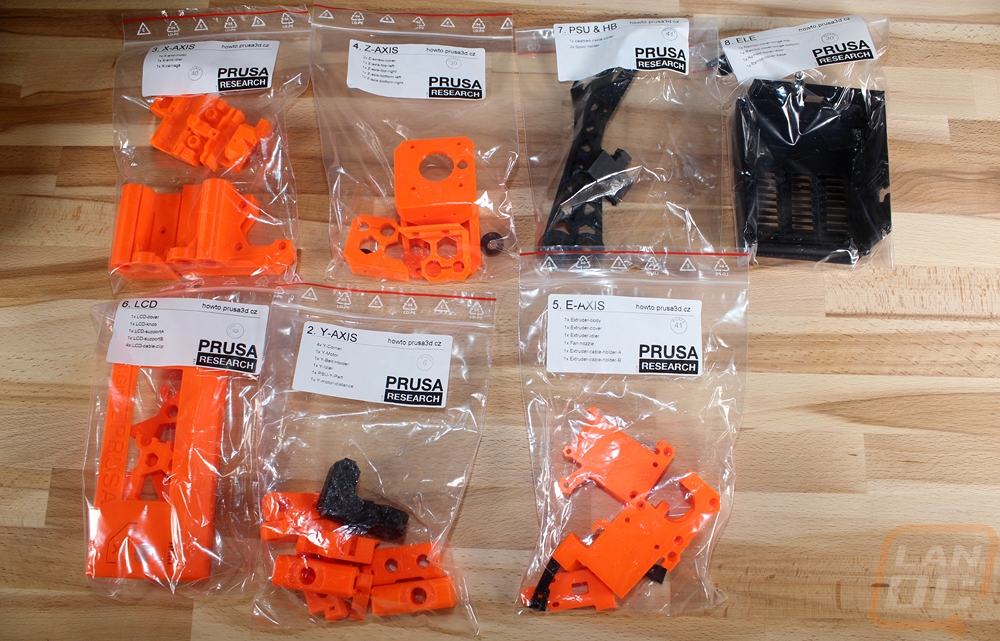
All of the printer parts were in one box. Most are in an orange PLA although you can now pick between the traditional orange or black. Anyone who reads LanOC knows I would have gone with orange, no matter what options were available. Each one has been bagged up and labeled by the section that they go on.
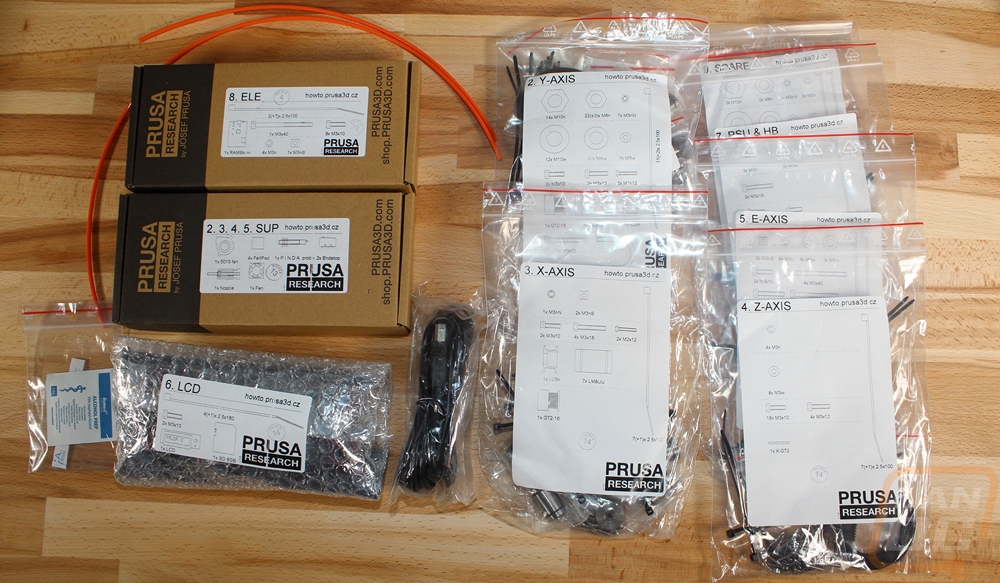
The other box has all of the electronics, cables, accessories, and of course all of the hardware needed to put everything together. This has all been split up into labeled bags just like the printed components. I should note that each one has a number and a section name and then a parts list along with wire drawings of each part to help you tell the difference when you get similar sized screws. Not photographed but also included was the tube filled with guide rods and threaded rods that make up a lot of the printers construction.
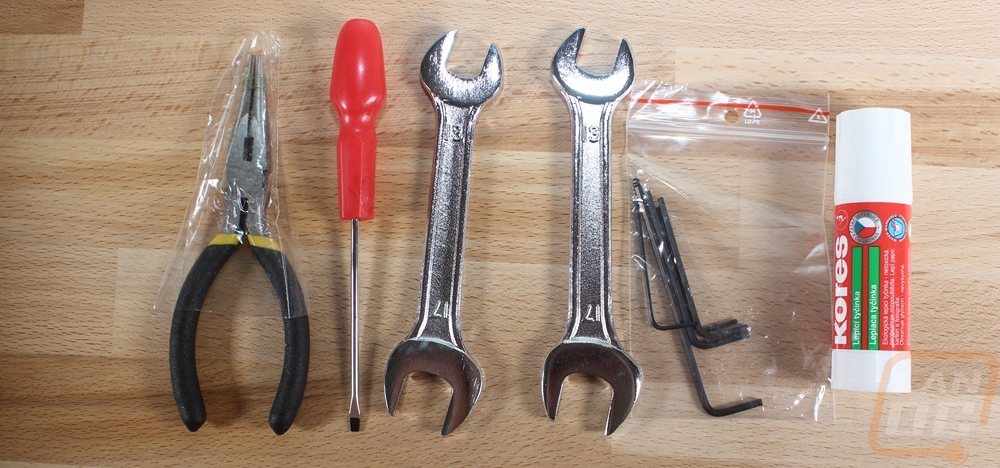
There was also a bag filled with all of the tools you will need to get started. You get pliers, a flat head screwdriver, a bag of Allen wrenches, and two 13mm/17mm wrenches. Those should all get everything built then they include a glue stick as well. With all of this, I was surprised that they didn’t also include a tool to remove prints unless they expect you to use the flat head screwdriver. Most of the tools are really cheap but I was impressed with the needle nose pliers, they are a little better quality and should be hung on to after the build.