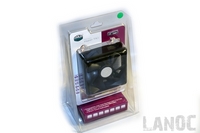
 Running a expensive high end heatsink like the v10 or even the v8 is not feasible for everyone due to space or financial reasons. Also as crazy as it seems to me most people aren't looking for the most extreme cooling solution, some are only looking for an improvement over stock cooling. Cooler Master has recognizes this and has recently released the TX-3 CPU cooler for that market. Today I will be taking a closer look at the TX-3 to see how well it compares to other heatsinks that we have tested in the past along with if it fits the needs of the entry level market that it is designed for.
Product Name: Hyper TX-3
Review Sample Provided by: Cooler Master
Review by: Wes
Pictures by: Wes
Specification
| Model | RR-910-HTX3-GP |
| CPU Socket | Intel Socket LGA775/1156, AMD Socket 754/939/940/AM2/AM3 |
| Heat Sink Dimensions | 90 x 51 x 139 mm |
| Heat Sink Material | Aluminum fin + 3 heatpipes |
| Heat Pipes | 3 pcs |
| Fan Dimension | 92 x 92 x 25 mm |
| Fan Speed | 800 - 2800 R.P.M. (PWM) |
| Fan Airflow | 15.7 - 54.8 CFM |
| Fan Air Pressure | 0.35 - 4.27 mm H2O |
| Fan Life Expectancy | 40,000 hours |
| Bearing Type | Long life sleeve bearing |
| Voltage Rating | 12 V |
| Noise Level | 17 - 35 dBA |
| Weight | 1.04 lbs; 470g |
Packaging
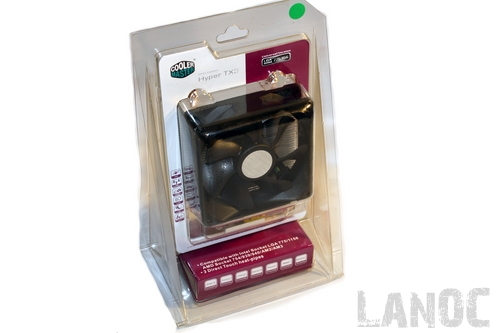
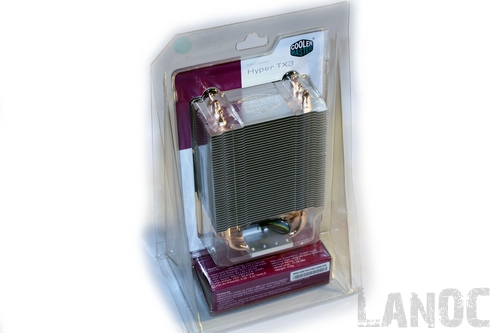
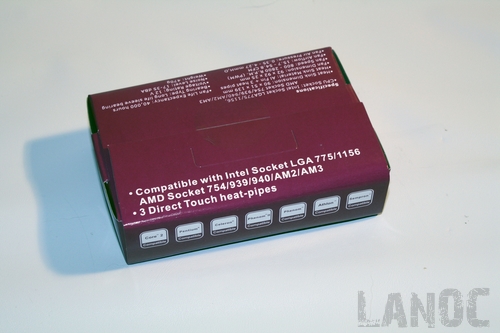
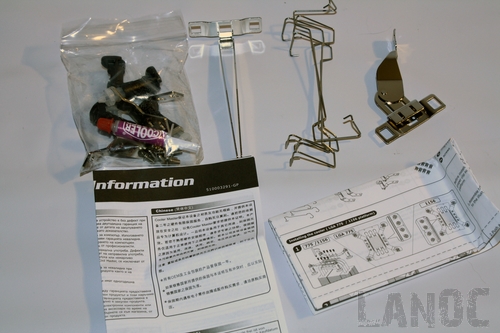
Cooler Master packed the Hyper TX3 into a plastic clamshell that shows off both the front and back of the heatsink including the 90mm fan. The front of the packaging included small logo's for each of the compatible CPU's along with logos for some of the coolers features. On the back of the packaging there is a small list of features at the bottom along with specifications. With the clamshell opened up I found the cooler, fan, and a purple box that houses all of the mounting brackets and screws needed.
Installation
After the countless heatsinks that I have tested recently I was surprised and happy to see that the TX-3 came with factor style mounting clips. Others may be upset to see these, but I know I can count on them to hold the heatsink firmly while being quick and easy to install. While installing the brackets I was surprised to see two different mounting holes used giving you the option to install the TX-3 into Socket 775 or 1156 chipsets, of course the AMD brackets were also included giving you the option to use it on 754/939/940/AM2/AM3 options from AMD. After laying down the proper amount of thermal paste (keep in mind that you will need a small amount more than normal to fill in the gaps between the direct contact heatpipes) Installing the heatsink was a snap (literally). Just as I thought everything was going to go smoothly I ran into troubles with the fan install bracket, The way the clips install is logical but isn't as simple as it should be. After fighting with them for a few minutes I did manage to get it, I am glad there is only one fan included to install (although if you add your own they did include clips for a push pull setup).
Our Test Rig
Abit IN9 32X-MAX 680i motherboard Intel Q6600 Quad core CPU B3 stepping at stock clock speed 4 gigs of A-Data G Series Ram EVGA 8800GTS Video Card 640MB Cooler Master Storm Scout Antec Quadro 850 Watt Power Supply Lite-On DVD Burner Running Vista Ultimate and XP Tuniq TX-2 thermal paste is used on all of our heatsink tests for consistency *all of the case fans are run on high speed during testing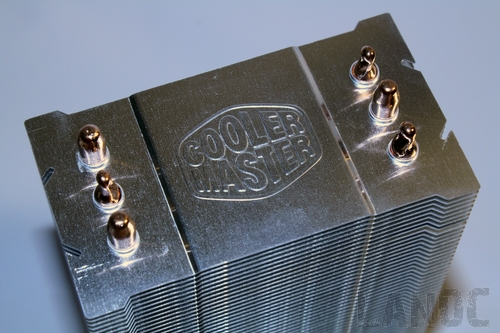
Performance
Our standard test consists of letting the pc idle with nothing but RealTemp 2.5 running and recording the lowest average temperature reached. For our load testing, we ran prime95 for an hour on all four CPU cores. The highest average temperature reached is our result. While doing all of our testing no matter the time of the year we make sure the ambient temperature is at 70 degrees. Our CPU clock is set to stock settings and all of the fans on our Cooler Master Storm Scout are running on the max setting. Because of the case, some of our results may be lower than tests run in cases with less airflow.
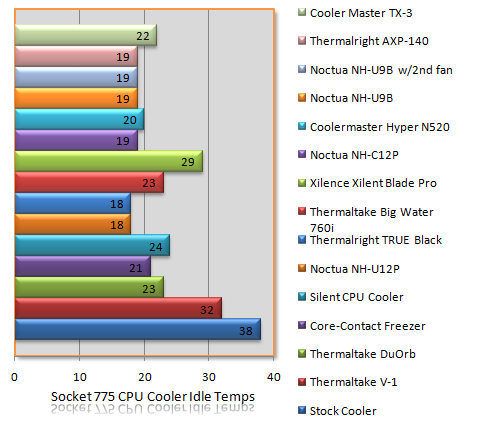
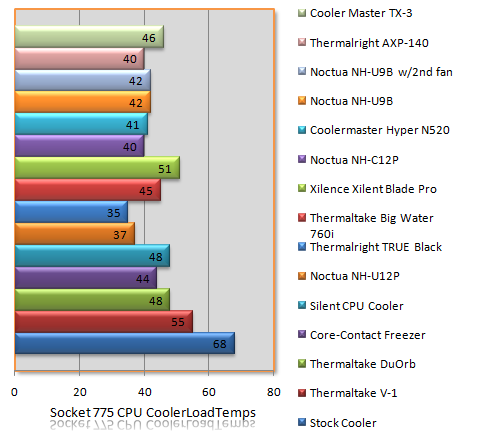
As you can see from the numbers, the TX-3 performed around the middle of the pack, performing similar to the Big Water 760i water cooling kit, very impressive! During testing the TX-3's noise level was what I would consider average meaning it was noticeable but not loud enough to both most people.
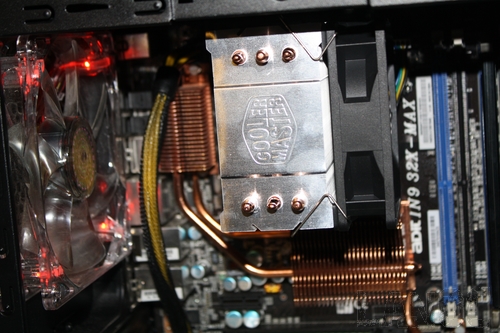
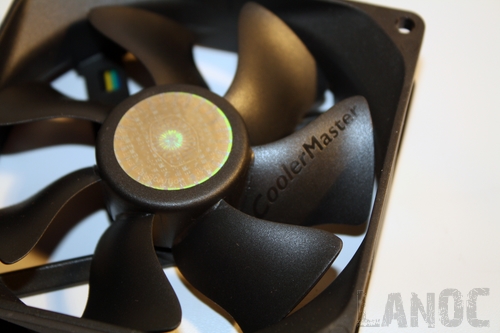
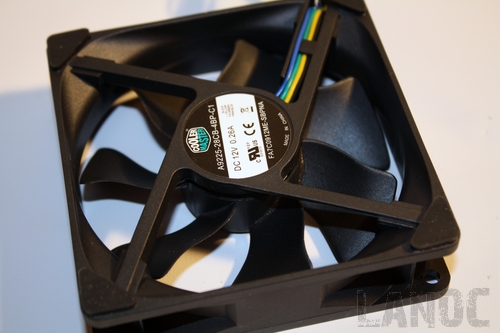
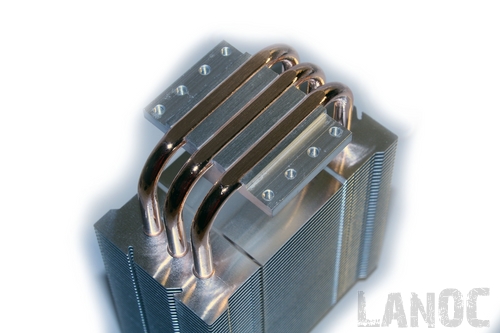
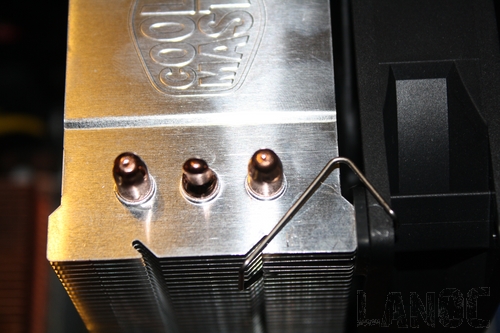 Overall A couple notable things about the TX-3 that stood out to were the exposed heatpipes and the rubber pads on the fan to prevent vibration. That goes to show you that even in a budget product they were still able to include features that you would see on high end CPU coolers. During my testing I found that the heatsink was extremely easy to install when not including the fan clip installation that caused me trouble. Once put to the test the TX-3 stood up very well against some of the best heatsinks made when considering its amazing $19.99 price tag. If you are on a budget and looking for a heatsink you would be crazy to not consider the TX-3.


