Software
Once you have your NAS setup you will most likely rarely ever touch it, but when you do it will almost always be through the web interface. Because of that it is important for it to be easy to navigate and have all of the features that you need. I have worked with the Thecus OS in the past with the N5550, so I had a good idea what to expect but let’s recap and see what all you can do within it.
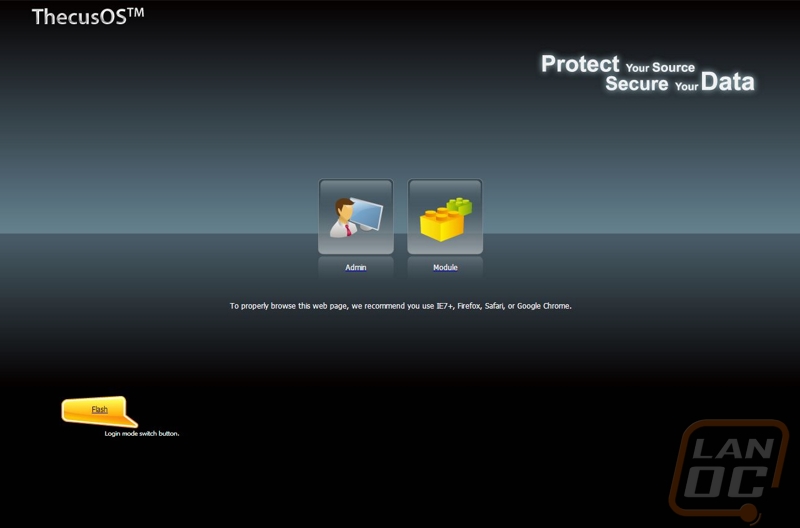
When you pull up the IP or NAS name you will first end up on a simple page with the option to log into the admin panel or your custom modules. The admin panel is what I will cover today but keep in mind that some of the add on modules that you can install actually run completely separate from the admin interface. Logging into the admin panel only requires a password. I would prefer that you have to put in a username and password, this would make it harder to hack and allow for the possibility of giving multiple people admin access without having to share a password.
Once logged in you are dropped on the home page. Over on the left you have an accordion layout that splits up all of the detailed options to make it easier to find what you need. The home page does have a few highlighted icons on it and you can add other options. This lets you select just the most important admin pages that you will find yourself going back too.
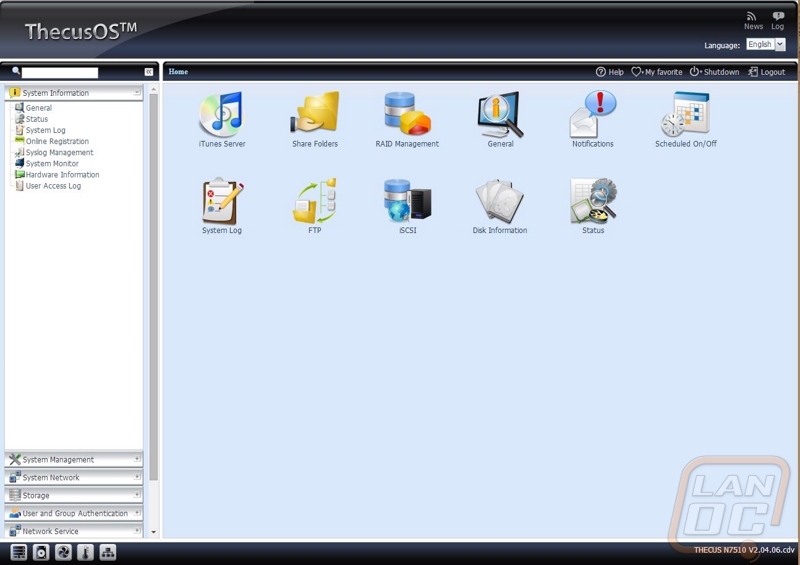
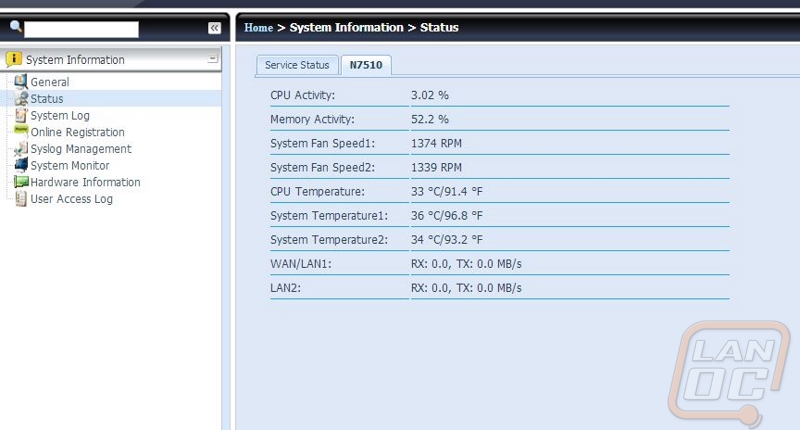
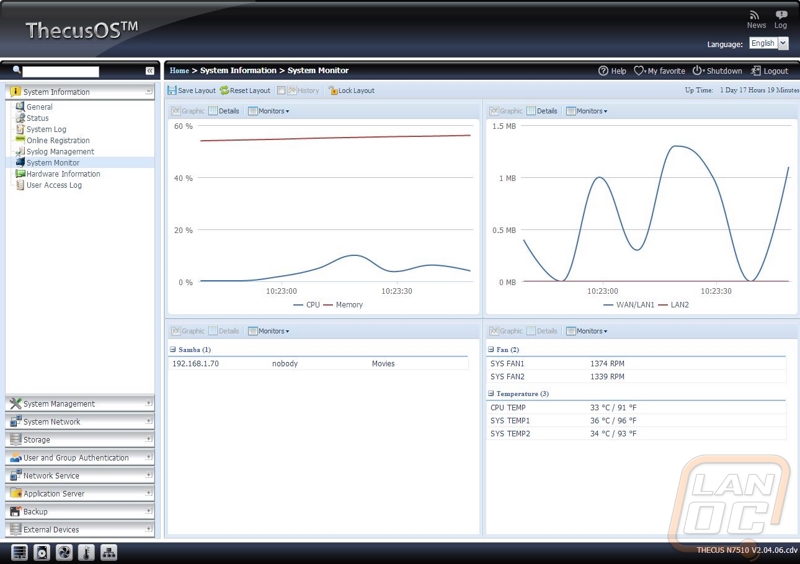
Starting in the system information tab you have a few options that give you access to system and user access logs. Additionally you can check out the N7510’s hardware information where you can see every component listed out for you. The two tabs I spend the most time on are the system status and system monitor tabs. They both share the same information for the most part, the status page lists out information about memory and CPU activity along with fans, temperatures, and network stats. The monitor page has the same information but graphed out so you can see trends over a longer period of time.
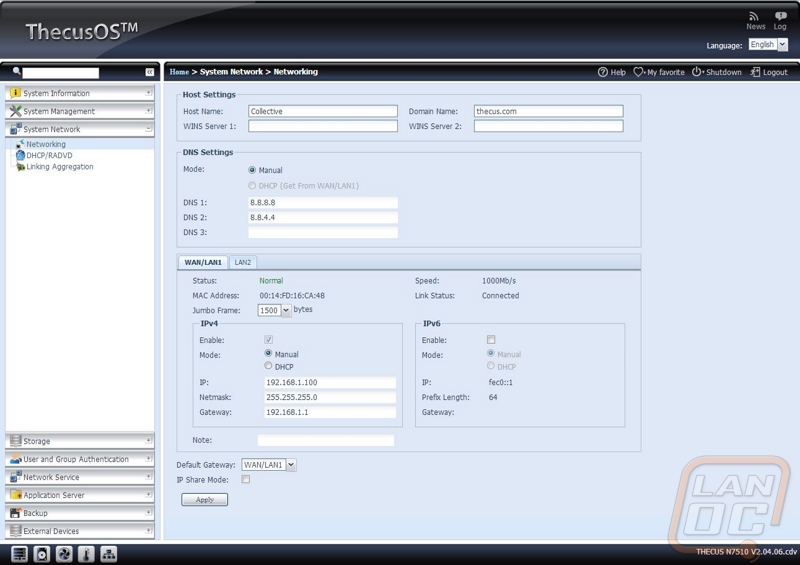
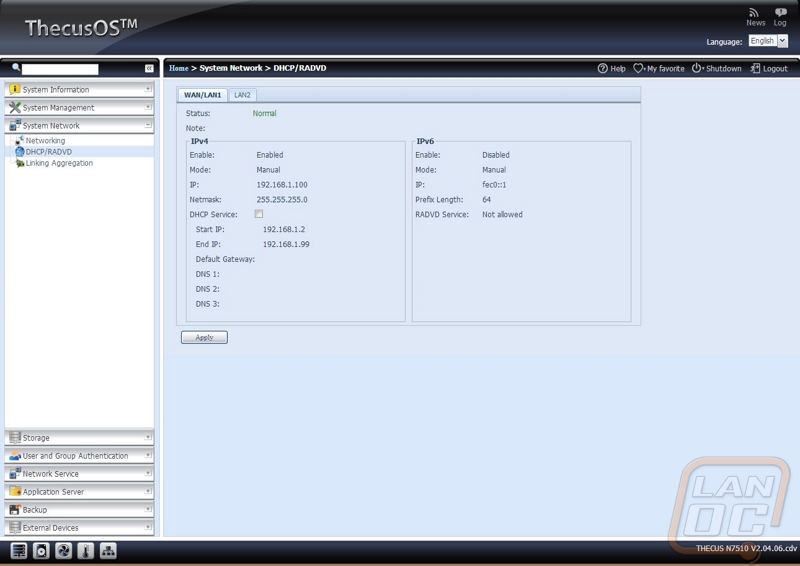
The system Management section is filled with general NAS configuration details like setting the date and time, notifications, updating the firmware, and setting the admin password. Because of that there really isn’t anything to cover in detail. Because of that I went right for the System Network section. Here you can check your DHCP settings or manually go in and configure everything from your IP, host name, and even set your jumbo frame size. You can do this for both Ethernet ports if you are using them both. There is also the option to setup link aggregation, here you can double the network bandwidth available by using both in combination.
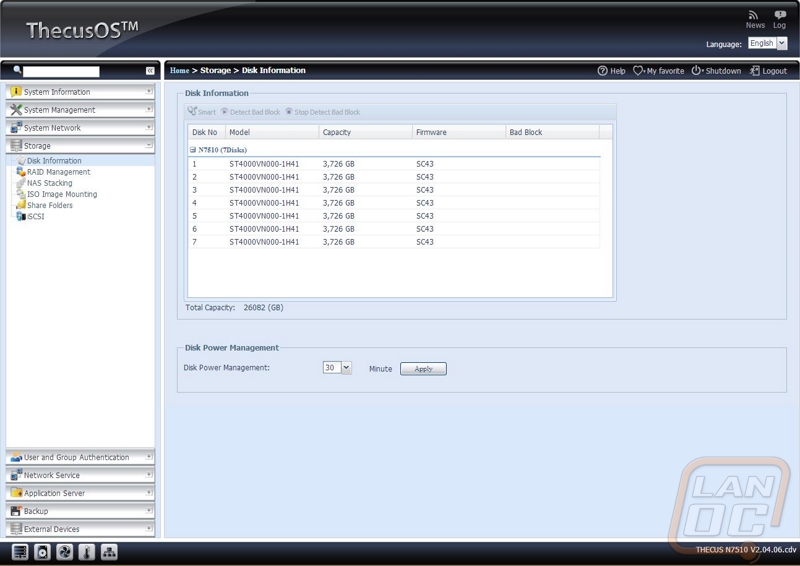
With the N7510 being a NAS, obviously the Storage section is the most important. Here on the first page you can see all of the disks you have installed including their model number, capacity, and even firmware. As you can see I have 7 of the 4tb Seagate NAS drives and they are all on the SC43 firmware. You can also setup how long in between activity should hard drives spool down to extend their life and save power.
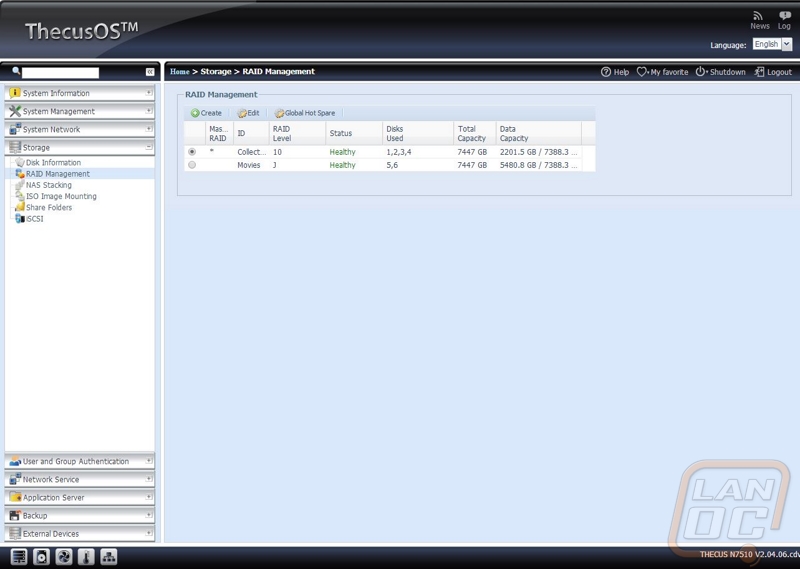
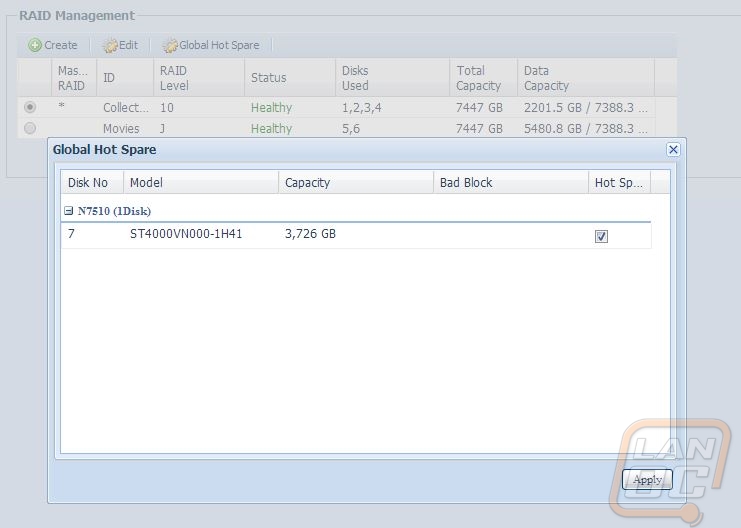
In order to get going, even if you don’t plan on running any redundancy, you have to setup your RAID. For me I split up the LanOC data onto a RAID 10 array that offers both redundancy as well as speed. For our movie backups there wasn’t a need for redundancy, so I just ran a J array. That is only 6 of the 7 drives though, I saved the last drive to be used as a global hot spare. That means one drive is always installed and if my RAID fails in any way it will automatically swap in the new drive and rebuild the array, one that is done the NAS will email me to let me know of the problem. This should keep downtime to a minimum and lower the risk of the RAID failing and then having something else happening after causing data loss.
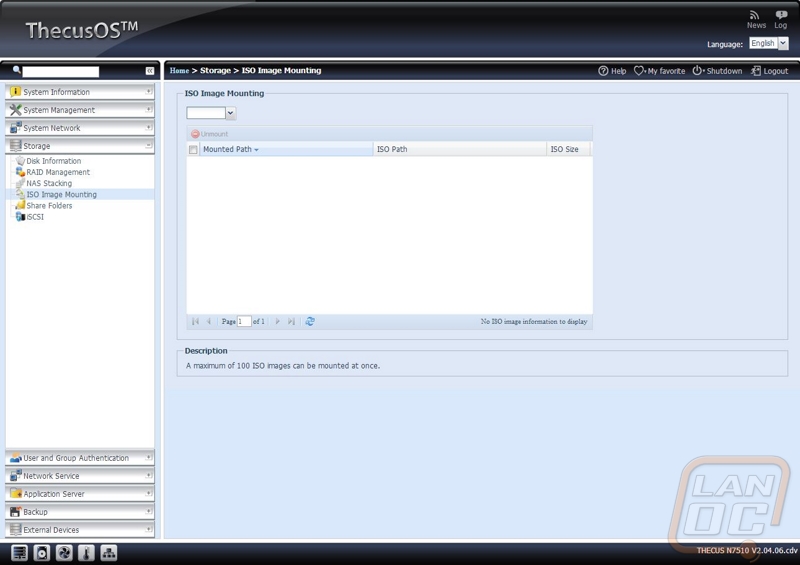
Another really cool feature is the ISO Image Mounting. Here you can load up to 100 ISO’s and treat them like they are a DVD/CD installed in a drive. If you are like me and install things over and over you can mount the ISO and just have access to it on the network rather than having to drag a stack of discs around with you.
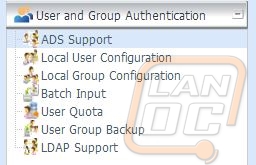
User and Group Authentication allows you to setup users and add them to user groups. Once you have this you can limit what folders they have access to and even set limits on how much data they can transfer. There is also a batch upload option for companies that already have an established user list than needs transferred over all at once.
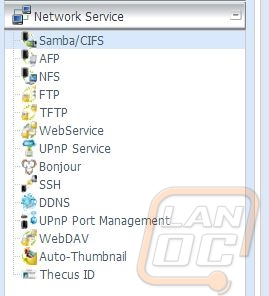
With the Network Services section, it isn’t any specific page that really shows what the N7510 is capable of. It is the list of different services that Thecus lets you handle that sets it apart. Of course you have Samba support and even FTP, but the list goes on all the way to Bonjour and even dynamic DNS support.
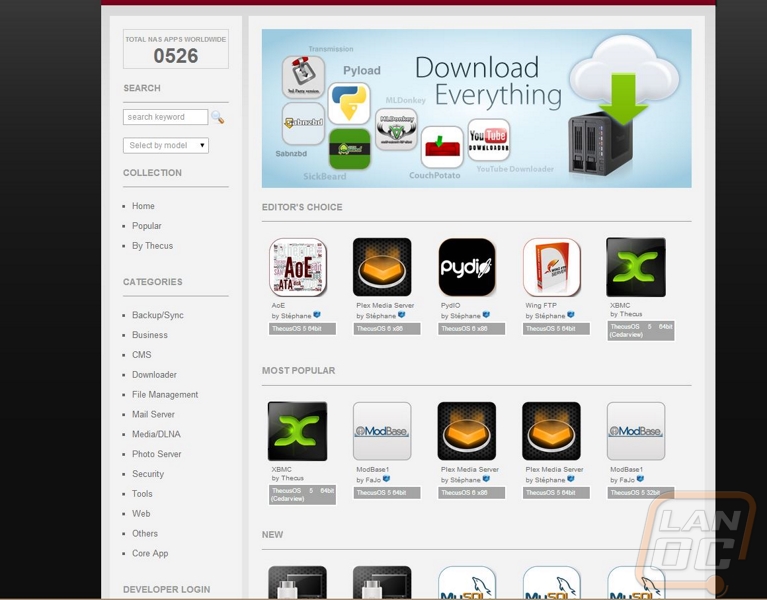
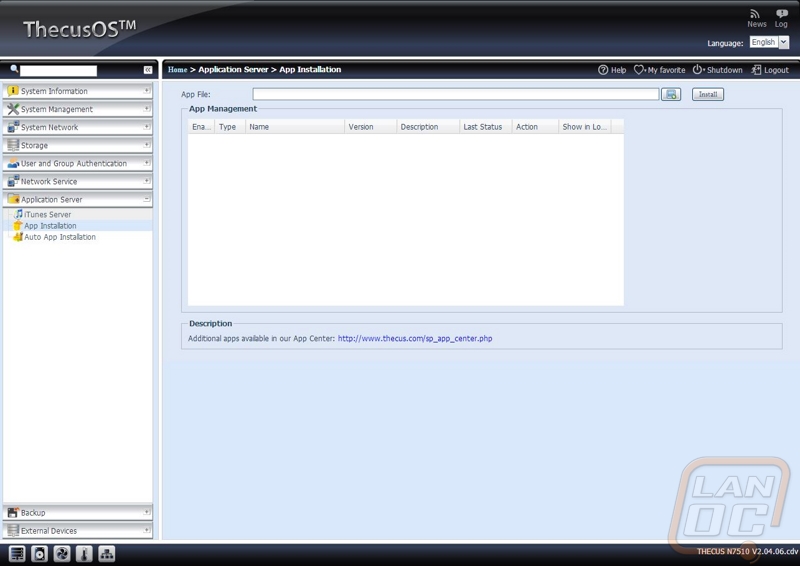
If you decide to build your own file server you can expand on the functionality by running other programs as well. Thecus allows the same thing with the ability to install apps. You can pick from a long list of apps on the Thecus website ranging from various media servers all the way to virus scanners. Installing them doesn’t require an intimate knowledge of Linux, all you have to do is download the file and upload it on the app installation page. For my use I didn’t have a need for any of the apps, but I know a lot of people run Plex Media Server for example, having it available is a major bonus. I still prefer how Qnap handles their apps, you click and automatically install it directly in the NAS, but I’m still happy as long as I have access to them in some way shape or form.
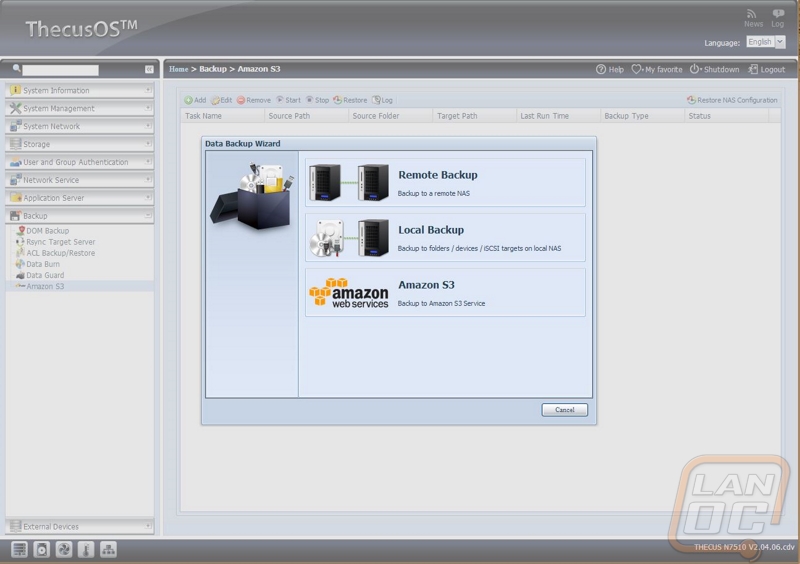
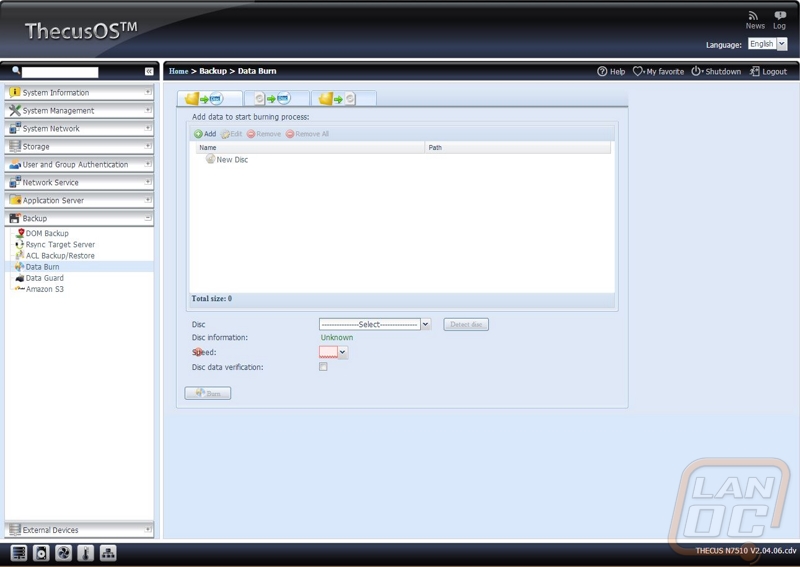
Thecus gives you multiple options when it comes to backing up the data that you save on the N7510. You might be wondering why you would want to backup the data on your backup? Well it’s a best practice to have an onsite backup as well as an offsite backup. If you have a fire or something unexpected happens you can always rely on the offsite storage. They have configuration options to backup to another local NAS, remote backup to a NAS at a different location, or even backup to amazon S3 servers. If you have a USB DVD drive you can also burn your data directly to disc, although considering how much data you can store on the N7510 when fully loaded you might want to have another option available because that will take a lot of DVDs and time.
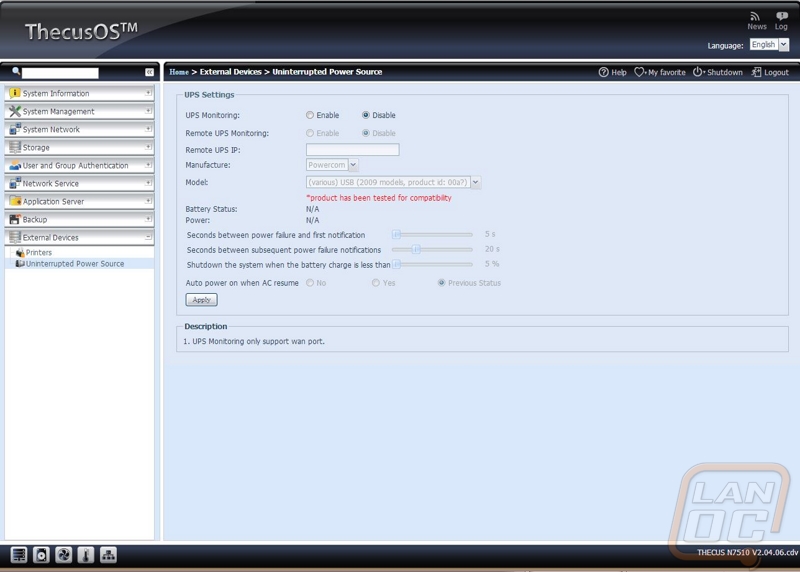
The N7510 also supports connecting printers and UPSs. They give you a configuration page to help configure your UPS settings. I love that they not only support USB connections but they also support remote UPS’ with network support. On the printer side of things you can turn a non-networked printer into a networked printer by hooking it up to the N7510, that should make life a little easier in a small office, not to mention save a little money when picking a printer.