Photos and Features
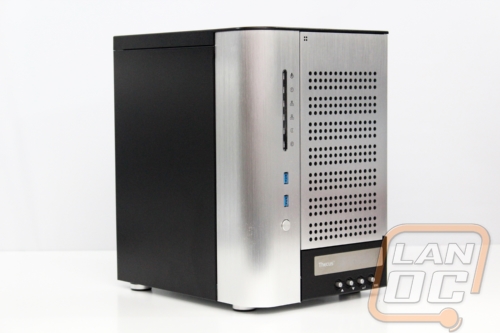
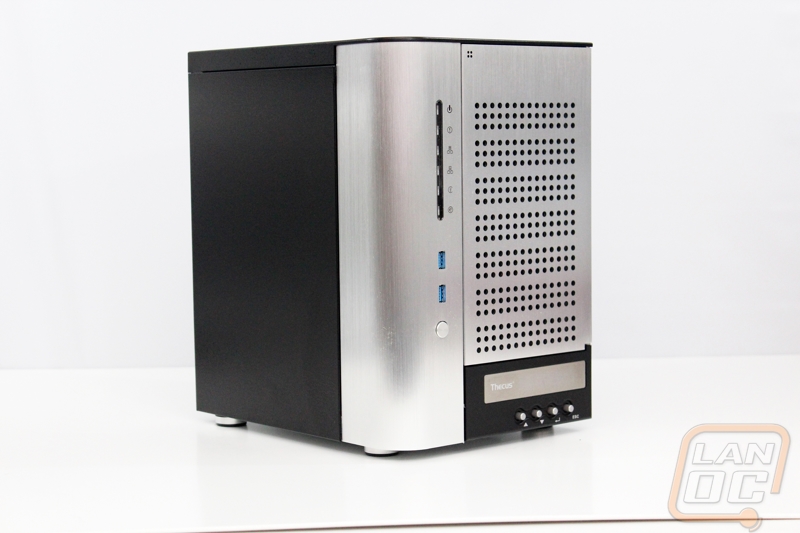
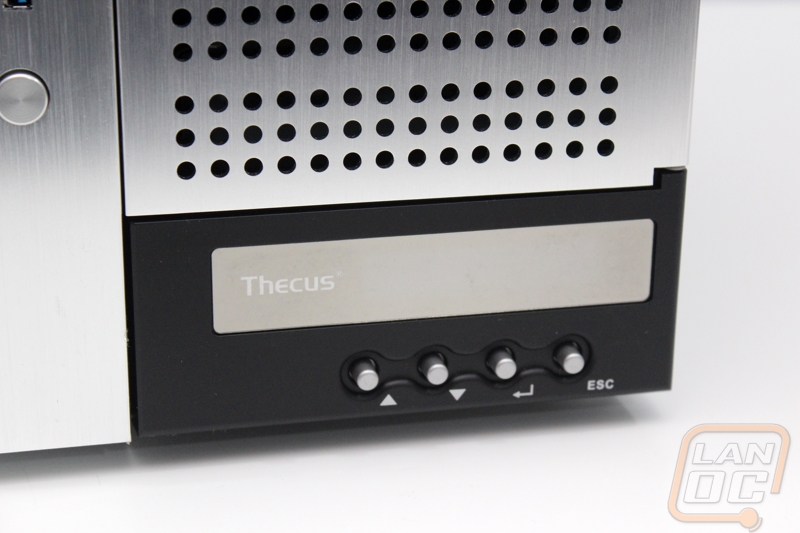
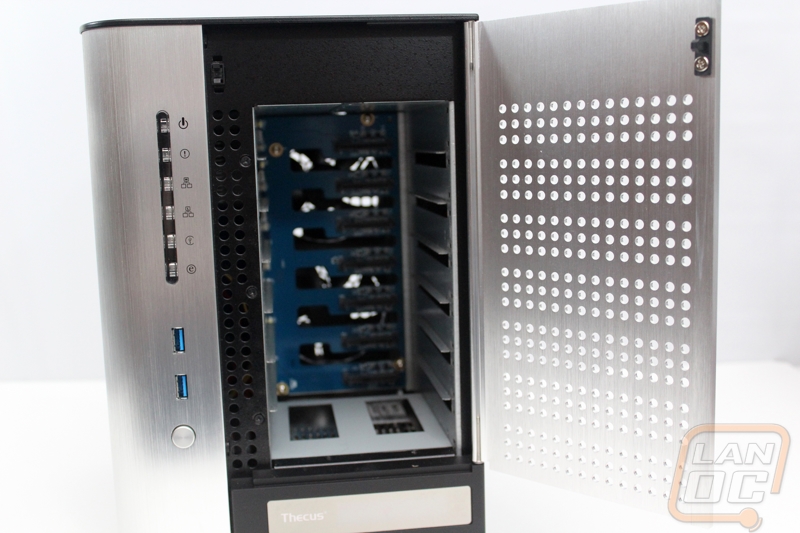
Unlike the N5550, the N7510 isn’t completely blacked out. They traded in some of the plastic for aluminum across the entire front of the NAS. In fact when you figure in the rest of the chassis being steel, the only plastic is around the display LCD down on the bottom. This makes the N7510 noticeably heavier than most other small business NAS’, but it also adds to the durability. It’s interesting that they stepped up the quality when the biggest selling point of the N7510 is that it is the best value in the 7 bay NAS market. I’m not going to complain about less plastic and more quality though! Beyond the finish, the only other styling point that needs mentioned is the round corner on the left side. It’s a small touch, but it does give the N7510 a unique look that sets it apart a little bit.
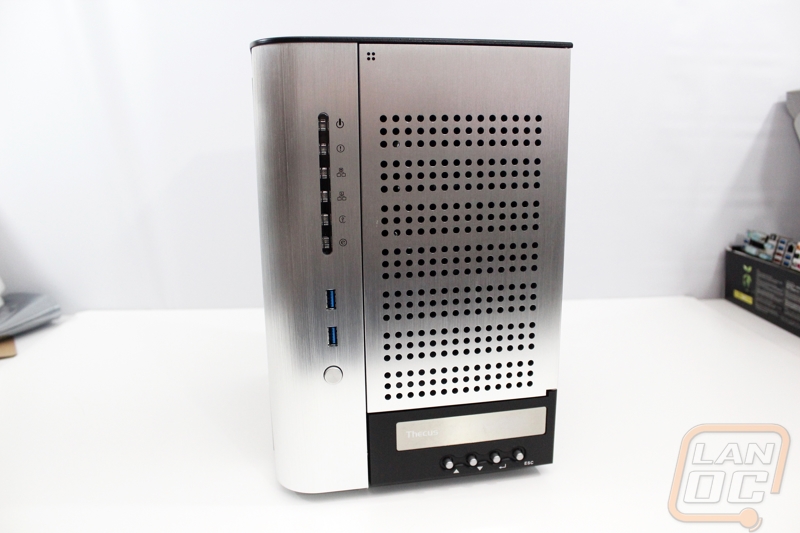
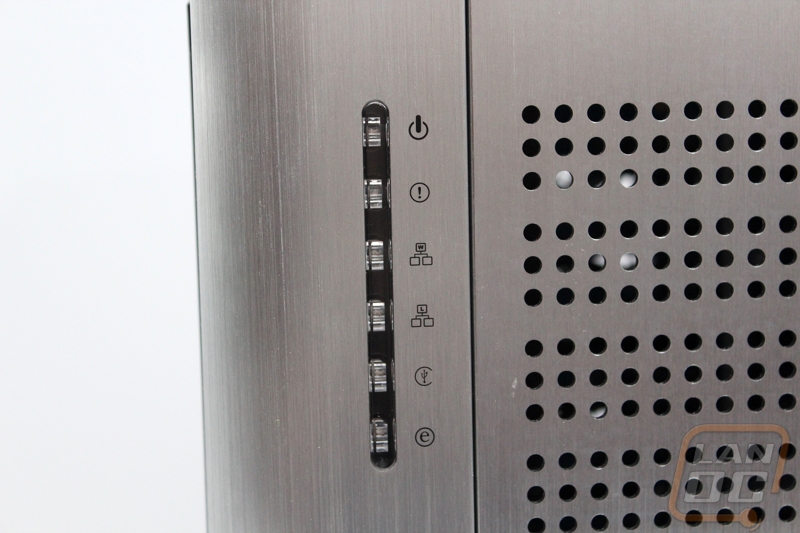
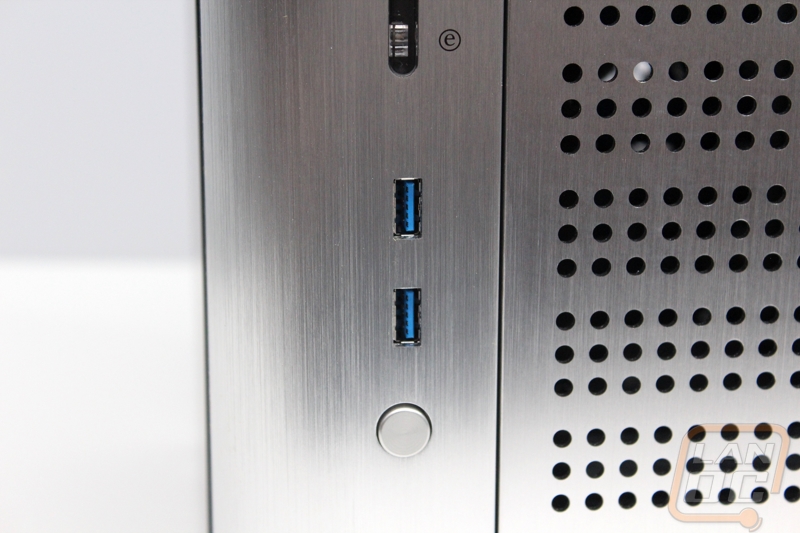
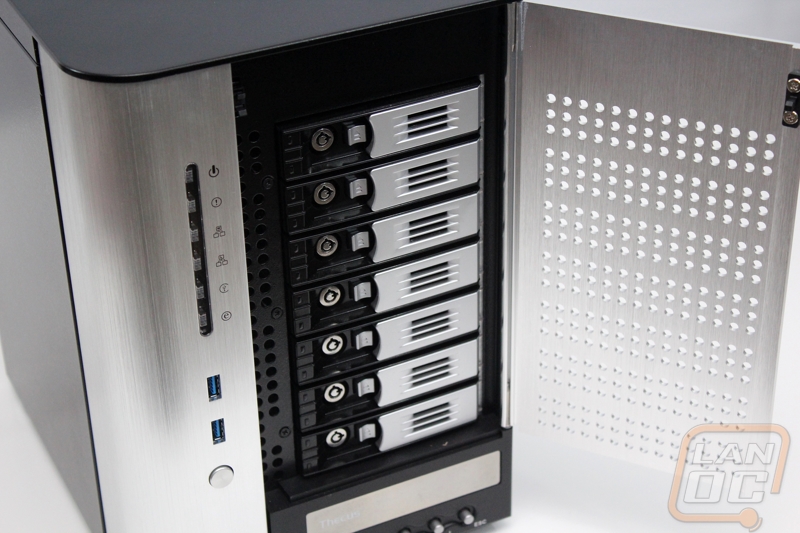
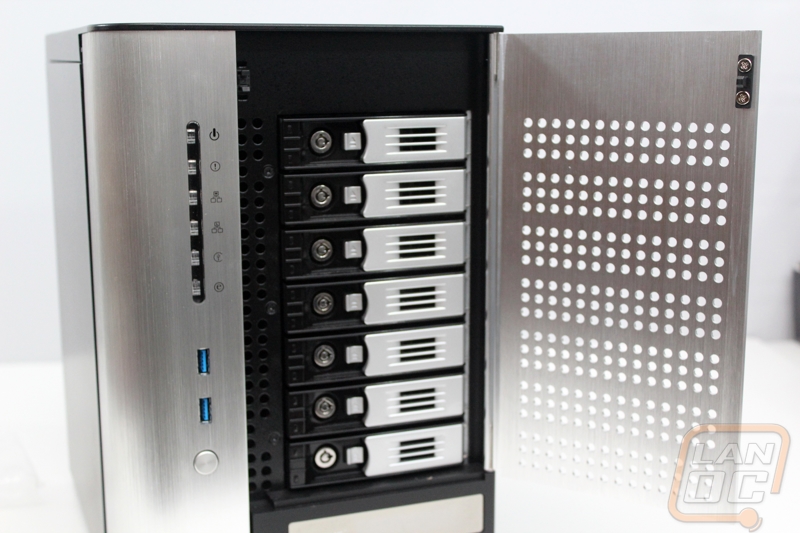
In order to make things easy, Thecus made sure to include nearly everything you need on the front of the N7510 to keep you from having to dig around to the rear I/O to hook things up. That means along next to the power button you have two USB 3.0 ports so you can hook up a hard drive to expand your storage or to backup or transfer files. Up a little higher up on the left side there is also an array of status LEDs. The top LED breakdown is as follows
|
Power LED |
Solid Blue: System is powered on |
|
System LED |
Solid Orange: System is being upgraded or data is currently inaccessible |
|
WEN/LAN1 LED |
Solid Green: Network link |
|
LAN2 LED |
Solid Green: Network link |
|
USB Copy LED |
Solid Blue: Files are being copied from USB storage device |
|
eSATA Link LED |
Solid Blue: External eSATA device has been connected |
Down at the bottom the N7510 has a display screen so you can see the status of various things without having to go to a PC and log into the web interface. Navigation buttons allow you to flip through things like your current IP, hard drive conditions, ect.
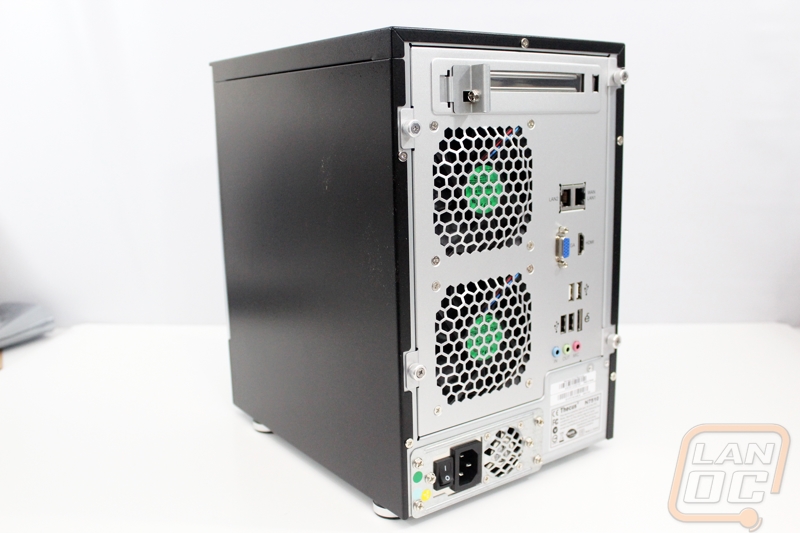
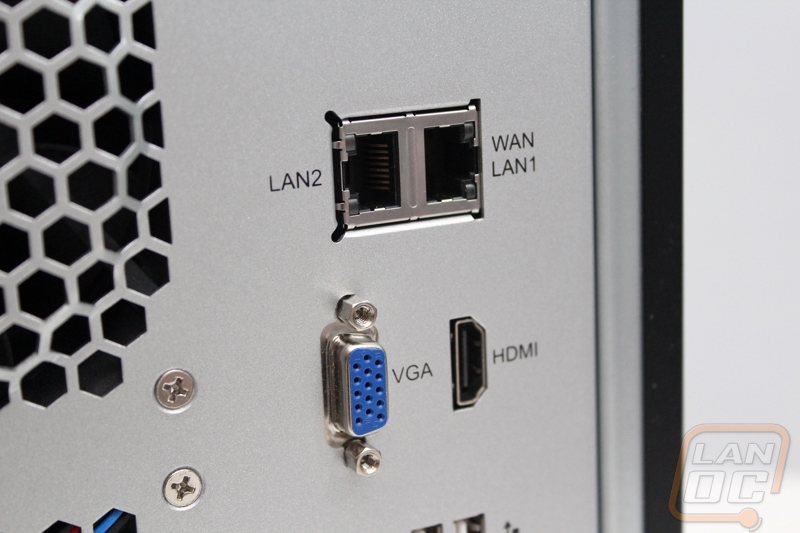
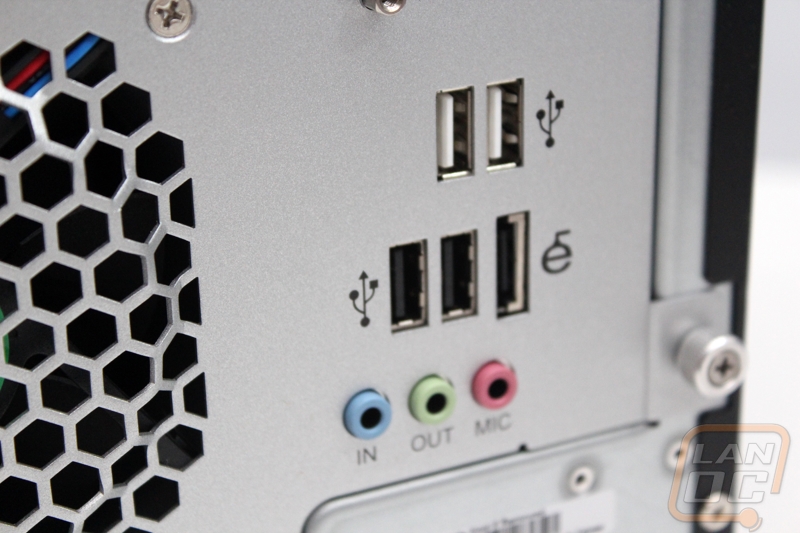
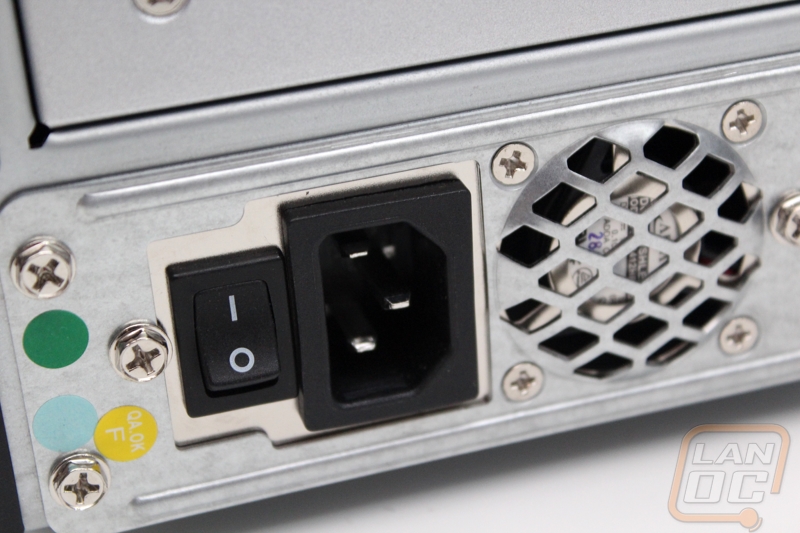
The back of the N7510 isn’t much different than a Mini-ITX build, there is even an expension slot up on the top. Thecus did include two fans where the N5550 had one, this should help keep the additional hard drives cool. The power supply is down in the bottom left corner with its own (small) fan. The PSU can be pulled out and replaced if there is ever an issue with it. For the rear I/O all of the connections blend into the back of the case. The N7510 does has a wide selection of hookups though. First off you have two Ethernet connections, one is labeled for WAN or LAN1 and then the other is a standard LAN. You can hook the N7510 up to its own internet connection used only for syncing between the NAS’ in multiple offices for example. There are four USB ports on the rear as well as an eSATA, all of them can be used to expand your storage or hook up a DVD drive or hard drive for backing up. Lastly are the multimedia connections, you get audio in and out and microphone hookups for audio and a VGA and HDMI for video.
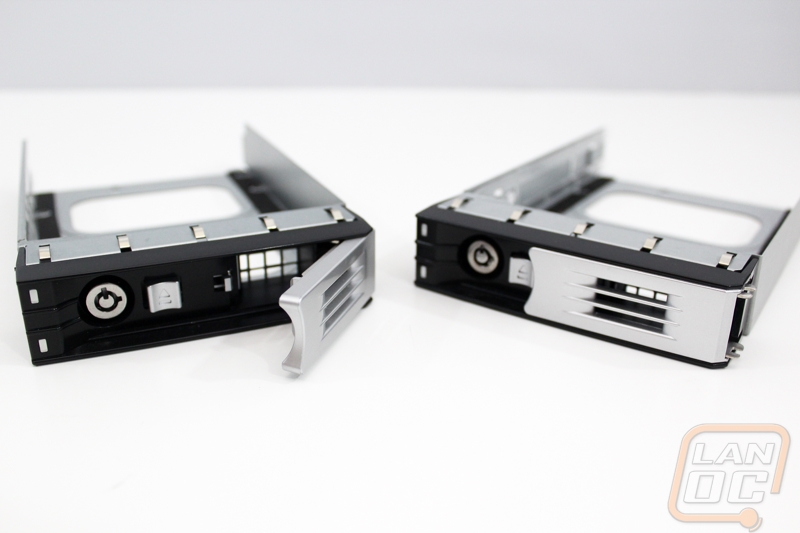
The hard drive trays for the N7510 are very similar to what I saw on the N5550, but they are flipped around with the latch on the right side not the left side. The lock is still on the left side though. Locks are important because the last thing you want to do is pull out the wrong hard drive and have to rebuild a raid. Basically when the tray is unlocked, there is a small clip that you slide over and the letch opens up and the tray slides out. The tray itself has rubber pads on the bottom to keep vibration down as well.
All seven of the trays hide behind the door that I showed earlier. Each of the trays has a small amount of ventilation as well as small holes to the left of the trays. All of this combined with the ventilation in the door itself and they are able to keep things cool.
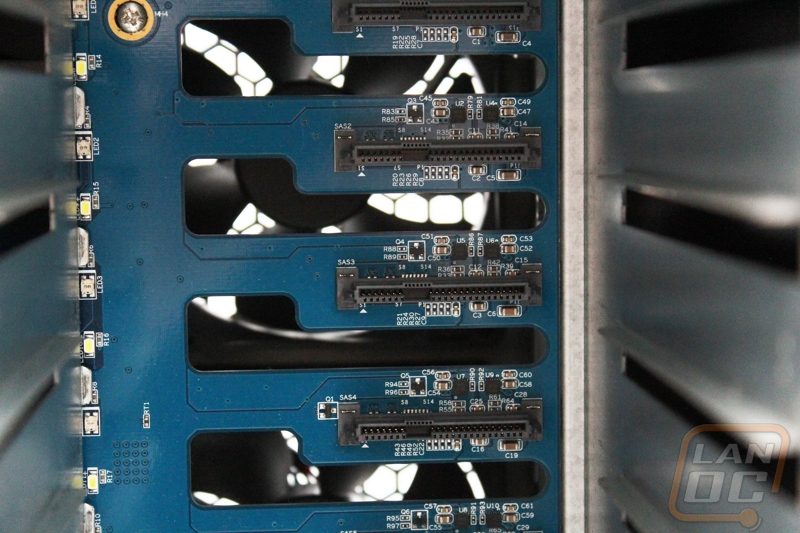
When we pull the trays out we can see all the way back to the hot swap PCB. Thecus made sure to include ventilation there as well for each hard drive. The PCB basically does what your power and SATA cables do in a normal case, but with it being hard mounted you don’t have to get in behind the hard drives to hook everything up. They plug right in when you slide the tray into place.
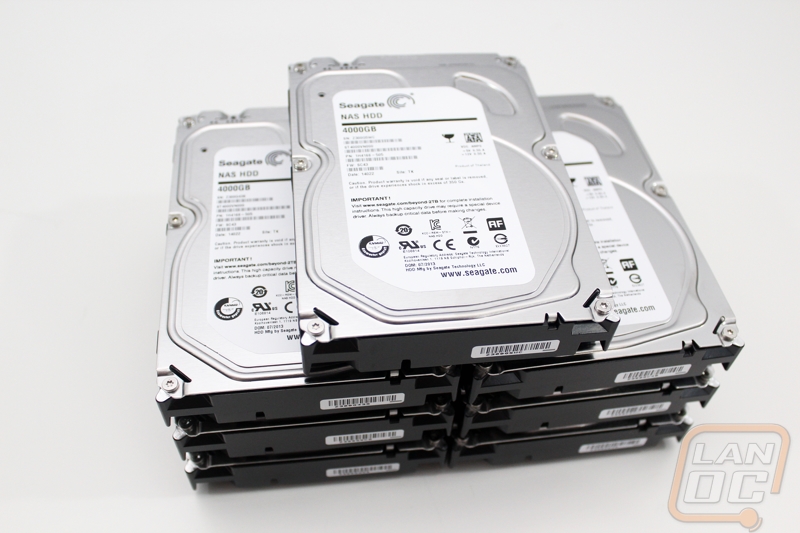
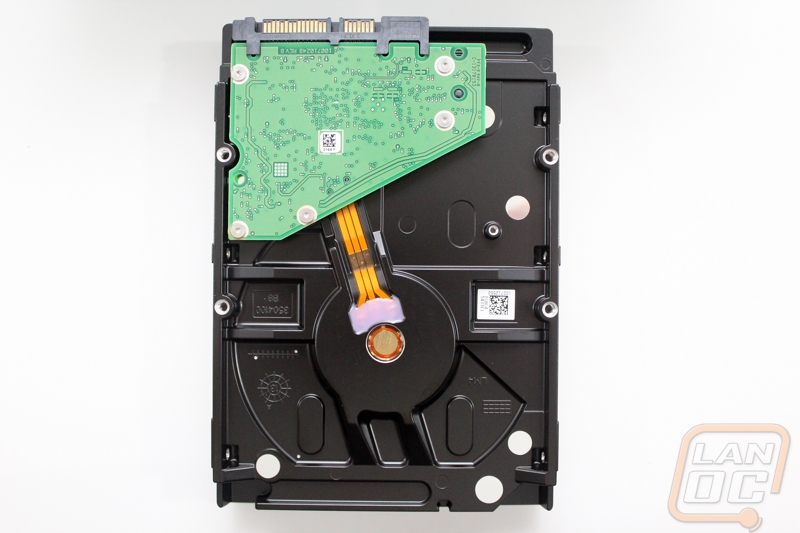
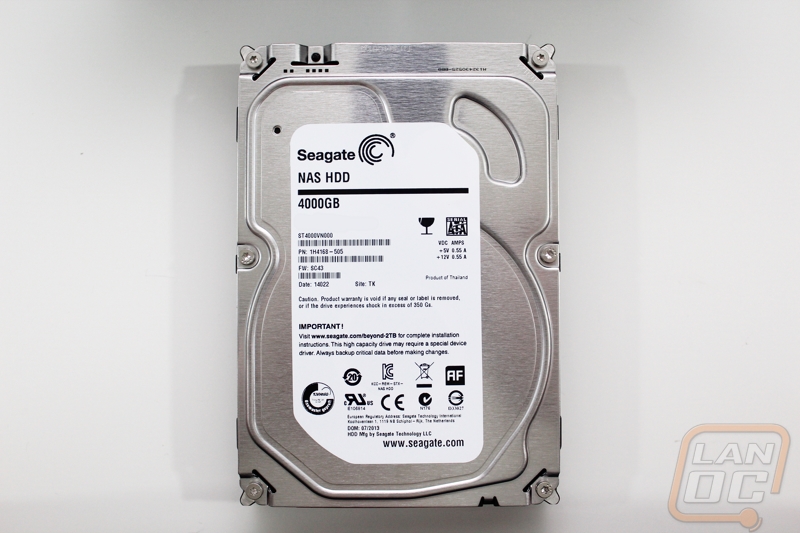
We also have photos of the Seagate 4TB NAS drives but to be honest their isn’t much going on here that you wouldn’t see with every hard drive. Seagate stuck with their basic labeling that gets right to the point with the name, brand, and capacity with all of the model and serial numbers down on the bottom half of the label. There isn’t any color coding or anything similar to that going on, not that you would ever see it once it is installed in your NAS anyhow.