Board Layout and Pictures
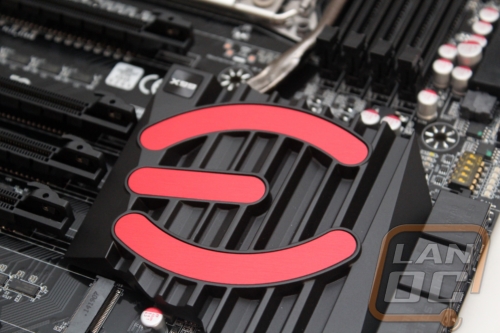
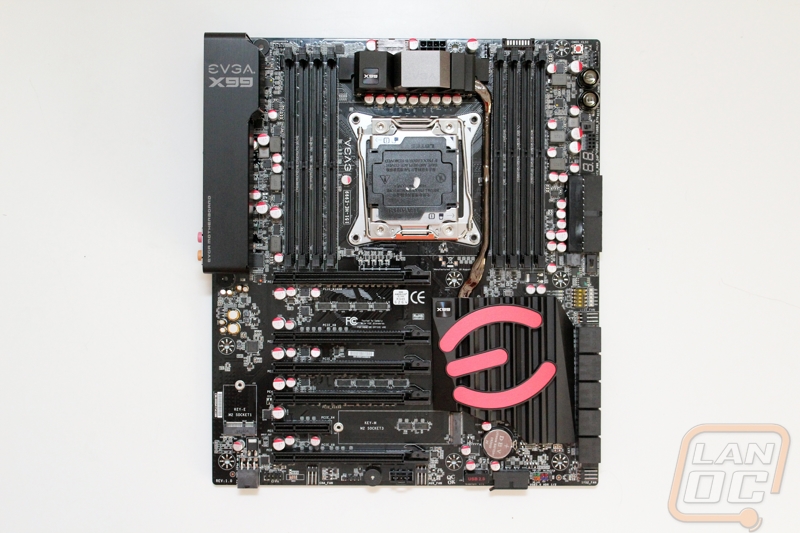
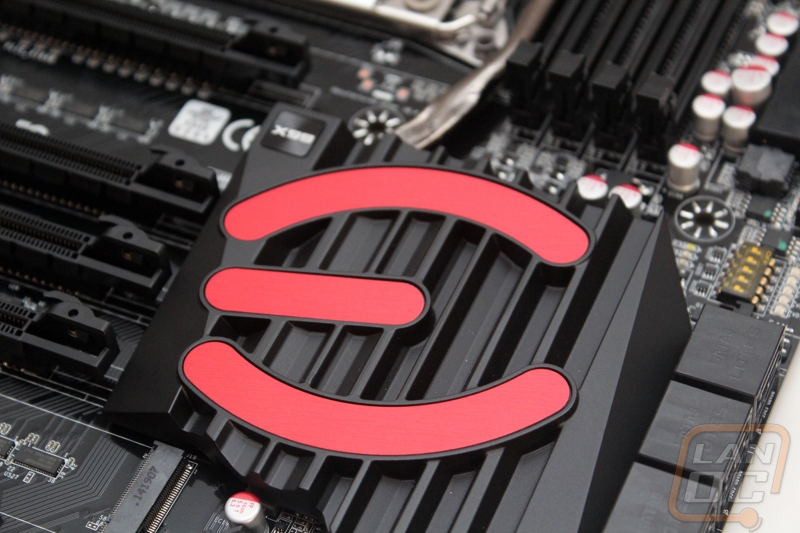
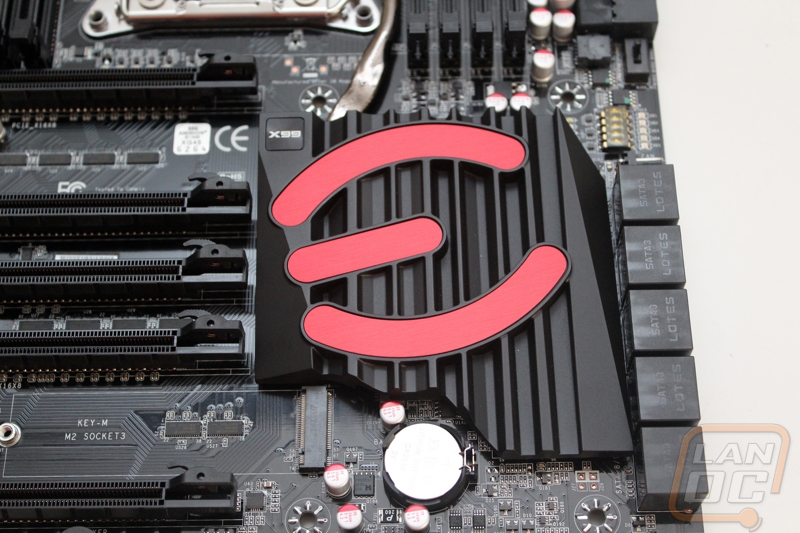
It’s interesting, the overall look has completely changed from my original Classified to the X99 Classified but I can still see a lot of the same ideas being used. The one thing I do miss are the real tower style heatsinks used to cool the motherboard down along with the glowing logos. EVGA still fit their logo in with an extremely large anodized red E on top of the chipset cooler. Beyond the red in the logo the rest of the board is completely blacked out. The rear I/O cover may have seemed silly to some people, but when paired with the rest of the board I think it brings everything together.
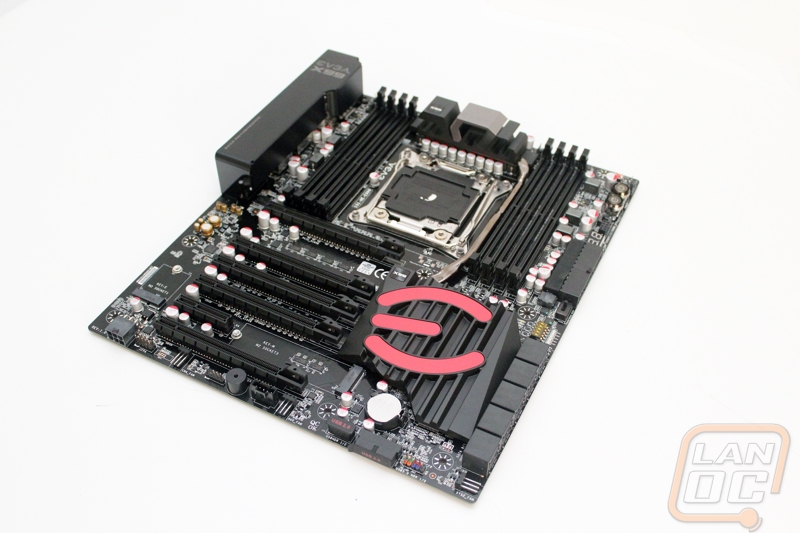
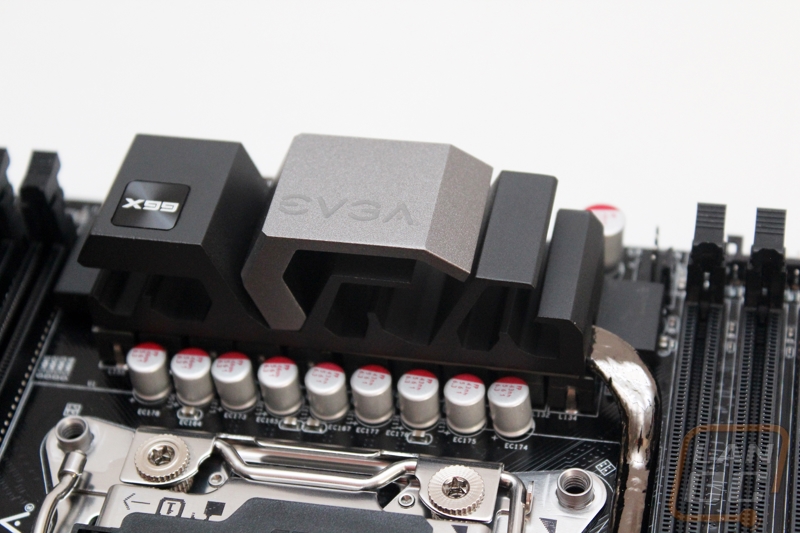
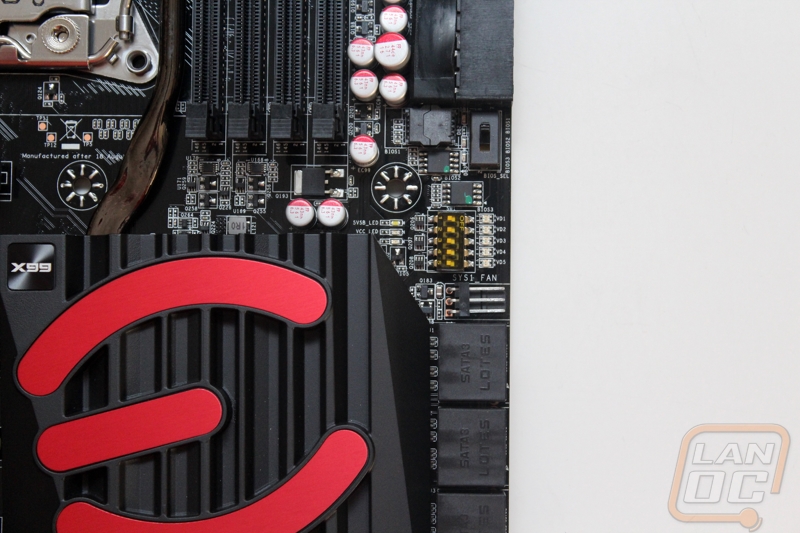
As I mentioned the cooling design has changed a lot over the years from the original Classified. That doesn’t make the either design bad at all. In fact I think they are both great in their own ways. The current design is more low profile and shouldn’t have any fitment issues with heatsinks where the old design had issues with a lot of heatsinks. The X99 Classified has a low profile black heatsink that runs next to (and under) your video cards. This is where the EVGA E logo is at in the photos. The heatsink under the E is a wedge design with a few fins across the top. EVGA used a heatpipe to go from this heatsink to the heatsink sitting above the CPU socket that coolers their 10 phase PWM. What was interesting to me is that this is all of the cooling where the Asus board had four heatsinks. I know that more of the heat has been moved to the CPU with voltage control being moved there, so there is less of a need for motherboard cooling. But being an overclocking focused board I expect a little more excessiveness when it came to the cooling. Less because it is needed and more because that is what you typically see. In the end, if It works that is all that matters!
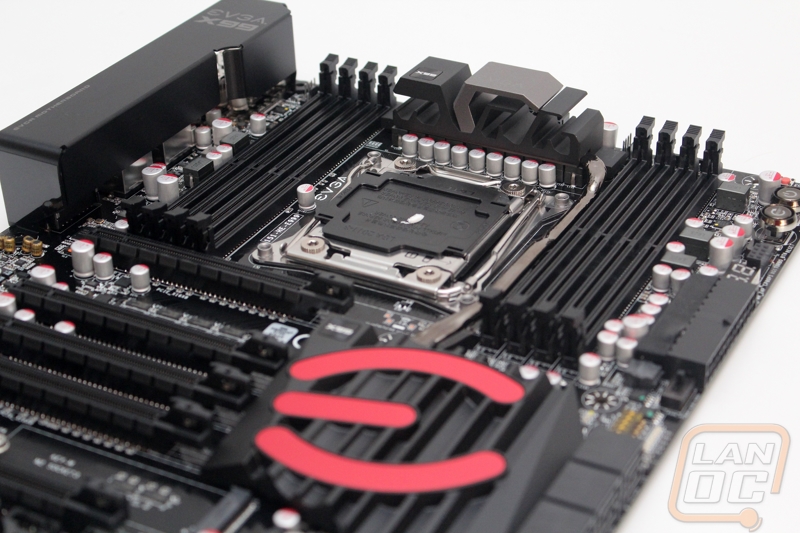
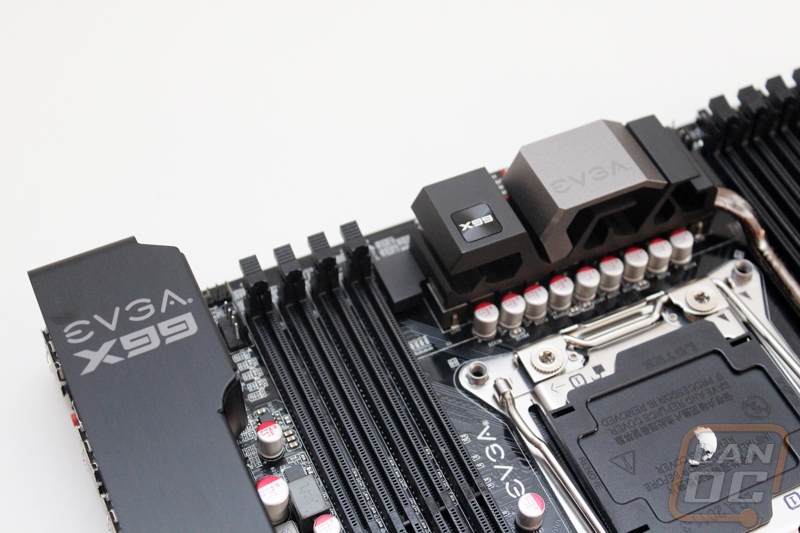
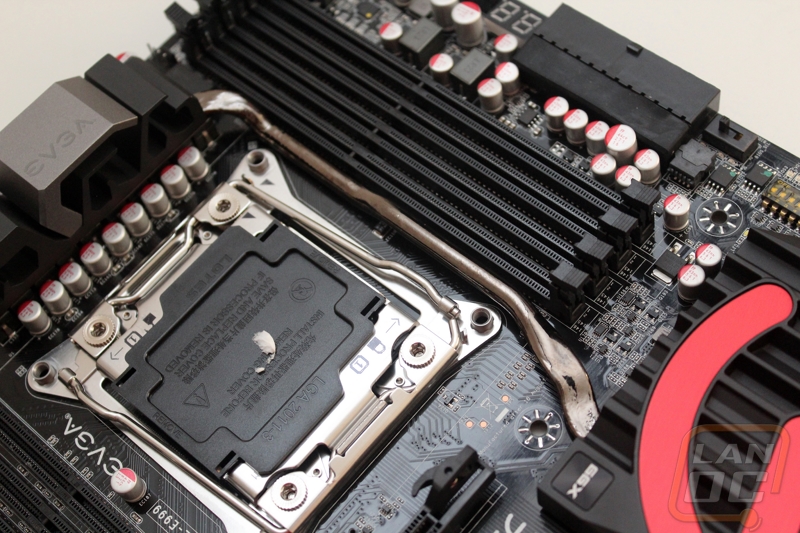
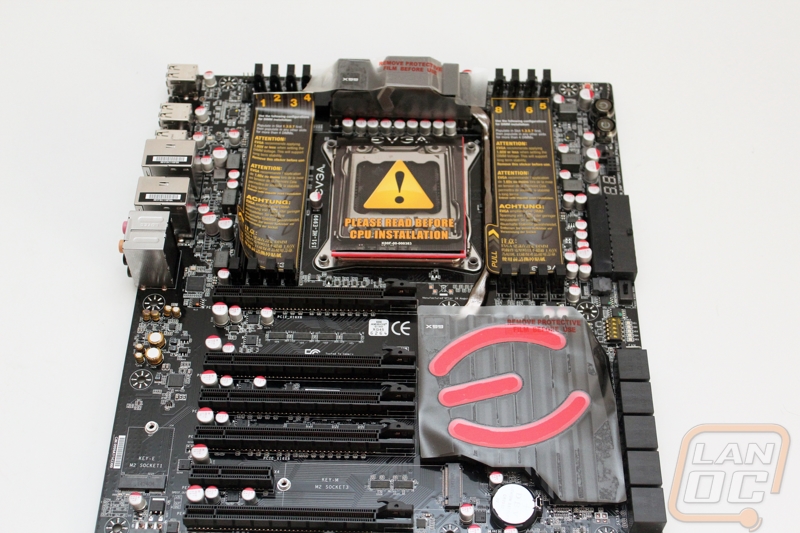
Starting up in the top left corner we have a better look at the metal cover over the rear I/O panel. Along with the four DDR4 DIMMs on the left side of the CPU socket we have a four pin fan header for the CPU heatsink. Directly above the heatink on the top you have two eight ping CPU power connections. You only need to run one, but the second will provide extra power when overclocking.

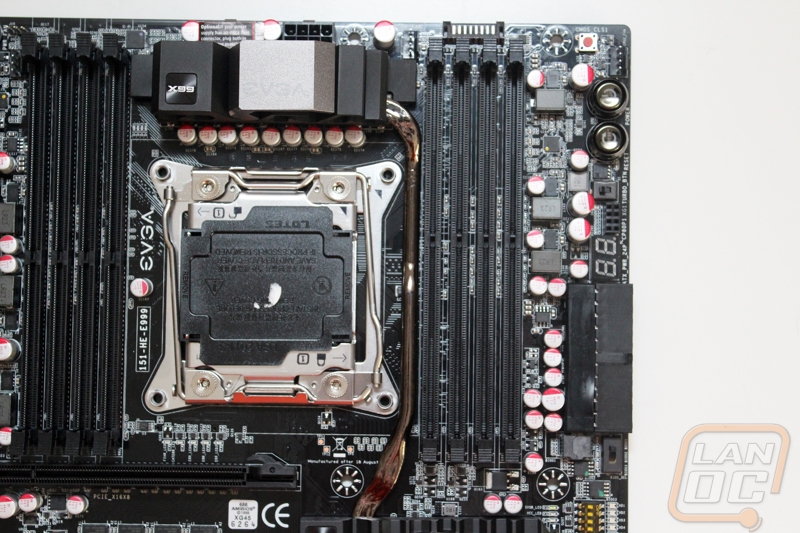
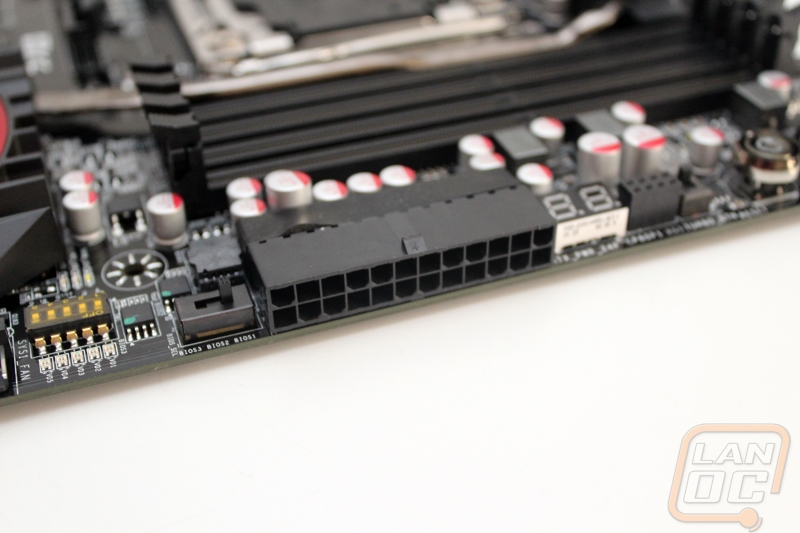
The top right has more going on than the left side did. The second half of the DDR4 DIMMs are here making a total of 8 with a max capacity of 128 when ram capacities increase in the next year or so. Right above the RAM is the plug for the Probelt cable that I covered in the packaging section. You can use this connection/cable to get voltage readouts using your multimeter. Next the tiny red button is the CMOS reset, it is a little closer to the power button than I would prefer though. Next is a second 4 pin PWM fan header. Then you have power and reset buttons that light up when the power is on. The reset button lights up when your hard drive or SSD is being accessed. Next is the Turbo switch. After that is the plug for the included GPU link cables. EVGA included an LED diagnostic readout that makes pinpointing a problem much easier when you have issues and it shows CPU temperature all the time as well. The 24 pin motherboard power connector is unique because EVGA put it at a right angle. This should make wiring a little easier and better looking.
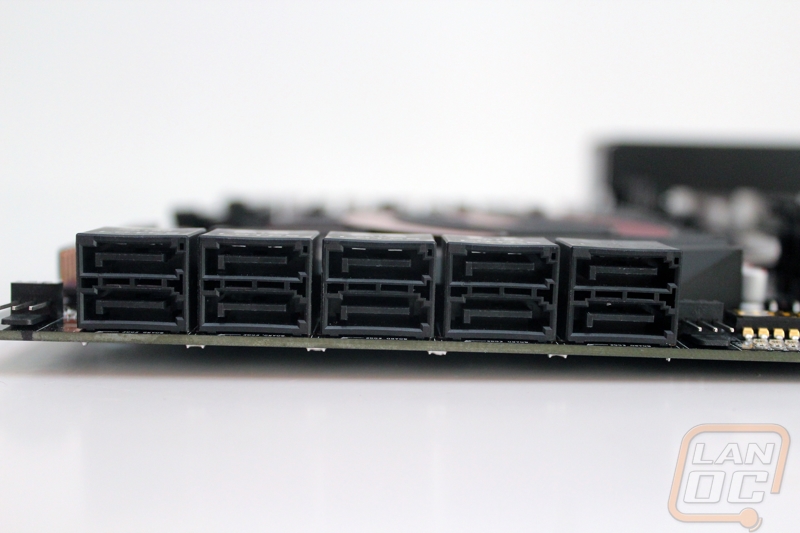
Moving down the right side slightly we have the X99 Classifieds 10 SATA 3 connections. Four of the plugs run in RAID and the other six will only run solo. All 10 of the plugs are right angled, matching a lot of the other connections on the board. Speaking of directly below the SATA plus is a three pin fan header and also one on the top of the SATA ports as well. That makes for four total so far, but these are both three pin, I’m not sure why they wouldn’t go with a PWM header. Also above the SATA ports is a small dip switch that lets you turn your PCIe slots on or off. The switch below the 24 pin power connection lets you switch between an impressive three different BIOS.
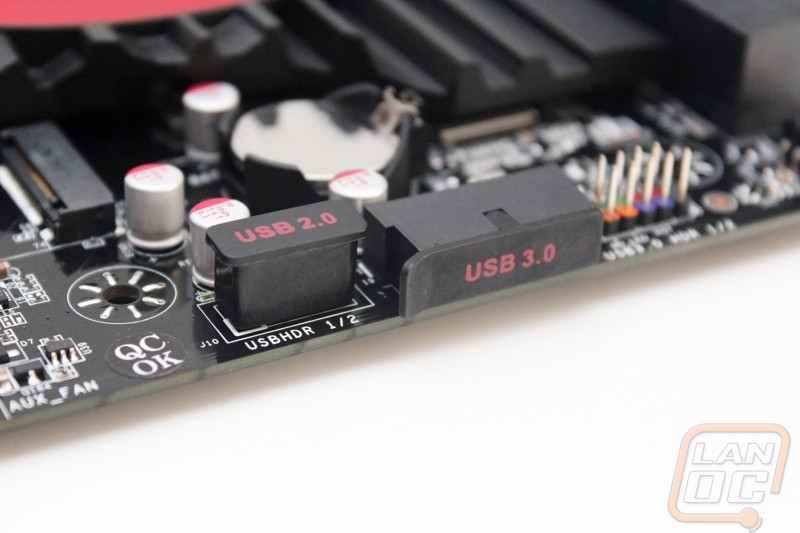
Down in the bottom right corner I already mentioned the fan header on the corner. There is a fifth header over on the left of the photo below though. We also have one front panel USB 2.0 and one USB 3.0 header. The USB 3.0 header is right angled, this is awesome, USB 3.0 cables are always the hardest to deal with. I love that the front panel connections are all color coded in bright colors to make hooking things up.
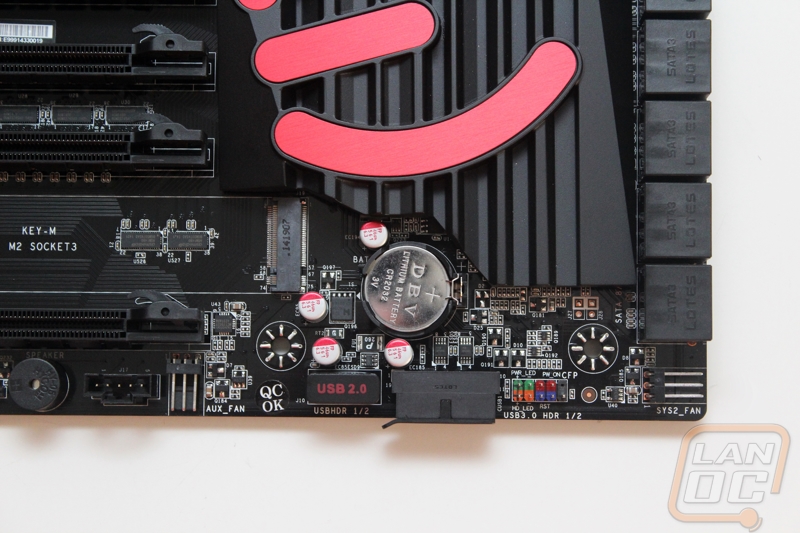
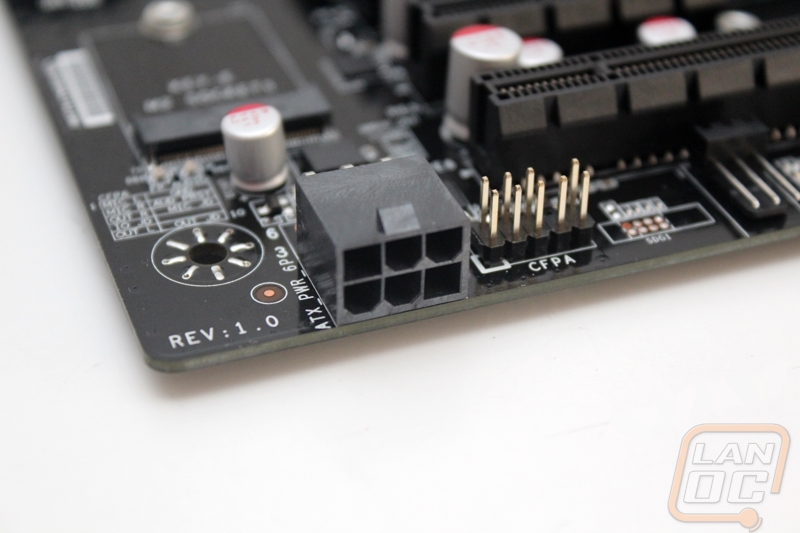
So along the bottom left edge we have a right angled six pin power connection that feeds additional power to the PCIe slots, this is especially important when overclocking. The sixth and final fan header is down here as well, it is also right angled and only three pins. So the total count is 6 with four three pin right angled headers and two normal four pin. Also down along the edge is the front panel audio connection and a system speaker. Slipped in around the PCIe slots are two M.2 slots, one is the a Key-M and the other is Key-E. Key M provides PCIe ×4 and SATA while key E provides PCIe ×2, USB 2.0, I2C, SDIO, UART and PCM.
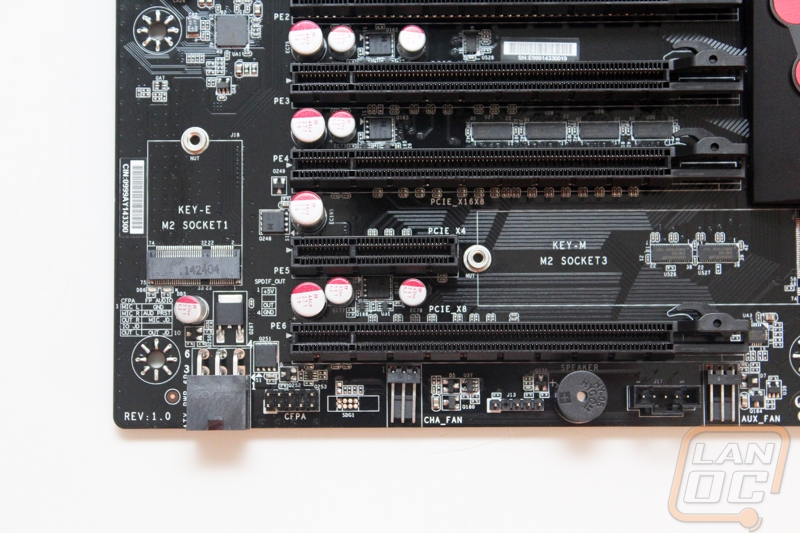
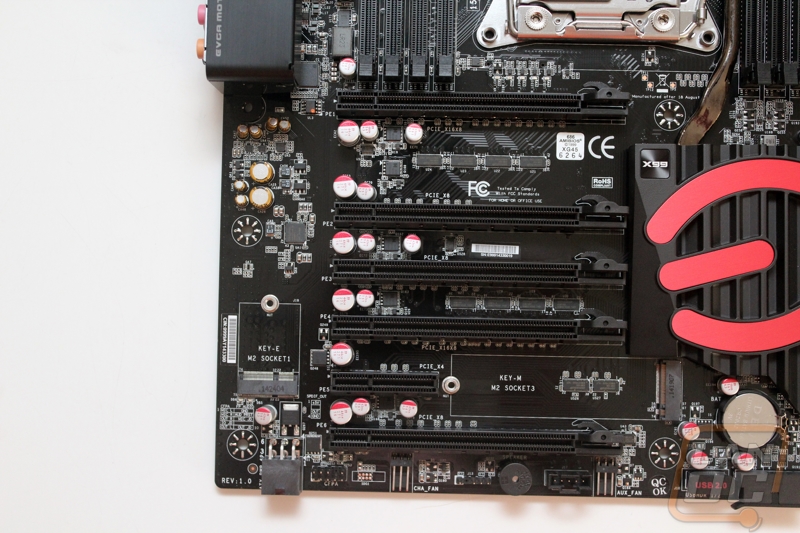
For PCI slots EVGA has included five PCIe x16 slots and one PCIe x4 slot. This gives you a little flexibility in how can arrange your multiple GPU setup. Assuming you are running one of the two CPUs that support 40 PCI lanes you can hook up two video cards and get full x16 bandwidth on both slots. Moving up to three and four slots used drops all of the slots down to x8 though. Just to the left of the PCI slots EVGA also slipped in their M.2 slot up under your video cards. It will be harder to get to when everything is installed, but it is a very creative place to slip it in.
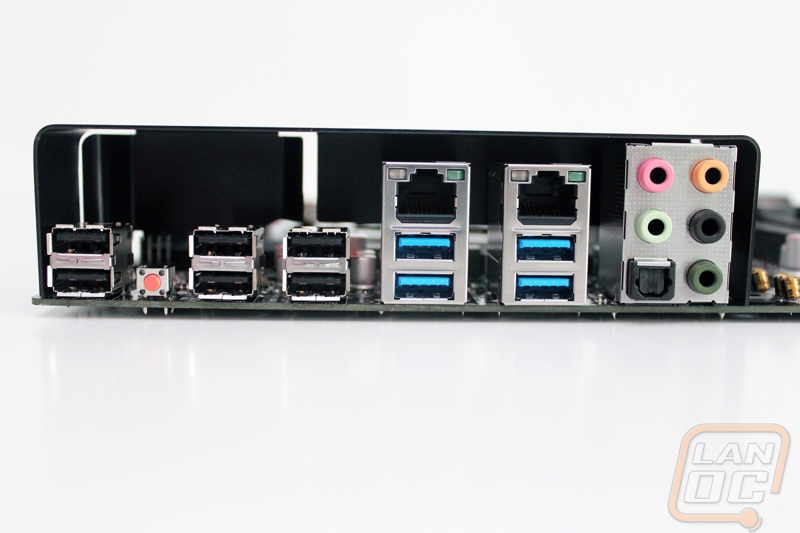
In comparison to the Asus board there isn’t very much going on for the rear I/O panel on the Classified. You get six USB 2.0 and four USB 3.0. This was the biggest surprise really, the X99 chipset added a lot of USB 3.0 ports but EVGA didn’t really put them to use. You do still get two Intel network cards though and just like Asus you get two different network chipsets to run them. One is an Intel i217 and the other is the Intel i210. For audio we have a standard five port configuration with an optical connection in the sixed spot. Last but not least there is a tiny red button over on the left for resetting your bios.
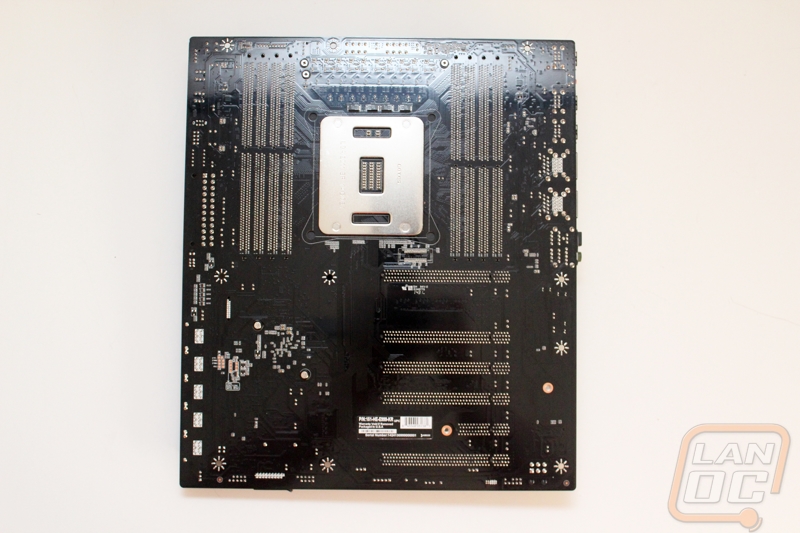
Once flipped over we can see the black PCB a little better. The X99 from Asus that I also reviewed also had a black PCB but they went with a flat finish where EVGA went with a glossy finish.