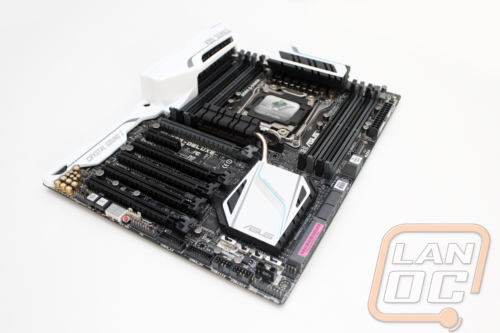
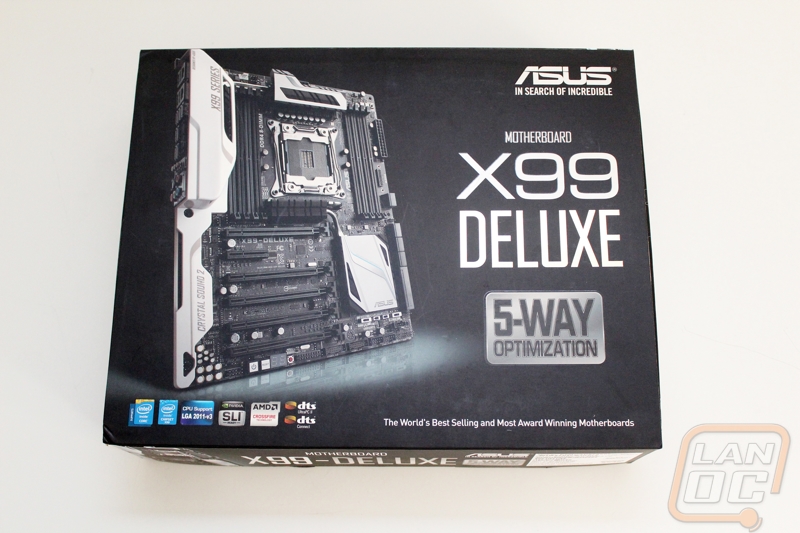
Packaging and Accessories
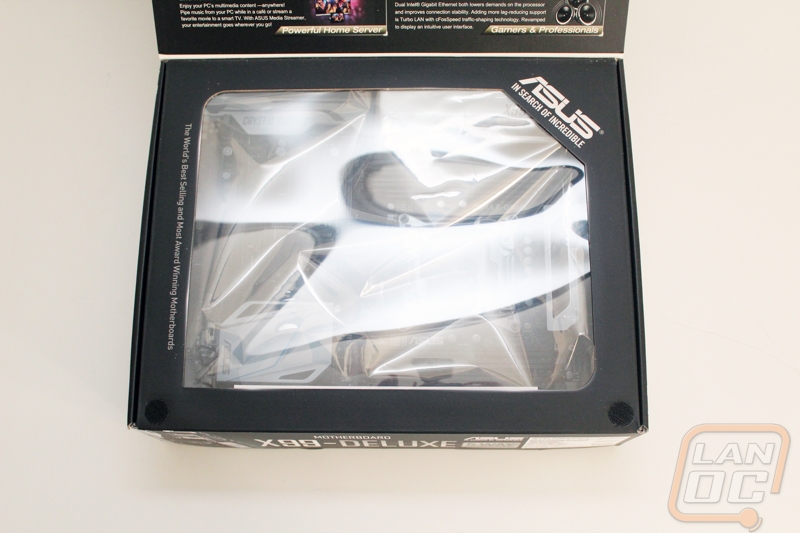
Right away when I saw the packaging for the X99 Deluxe I was happy to see that Asus changed things up and didn’t go with their standard packaging. The swapped the branding on the front to white to match the motherboard and the rest of the front is completely covered in a photo of the actual motherboard that is inside. Not only does this make it much easier to see what you are getting, I really feel like Asus is putting everything out there with nothing to hide. I really hope they continue this into future models. I don’t want to buy a box and get home to find out that the board inside is boring and unexciting when the packaging told a different story.
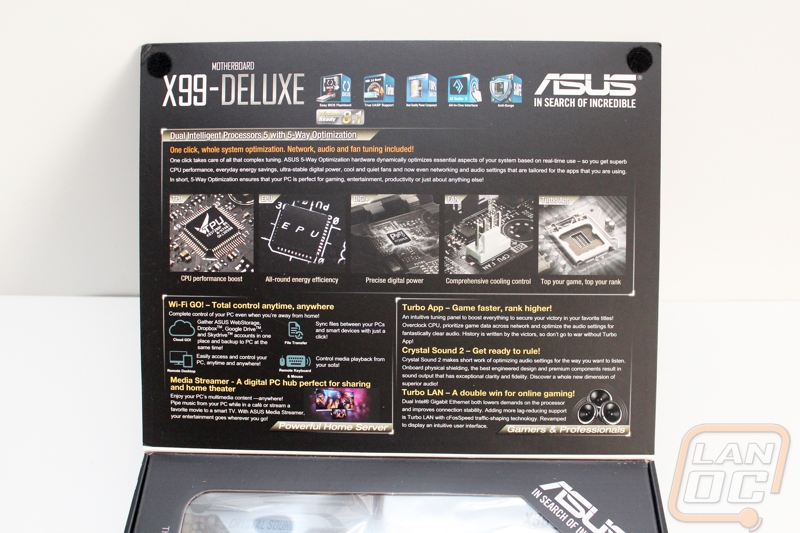
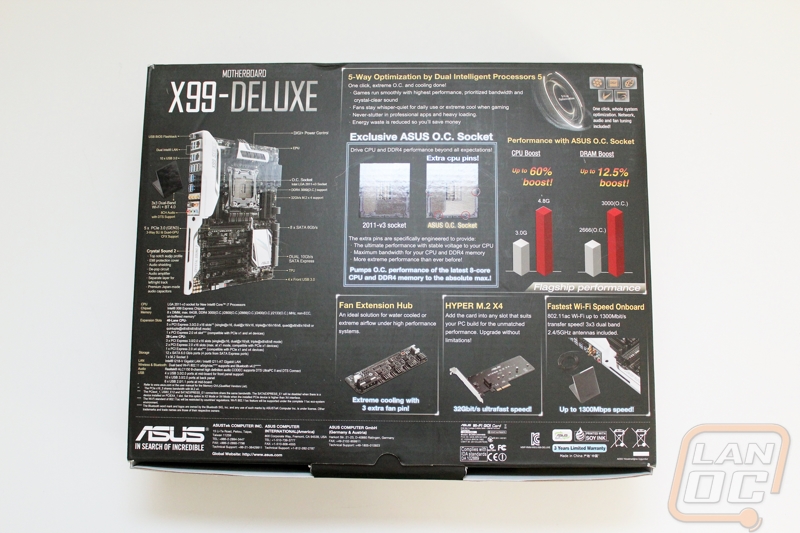
The front opens up to a window giving you another view of the board inside. Inside the flap they dig into what sets Asus motherboards apart, features like their Dual Intelligent Processors 5 with 5-Way Optimization, Wi-Fi GO!, and other features. Each has photos along with short write-ups explaining everything. There is more information on the back of the box. I really like that there is a photo of the board with lines pointing out different features. They also include a specification listing on the back to make sure you have all of the information you need to make an informed choice.
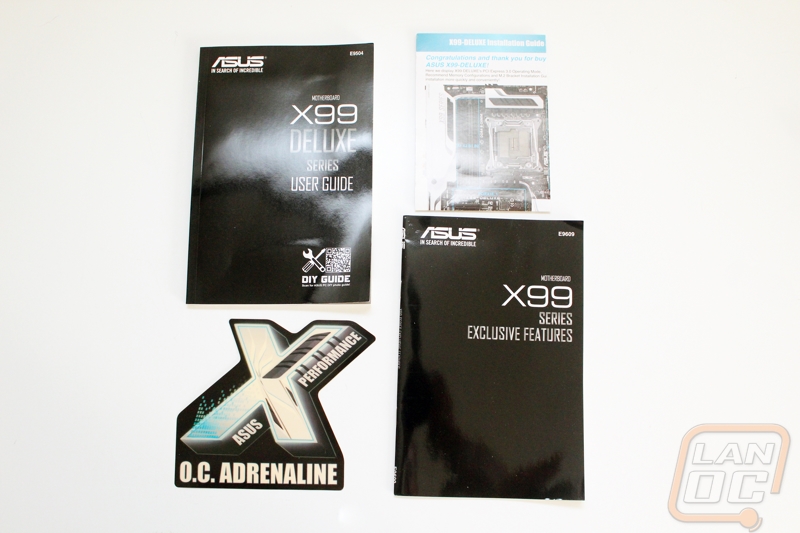
One of the things I love about the enthusiast chipsets is when you pick up a motherboard you get more than just the I/O panel and the motherboard. The focus on people who really care about their computers generally means extra features, toys, and sometimes a little swag. With the X99 Deluxe Asus packed in a crazy amount of accessories! For documentation, you get a full user guide and a second book that covers the exclusive features. Asus always tries to teach you about what they pack into their boards, you have to do this when you pack so much into your boards. You also get an installation guide poster and a sticker.
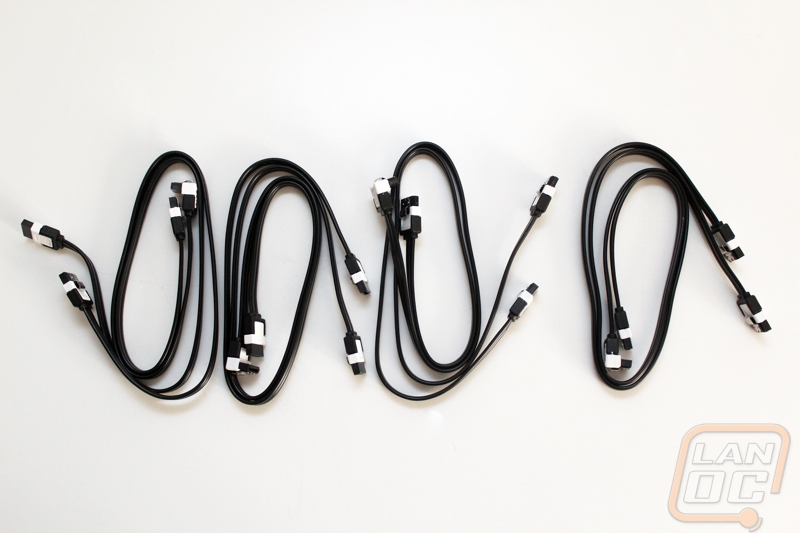
Considering the number of SATA connections on the X99 Deluxe, this collection of SATA cables that it came with wasn’t a shock. You get eight cables total with half of them having a right angled connection on one end.
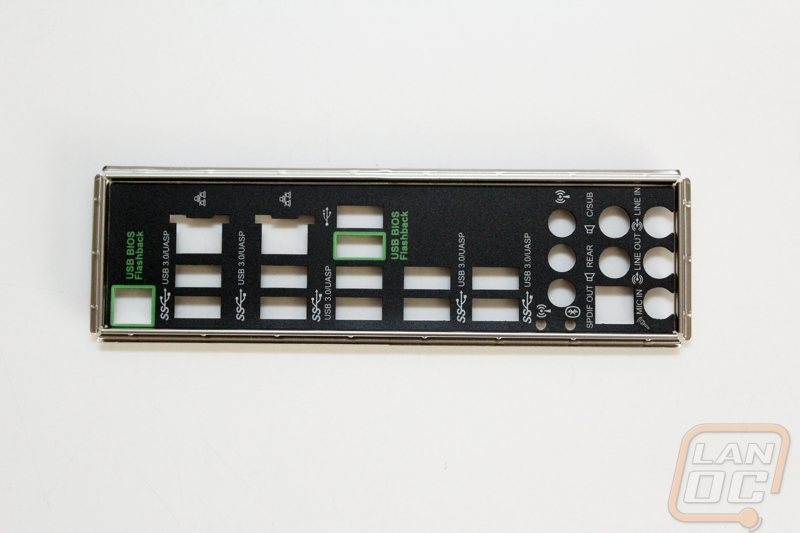
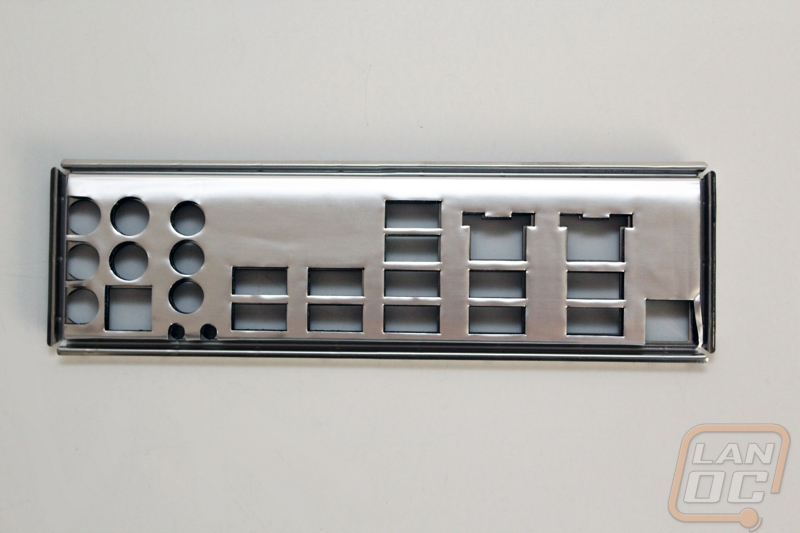
The rear I/O panel is clocked out but has a few color coded connections on the rear as well as labels on each connection to help you figure things out if you need the help. On the back Asus went with a foam design over those annoying metal springs that catch on everything.
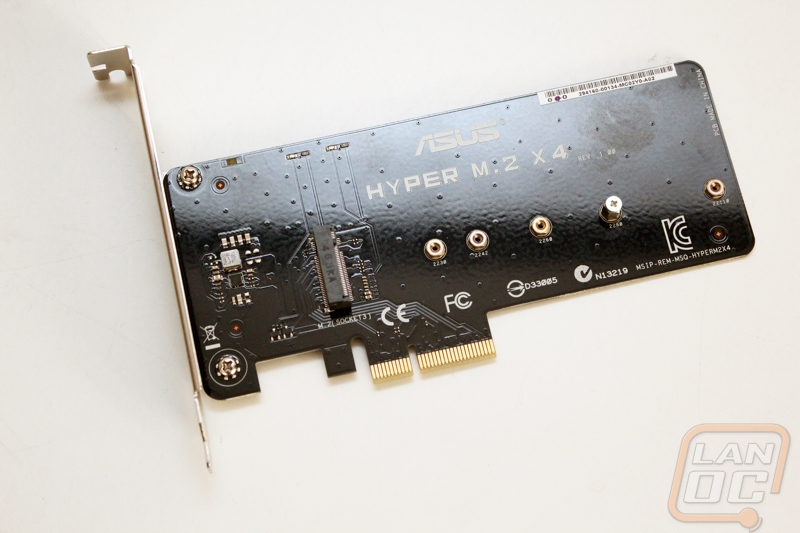
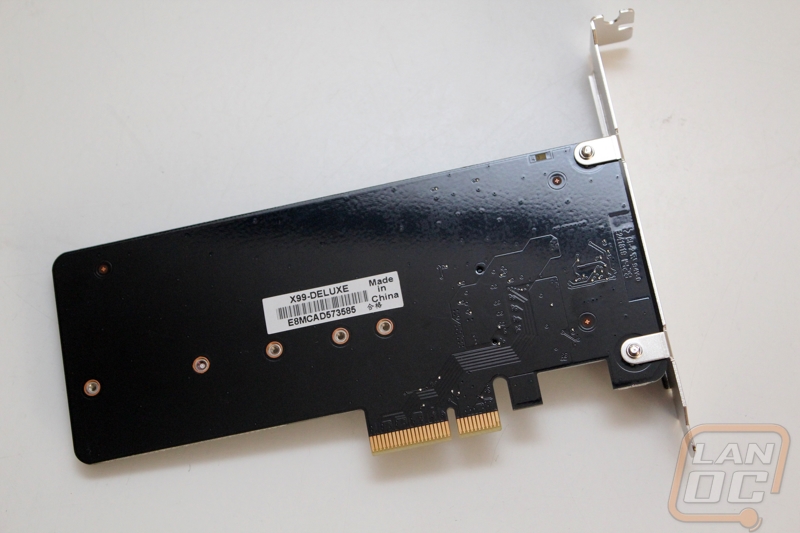
Asus even bundled an M.2 PCIe adapter. This gives you a second M.2 slot to go along with the vertical one built into the board. The PCB is all blacked out so it will blend right in should you need to use it.
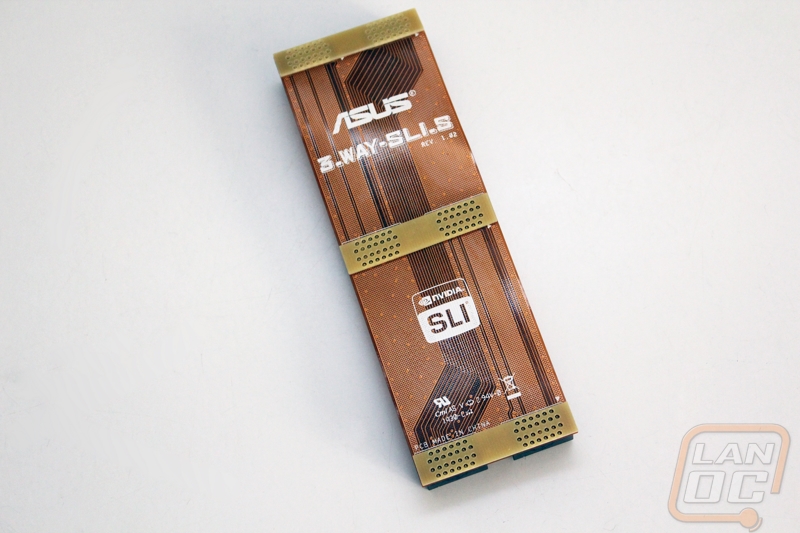
I was a little bummed to see that the 3 way SLI bridge is that funky bronze color. With it being double wide black or white would blend it much better and go with any build.
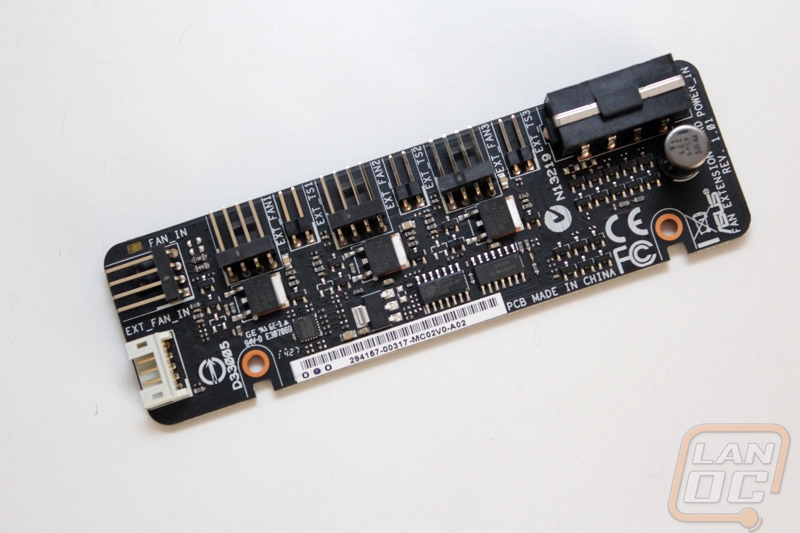
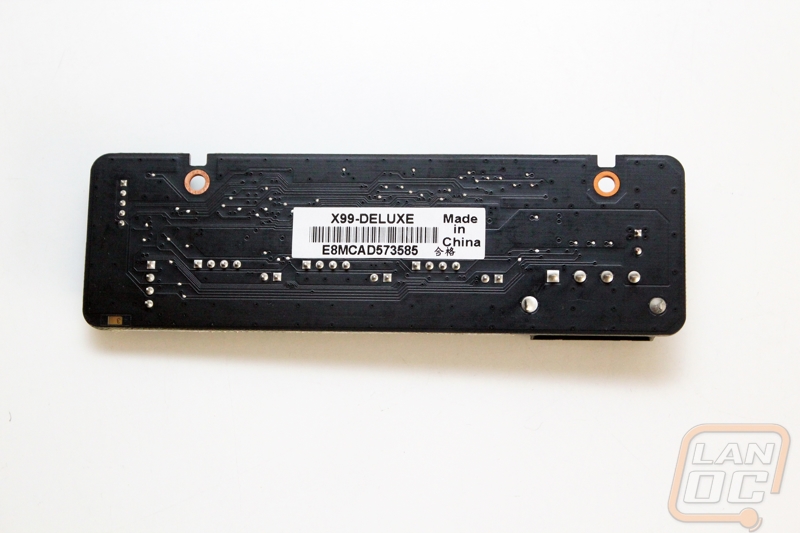
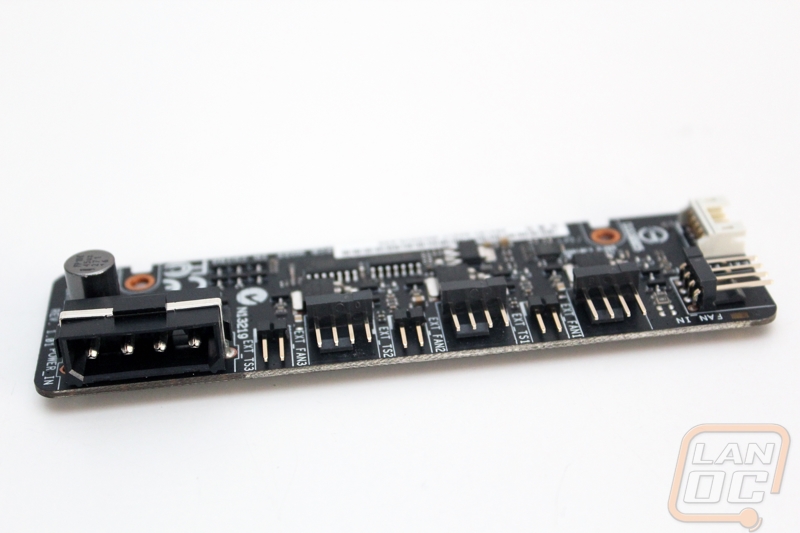
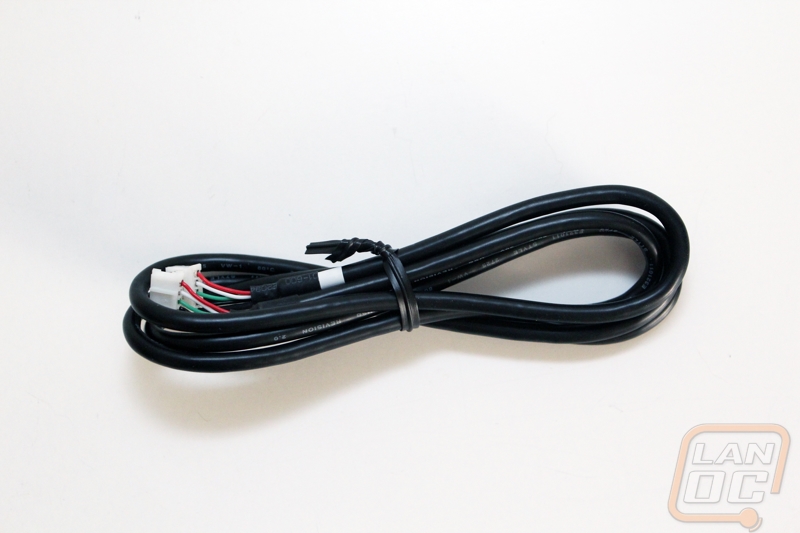
Asus motherboards typically have more than enough fan headers for just about any build other than my fridge build with 17 fans. If you don’t have enough with the X99 Deluxe, they went ahead and included a PCB with four more four pin PWM fan headers. To hook it up you have to run a Molex over to it as well as hook up the cable included to the white plug on the left side of the PCB. There are also three plugs for thermal sensors, Asus even included the sensors as you will see in a minute. The best part is that all of these fan headers are still controllable via Asus’s software, this alone makes this a much better option than getting an aftermarket fan controller.
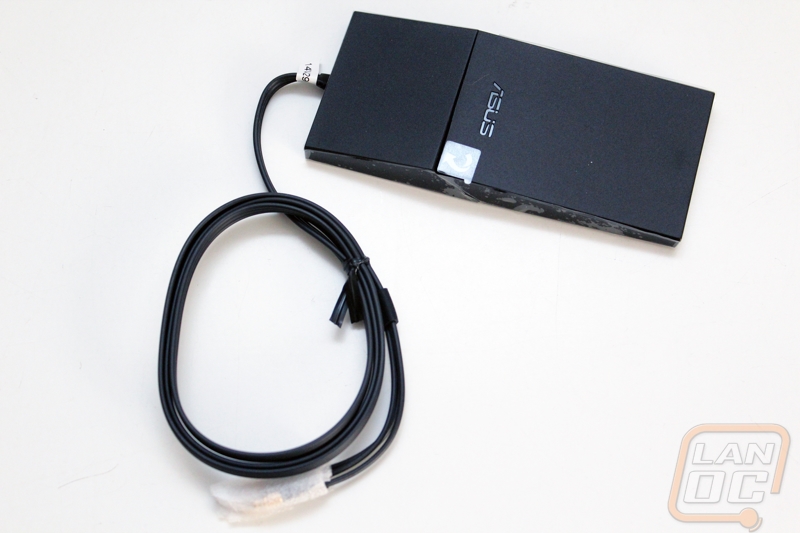
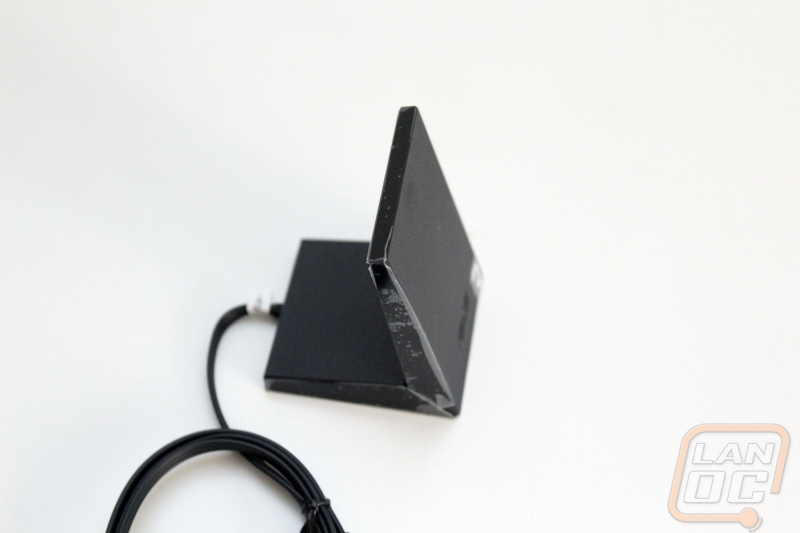
In order to take advantage of the three transmitters built into the X99 Deluxe’s AC Wireless adapter you have to use the included wireless antenna. Other than the third connection it looks a lot like the other antenna’s that Asus has included in the recent past. I love the design though; it has a magnet built in to keep it from moving around if you put it on your PC. The design actually twists allowing it to sit on your desk as well.
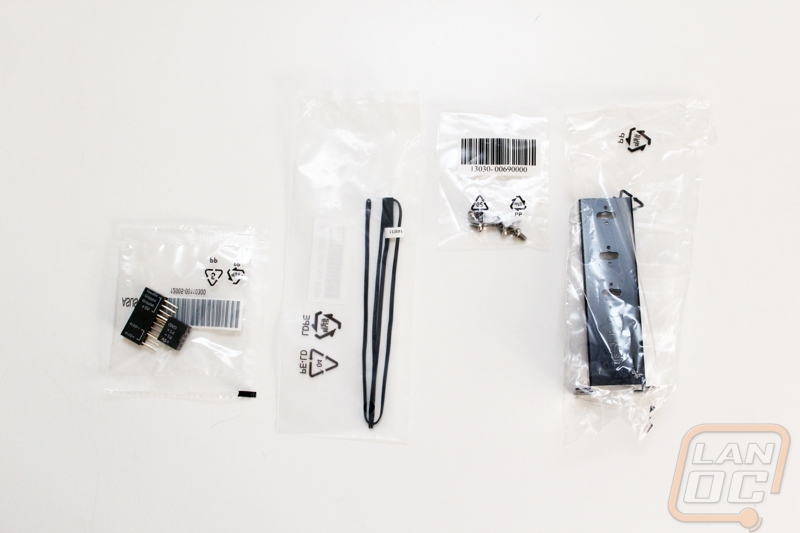
The rest of the accessories are a little random. Over on the right is the mount for the vertical M.2 slot that is built into the board. You will need to use the mount to support the M.2 SSD. If this doesn’t fit in your case you will have to use the PCIe card that was included as well. The black cables are thermal sensors that plug into the fan extender and over on the left we have the front panel connection helpers to make hooking up your front panel plugs easier.