Board Layout and Pictures
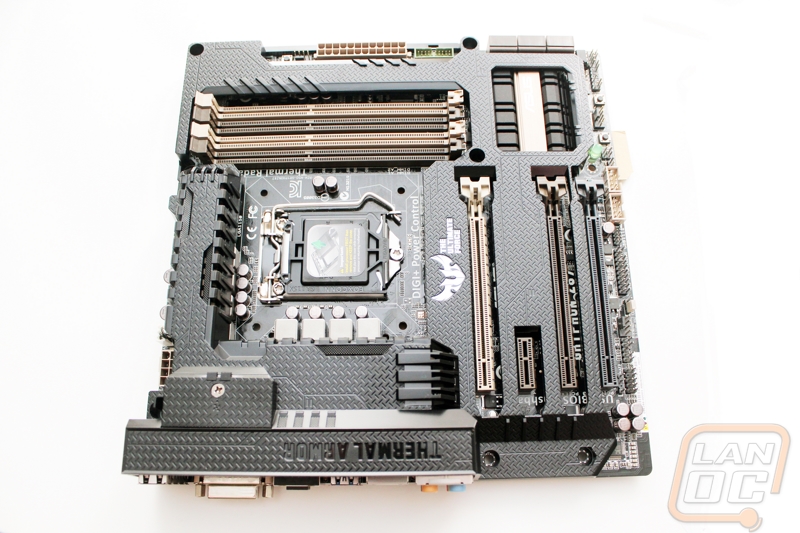
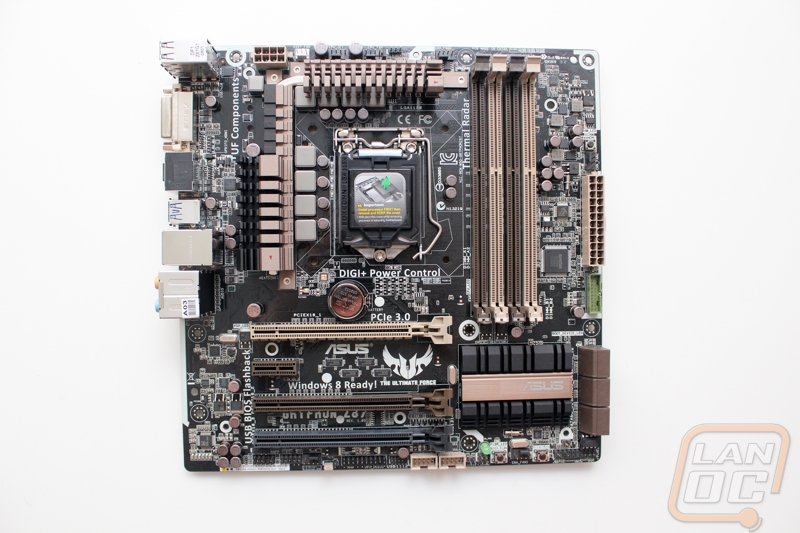
It’s a little weird seeing a TUF series motherboard without its armor but I will be honest the Gryphon looks great. The brownish color they went with is dark enough that it doesn’t draw to much attention while the heatsinks they went with are still very eye catching. The TUF look goes great with the Micro-ATX form factor, just like it does with the full ATX Sabertooth models as well. I’m excited to see what all Asus managed to fit on the smaller board.
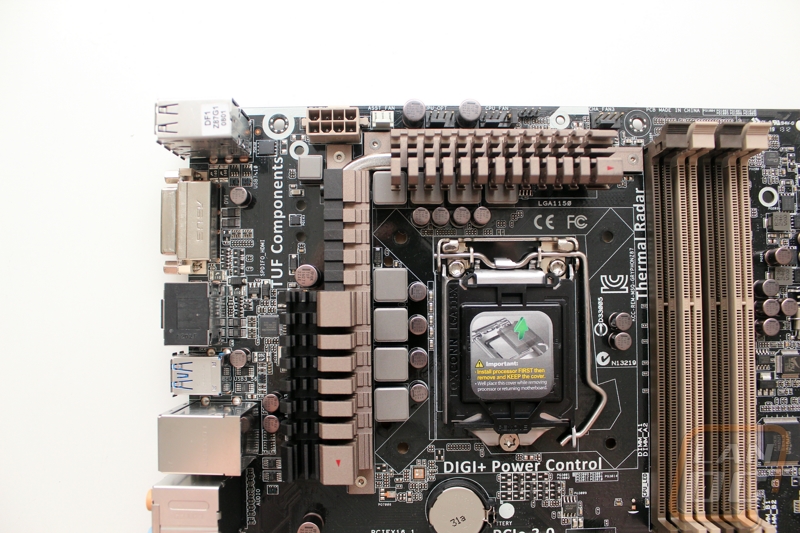
Starting up in the top left corner, just behind the rear I/O panel but up on the boards edge we have the 8 Pin CPU power connection. To accommodate the possibility of people using the Armor on the Gryphon there are a few more fan headers up on the top than what we normally see. We see four fan headers total with three of those being four pin PWM headers labeled for the CPU, CPU optional, and a case fan. The fourth header is the odd man out being the only three pin fan header I have seen on an Asus board in two years. This is actually for the small assist fan that comes with the Gryphon’s armor kit.
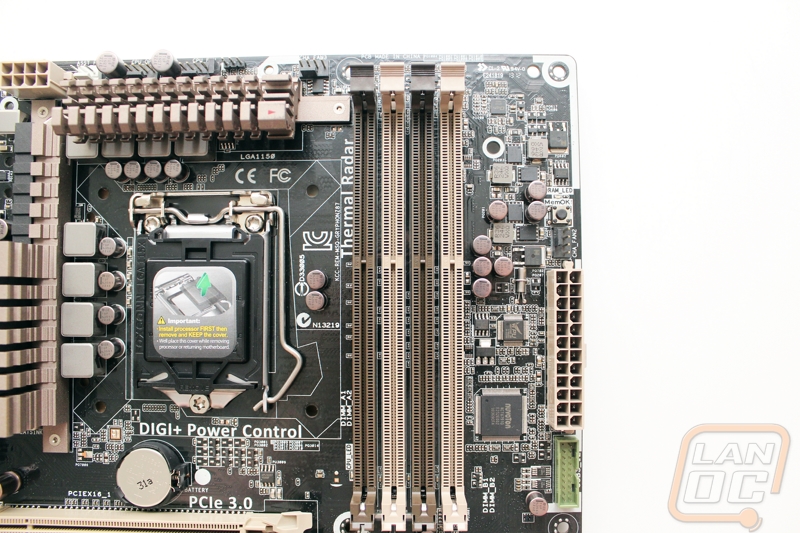
Here in the top right corner we first have the board four DDR3 DIMM slots. There are only latches on the top of each DIMM, a design that Asus has been going with for a while. The slots are dark and light brown but you can put your ram in any of the slots and still get dual channel if you would like. We have another four pin PWM fan header sitting just above the boards 24 pin power connection making a total of five fan headers so far, I expect that number to keep growing. Just above the fan header is the MemOK button, when you press this button the board will downclock your ram until your system will boot up. This comes in handy when you have RAM that defaults to a higher speed than your board likes. Just above the MemOK button is also a small DRAM LED that will light up while your PC boots when the system boot reaches ram checks. If your PC doesn’t complete boot you can look at the board and see the area that is giving you a problem glowing. Lastly we have an oddly colored green internal USB 3.0 header that is facing up. I am getting a little spoiled seeing some boards with right angle USB 3.0 headers; I hope we see this on boards like the Gryphon in the future.
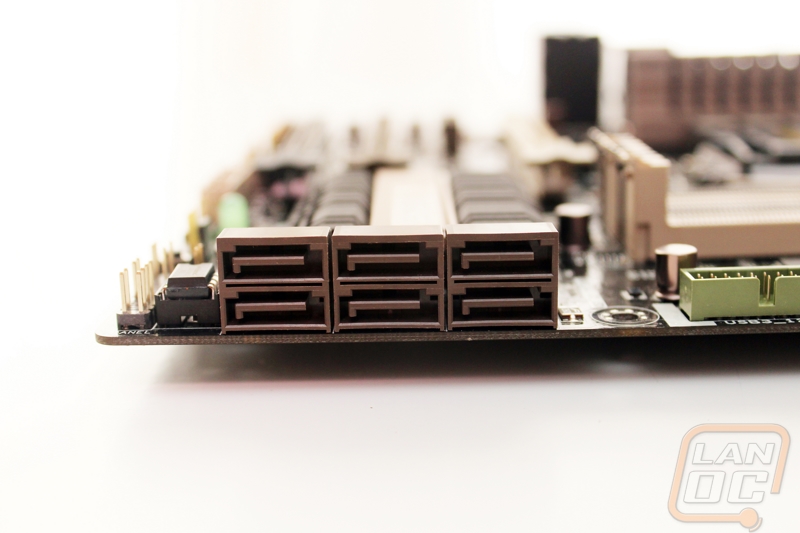
For SATA ports the Gryphon is sporting six SATA 3 ports, you won’t have any worries about trying to plug your SSD into an Intel controlled SATA 3 port. They are all run on the Intel control and all SATA 3, plug away.
The lower most right corner has the front panel connections, Asus included their Q Connectors to help make hooking up the front panel connections easier. This is good because the labels on this packed motherboard are very tiny hard to read. To the left is the DirectKey, a button that will hard reboot your PC and take you right into the Gryphon’s UEFI. Next we have PWM fan header number six sitting next to the BIOS flashback button. This button will let you update the boards bios using a flash drive plugged into the motherboard. It is especially interesting because it will actually work without a CPU or ram even being hooked up. This is a great feature to help avoid issues like we have seen in the past where upgraded CPU’s come out that require a BIOS update to work, if you buy the board and only have the new CPU you need an old CPU to be able to run the update. It also means that it will be easier to fix corupted UEFI's meaning less RMA's and better customer service for Asus. Next to the flashback button are three two pin headers. These are all additional sensor hookups that are specific to the TUF Series of boards. We talk a little more about those sensors in the cooling section of this review though. Last we have a few internal USB 2.0 headers for your front panel connections as well as any internal devices you might run that need an internal USB 2.0 connection.
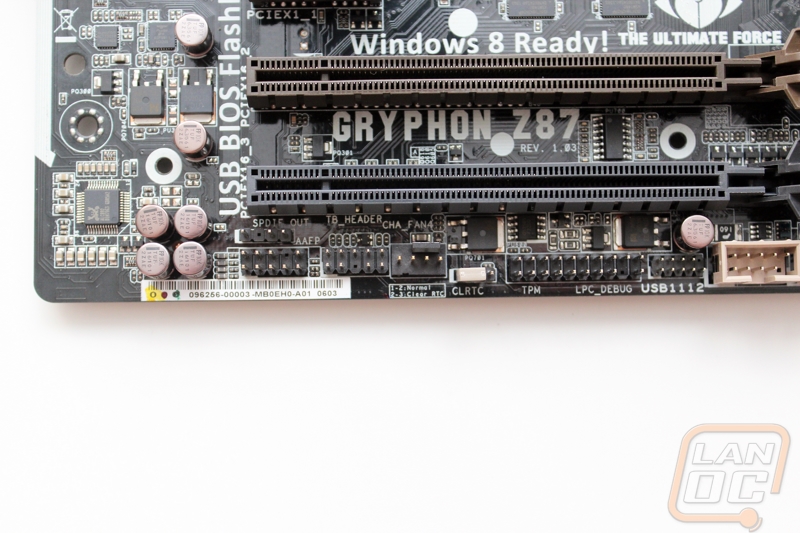
On the far left of the bottom left corner we can see the audio chipset but there isn’t anything special going on there. Up under the PCI Express x16 slot you will find the front panel audio connection and SPDIF Out header. Next to them you will find a thunderbolt header that is only used if you decide to add thunderbolt later via an Asus add in card. Next we have our final four pin PWM fan header making the Gryphons total 7 fan headers with all of them but one being PWM. Next is a small clear CMOS jumper and the TPM or Trusted Platform Module that can be used for debug modules.
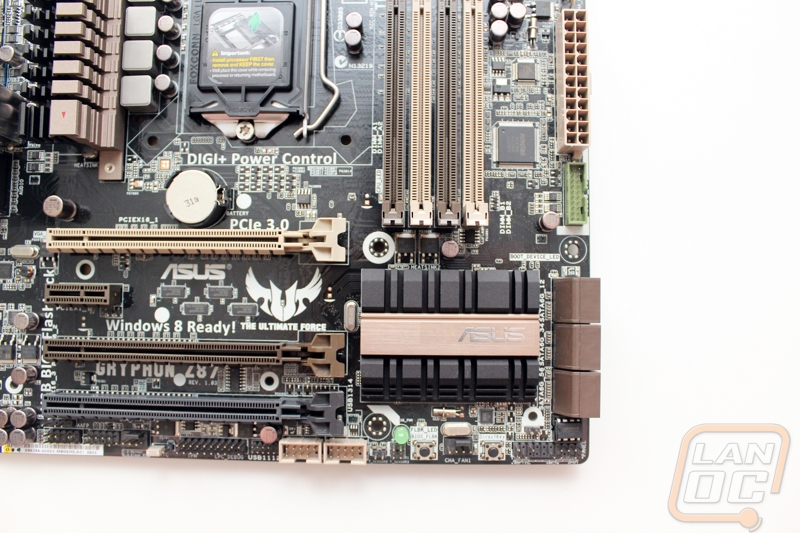
Being a Micro ATX motherboard Asus was a little limited on their options for the Gryphon. Rather than pack the board full of PCI Express x1 slots like the full ATX board. They took the three PCI Express x16 slots and packed them all on fitting one x1 slot in the mix as well. The top slot is a x16 slot, unless you run a second card. When you run a card in the second x16 slot they will both run in x8 mode. The last grey x16 slot is electrically an x4 slot for use with other devices if you need it, of course being right next to the middle x16 slot you won’t be able to put this to use if you are running two video cards, unless you are using single slot water cooling blocks.

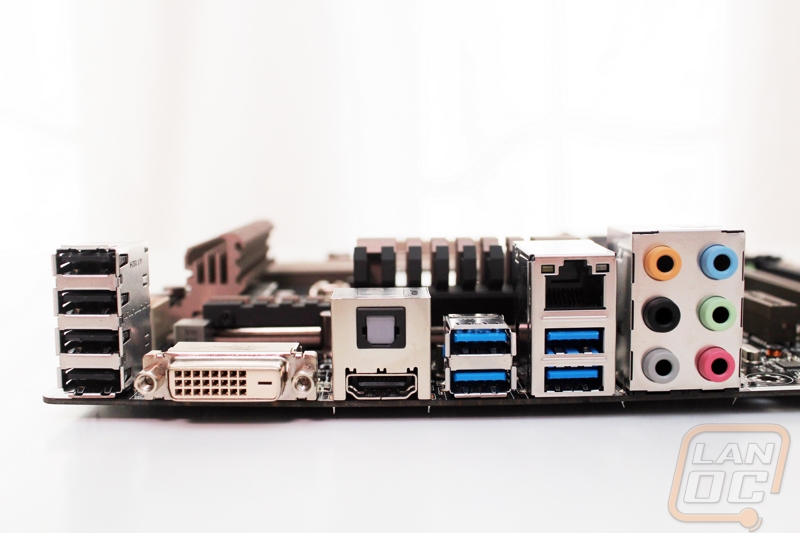
Interestingly enough on the rear I/O panel for the Gryphon there are a few things different. First we have four USB 3.0 ports where on all of our other Z87 boards we have seen six. Asus traded the extra two in for four USB 2.0 ports. This shouldn’t be a deal breaker for most because you are still going to have a few products like your mouse and keyboard that will only take advantage of USB 2.0 anyhow. But if it were me, I would want all USB 3.0. The Gryphon doesn’t have any wireless adapters or anything crazy going on here on the back. Asus has left a large opening above the DVI port for airflow when you run their thermal armor. Because of that the back I/O is a little limited. We still have DVI and HDMI for video connections but no DisplayPort, I doubt anyone will be upset about that one though. You have a standard 6 plug audio panel as well as an Optical S/PDIF out. Last but not least they went with an Intel Ethernet controller, like all of the other Asus boards we have seen in the past few years. Considering the non-Asus boards we have seen so far on Z87 all had Killer NIC’s I am happy to see the Intel NIC.
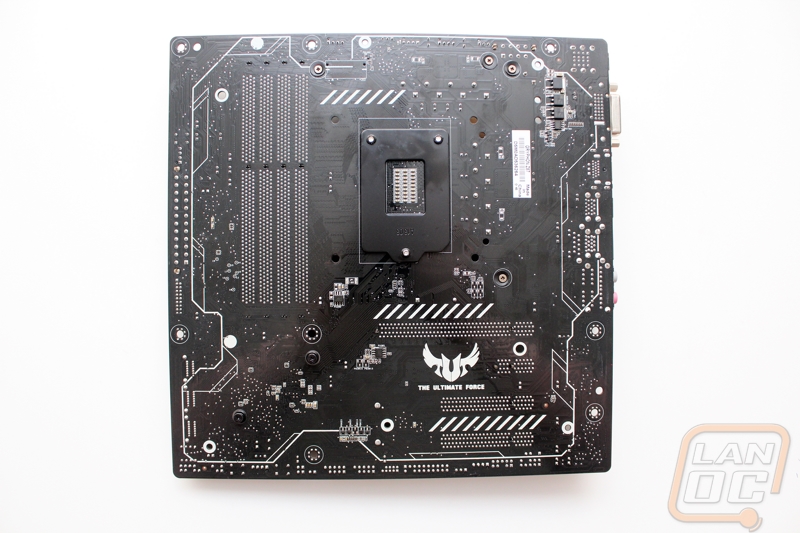
Without the armor on the back you can actually see the drawn outline right on the black PCB showing how the back armor should be positioned. Along with that there is the TUF logo as well as the “The Ultimate Force” branding.
Here is a shot of the Z87 Gryphon with its armor on. Asus did a good job of making sure that none of the boards important features are covered up, unless of course you want them to be. Notice the entire bottom of the board is uncovered because that is where a lot of the boards headers cam be found. The one exception of course is the CMOS battery that is completely covered up. Read the next section to read a little more about the armor itself and how it goes on though.