Z87 Plus Layout and Pictures
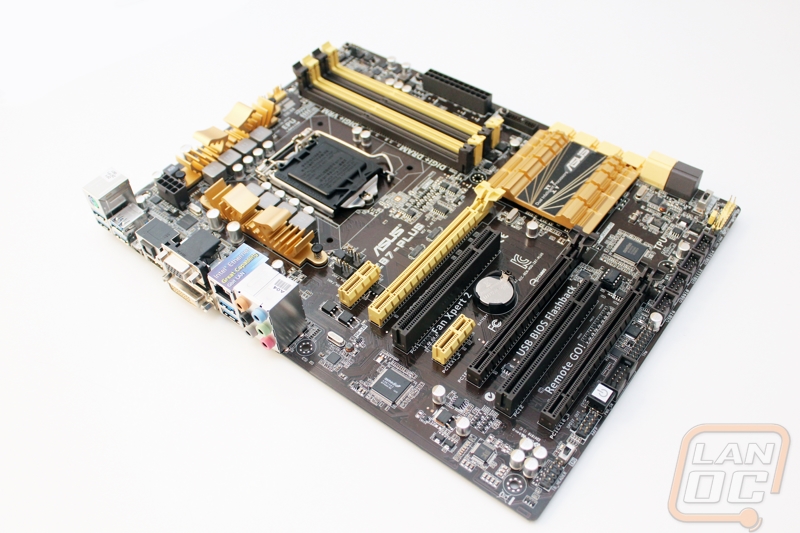
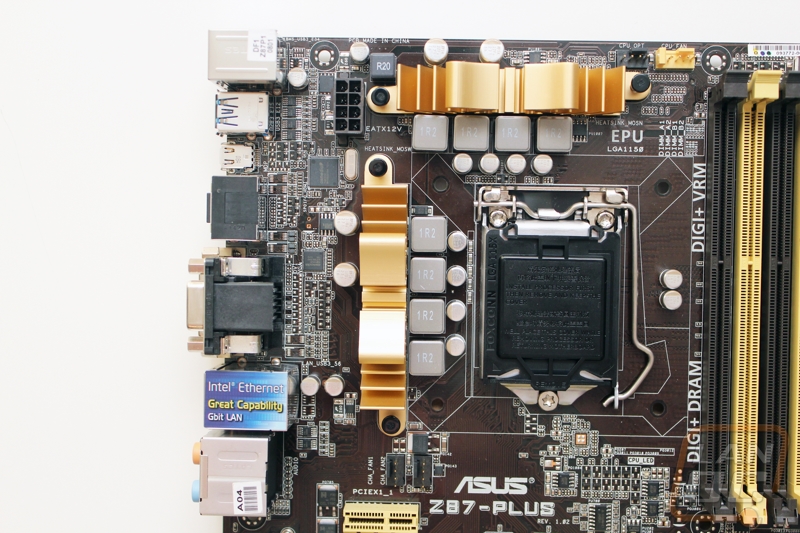
It’s clear right out of the hole that the Z87 Plus is a slightly cheaper motherboard. Asus went noticeably smaller when it comes to the cooling around the LGA1150 socket. Considering the CPU does its own voltage regulation this amount of cooling should still be more than enough. It’s still weird seeing such small cooling; it reminds me of boards from back in the day. The Chipset cooler is exactly the same as on the Z87 Pro though and it is very similar to what Asus used on the Z77 boards as well so we know it will get the job done. For voltage regulation though, Asus did include 5K capacitors and fully molded alloy chokes as I mentioned on the Z87 Pro as well. This means that although the Plus may look a little lighter in features due to its smaller cooling, it does still have the goods under the cooling. In fact if you look into the 5K caps you will find that they are better than the military grade caps that are advertised by their competition.
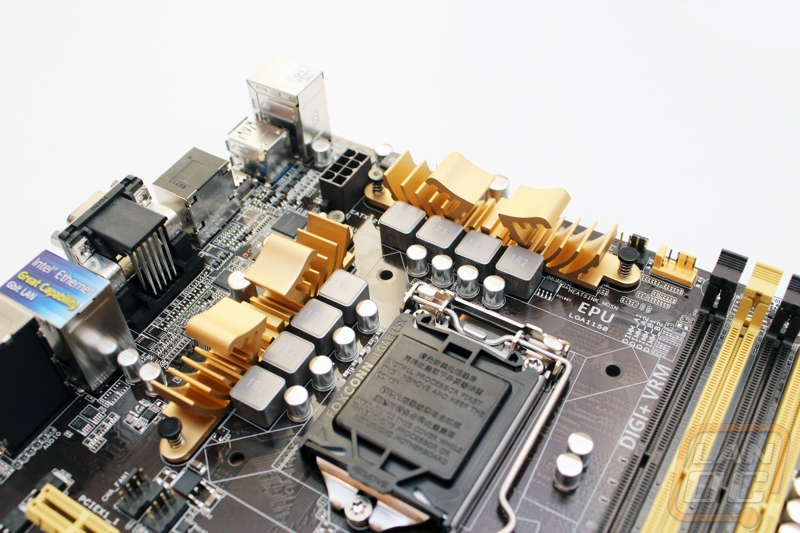
Starting up in the top left corner of the board between the cooling and the rear I/O panel we have a single 8 pin CPU power connection. Because of the small heatsink size there is plenty of room to get at the connection to hook it up or unhook it. Here we can also see the LGA 1150 socket and CPU hold down. If you happen to have a heatsink or water cooling that fits your old LGA1155 or LGA1156 motherboard it will still work on this new LGA 1150 socket.
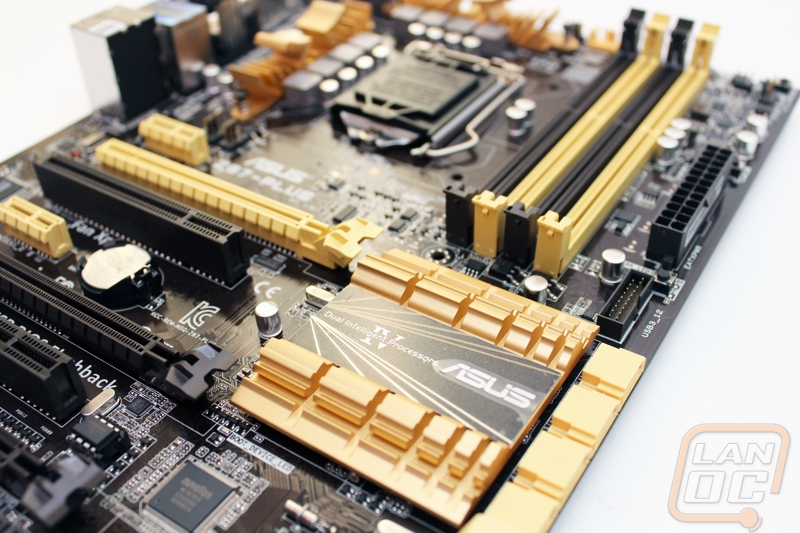
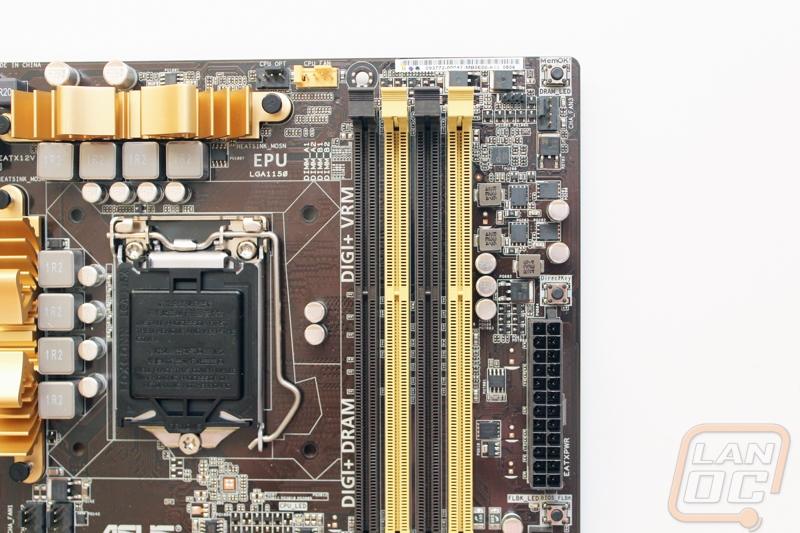
In the top right corner near the top of the RAM slots we have two four pin PWM fan headers. One is black and the other is yellow, the color coding helps make it easy to see that the yellow header is your main CPU fan header and the black one is an optional CPU fan header. In the top right corner we have the MemOK button, a button that helps you deal with memory incompatibilities by adjusting the RAM settings until they work. There is also the DROM LED, these LED’s are all over the motherboard and they light up as that part of the motherboard is initializing during boot. This is important because if there is an issue during boot you can see the area that is causing your problem. There is a third four pin PWM fan header just under the MemOK button.
Next was the DirectKey, a feature we talked about on the Pro board as well. When you press this button it will let your motherboard know to boot directly into the UEFI the next time you reboot. This is great with today’s PCs that have quick boot times, no more bashing delete. Under the DirectKey is the 24 pin power connection. Then you have the BIOS flashback button. The BIOS Flash Back button is even more interesting, when combined with a USB drive with the proper bios on it plugged into the proper USB port you can press this button and update or flash back your bios. It’s especially interesting because not only does this not require any interaction from you after pressing the button, but it doesn’t even need a CPU in the motherboard.
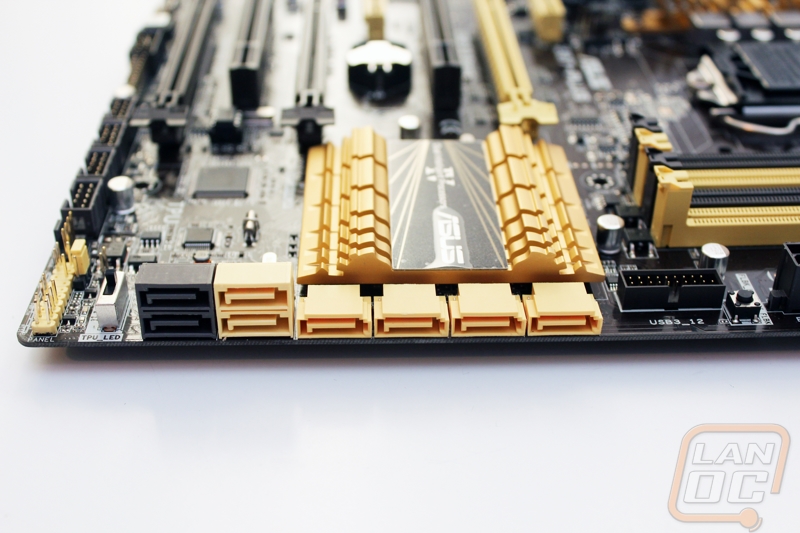
Just above the SATA ports and under the 24 pin power connection there is a single USB 3.0 internal header for USB 3.0 ports on the front of today’s cases.
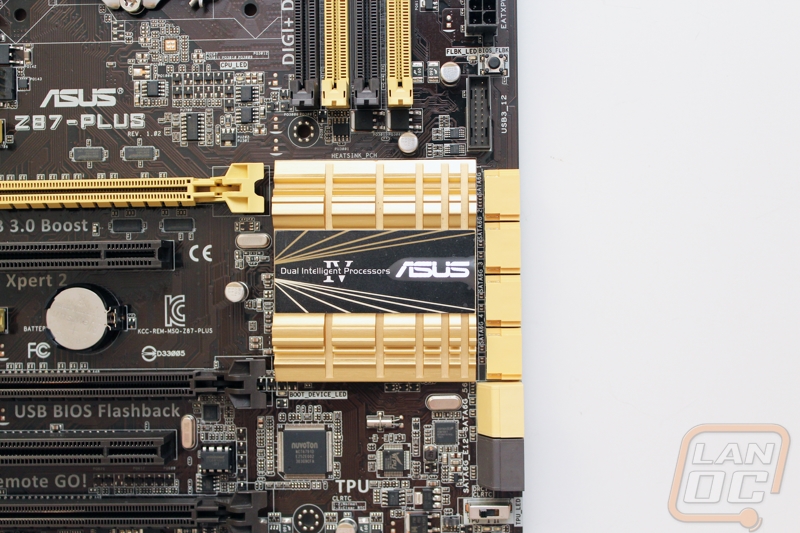
The Z87-Plus’s SATA ports have the same yellow/gold color for the Intel controlled ports, just like the Z87-Pro. The two black SATA 6 connections are run on the ASMedia 1061 chipset. They did arrange these a little different and it took me a minute to figure out why. This board is actually slightly skinnier than the Z87-Pro, by rearranging they don’t have to worry about clearance issues with long video cards.
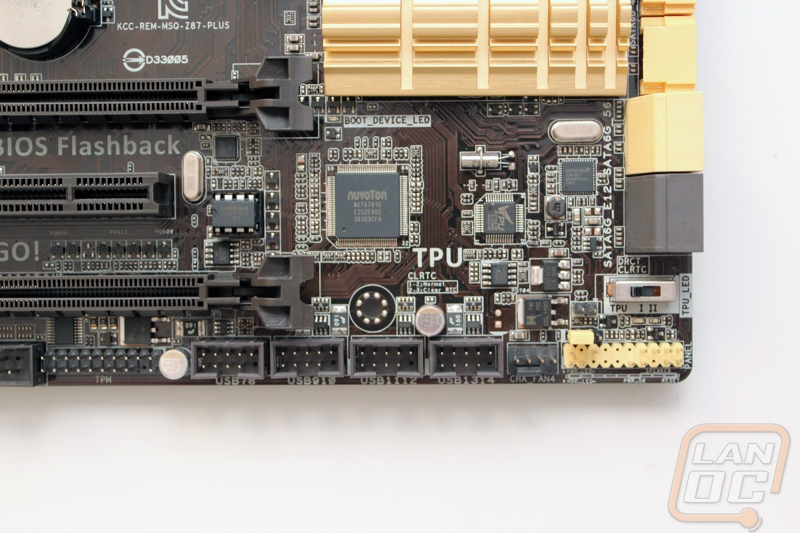
The bottom right corner has a long yellow header that covers all of our front panel connections. There are labels along the bottom to make hooking everything up easier. Next to the front panel header is another four pin PWM fan connection, this is number four so far that we have found. Next we have four USB 2.0 internal headers lined up next to each other. Just below the SATA ports are the TPU and EPU switches. The TPU will give both your CPU and GPU an auto overclock, from past experience you will get a better overclock by using the AI Suite III software for the overclock, but you can’t get much easier than a switch to turn the overclock on and off if needed. Asus has even made it a two set switch to give you even more control. The first setting only adjusts the CPU multiplier ratio while the second setting adjusts the ratio and core clock speed.
In the bottom left corner we have the Realtek 892 8-ch audio card, this isn’t the same audio card that the Z87-Pro has and you can tell just buy seeing the differences between the boards. Under the audio card is the TB header for use with add in Thunderbolt cards. Next is the EPU, this is similar to the TPU on the other side of the board but it trims down your power usage. There is a backlit power button that is next to the front panel audio header and SPDIF out. Lastly the Z87-Plus has a TPM (trusted Platform Module) header, something that most enthusiasts won’t need but some businesses’ need.
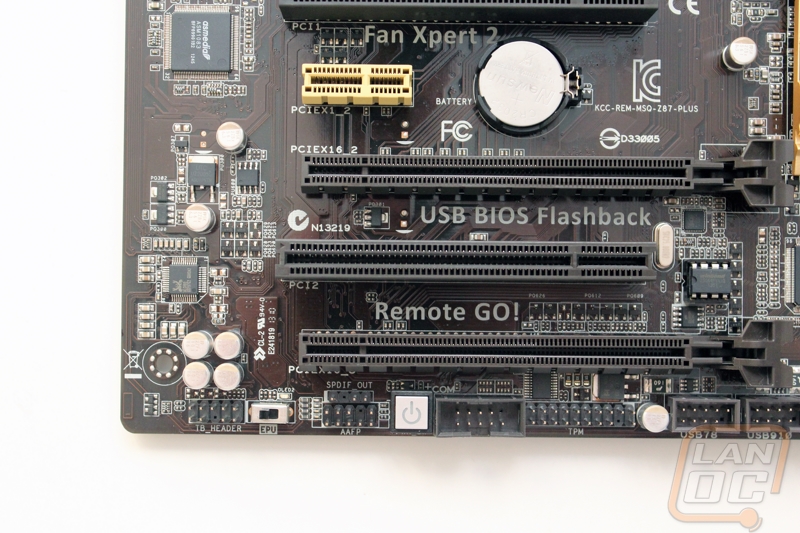
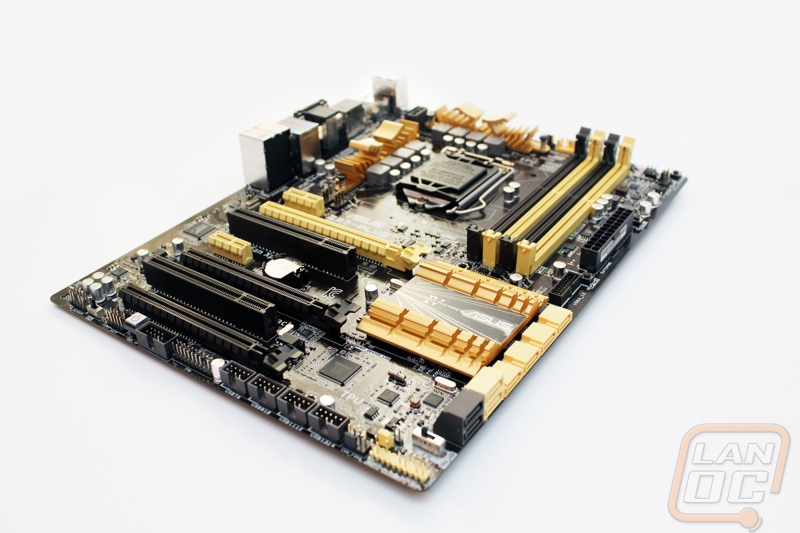
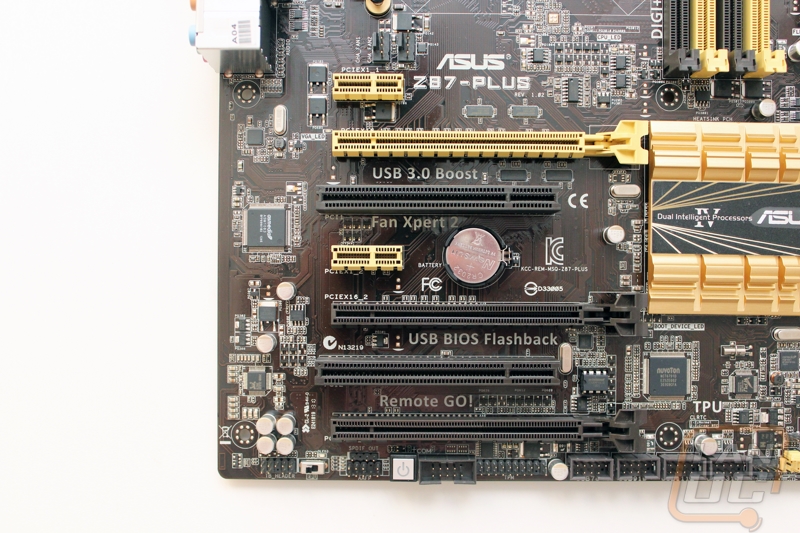
For PCI slots on the Z87-Plus you have three PCI Express x16 slots, two PCI Express x1 slots, and two legacy PCI slots. Asus has spaced out the x16 slots in a way that there will be good air flow even when running SLI or Crossfire. Like other Z87 boards there aren’t enough PCI lanes into the CPU to handle three x16 slots so the slots break down like this. When you are only using the top slot it runs at a full x16 speed, when you are using the top two, they both run at x8 each, and the last slot is always a x4 slot with a x16 form factor. Also in this photo is the final two four pin PWM fan headers making for a total of six from around the board.
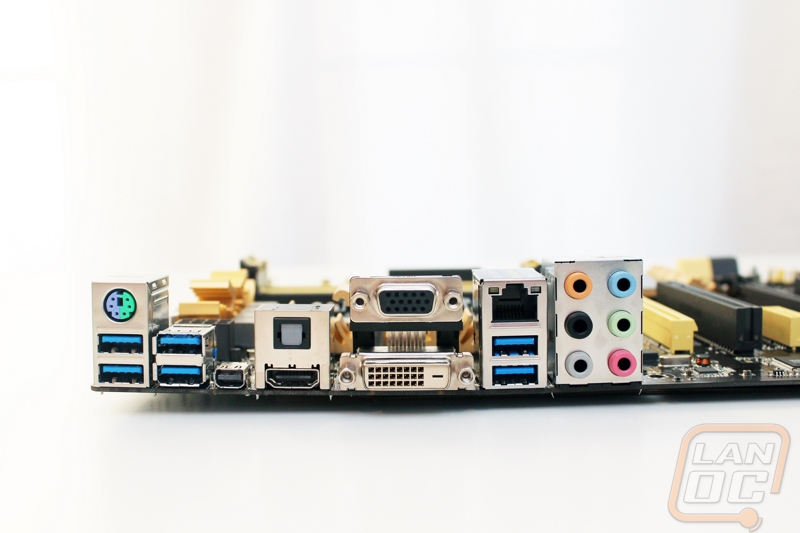
The Z87 Plus’s rear I/O panel is very similar to the Z87 Pro but there are two important details though. You still have six USB 3.0 ports and the legacy LS2 port. Asus has still gone with the premium Intel NIC that we rarely see from other manufactures and we also have all of the same standard audio connections. Where things are a little different is in the onboard video connections. The plus has VGA, DVI, and HDMI where the Pro also had a full sized display port connection. We also don’t have the wireless NIC and Bluetooth that the Pro has. In its place though there is a Mini DisplayPort connection.
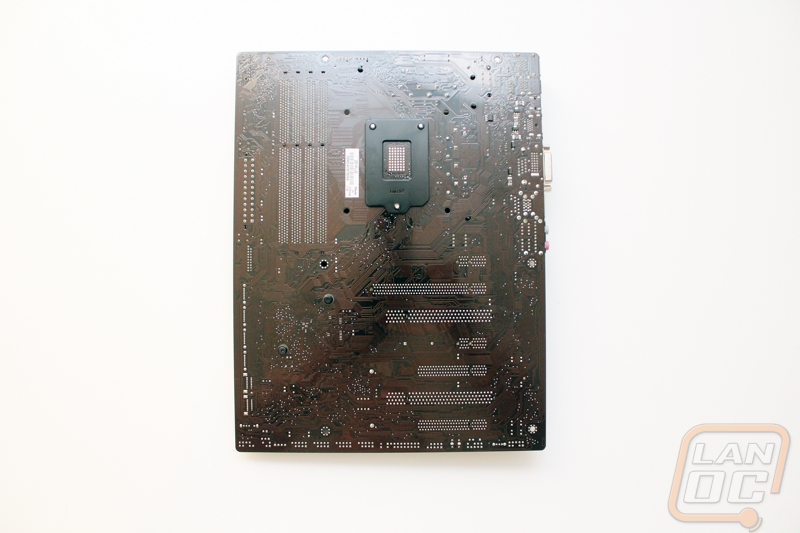
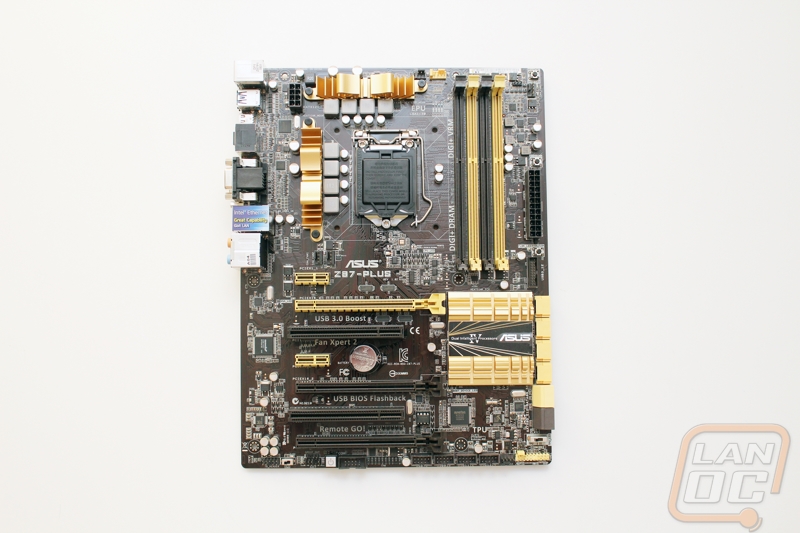
When you flip the Z87 Plus over you can see what I spoke about when talking about the Z87 Pro. This is a black PCB but the board isn’t completely black because the copper traces on the layers closest to the top/bottom bleed through slightly giving the board an interesting copper/black color.