At the start of this year I had the chance to work with Massdrop to check out their version of the community designed ErgoDox. When doing that review I especially enjoyed building the keyboard myself. So when I saw that Massdrop was developing their own keyboard the Infinity, I had to get my hands on it. Well like most things working out the bugs takes time so while we got a first gen infinity keyboard, we did have a few problems that pushed us back to checking out the second drop’s version. Needless to say this review has been a long time coming, but I’m excited to finally show everyone about my experience with the Infinity from start to finish.
Product Name: Massdrop Infinity
Review Sample Provided by: Massdrop
Written by: Wes
Picture by: Wes
Affiliate Link: HERE
While you can read the full backstory for the Infinity on Massdrop at this link I did still want to talk a little about it. If you follow any of the mechanical keyboard communities you have most likely seen MANY different custom keyboards be designed and have small group buys. But typically when it comes to a custom keyboard you are limited by a few different PCBs or you have to hand wire the keyboard. Massdrop set out to put together a keyboard of their own as well. To do this they paired up with a few key people in the keyboard community (Jacob Alexander (HaaTa), Gennadiy Nerubayev (Parak), Brandon Muzzin (OverKill), and Jacob Rus (Jacobolus)) as well as putting their voting system to use. They let the community post up their design ideas and then vote on them to come up with a base key layout and from there they started to design the Infinity.
To keep costs down they designed the baseplate to also be the case with a unique bent design. Later on after community feedback they did add in an option for a standard baseplate as well. For the PCB they had to design a PCB that could support two different styles of bottom row, one US standard and the other a Japanese layout. For a controller rather than using the Teensy they used a chip based on the MCHCK and they switched the framework over to Keyboard Layout Language (KLL). KLL asks more like a keyboard BIOS and provides a standard firmware for all future Massdrop builds. That is because KLL is ambivalent to layout changes. It is also the reason they went with the Infinity name because the keyboard can be programed with an infinite number of layers. This allows for an extreme amount of customization when using the Infinity Configurator or through command line.
Massdrop actually just finished up the third drop recently and with that they introduced a few big changes. For the first time you can actually get one with the key switches already soldered on if you can’t solder. They have also introduced a few more key switch options beyond the Cherry and Mitias switches that the first two drops had. Now you can also get Gateron and Kailh switches as well if you prefer them. The biggest change however was them dropping the bent frame design that made the Infinity so unique and they introduced their own injection molded cases in black, white, and clear. You can also select one of the many custom case options as well if you want. For our testing I won’t have the chance to check out the new case, but I did get to see two of the other options.
| Specifications | |
| Keyswitches available | Cherry MX, Matias, Gateron, or Kailh switches |
| Cases available | Default plastic injection molded case in black, white, or clear. You can also pick from an Aluminum TEX 60% case with the thin uniform lip, an Acrylic 60% case with a fat front lip, or the Vortex Metal 60% case. |
| Dimensions |
11 ½ inches wide 4 inches deep Around 1 inch tall depending on case and keycaps |
| Number of keys | 63 |
| Keyboard Layout | 60% with short spacebar and 1u backspace |
| N-Key rollover | Yes |
| USB Cable | Removable, 2 foot long |
| Keycaps | Optional blank black PBT DSA keycaps from Signature Plastics |
Packaging
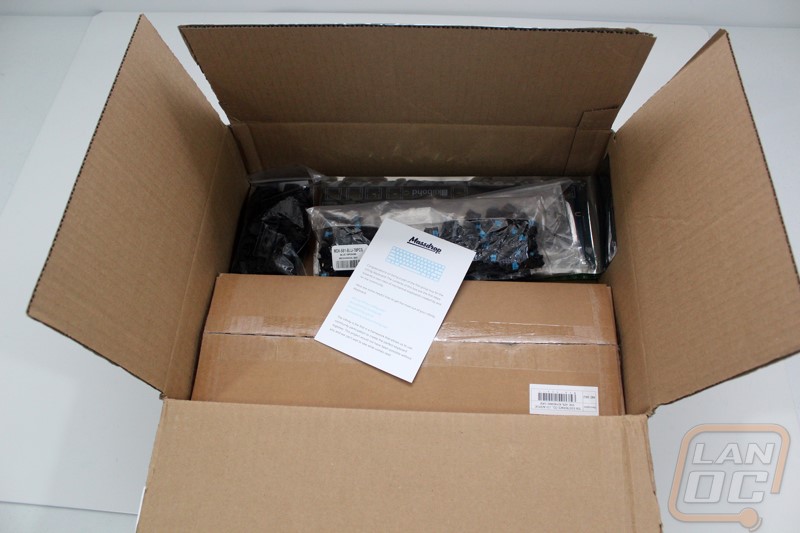
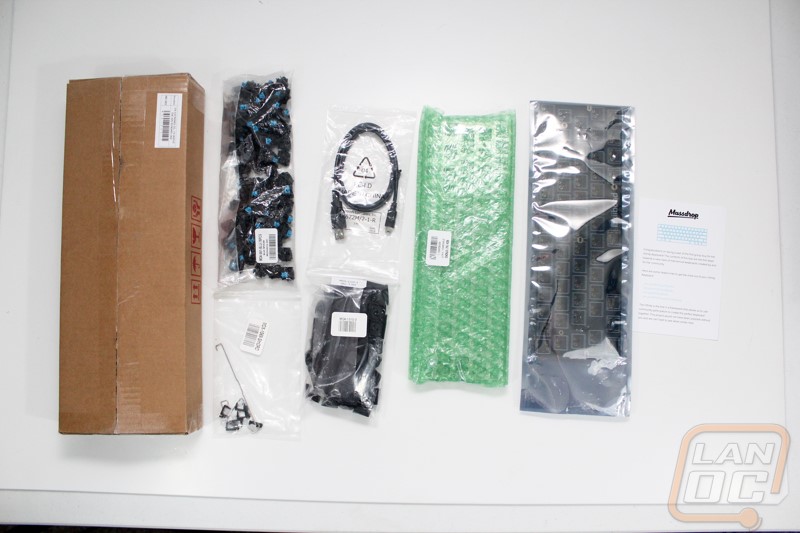
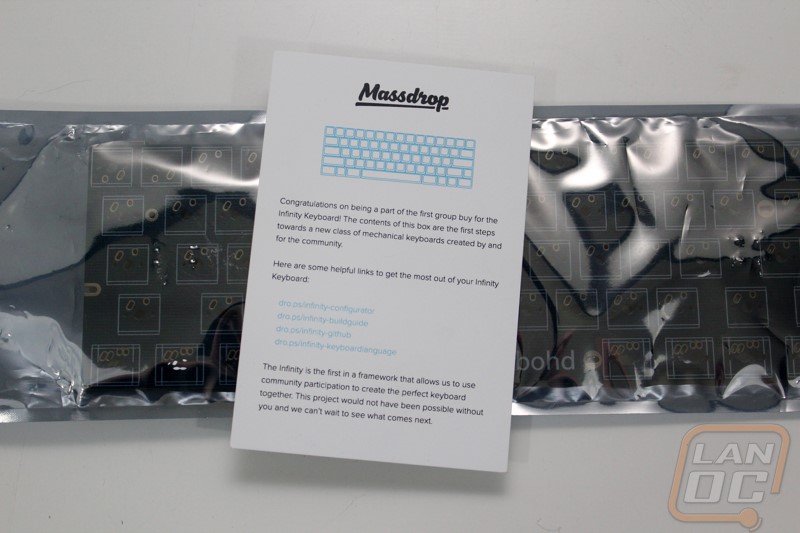
Well with the Infinity being a DIY kit I wasn’t expecting too much for its packaging. The Massdrop ErgoDox did have a nice little box that everything came in though. This time around the box was shipping in a standard Massdrop box and then inside were all of the bags with all of the small parts, a box for the case, the PCB in a bag, and the plate in its own bubble wrap. In other words there wasn’t anything special here like with the ErgoDox. For the first drop they did however print up nice cards thanking people for their involvement and talk a little about the kit.
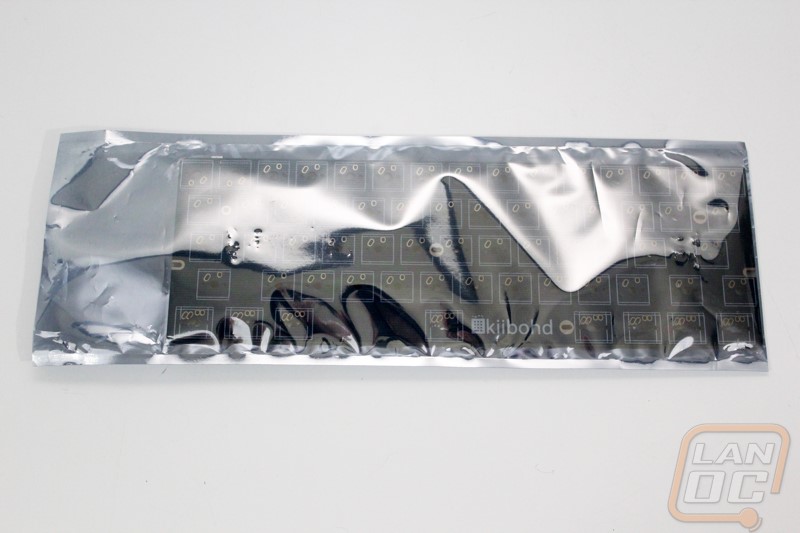
To keep the PCB safe from any static discharge it does come in a static protective bag.
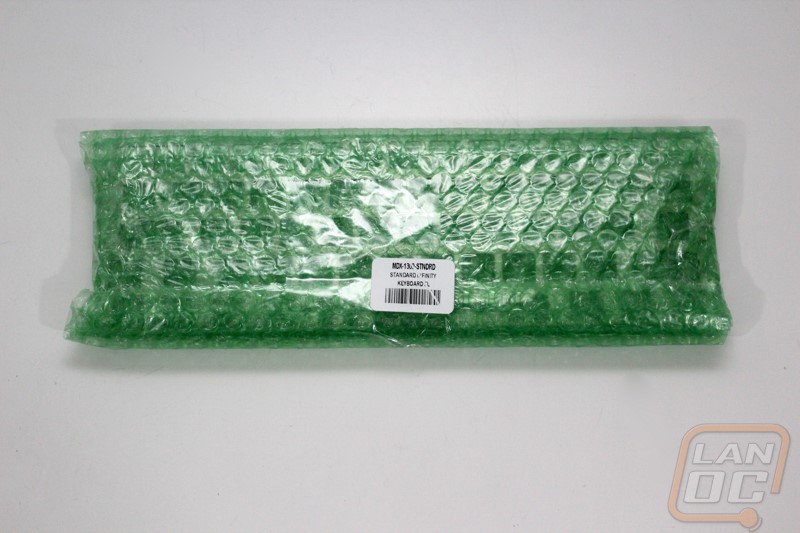
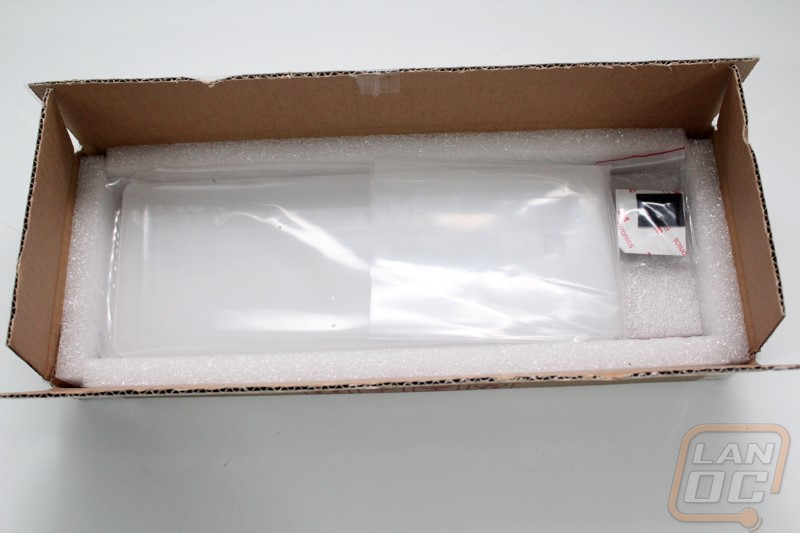
The backplate comes wrapped up in way more than what is needed and taped multiple times to keep it all together. There should be no excuse for it coming in with any damage.
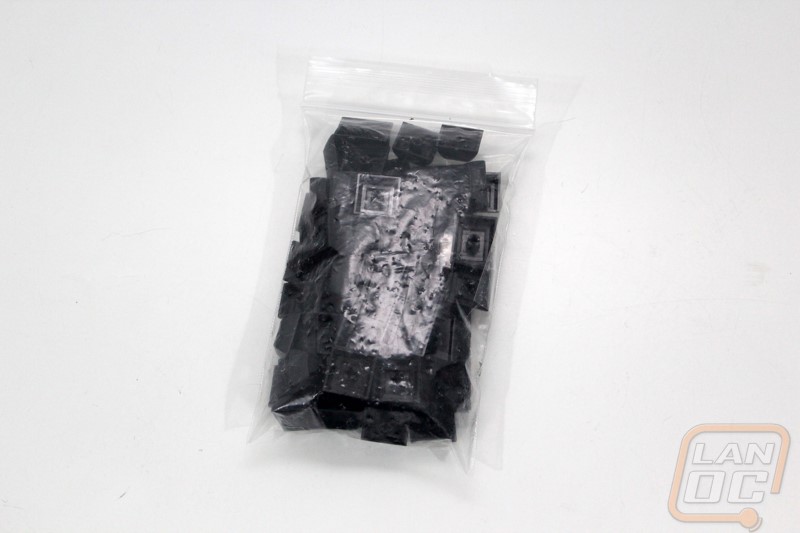
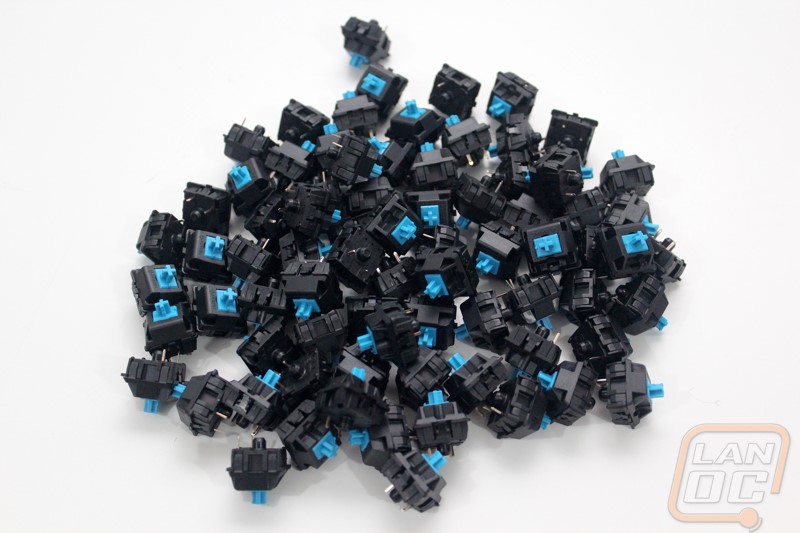
For key switches you get a bag with enough switches to build everything as well as a few extras just in case there is a problem.

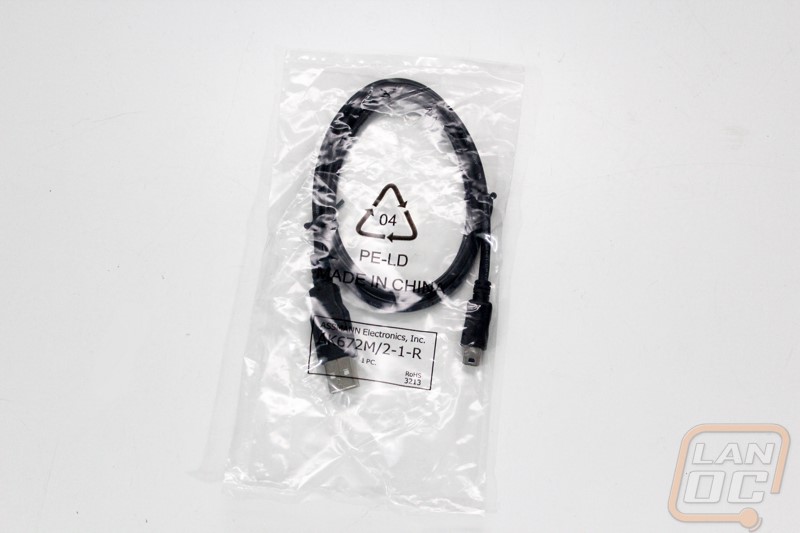
Then of course we have the USB cord. They include the same cord that we saw with the ErgoDox. It is just long enough to be able to get plugged in assuming you have your PC on your desk, you might as well pick up a longer cord right away if you want any room to move the keyboard around though.
The Infinity comes with a set of black PBT Signature Plastic’s DSA keycaps as well although in our testing I used something else but I will cover that later.
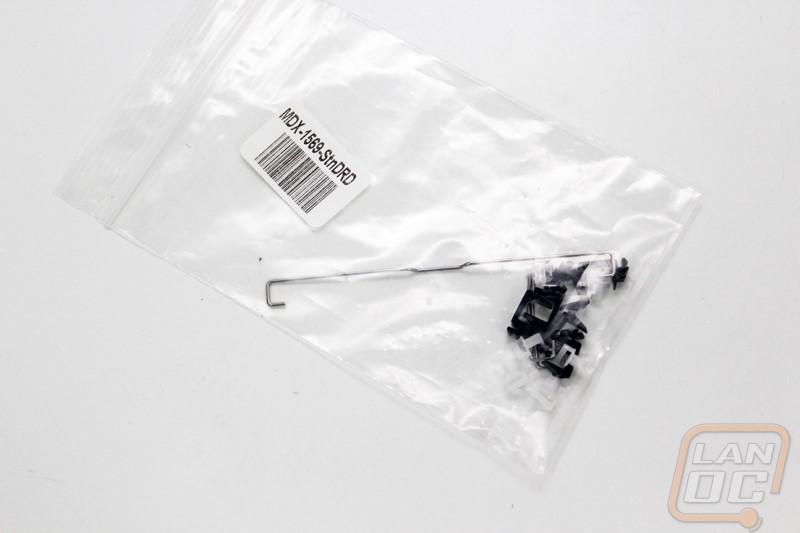
Here is the small baggy with our Costar style stabilizers.
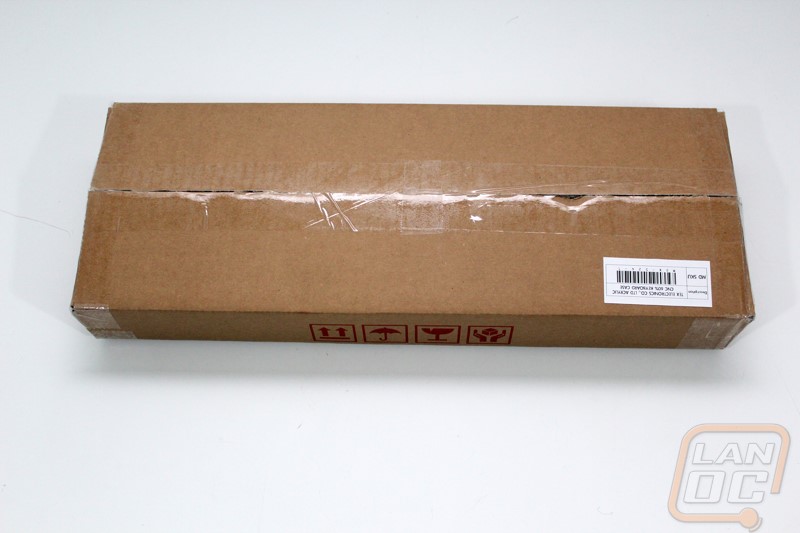
The Tex semitransparent case that Massdrop sent with our original sample came boxed up in its own box. Inside the case is well protected with foam and was wrapped up in a plastic bag as well. Tex also includes a small baggie with the rubber feet for the case as well.

Building the Infinity
As I already mentioned, the Infinity keyboard is a DIY project meaning you do have to build it so before you get going you need to have the tools to get everything together. Here is a list of what I had ready to go for the build.
Kester 44 Rosin Core Solder 60/40 .031
A work area
Time
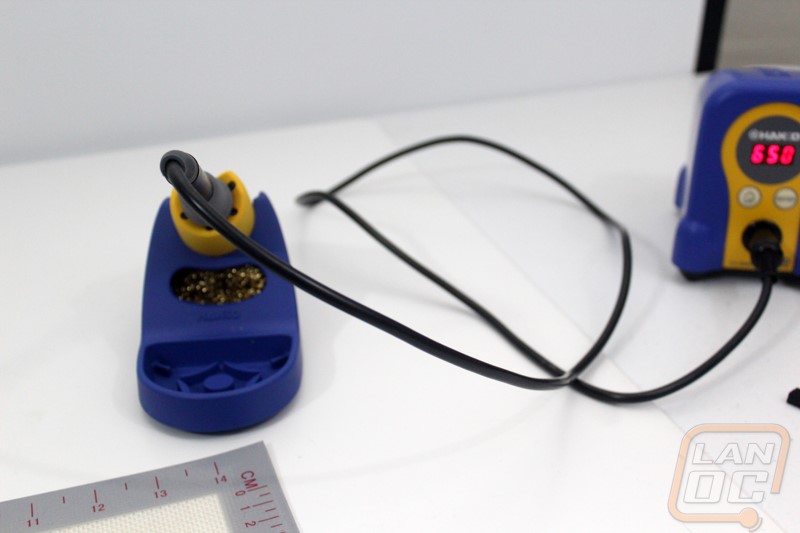
With our table setup I warmed up the soldering iron. With the solder I use I typically run the iron at around 450 to 550, ideally you want it to be hot enough to melt the solder completely but not too hot because you can damage the PCB. While letting that warm up I went through and took a quick inventory of everything to make sure we had it all.
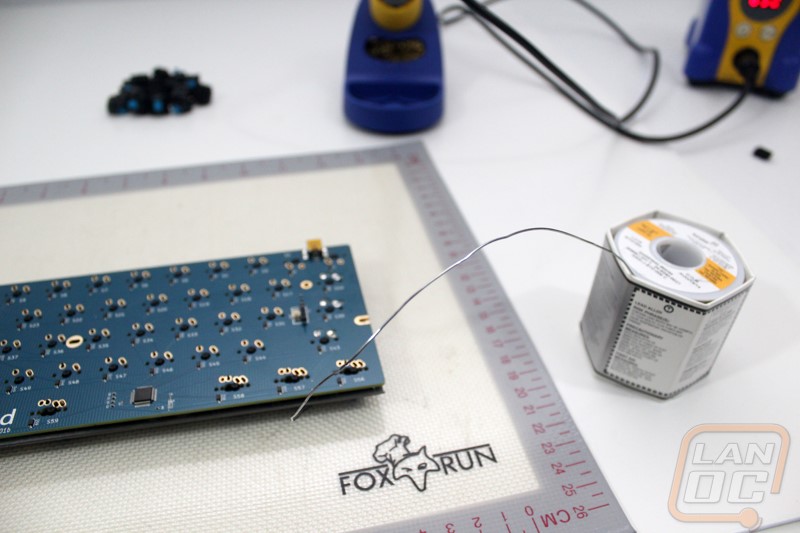
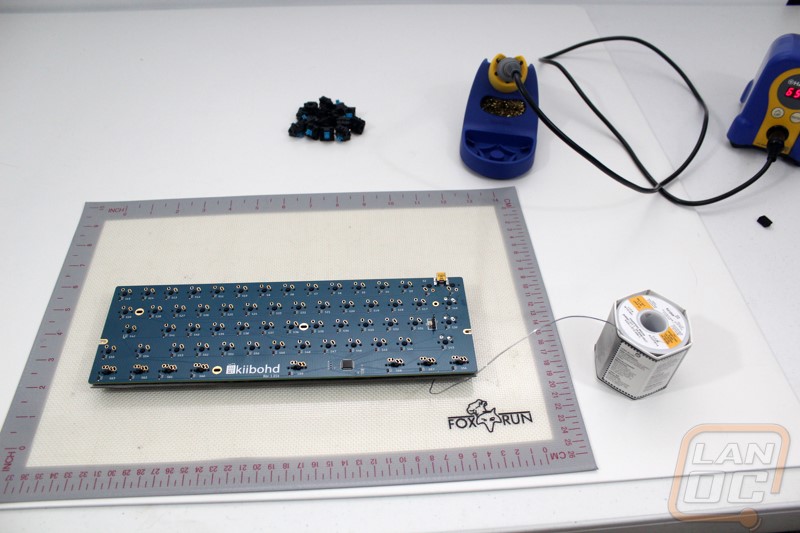
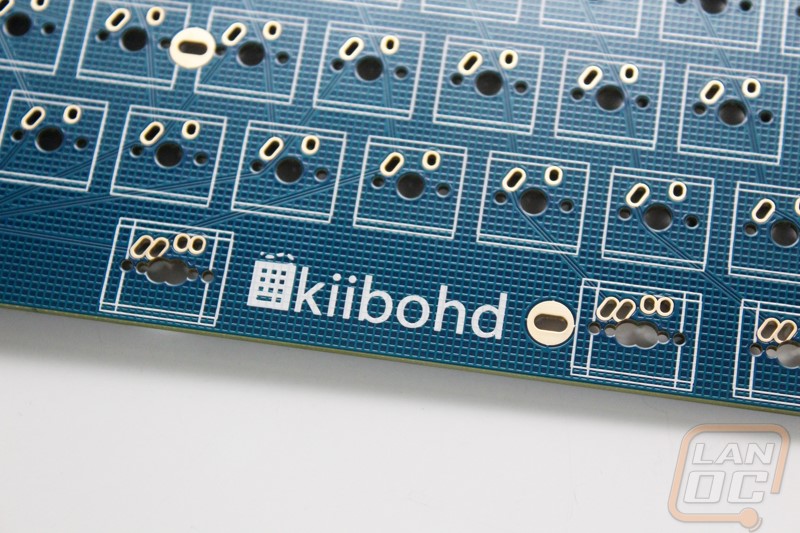
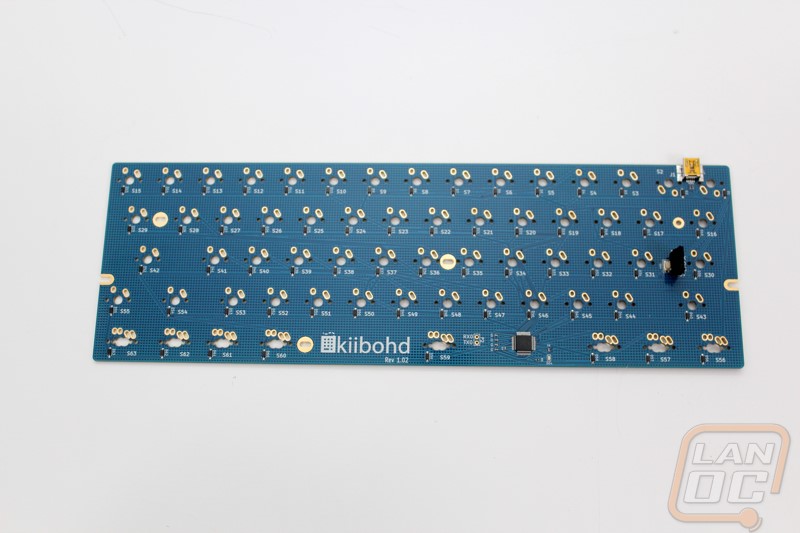
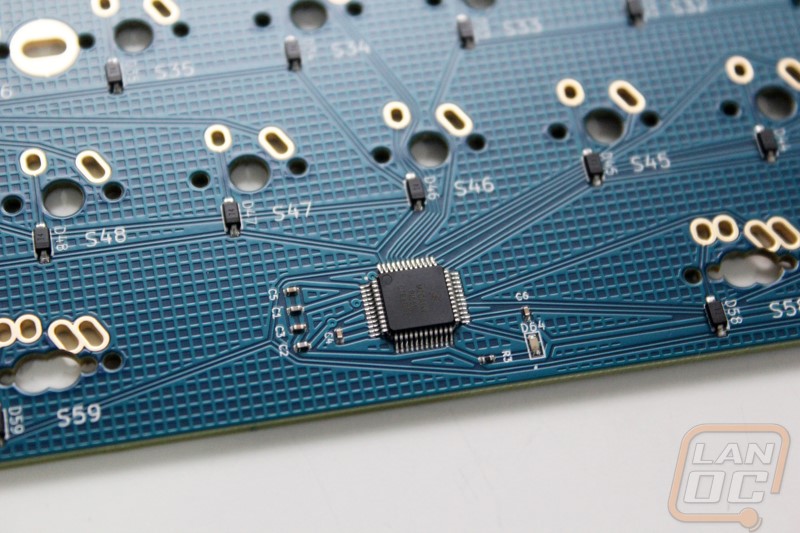
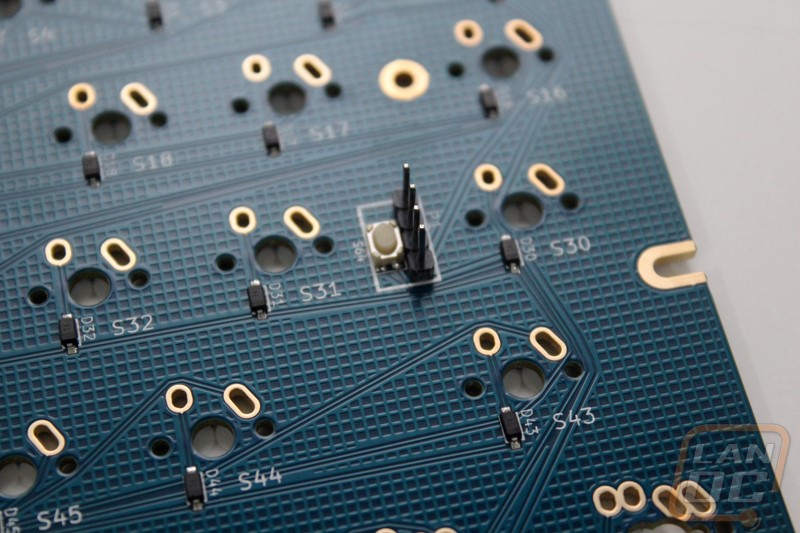
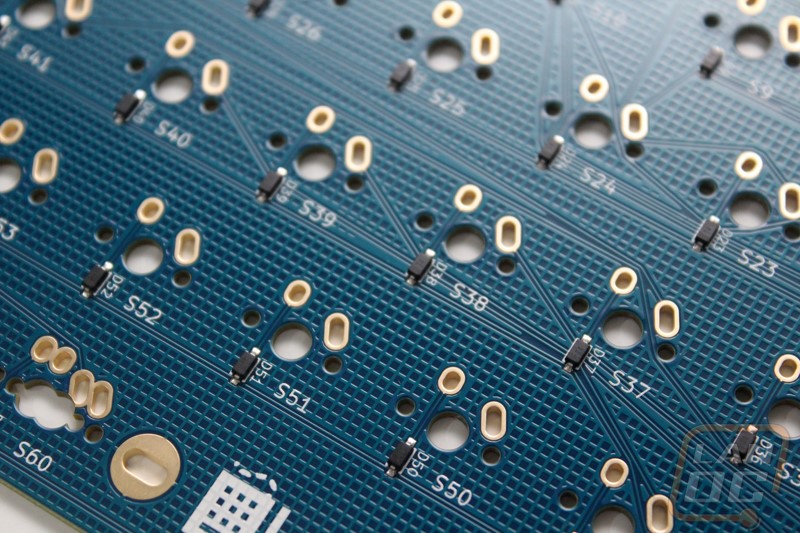
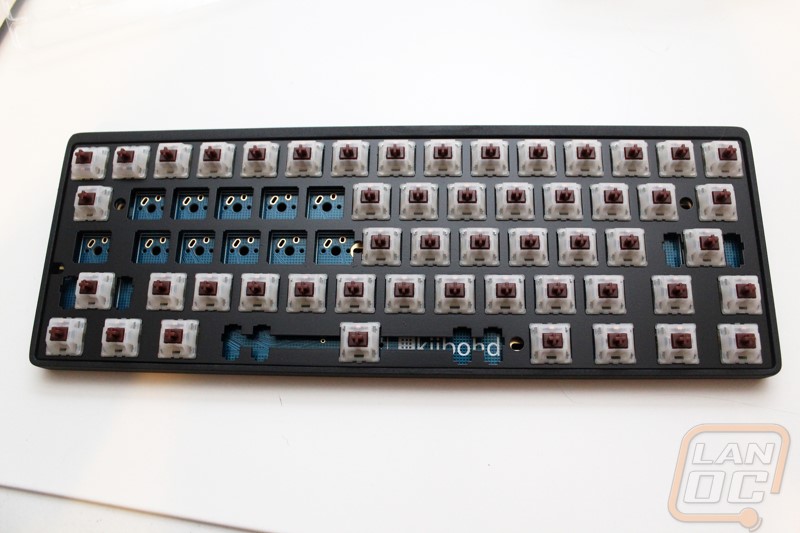
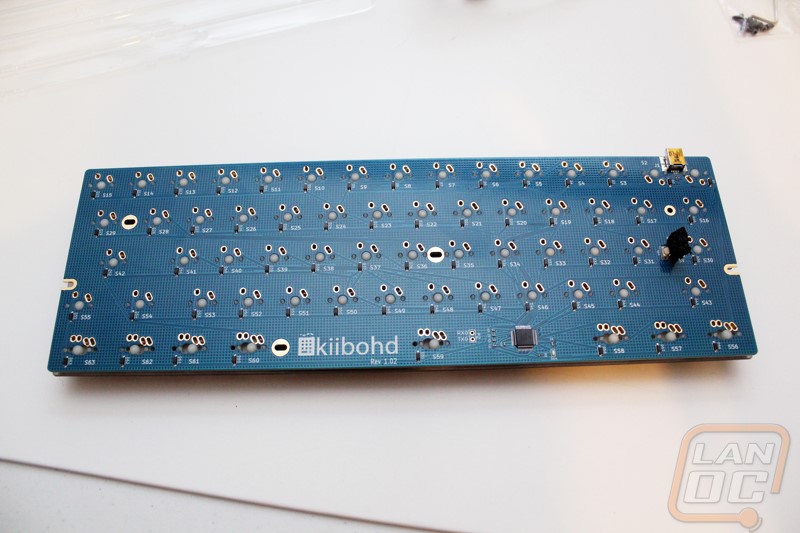
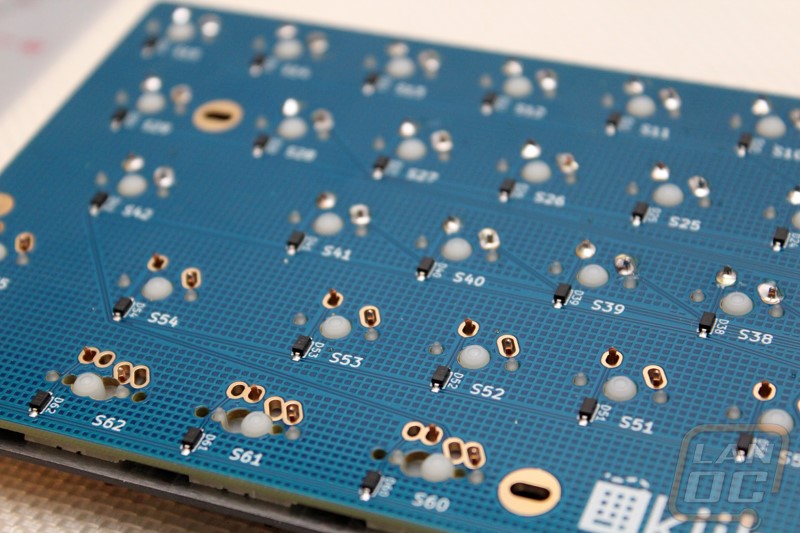
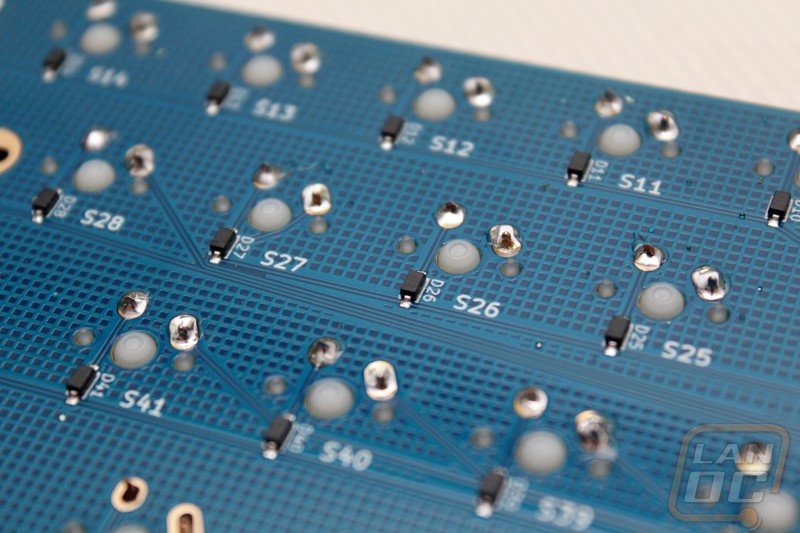
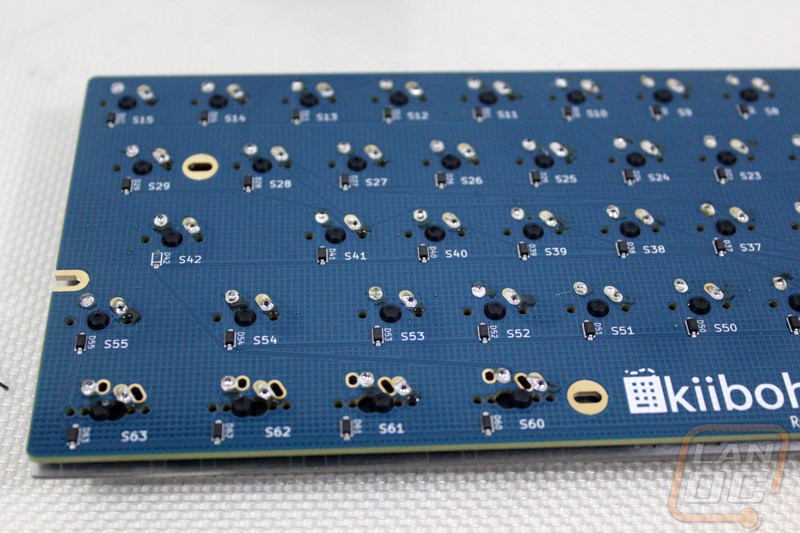
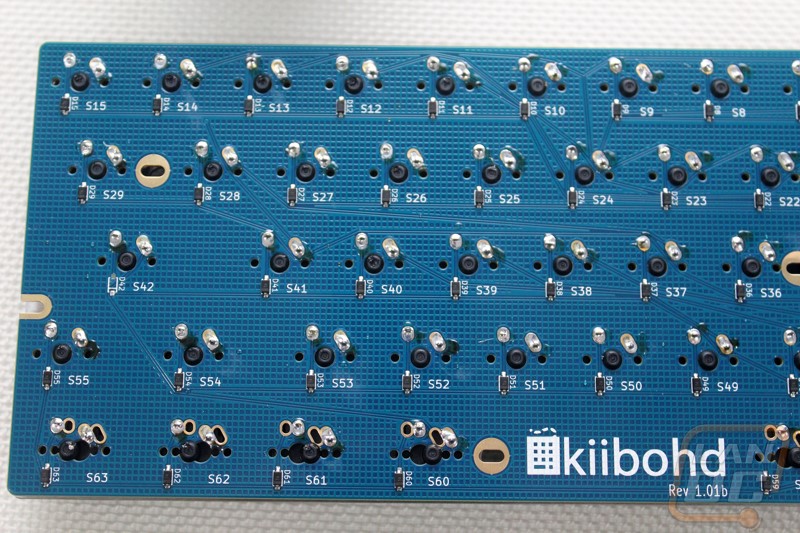
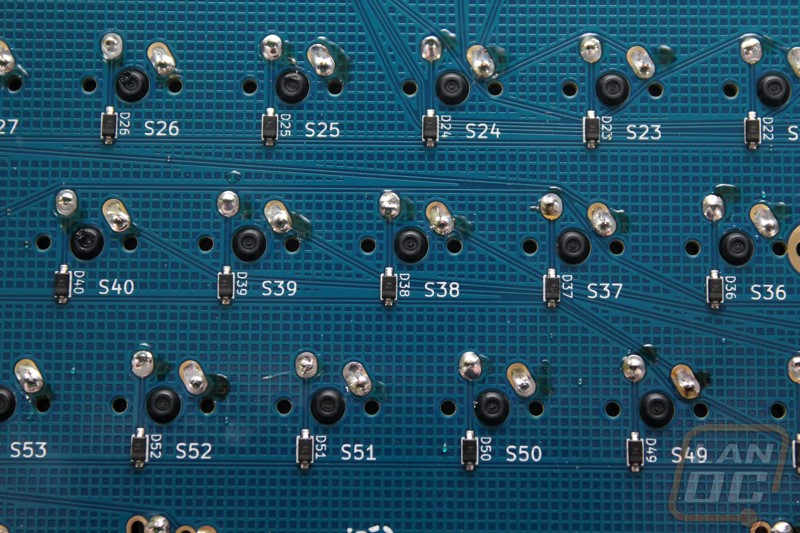
The biggest component is the 60% sized PCB. Massdrop has made this MUCH easier than working with the ErgoDox because the PCB actually comes with the diodes pre-soldered and the controller is built into the PCB as well. Not having to deal with the surface mounted diodes is a huge relief, they are what took up the most time and frustration when building the ErgoDox. To keep things simple the PCB does have a few things printed on it. On the keyswitch side each switch mount has a box around it. Down on the bottom row where they had to design support for the US and Japanese (hacker) layouts the switch locations have two boxes. If we take a closer look at those specifically we can see that in order to be able to fit the two layouts, each mounting point has two sets of holes for the solder points and two sets of holes for the PCB mounted switch mounts.

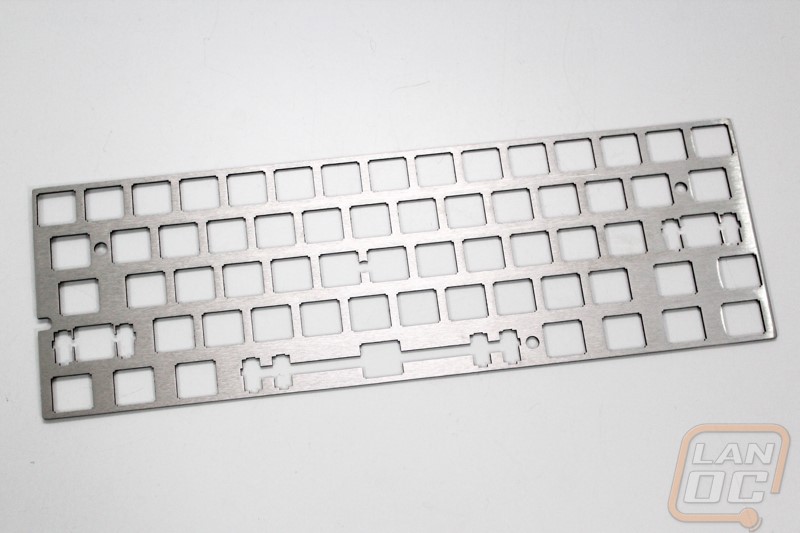
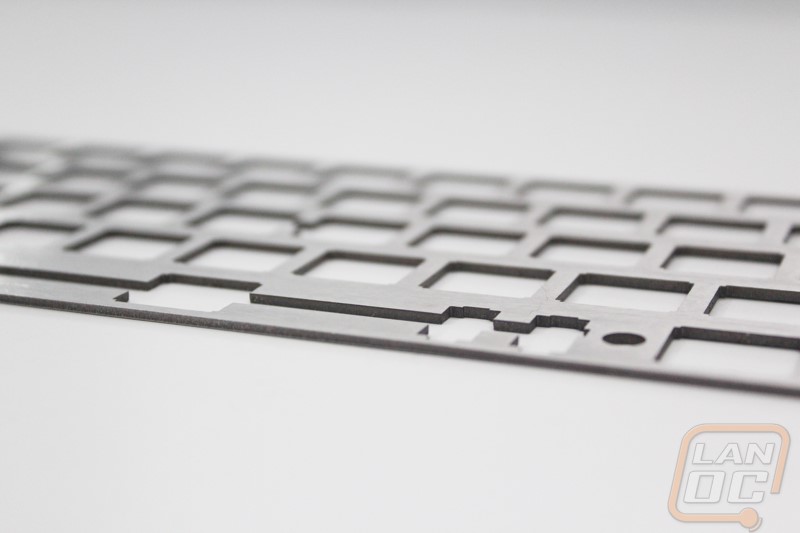
The backplate is made of stainless steel and has cutouts designed specifically to support both a standard Cherry MX style keyswitch as well as a Mitias keyswitch. In addition the cutout allows for you to be able to take the Cherry MX style keyswitch apart without having to desolder and remove it, something you normally can’t do on a plate mounted keyboard. There are five holes in the plate that give access to the five mounting holes built into the PCB, these mounting holes support standard 60% keyboard cases. Then of course it has the cutouts for the stabilizers as well. On the bottom row we do have mounting options for both a longer and a shorter stabilizer.
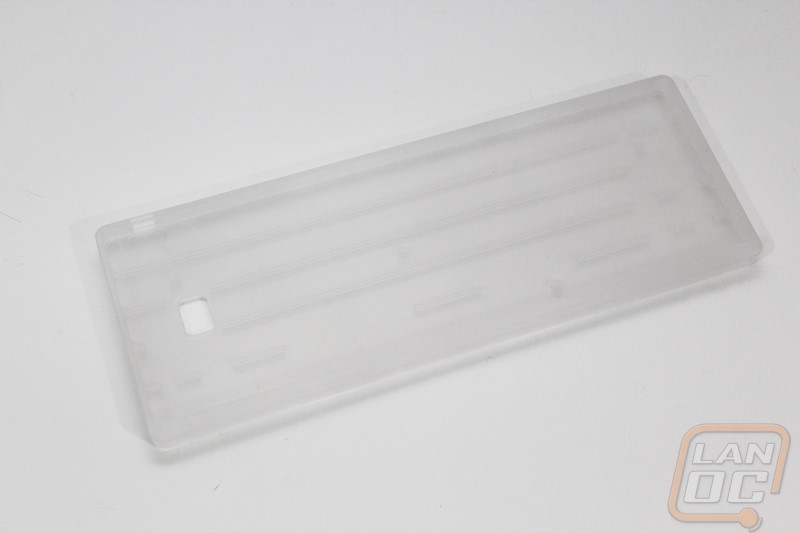
For a case Massdrop sent a Tex Acrylic 60% case with a fat front lip for our original kit. The Acrylic case is designed flat where most cases have the angle built into them and the case itself is a transparent acrylic with a frost to give it a little style. For the second build they actually sent an even nicer Vortex black aluminum case, because of this I actually painted the back plate to match.
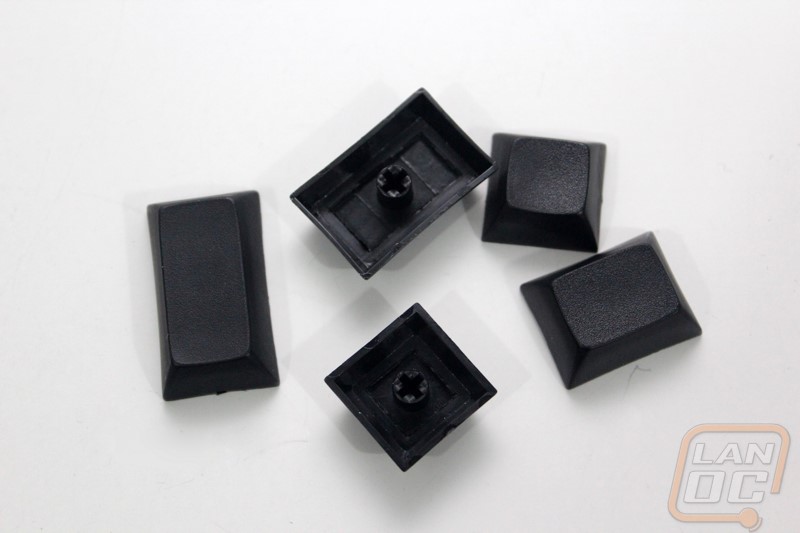
For keycaps we have a set of Signature Plastic’s black PBT DSA keycaps.
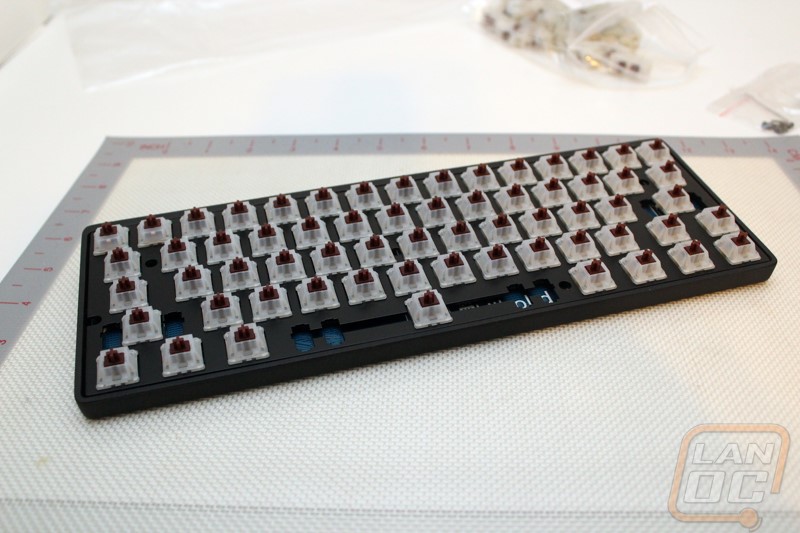
Our original build was built with Cherry MX Blues and on the second build they sent Cherry MX Browns. Oddly enough right before starting that build a set of Gateron Browns (that are also available with the Infinity) came in that I ordered from Massdrop so for the second build I gave them a try.
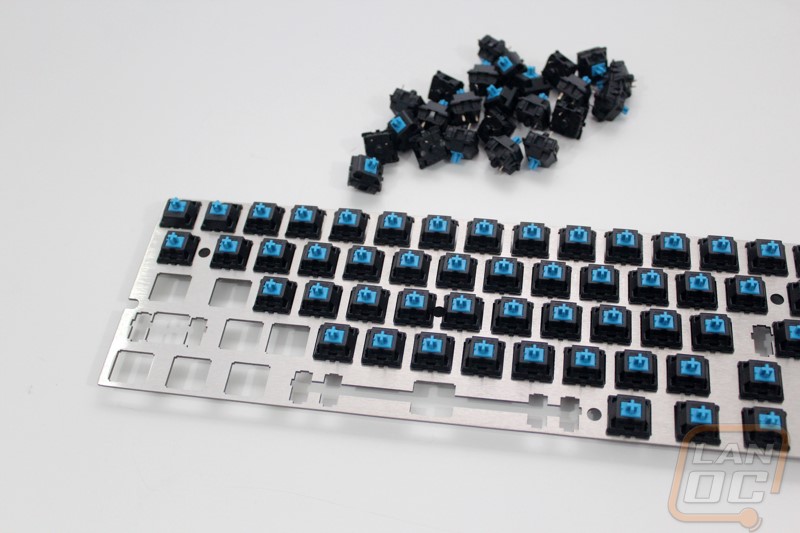
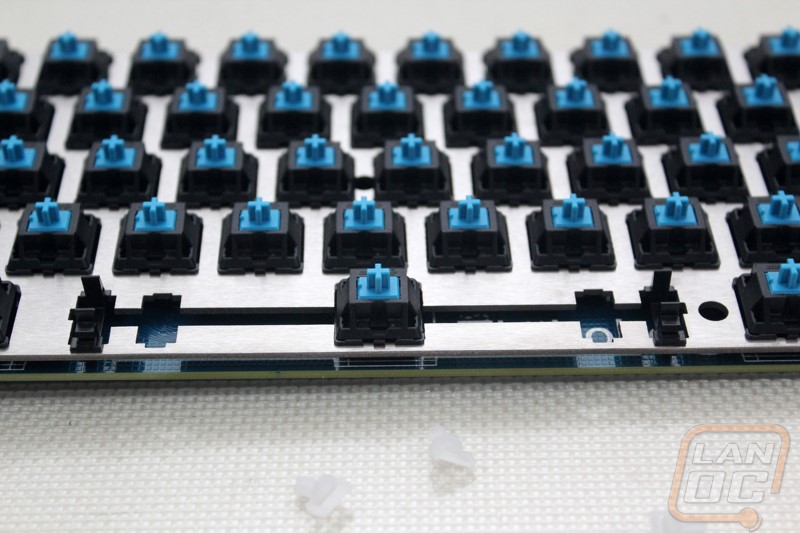
After taking an inventory, I jumped into the build. I actually went about this in two different ways after learning a little on the first build. The first time around I put all of our keyswitches into the backplate and then from there lined up and attached the PCB. I would recommend actually only putting in switches in each corner and lining up the PCB because the more switches you have installed the harder everything is to line up. When installing each switch make sure to check the two pins on the back of the switch before installing it to make sure they aren’t bent as well. You also want to make sure you are completely pushing the switches in place. For the second build after installing the four in the corners I put the plate and PCB into the case while putting the other switches in. Doing this lets you have a little leverage while completely supporting the PCB. If not you will most likely bend the four pin connection on the back of the PCB.
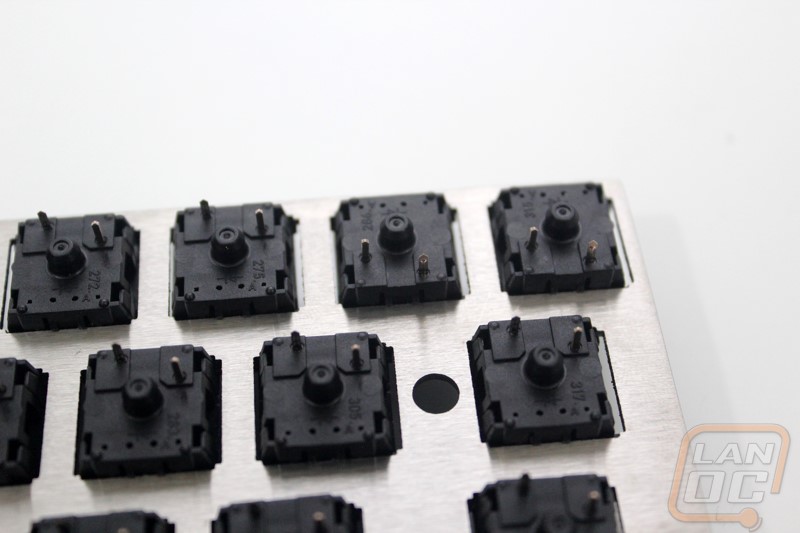
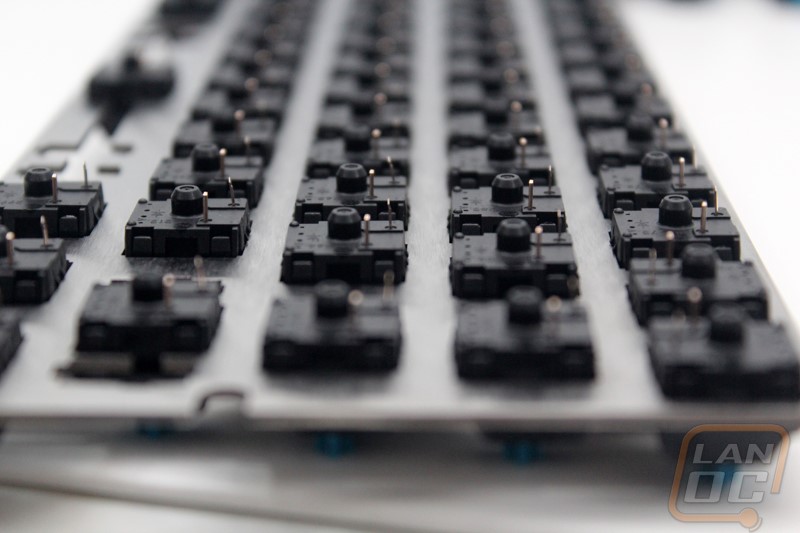
Once I had all of the switches pushed into the backplate and PCB I flipped it over and visually double checked that each switches pin was through the PCB. It is each for a slightly bent pin to get caught and bent over behind the PCB, it is much easier to fix this now than to do it after you solder.

Now we are good to solder. If you don’t have any experience soldering I would highly suggest that you practice. This is an easy task but I’m sure you would rather make mistakes on something smaller than your new keyboard right? Basically you are soldering two pins for each switch for a total of 126 pins. Take your time and when you are done go back through and visually check each solder joint to make sure it looks good.

With everything soldered I moved on to installing the stabilizers. First we have to install the clips into the mount holes, when doing this on the spacebar grab the stabilizer bar to make sure you are installing the clips into the correct holes as well. The clips install with the plain side facing the top of the keyboard and the side with the mounts for the stabilizer bar on the bottom. On our first build the clips installed perfectly but on the second build they must have changed the hole size slightly because the hole pushed on the clips. To fix that I actually had to file the clips down slightly to keep everything from binding up, hopefully they have that fixed for the third drop. With the clips installed you just have to snap the bar into place. Next you need to install the small adapters into the back of your keycaps, when you do this make sure the longer side is pointed to the top of the keyboard. When installing the keycaps later you will need to hook the stabilizer bar into those for it all to work.
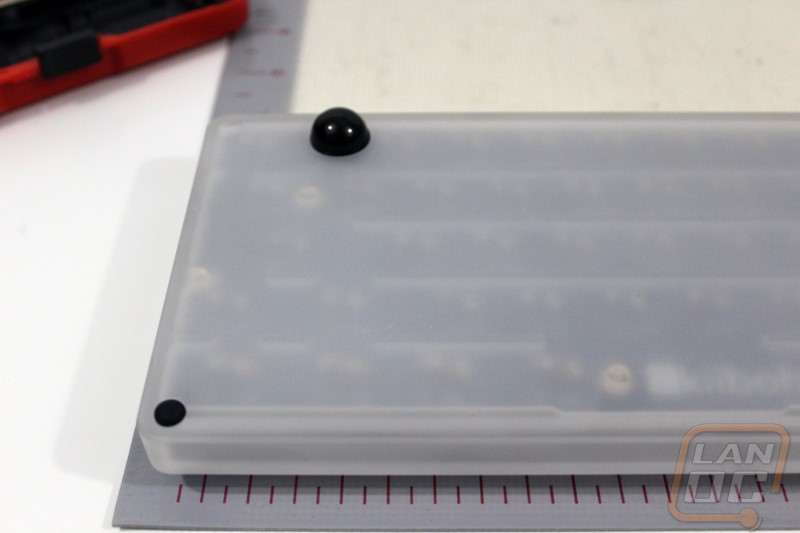
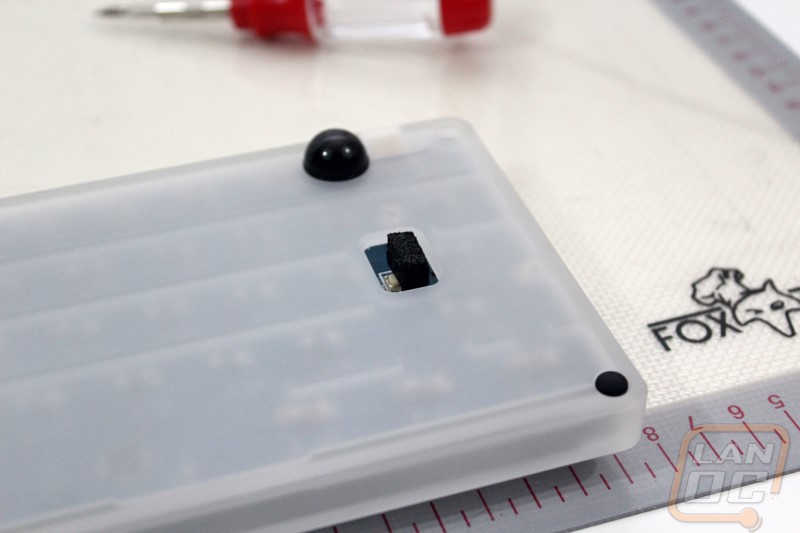
With the Tex Acrylic case after installing the PCB/backplate into the case with the five screws we did also have to bust out the included feet and stick them onto the designated locations. I might have gone with the smaller mounts on both the front and back but the four pin header that sticks out the bottom of the PCB actually sticks well out of the this case so I went with the tall feet for the rear to angle everything up. The Vortex case that they sent over for the second build didn’t have this issue because it was designed with an angle in mind from the start. The new injection molded cases that Massdrop is going with for the 3rd drop also look to have that same angle.

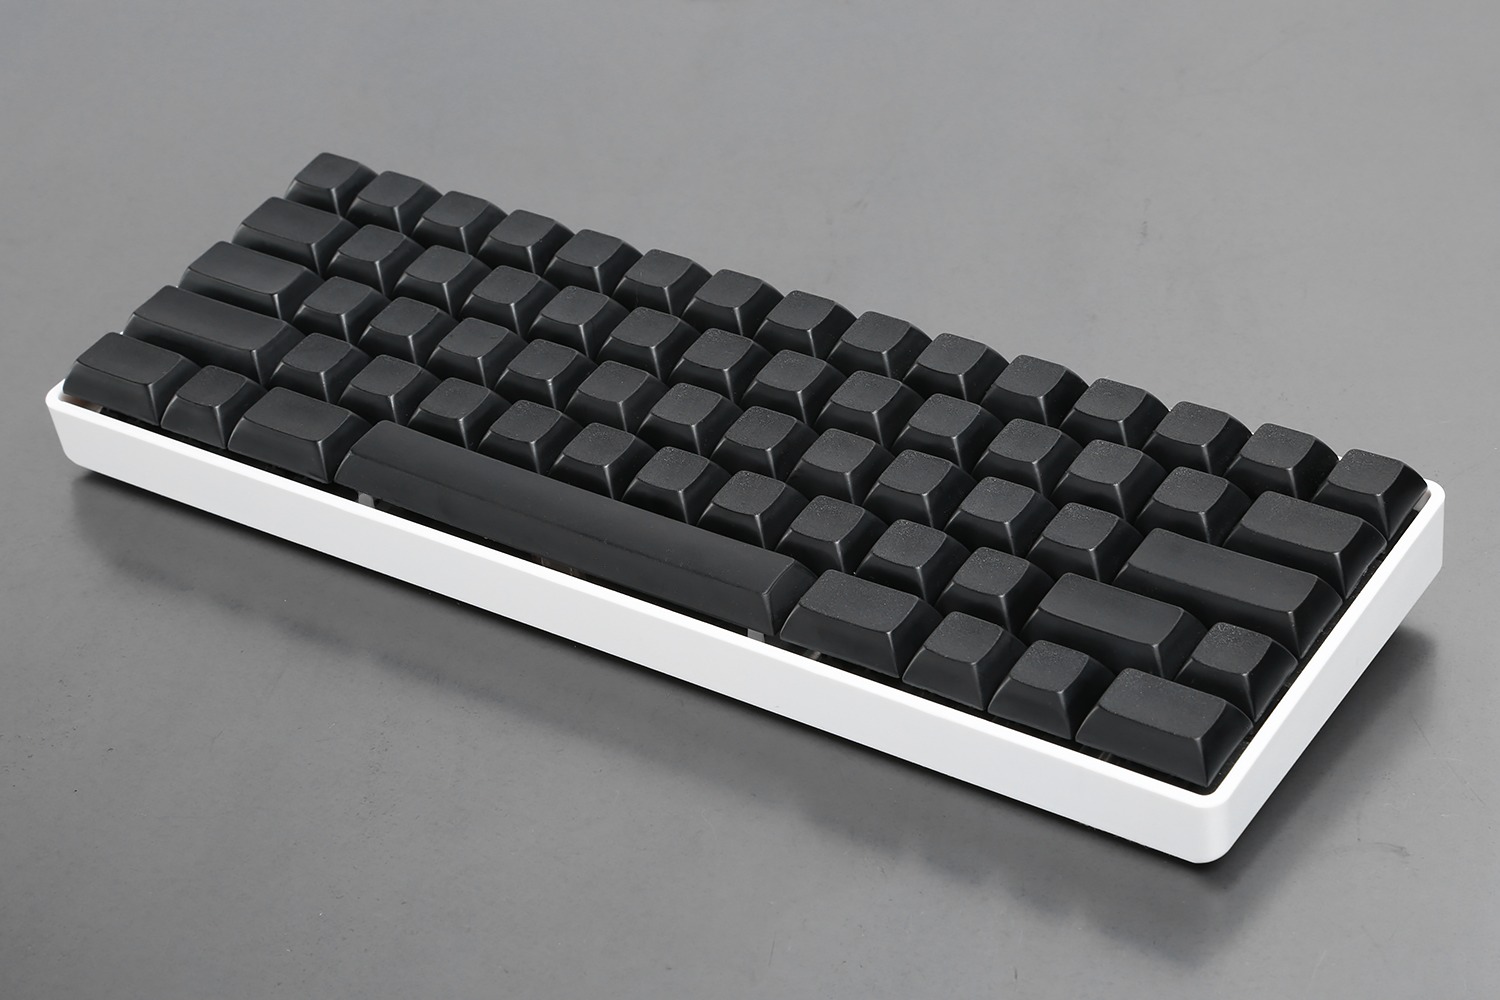
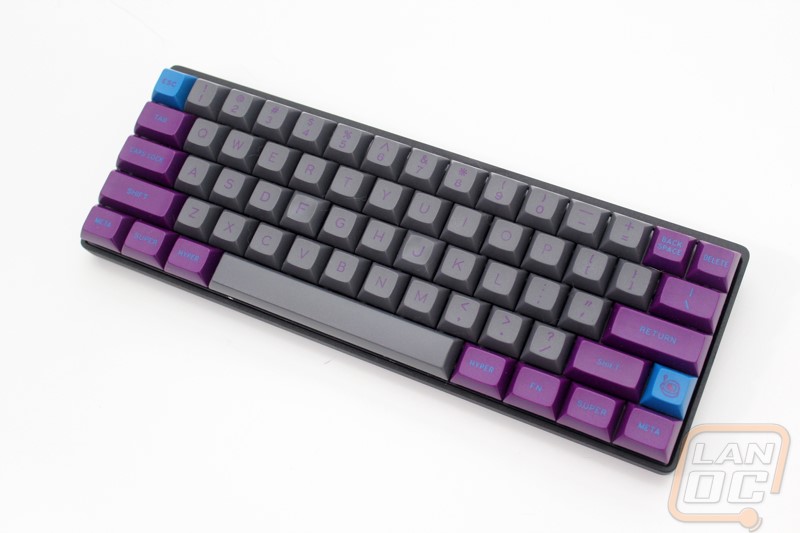
Here’s a shot of our second Infinity with everything together as well as the black backplate and black Vortex aluminum case.
Photos and Features
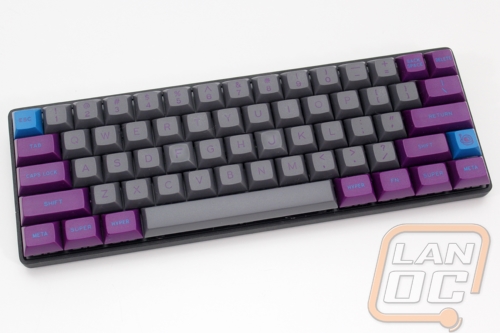
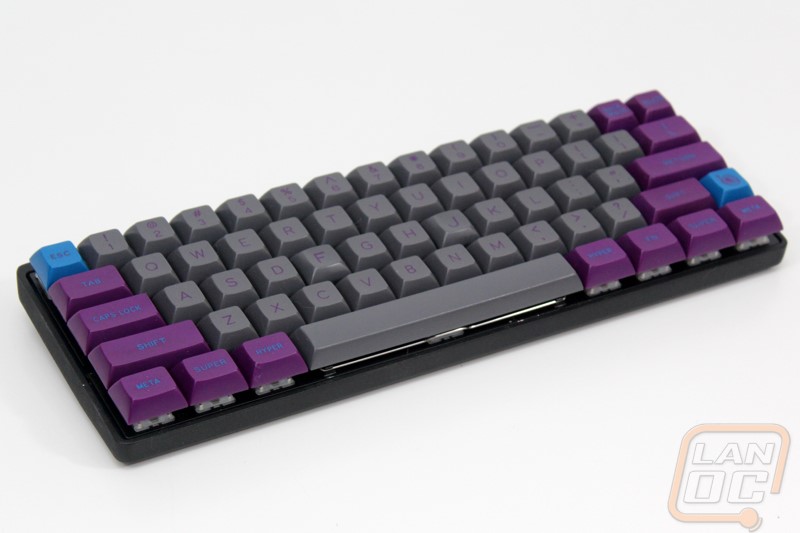
Now that we have the Infinity Keyboard we can actually take a closer look at what it is all about. You might notice that in the photos below the keyboard doesn’t have the black PBT keycaps that it ships with, our original set had some defects that I wasn’t a fan of and it also came with the wrong sized spacebar. When they shipped out the replacement keyboard there was a communication issue and we didn’t get a set of keycaps. Sadly with Signature Plastics working double shifts to do the Granite Keycap Set that Massdrop did a drop on (13890 buyers!), so Massdrop wouldn’t have extra black PBT sets until closer to the next drop shipping. Lucky for us Signature Plastics actually sent over a set of their Deep Space keycaps for another project we will be working on soon and the set had everything needed for the Infinity.
Before we jump into the keyboard completely I just want to talk a little about its unique form factor. For those of you who aren’t huge into keyboards you most likely have only seen full sized keyboards and TKL (TenKeyLess) models. As a reader you may have also seen the ErgoDox here on LanOC as well. That said the Infinity is similar to the TKL in the way that it doesn’t have a number pad. This form factor is called a 60% where a TKL is an 80% keyboard. To get to a 60% they drop the direction pad and all of the page up, page down, insert, ect keys. The entire top row of F keys is also gone. What you are left with is all of the standard alpha keys that you use all of the time and then typically with a 60% you can use the function key to get all of your F keys and everything else that is missing. The Infinity is a little unique though compared to a normal 60% like a Poker is that they have slipped in a few additional keys but I will talk about those later.

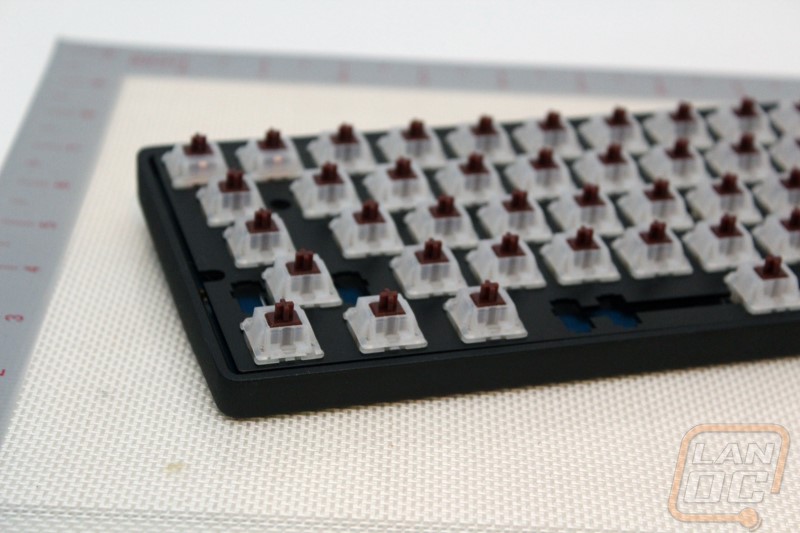
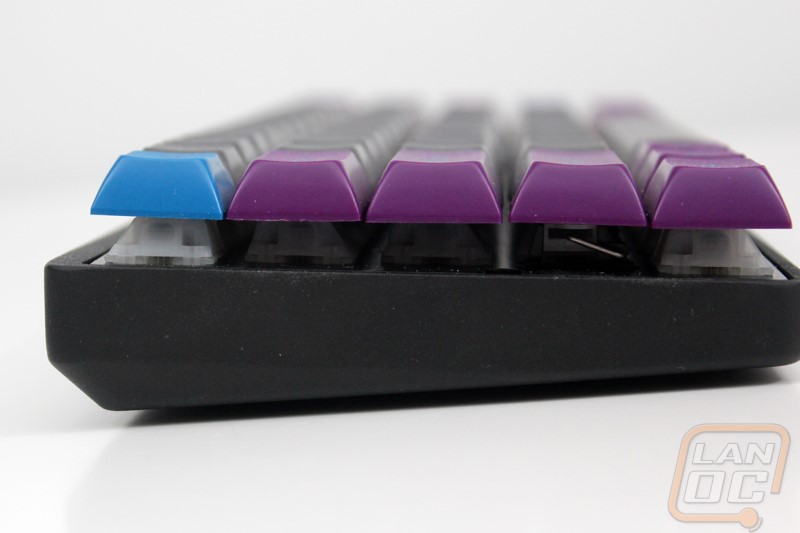
Unlike most traditional keyboards the Infinity doesn’t have a big bezel around the edges, most of the case manufactures as well as Massdrop on their new cases all keep things thin to keep the size down. This also means that the edge doesn’t come up around the keys as well so from the side profile we can see right under them. This does give us a look at the backplate that we painted black and our semi-transparent Gateron switches. So not only is the keyboard layout small but the space saved around the edges make this a very minimalistic design.
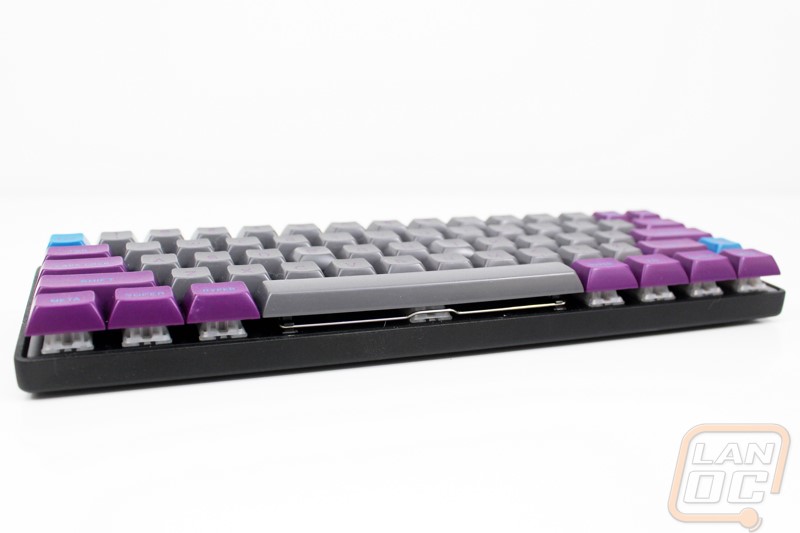
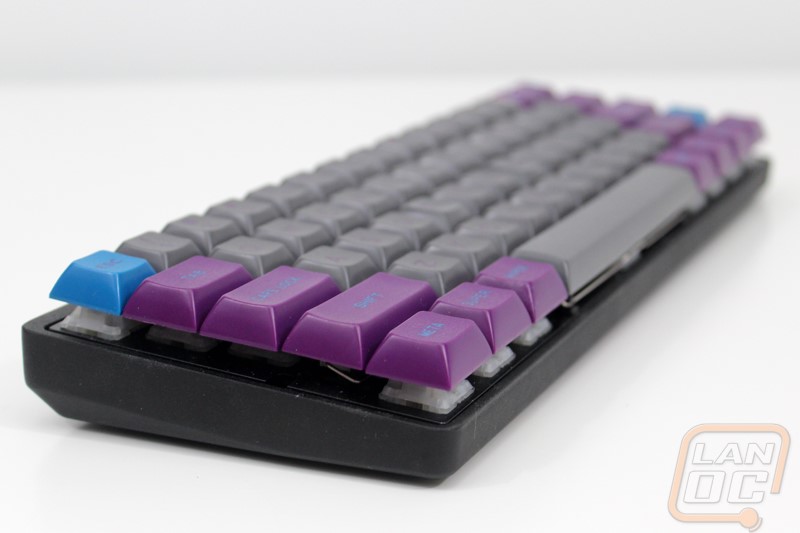
While we aren’t using the same keycaps that the keyboard comes with, we are still using the same DSA profile. The Infinity’s DSA keycaps give you a flat profile when you look at them from the side where most keyboards have a slight curve to the key profile. I personally love the DSA profile for a keyboard like the Infinity because with all of the customizing that you can do with where each key is you need a keycap that isn’t locked into being in one specific row only, DSA caps allow that. The keycaps that come with the keyboard are blank so you won’t have to worry about that to much. From the side profile we can also see the angle that the case puts us at. The original Tex case that we used put us at a similar angle when using the larger rear feet and from what I can see the upcoming Injection Molded cases for the new Infinity drop has this same angle as well.
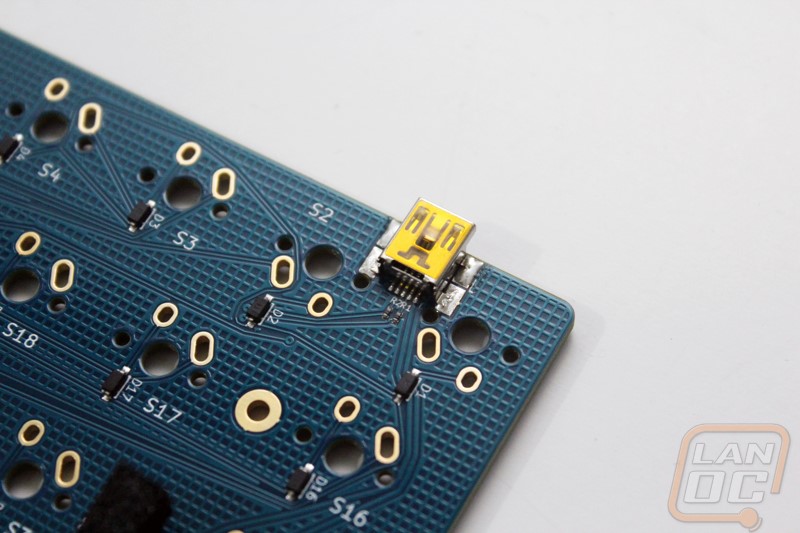
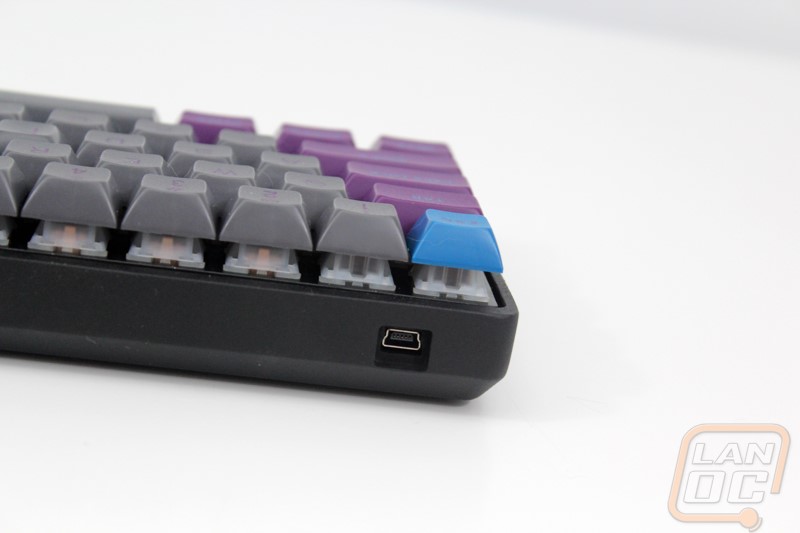
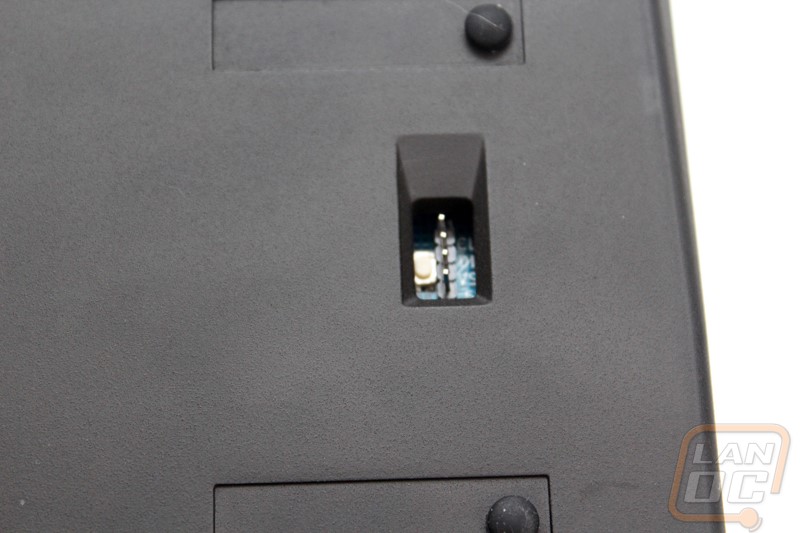
I mentioned earlier that Massdrop does include a USB cord for the Infinity. Well just like the ErgoDox you might as well plan on ordering a longer cord right out of the hole because the cord is amazingly short, like 2 feet maybe. The current Infinity design uses a Mini USB 2.0 connection but there have been talks about in the future switching to the new USB 3.0 C port that is smaller and also can be plugged in upside down or right-side up. The plug is on the back edge of the keyboard on the far right side.
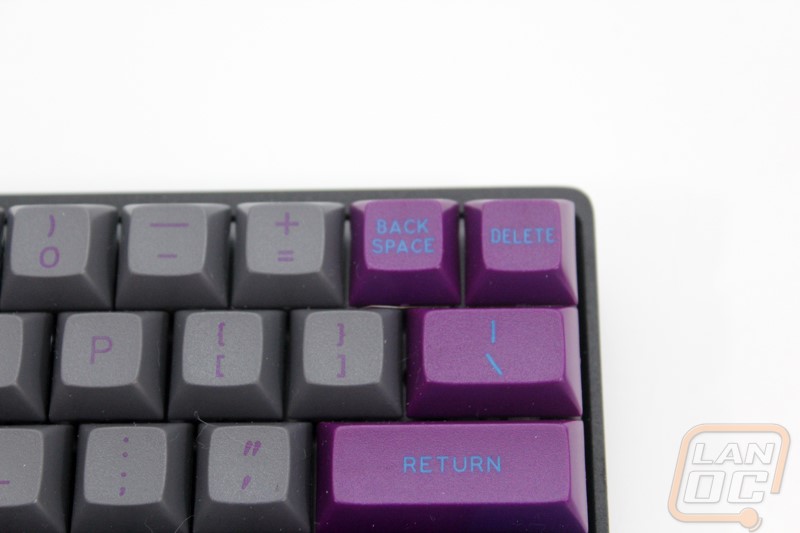
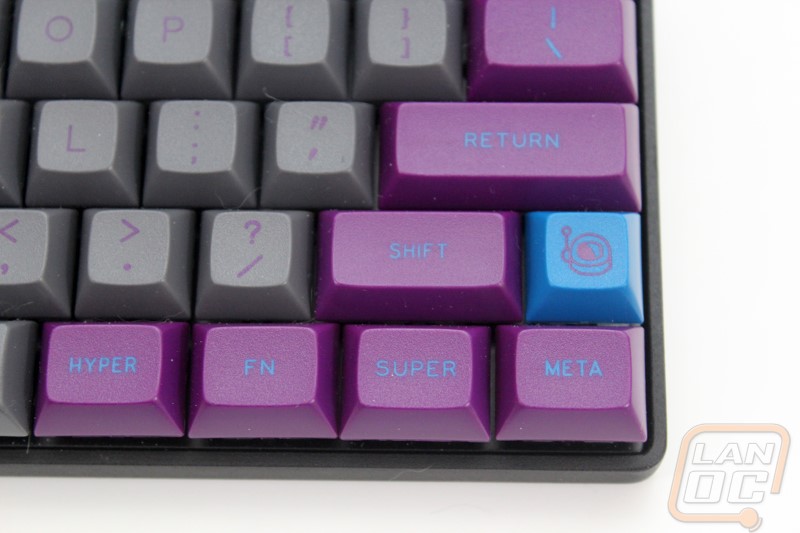
For the most part the key layout of the Infinity uses standard sized keys all across the keyboard. The main exception to this is up in the top right corner where you would normally have a 2u wide backspace button as well as down at the right shirt where they slipped in an additional 1u button. The basic key layout that the Infinity ships with puts the pipe/backslash key up in the left button next to the = key. For me I really prefer to keep my key layout as close to normal as I can so I actually reprogramed the Infinity to have the backspace then delete next to each other with the backslash in its normal spot. For the shift key I didn’t program the button next to it to anything because I was worried I would bump into it. It is a nice place to be able to switch to another key layer though if you are interested. Like I said for me I preferred to keep things simple so I avoided layers all together to start, but I might change that later on. On a side note, the Deep Space keycaps helps a lot here with me being able to see what each key that I changed does.
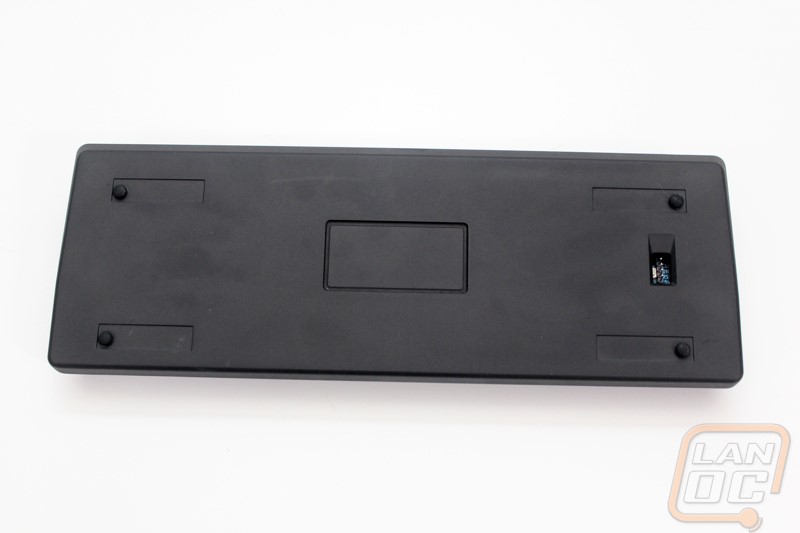
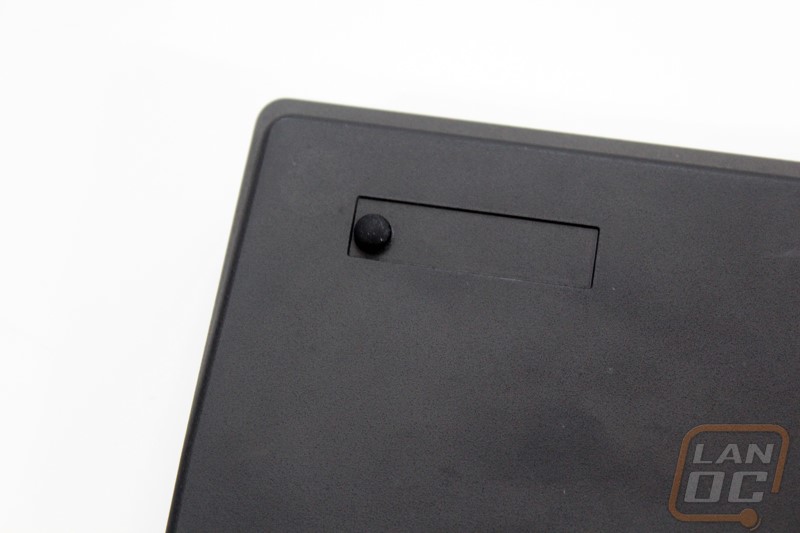
Earlier we saw the back of the acrylic Tex case. The Vortex case for our second build was a little different. We can see how the four pin header on the bottom of the PCB is recessed. The middle of the case also has a location for a tag should you want/need to put one on. Sadly it didn’t come with the feet that the Vortex cases normally have. To keep it from sliding around I used the extra small feet that the Tex case came with but hopefully I can find feet that fit it better in the future.
Performance
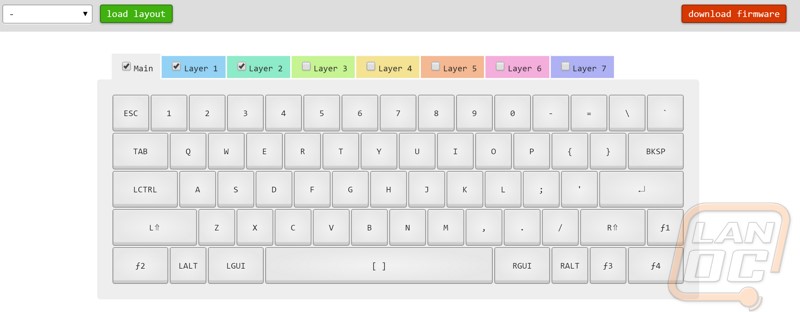
With our Infinity Keyboard built I jumped right into testing right away. To get started I started by jumping on the configurator to get the perfect key layout for me all worked out. While I think that they are still working on adding a lot of additional options, the configurator is surprisingly easy to use and covered everything I needed. As I mentioned before you can still go in and program everything manually as well. Being a web based configurator once you get the layout you prefer you download the firmware and following Massdrops instructions you flash it to your keyboard. Ideally I would much prefer this to be a software program that does all of that for you like most keyboards, but frankly all of the off the shelf keyboard options don’t let you completely reprogram their keyboard, at most you can use software to do some changes on the fly.
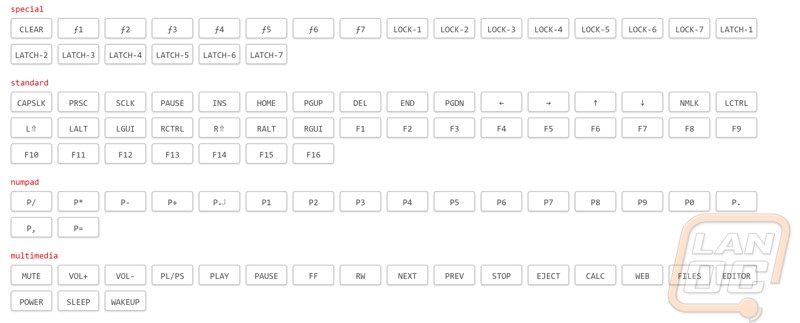
With the Infinity setup to my preference I swapped it out as my main keyboard for testing. In addition to that I had the chance to actually pack it up and take it along with me to a small LAN. In the office adjusting from a full sized keyboard to a 60% was interesting but I have had some experience with my Poker 2 as well that is also a 60% keyboard. Ironically I didn’t miss the F keys at all. There are a few times a day that I miss having quick access to a direction pad (specifically when flipping through a word document like this), but much like my Poker 2 I was able to program a second layer with the direction pad as a function layer to WASD. The loss of a number pad hurt the most but my experience with a lot of TKL keyboards conditioned me with using the number row more in those instances where I am inputting numbers into graphs.
Moving from a full sized keyboard to a 60% actually opened up a ton of room on my desk and allowed me to move the keyboard around a little more to get it in a more central location where when using the number pad I type slightly offset to the left. Taking the Infinity with me to a LAN was even nicer; the small size made packing it easier and saved already tight space. I did however miss the backlighting of my Poker 2 and my Code keyboards, especially in the low light LAN environment. I really hope that Massdrop adds backlight support in the future. Another feature I really hope to see is an RGB status indicator where you can get an idea of what layer you are on currently. While I love the ability to add an infinite amount of layers I tended to rarely use them because a few times I would get kicked over into the wrong layer and frankly get lost as to what layer I was on. More time typing on the Infinity would without a doubt clear that up, but I know having an option to be able to see what layer I’m on would make that simpler.
Typing on the Gateron Browns was extremely smooth, more so than a standard Cherry MX switch. I did run into an issue where some of the switches caught on the stem of our keycaps but this was quickly fixed by rubbing along the bottom edge where it caught. The smaller size of the keyboard didn’t slow down my typing at all and I quickly got used to the single width backspace/delete even surprisingly. Once I added the small rubber feet to the Vortex aluminum case the keyboard was rock solid on my desk and frankly given its extremely heavy duty construction I could keep it with me as a weapon. I think I might have to consider an aluminum case for my Poker 2 as well!
Overall and Final Verdict
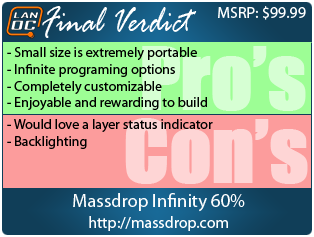
So the Infinity is not your everyday keyboard. It is unique both in its size and design but what really sets it apart from your everyday keyboard is this being a completely DIY kit. Massdrop does now offer an option that solders the key switches on for you but it will cost you more than the standard kit. For me building the keyboard was fun and rewarding, but I know for some all of that work might be stressful or time consuming. That DIY aspect does open up a lot of options though. With the Infinity you can pick from a WIDE selection of key switches, most that aren’t even available on your day to day keyboards. You can even pick out the case as well. You have complete control of the keyboard layout and can add an infinite number of layers to add multimedia and other controls. Hell you can even decide to skip out on the black PBT keycaps and order something like what we ran on our Infinity. The near infinite number of both physical and programing options are really what the Infinity is all about.
Sadly, even with all of the available options there are a few features that the Infinity could still use in my opinion. The biggest option I would like to see is optional backlighting. Being such a perfect fit for a LAN keyboard having the ability to add backlighting would be huge. In addition with all of the layers you can program, I would love to have an RGB status indicator to let you know what layer you are actually on when using the keyboard, if they add full backlighting they could even just have it light up the layer number on the number row. I just know it would make adjusting to all of the layers a lot easier for me and most likely others.
So how was the size? Well as I mentioned the small size was perfect for packing with your LAN rig because of how much room it saves both in your bag but also on your table. That same logic made additional room on my desk and also makes the 60% form factor a perfect size for packing along with your laptop if you just can’t live without a good keyboard when traveling.
My only concern with the Infinity is that I think that all of the customization options that make it such an exciting keyboard for someone like me might go completely un-used by some users. For them given the price they might actually be able to find a 60% keyboard on Massdrop or otherwise that does what they need it to do and even have backlighting for a similar or even better price. In the end you really should enjoy building and customizing the Infinity to make it the perfect buy. For me, that is exactly what I was looking for. But if you want something that is working right out of the box there are better options.

Affiliate Link: HERE


