Installation
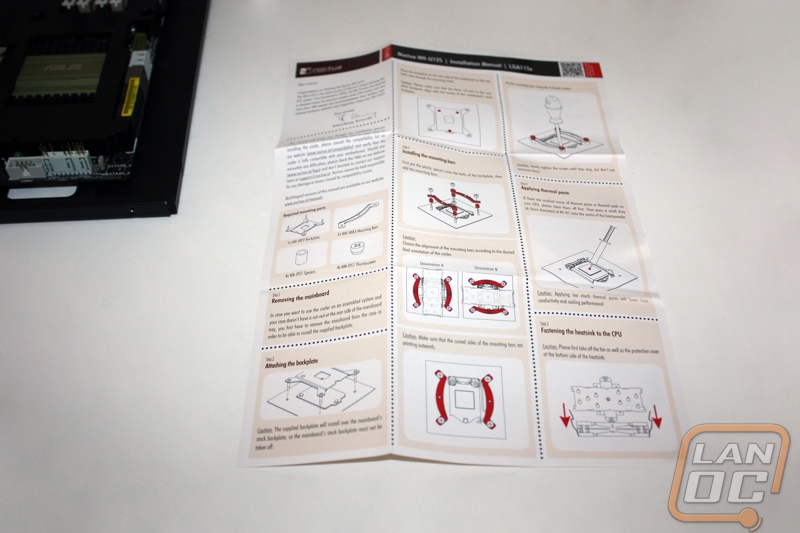
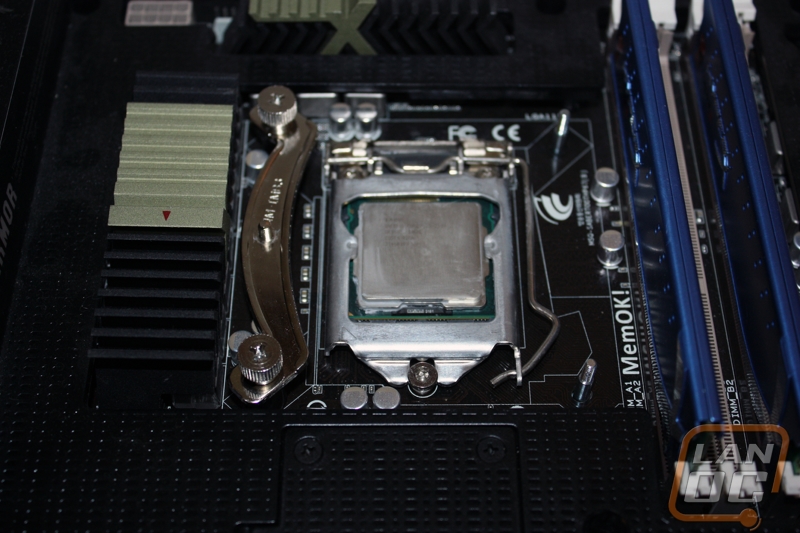
For our installation, we will be following the included installation guide and using all included tools. In the case of our test bench we will be following the LGA 115x method. The included parts here are pretty straightforward with two brackets, plastic spacers and thumb screws.
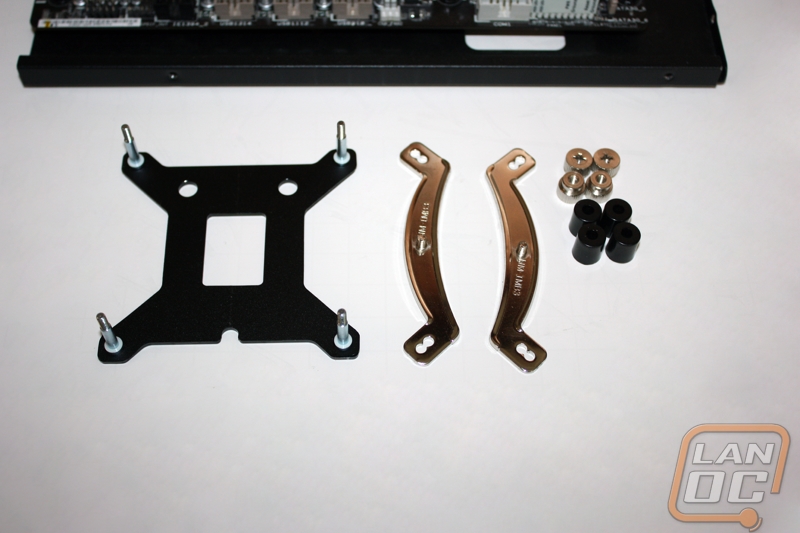
The backplate is super easy to install, simply threading the screw posts through the holes in the motherboard. With that done the plastic spacers fit easily over the screws.
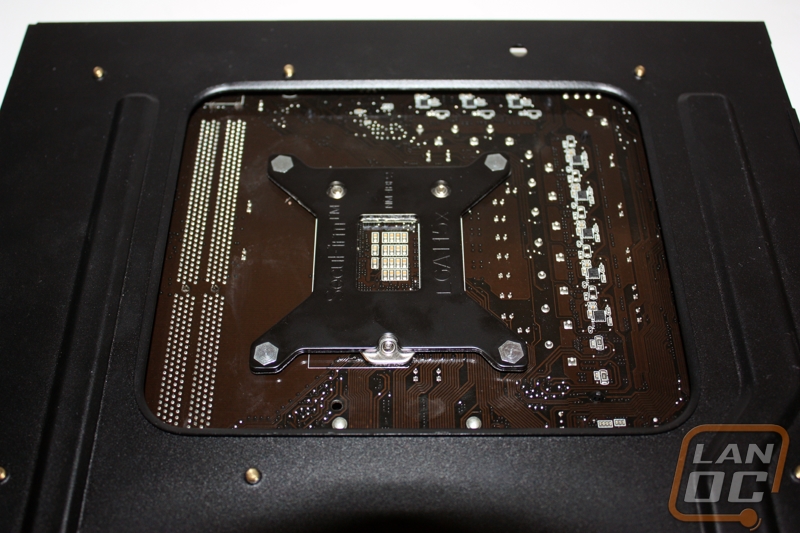
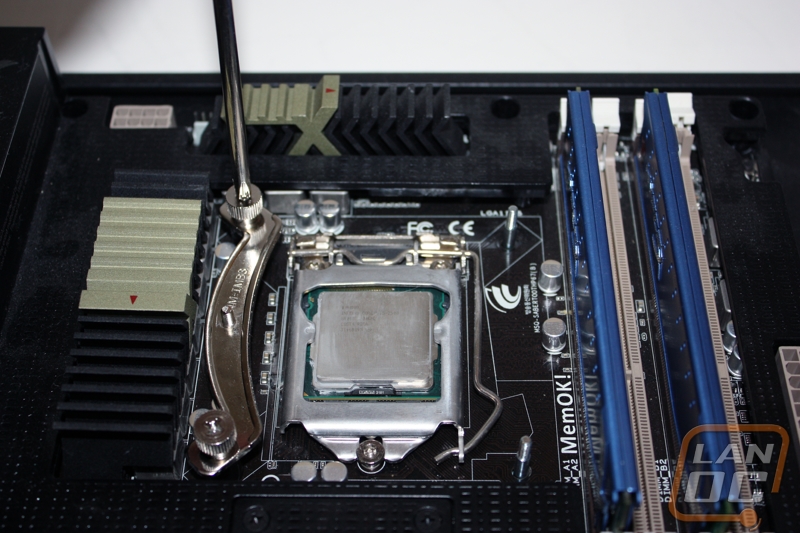
The final portion of the bracket screws on with four thumbscrews. I would suggest tightening these down slightly with the included screwdriver.
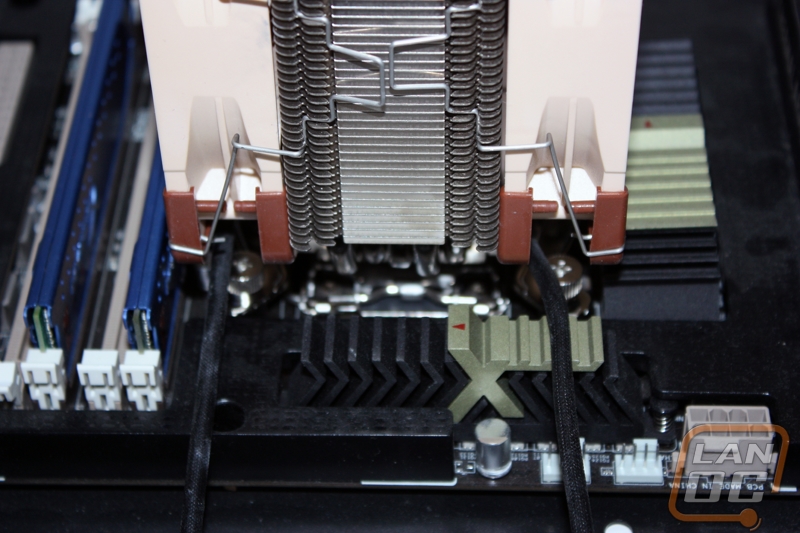
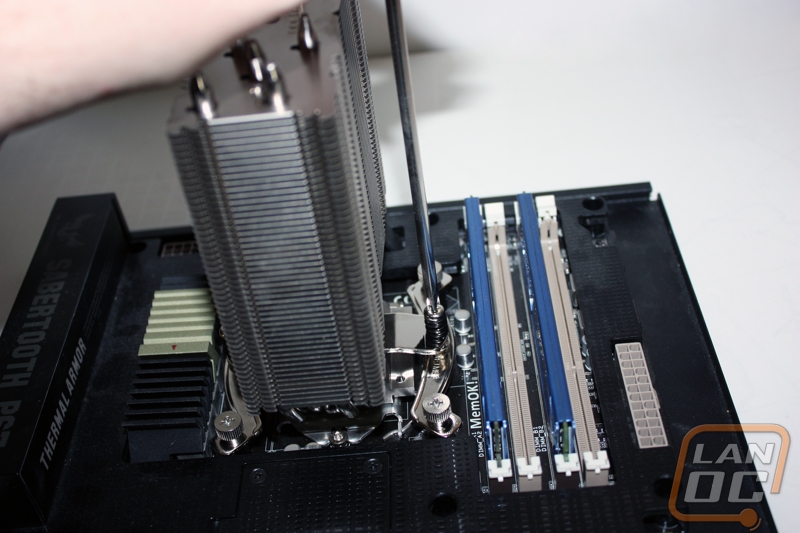
With the bracket fully installed, it is now time to attach the tower to it. After applying your thermal paste, line up the screws with the threads on the top of the bracket and tighten down the tower. The hard work is done now and only the installation of the fan(s) is left. This process was much easier with our removable motherboard tray but wasn’t terribly difficult on the whole.
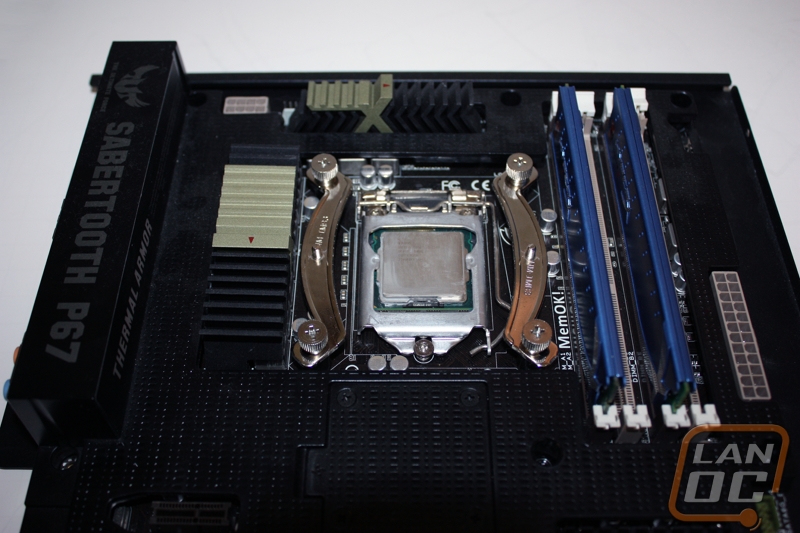
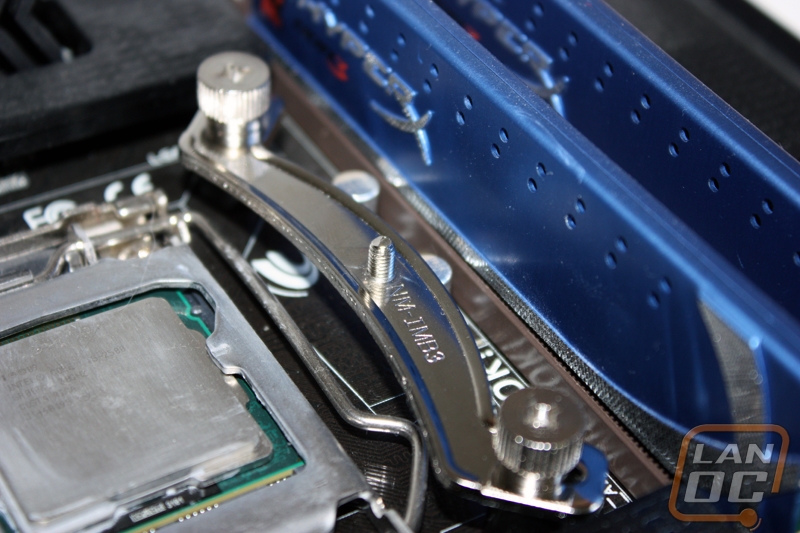
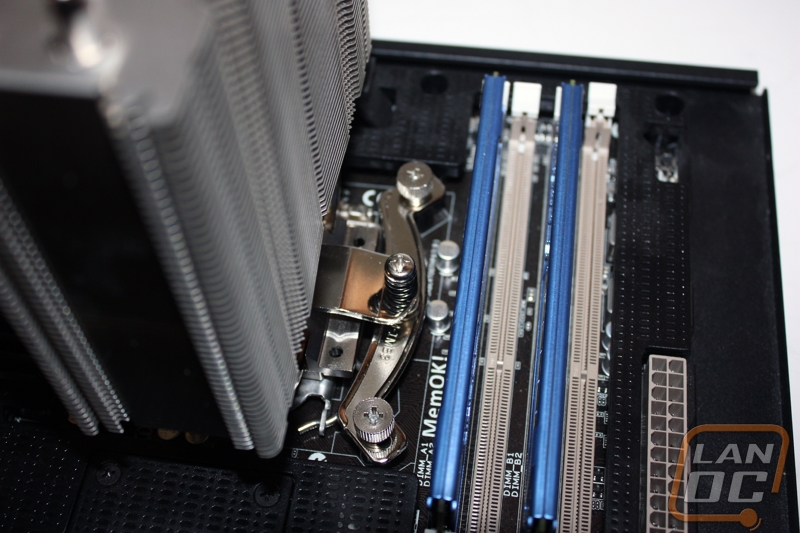
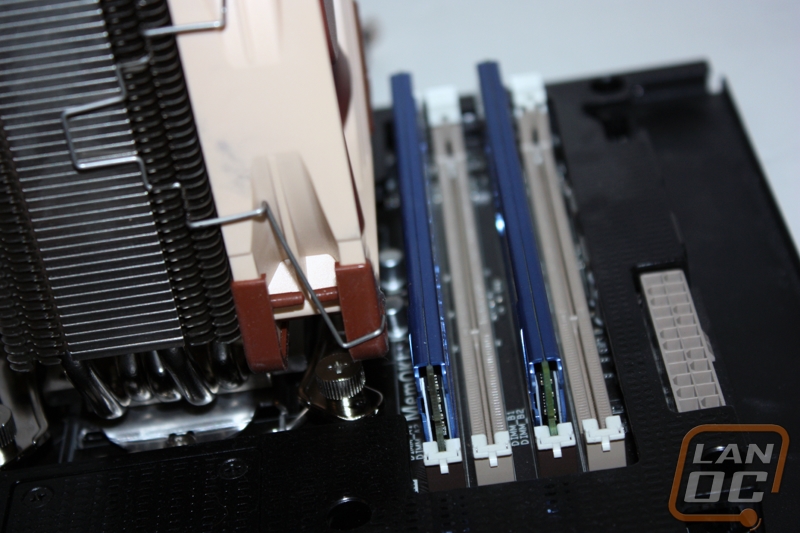
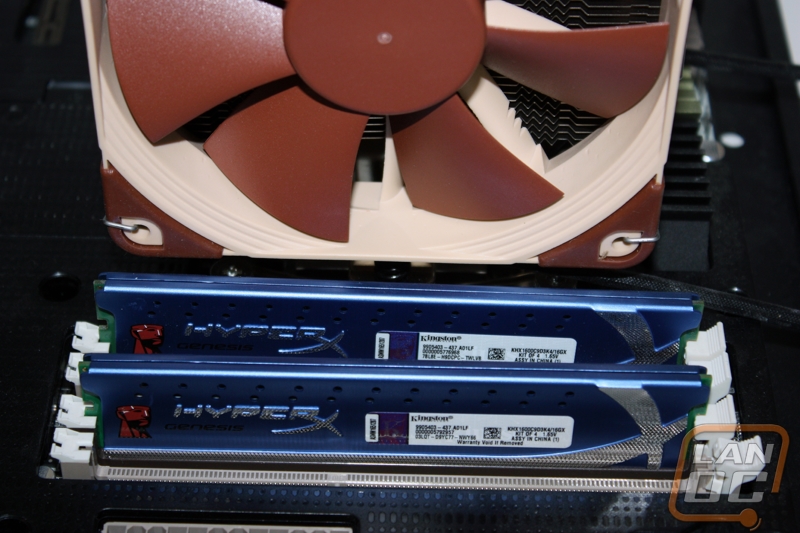
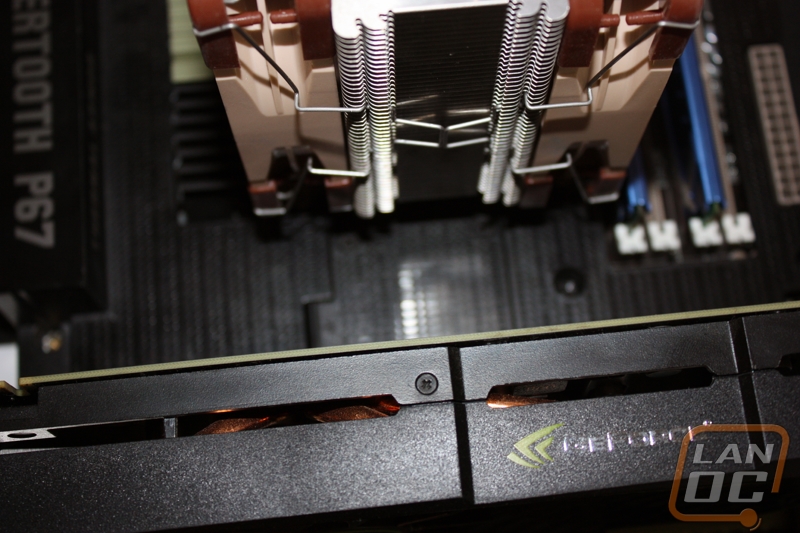
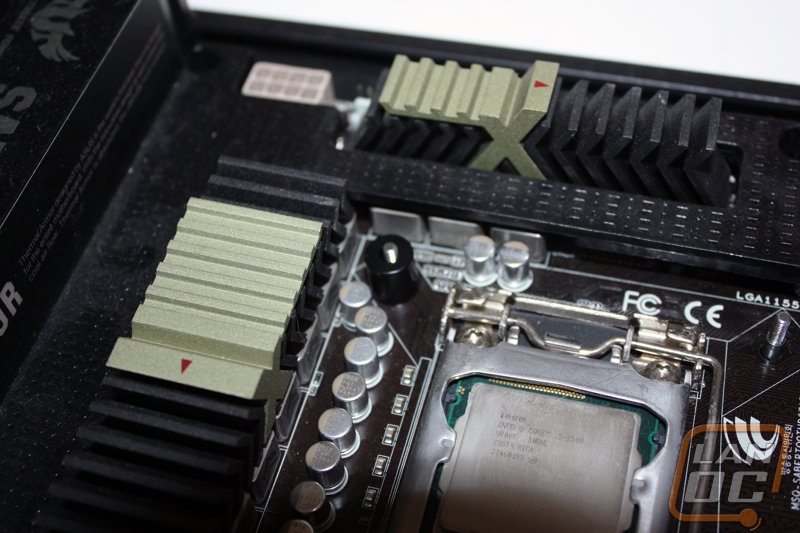
With the fans installed, the clearance around our board even in the double fan orientation is quite nice. We use low form factor memory in our test bench but the space is still there for higher profile RAM coolers. The clearance off the motherboard heatsinks is also decent.