Installation
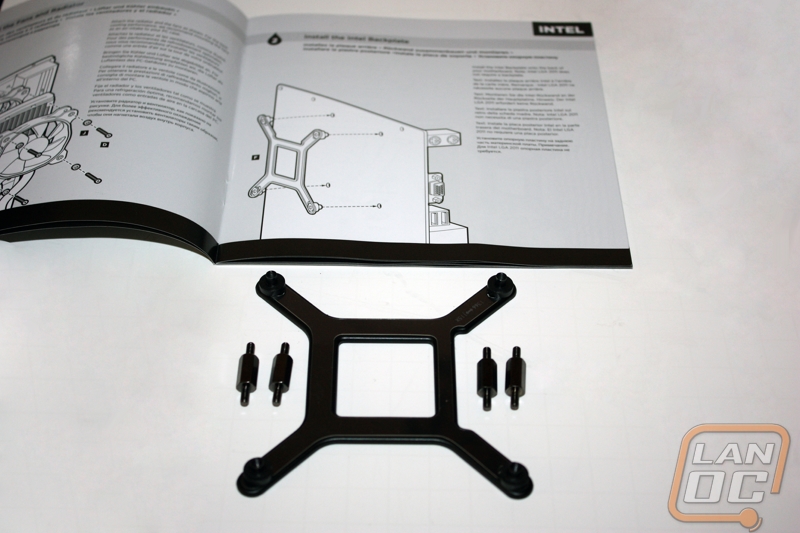
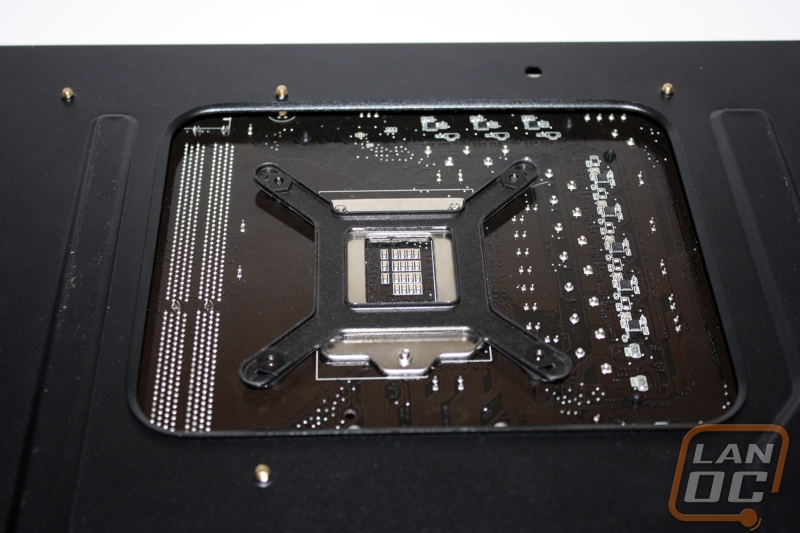
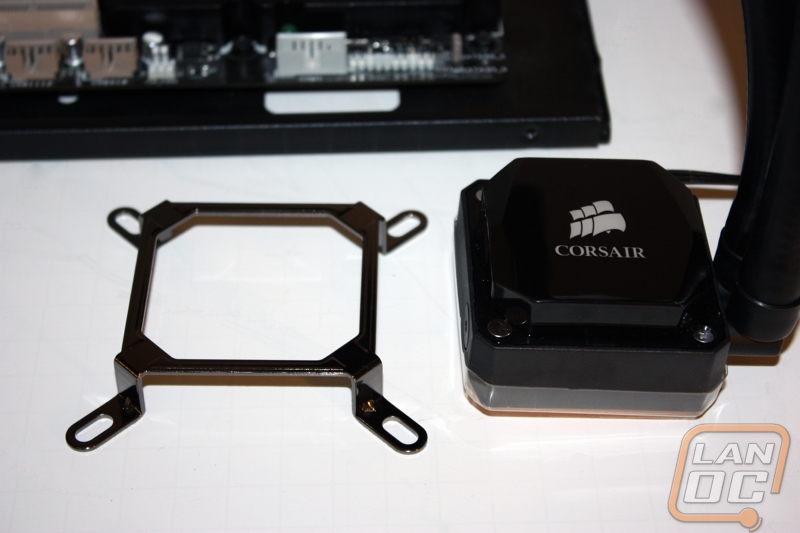
We will begin by attaching the H80i’s backplate. For our LGA 1155 setup, this process is a very simple five piece process that involves nothing more than lining up the holes and screwing down our four standoffs to the board. Since the backplate connectors thread through the preexisting holes on the motherboard, this part proved to be a snap. While a small wrench tool might be helpful for getting the screws in place you should always be sure to not tighten anything down onto the motherboard too much.
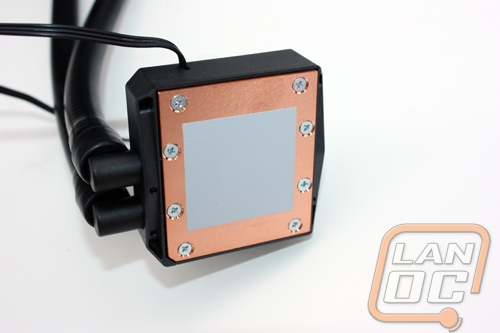
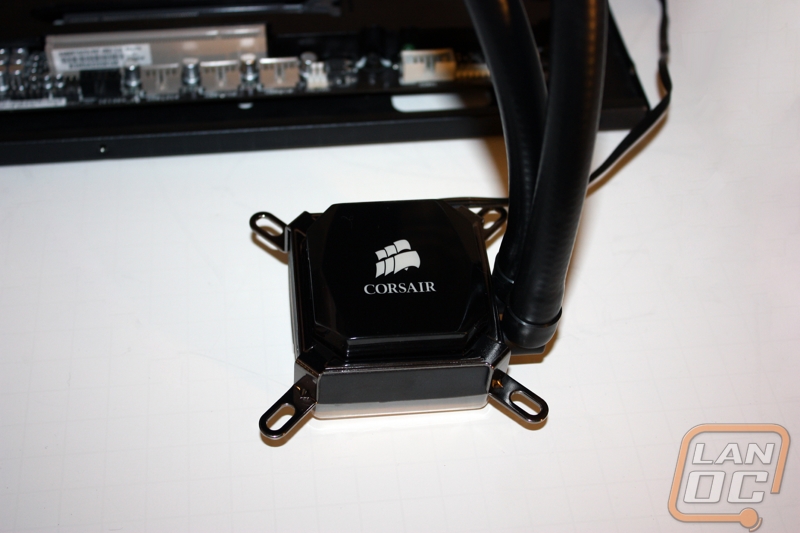
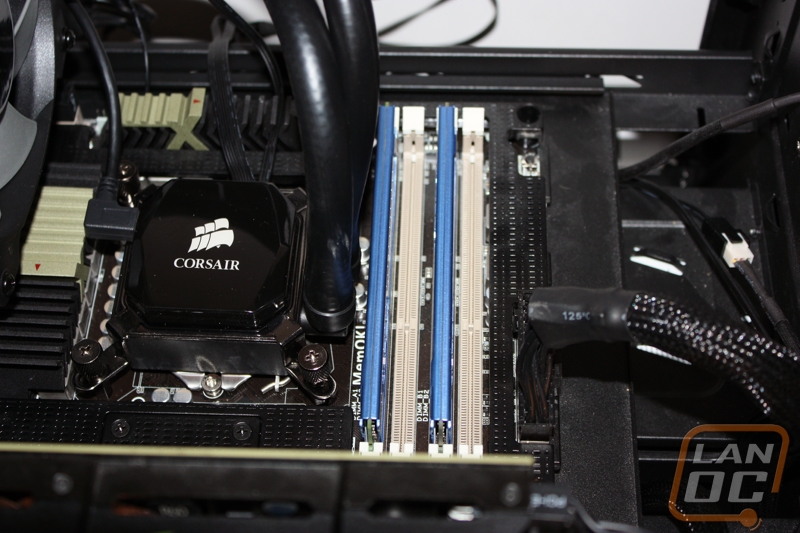
Next up is attaching the pump and waterblock to the processor. Since the H80i already has its own thermal compound applied we can skip that step but be aware that the compound application is only good for a single installation. If you plan on reinstalling the cooler at any point or you mess up on your first install you will need sound thermal paste as backup. There are a pair of small magnets on the pump and block unit that hold the bracket to the pump during installation making installing the cooler even in a vertical environment a breeze. Line up the screw threads in the mounting bracket channels and center the pump unit before tightening down the four included mounting screws and you are done.

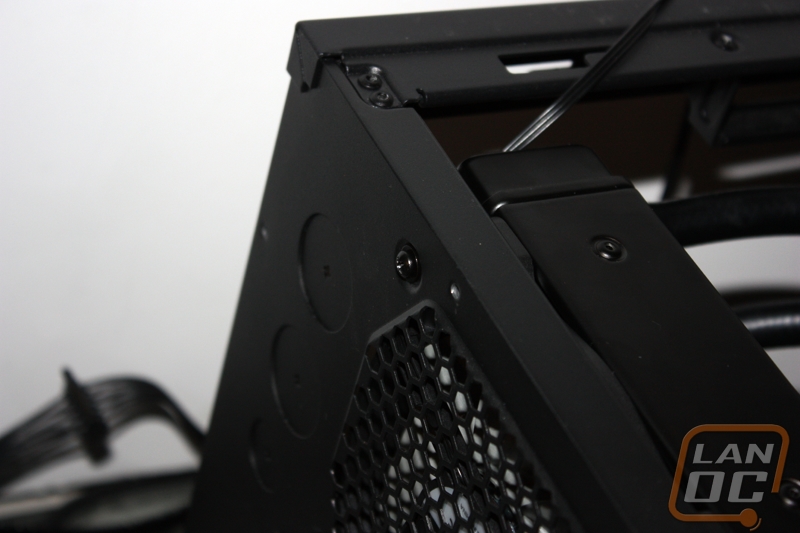
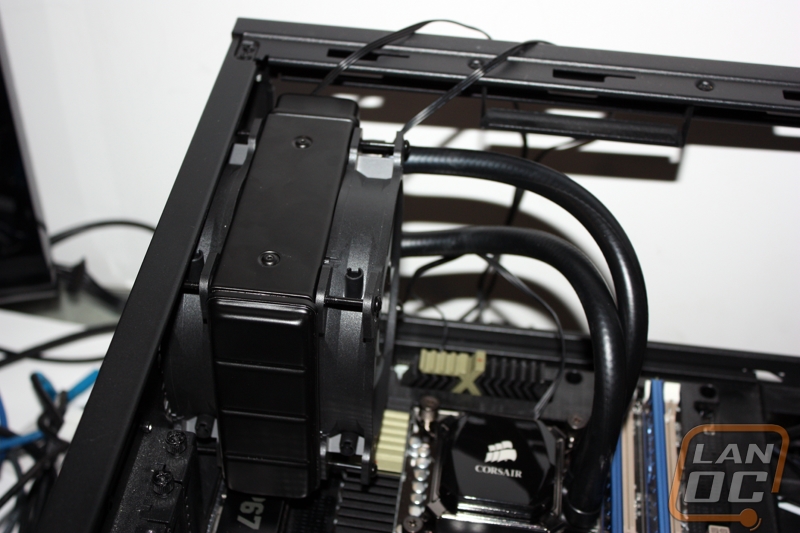
The hardest part of the installation process proved to be securing the fans and radiator in place. The first fan is secured to both the outside of your case and the radiator at the same time for a tight connection but lining up the screws is quite the task for two hands. Luckily the second fan is quite easy once the first one is in place. The only problem here is the second fan begins to crowd sections of the motherboard, specifically the area around the 8-pin power connector.
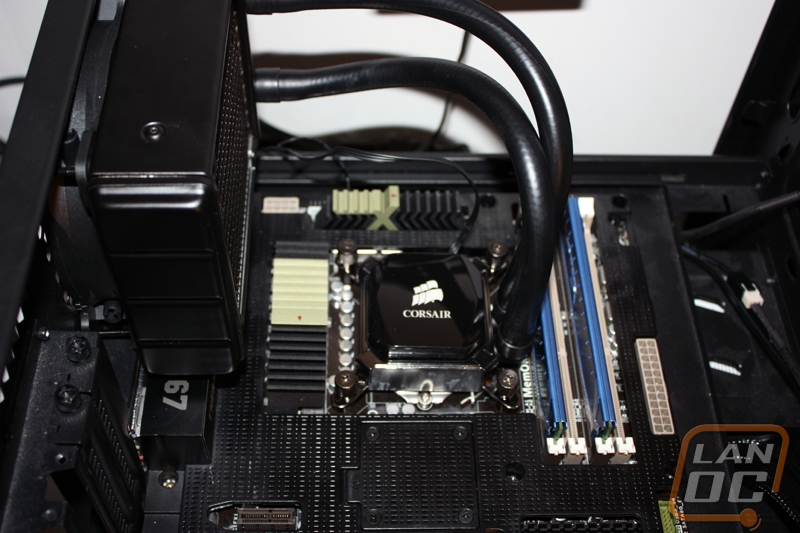
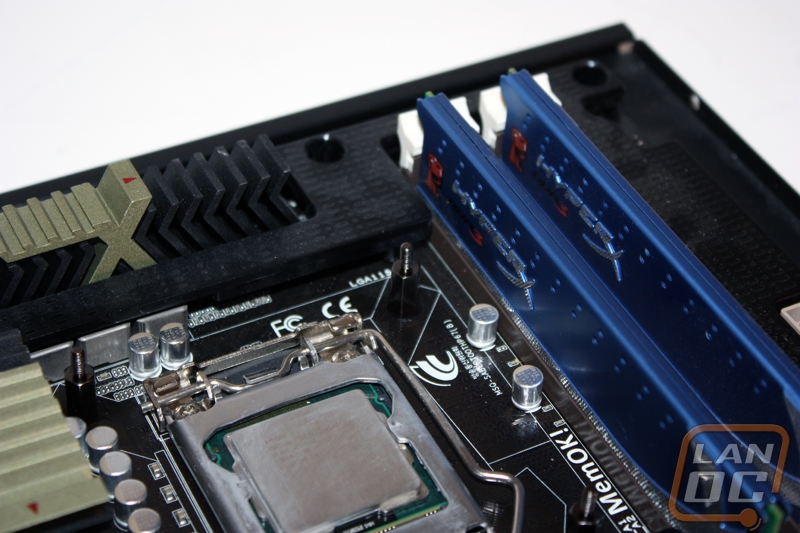
Another thing to check is the clearance between your RAM DIMMs and the fittings and tubing. In our test bench this wasn’t an issue but it was close enough to warrant a warning if you are using other boards with differing manufacturers and layouts.
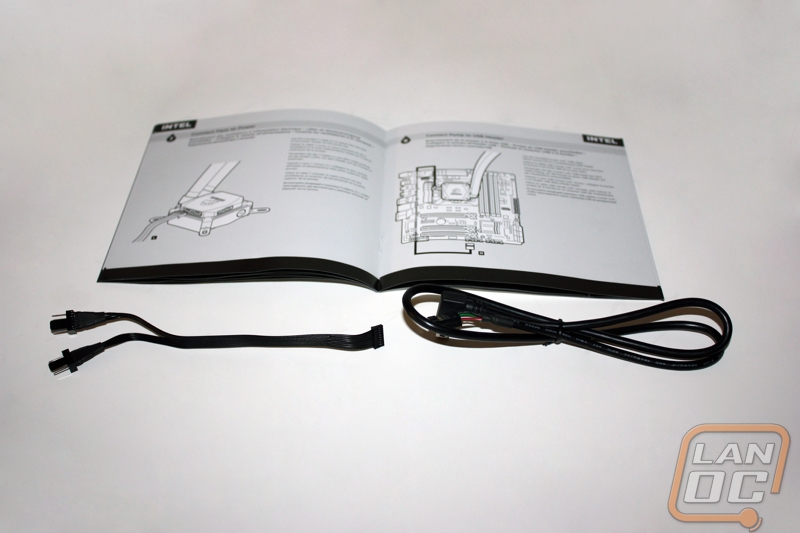
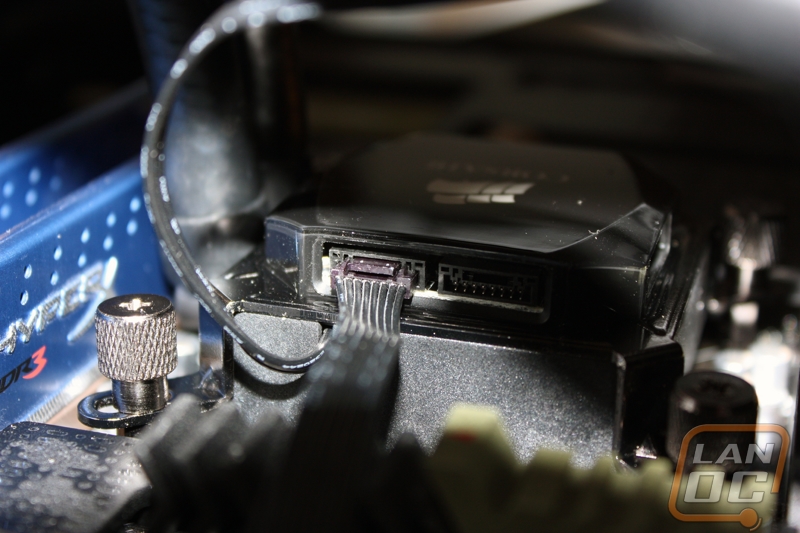
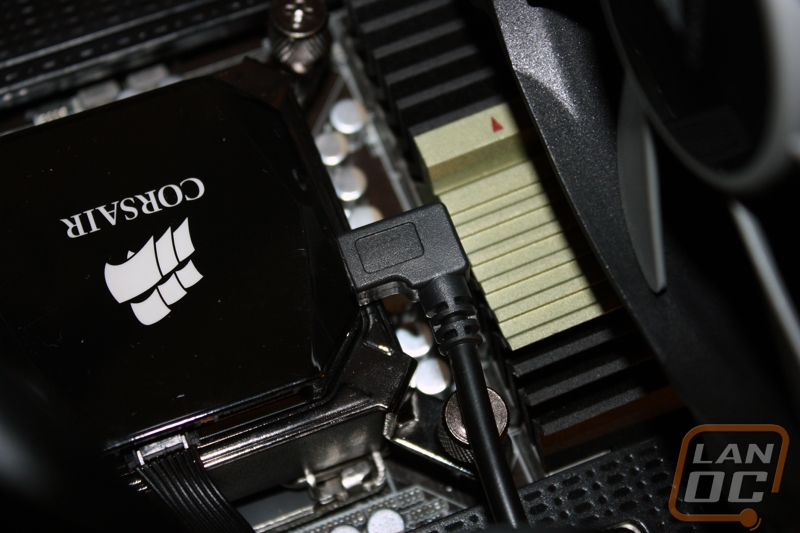
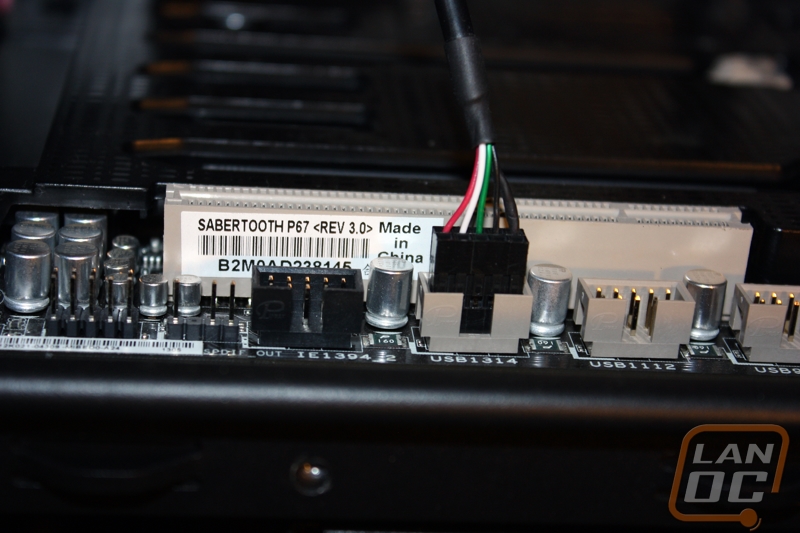
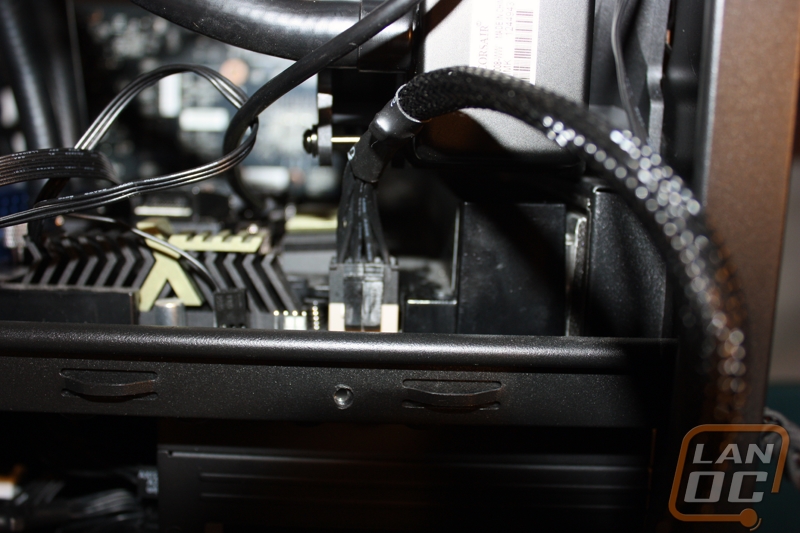
The last part of installation is hooking everything up to the Corsair Link functionality. To this end a two fan connector and a USB cord are included with the device. Both radiator fans plug into the fan connector and are plugged directly into the pump where they will be powered and controlled. The USB is more of a function in cable management as it plugs into the side of the pump unit and has to make its way all the way down to a USB 2.0 header usually located at the bottom of your motherboard. The cable is not long enough to be routed any other way besides over top of your video card and other PCI cards and I would love to either see an extension for this cable or the option to plug into a backpanel USB port.