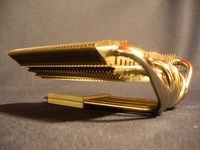
 As we have talked about before keeping your pc cool is very important. Considering the cost of video cards this is especially important. Not to mention that if you’re looking to get a little extra performance out of your setup you will be looking at overclocking your video card. That’s where company’s like Thermalright come into play. They are known for their top quality heatsinks. Today we will be looking at their HR-03 GT VGA Cooler. This is a redesign of one of their normal video card heat sinks made to fit some of the newer video cards. Click to read more about it.
Review Sample Provided by: Thermalright
Review By: Garfi3ld
Pictures By: Garfi3ld
Specs
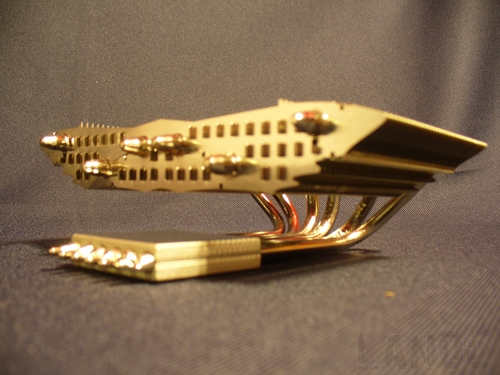
- Dimension: L133 x W156 x H38 mm (heatsink only)
- 6 heatpipes
- Weight: 410g (heatsink only) Recommended Fan (92x25mm)
- Compatibility list can be found here
Packaging
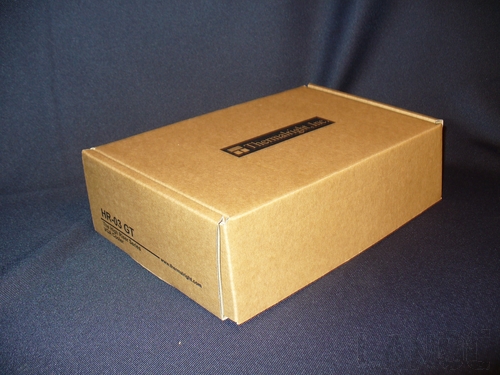
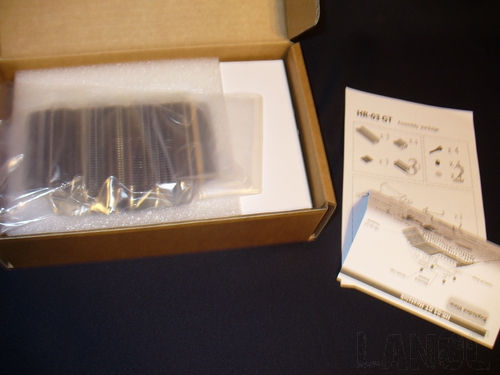
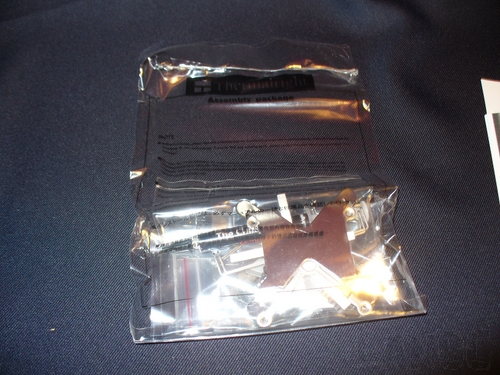
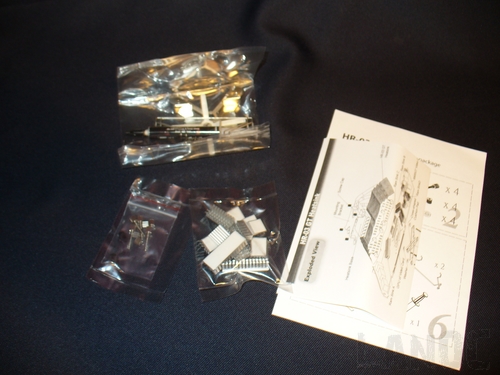
The HR-03 GT came packaged in a plain cardboard box. It does have the product name and description on each end along with the Thermalright, Inc. logo on top. In a way it’s disappointing to not be able to see the product or a picture of the product on the packaging. But I don’t think it will be an issue unless you start seeing Thermalright products in retail outlets. Inside the box the heatsink was secured with Styrofoam on all 4 sides. They included two papers with a contents list and an installation instruction page. There are also three clear plastic bags. One has all of the ram heatsinks. Another has all of the screws and washers needed for the install. And the last bag has all of the clips and brackets along with a full tube of Thermalright’s Chill Factor thermal paste.
Our Test setup
Thermaltake Armor + MX Case
Intel Q6700 CPU 3.33GHz Overclock
Thermaltake V-1 CPU Heatsink
Abit IP35 Pro Motherboard
4 gigs of HP206200 Mushkin Ram
Evga 8800GTS G92 512Mb
Corsair 620 Power Supply
Razer AC-1 Sound Card
Installation
After taking a first look at the instructions provided I jumped right into the install by removing all of the screws on the back of the video card. Once they were all removed and you take the two attached to the back panel off the whole heatsink will come off fairly easy. It’s interesting to see how little the card weighs without the heatsink.
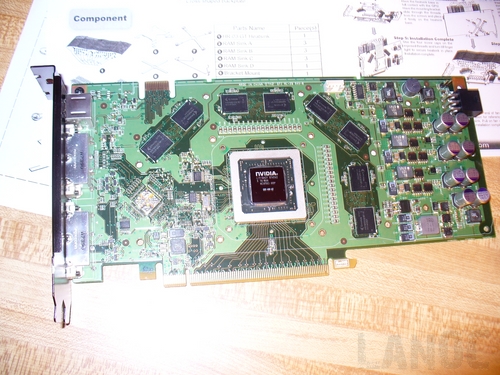
Next you want to get out the rubbing alcohol and start cleaning mess on the card off. The core is easy to clean and looks amazing once it is clean. The thermal paste if you want to call it that used on the ram is frankly a pain in the butt. It leaves an oil residue even after you think you have it all off. I cleaned them off countless times and still had trouble getting a few of the heatsinks to stick. I later had even more come off from this same reason.
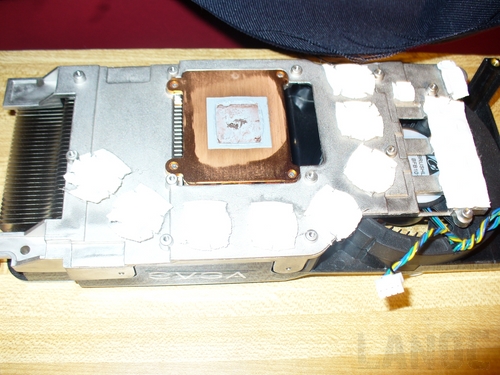
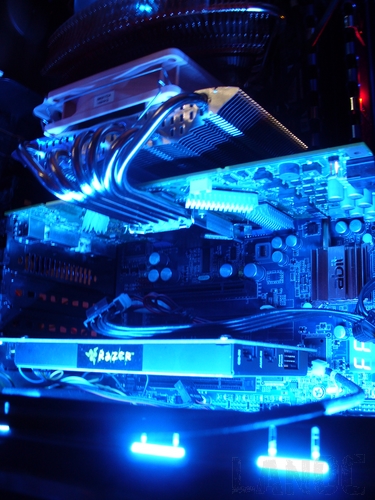
After fighting with sticking all of the heatsinks on my next task was to put thermal paste on the core and on the heatsink. But first I had to pick the way I wanted to install the heatsink. You can mount it over the card putting it on top of the card using less room, but going in the opposite direction of the stock cooler. Or you can install it going down and taking up even more room than the stock dual slot cooler (when you have a fan installed on the heatsink). I decided that on my setup it would fit on top of the video card saving room under the card for items in the future and also (hopefully) creating a tunneling effect with the CPU heatsink being directly above the fan on the HR-03 GT.
Once I put the thermal paste on the heatsink and GPU core I carefully placed it in the correct position. I pulled out the back plate and mounting bracket and installed them on each side of the card. Using the small thumb screws I tightened it finger tight. This sounds easier than it ended up being. It would be much easier if you had a third hand. The final kicker being the struggle with the small thumb screws, frankly my fingers are way too big for them. It’s not Thermalright’s fault that I have fat fingers (that would be pizza’s fault) but it would be nice if there was a little more room to get at the thumb screws, or if they made them taller.
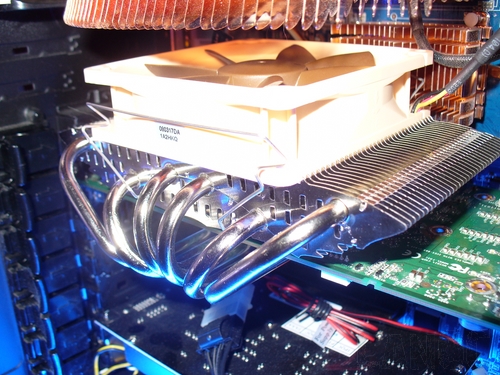
Now that we have the heatsink on, and after some testing it was time to install the fan. We are using a Noctua NF-B9 92mm Fan provided to us by the fine people at Noctua specifically to use on this heatsink. Thermal right provided clips to hold the fan on. After looking at a few pictures on the website (the pictures in the instructions are way too small to be useful) I was able to get the fan mounted securely on the heatsink.
Performance
In order to judge how well the heatsink performs I had to do some testing. I decided the best way to reliably test the temperatures over and over would be to run a base temp with everything turned off until the temperature leveled out. And then run a stock 3dmark test while watching the temps using EVGA’s Precision Overclocking tool. To make it fair sound wise the stock heatsink fan was run at 50% load giving it good performance without the unlivable sounds it makes at speeds much higher than that. Our testing is about everyday performance so sound is a major consideration. Also the testing environment was a consistent 70 degrees during all testing to make everything fair.
Our GPU settings were set to the following for this portion of the testing
Core Speed 670
Shader Clock 1674
Memory Clock 972
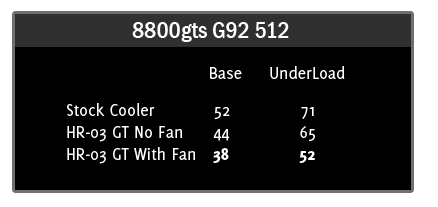
As you can see the NR-03 GT gave the stock heatsink a beating. Even without the fan there was a major improvement, but it really shows with the fan. You couldn’t ask for a better power to noise ratio on a fan for this heatsink. The fan temps beg to be overclocked. Speaking of…
Our GPU settings were set to the following for the overclocked temps
Core Speed 821
Shader Clock 1983
Memory Clock 1008
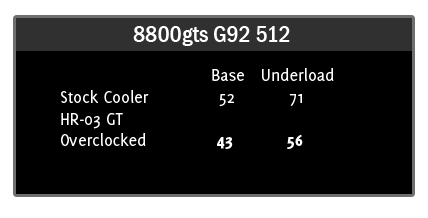
As you can see the heatsink wasn’t even phased by the added temps of a very large Overclock. In fact it’s almost frustrating to Overclock to the point it won’t run any father knowing you are still running well below stock temps.
Overall
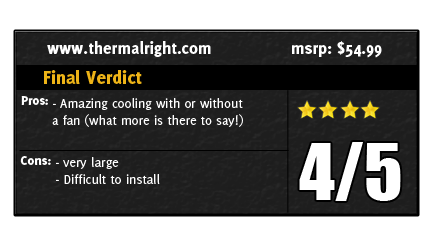
Even with the difficult install process the HR-03 GT proves itself to be worth the trouble. Thermaltake has once again produced a quality product that lives up to their name. If you decide to mount your heatsink on the top like I did you will have trouble releasing the PCI Express button should you need to remove your video card. The price is on the high side for thermal solutions, but it does perform at the top of its class. They also included good thermal paste, saving you money in the future. Overall if you are looking to get a little more performance out of your g92 8800 or your HD3870 this would be a perfect addition to your pc. If you are looking to lose the noise of the stock GPU heatsink the HP-03 GT would fit the bill without the fan or with a quality fan like the Noctua NF-B9. Don't let the install scare you off, take your time and you will see the benefits.
