In the US you can only buy the Wii in the white variety. If you wanted the colors that Nintendo teased us with at expos long passed, then keep dreaming. Enter XCM, a company which specializes in case replacements for consoles and handhelds. How do they stack up against the official thing? I will be reviewing the II Hot Rock case for the Nintendo Wii.
Product Name: Hot Rock Wii Case Mod
Review Sample Provided by : XCM
Review by : 8bitgeek
Pictures by: 8bitgeek/Wes
Features
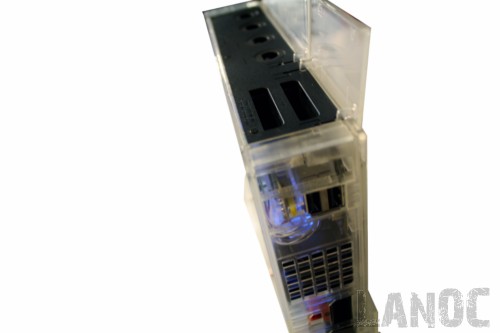
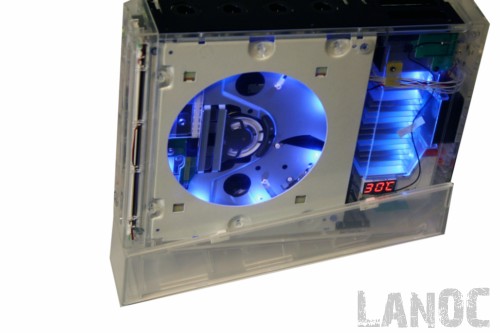
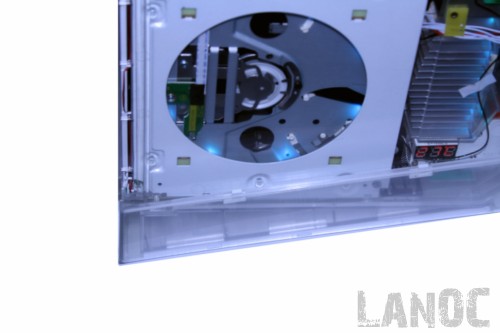
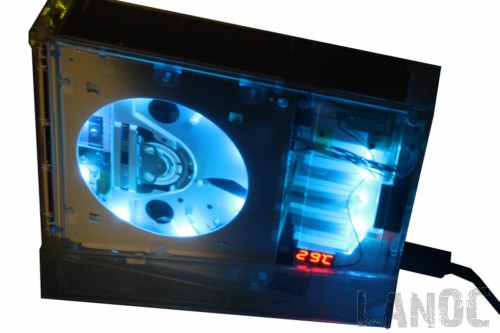
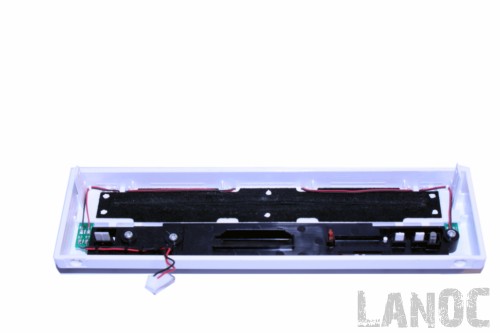
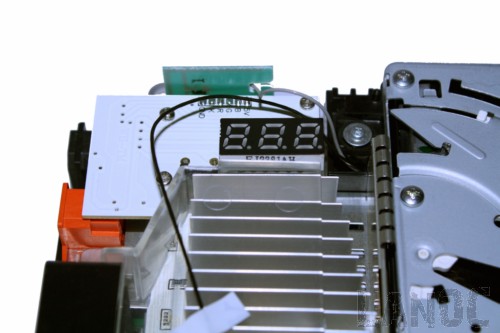
The Hot Rock case is a clear plastic case that has LEDs built in around the DVD drive and an LED thermometer that allows you to monitor the temperature of the console in Celsius. The amazing thing about this case is the LEDs will change color to alert you to the current temperature. The colors changes in 5 degree increments to a max of 55 where the lights will turn red and begin to flash letting you know there is a problem that must be looked at. Another great thing about this case is that it required no soldering. The LEDs and temp gauge draw power from the DVD power cable. There is also a handy switch on back that cycles through modes allowing you to turn the LEDs off and just have the temp gauge or to turn both off.
Color Chart:
Temperature (Celsius) / Chameleon LED color
- Below 29 c : Light blue
- 30-35 c : Blue
- 36-40 c : Green
- 41-45c : Yellow
- 46-50 c : Orange
- 51-54 c : Red
- Over 55 c : Red light flashing
First Impressions
The packaging was a very basic brown box with nothing to it. Most modders know what they are going into, and do not need a feature breakdown or flashy art. The plastic feels very sturdy and well made. All of the parts were packaged neatly in the box and wrapped in plastic to keep it from getting scratched.
Installation
This will not be a guide on how to install the case. It will be an impression and more of a recount of the problems I faced in the install. Also this is my first console shell replacement. I have tinkered around with 360 and replaced psp screen , but I have never done a full on shell replacement. For information on how to assemble this case these links will prove useful.
Disassemble Wii case :
http://xcm.cc/how_to_install_the_i_case.page.a.htm
http://xcm.cc/how_to_install_the_i_case_p.b.htm
http://xcm.cc/how_to_install_the_i_case_p.c.htm
Hot Rock Installation:
http://xcm.cc/how_to_install_the_hot_rock_case.1.htm
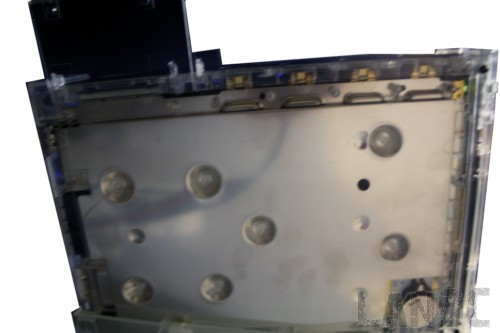
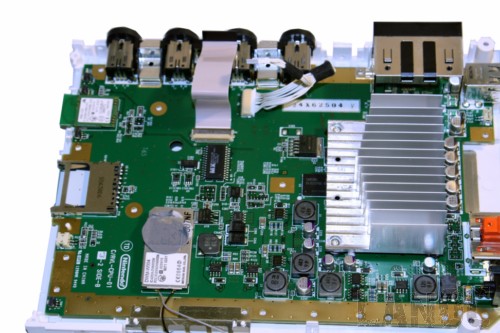
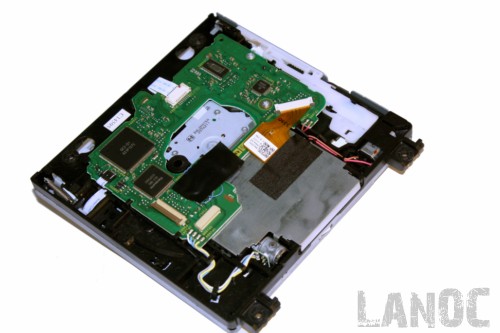
Something to note is that the Hot Rock case came with no instructions at all. Inside was a slip of paper explaining the switch on the back and the color chart. For taking apart the wii and assembling this case you will need access to the internet or have printed out the instructions in advanced. Disassembling the Wii was a fairly easy process. The one word that pops into mind with this step is SCREWS! I did not think it was possible for a console to contain this many screws. To take apart the Wii you have to take out around 53 screws, all of which you have to put back into the Hot Rock case. The Xbox 360 has maybe 17 screws for complete disassemble. I know the 360 is a screwless case but even if it were not I am not sure it would reach 53. The point is there are a lot of screws to keep track of. Make sure your work surface is large and you remember what screws go where. Also of note is the Phillips head screw driver included seemed to be just one size too small. I think Wes and I ended up stripping two screws before grabbing a larger sized screwdriver which worked great. The tri wing was a perfect fit and I had no troubles at all.
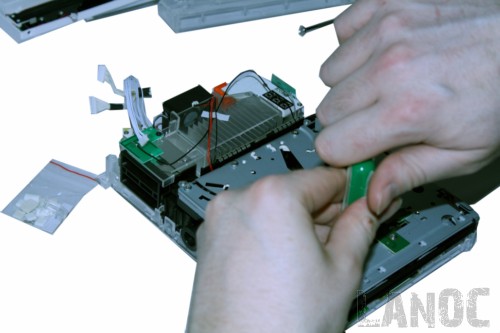
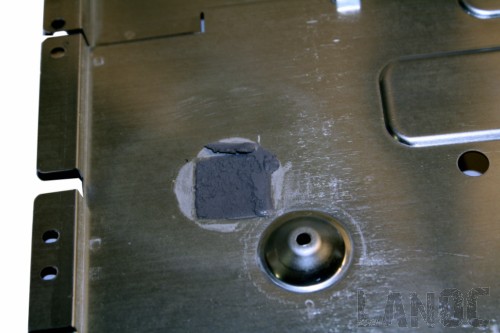
The assembly of the Hot Rock case is where I ran into the issues. It is after you replace the heatsinks and the motherboard and go to fasten those first screws into the case that you realize that the screw posts are not threaded. What this meant for me was that I had to put more force into the screws and the thing came out of alignment. This is my own fault and will not cause a bad review, but because of this my reset button does not sit properly and the battery door is not screwed in. Also along the way I happened to lose a few screws. It would have been nice if they included some extra screws for the accident prone.
Aside from installation went smooth, but it is tedious to take apart the Wii then putting it right back together. Total install time from start to finish ran me about 4 hours with a few breaks spinkled in.
Final Impressions
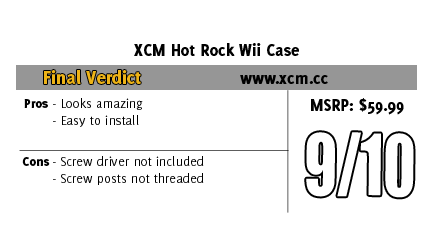
The case looks great in operation and gives it a unique look thats miles above the original case. The only gripe that I have with the construcion of the case is the fact that the screw posts are not threaded. They give you everything you need to take the cases apart, but in my opinion the Phillips head they give you is too small so if you have a bigger one laying around it couldn't hurt to use it instead. This is a very easy project for someone to assemble if they are new in the modding scene. I highly reccomend it if you are bored of the look of your Wii.