Installation and Performance
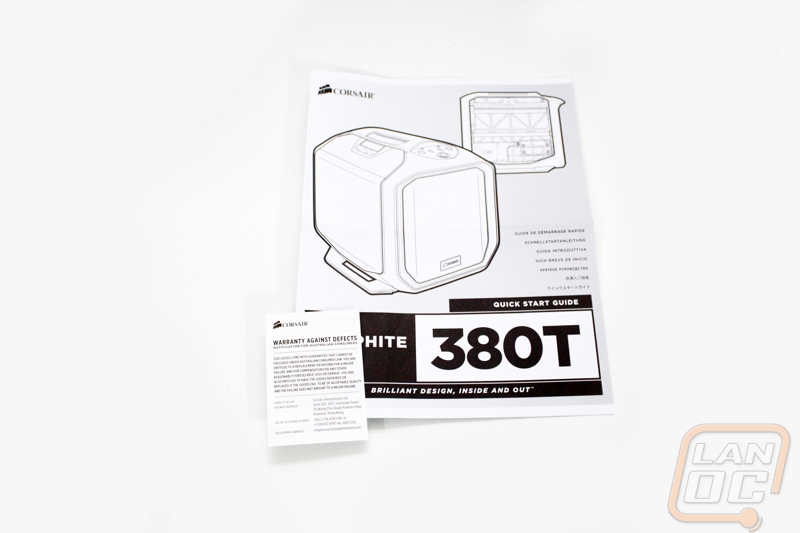
Before I could see how the 380T performed I did have to get our test setup inside of the case. To do that I busted out the included accessories. Corsair includes a quick start guide as well as a small paper with information on the cases warranty. For screws you get three different baggies that split up the screws depending on the use, all of the screws are black though to go with the completely black interior. They also include four medium sized zip ties as well. I would prefer a few more zip ties personally, because I tend to use a lot but I am happy that they included a few.

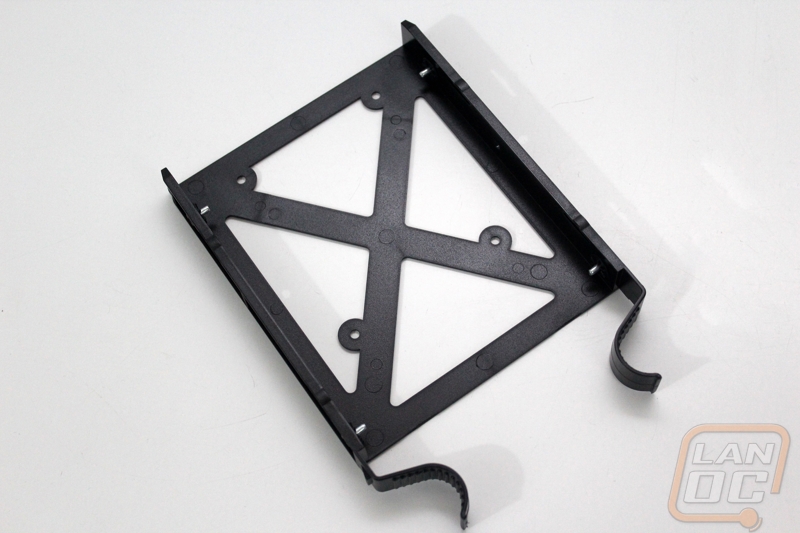
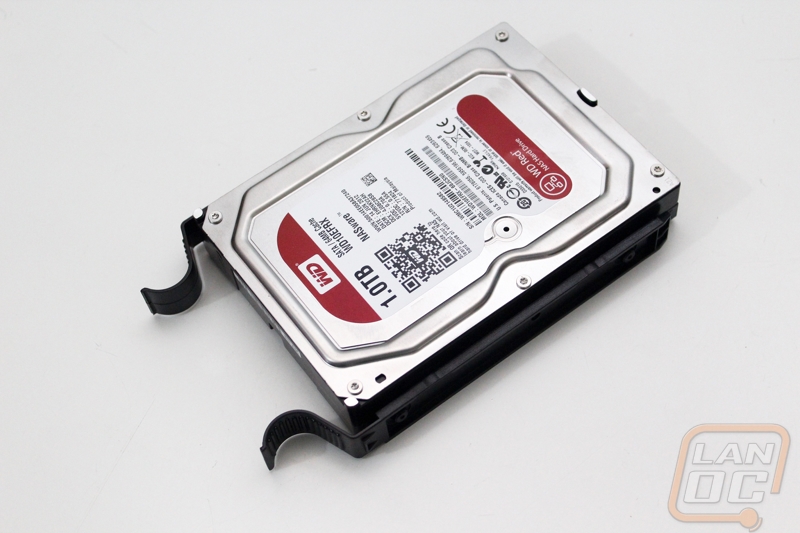
To get started I pulled out our hard drive and popped it into the plastic hard drive tray. You wont need any screws or tools to get this done, there are four pins on the sides of the tray. You just stretch the tray out and slide the drive in. Once installed you just slide the tray back into the cases as well. SSD installs are even easier with the 2.5 inch drive bay next to the power supply, but for our test setup we were just using a hard drive.
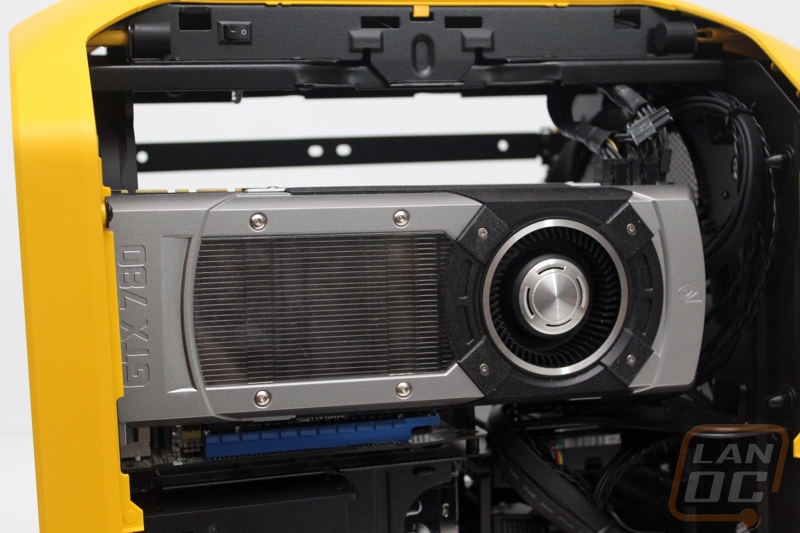
Next popped in the rear I/O panel and then installed our motherboard/CPU/RAM combination. It’s a little different working in the 380T because I am used to having room to look right down on the motherboard, but that is where the cases handle is. With both side panels off you do still get enough room though. ITX boards are only held down with four screws so getting everything in went quickly. From there I could start hooking up our front panel connections and then drop in our GTX 780. Being an ITX case it’s actually impressive that the GTX 780 fits at all but Corsair was careful to leave just enough room for any full length video card. Our reference card has the power cables facing up but there looks to be just enough room to plug in power cables facing out the end if your card is configured like that.

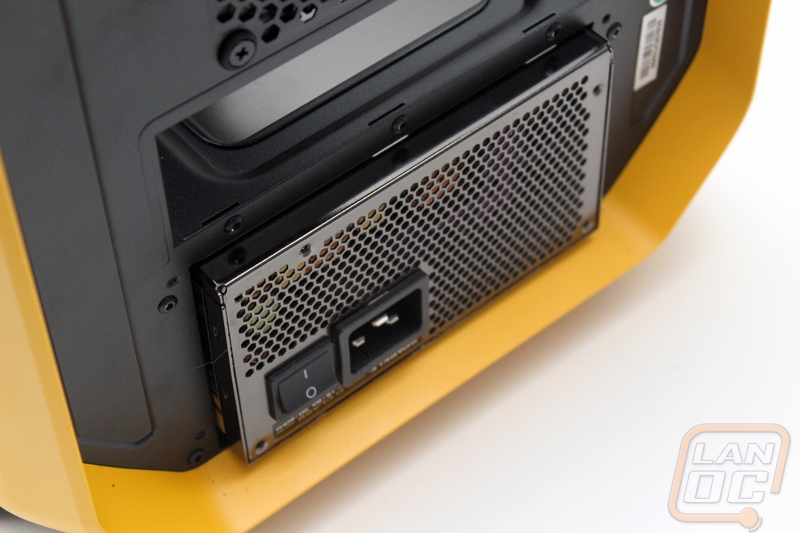
With all of the main components put it, next I had to get the power supply in and finish up the wiring. The 380T is designed to work with a standard ATX power supply but our obnoxiously large 1200 watt power supply was a little longer than the case could handle. This really wasn’t a big surprise at all, but we always try to test with that specific power supply to see exactly how much room you do have. Suprisingly the 380T was extremely close. If I really wanted to make it fit I could by getting creative with how I ran the wiring even. There isn’t any reason to be running anything close to a 1200 watt in an ITX case though, even a dual GPU card wouldn’t come close to needing that much power. So how did the rest of the wiring go? Well one thing I mentioned earlier, the 380T isn’t really designed to hide your wiring very well so you are going to have to work hard to keep things looking clean. The space behind the motherboard tray that you would normally hide extra wiring is filled with your hard drives and power supply, so it is a little tight. That said I really liked working in the 380T other than the wiring. Corsair did a good job of giving you good access and once I had everything wired up it was nice to be able to turn on the interior light and check for any last second issues before booting.
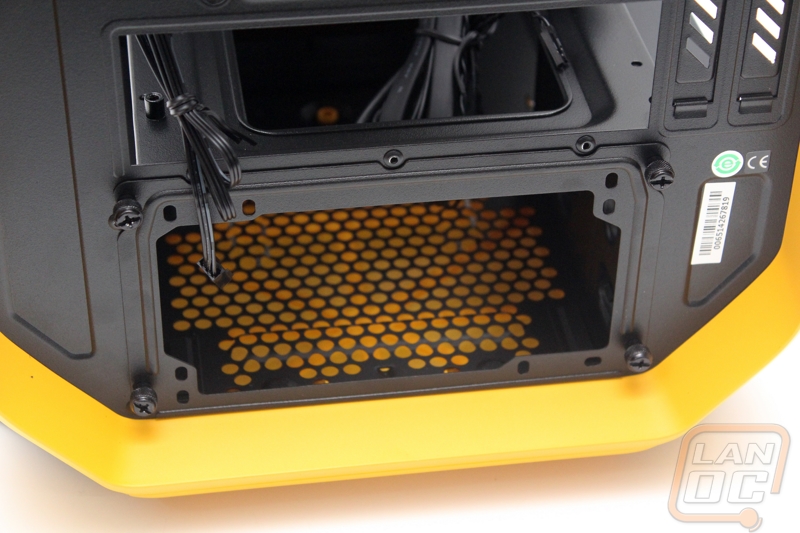
So how did it perform? Well our test configuration doesn’t really put out much for heat on the CPU side of things but the GPU gets plenty warm. The two fan configuration did a good job of keeping fresh air flowing in. I also really like the idea that your video card is right next to the large vent on the side panel. For water cooling support you can install a 120mm kit on the rear fan or a 240mm kit right next to the right side door panel. The 240mm configuration is great because you can blow the hot air right out the side. Our single hard drive stayed cool but if in the future a multiple hard drive setup gets warm you do have the option to go up to a 200mm fan that will run quiet but push even more air into the bottom section.
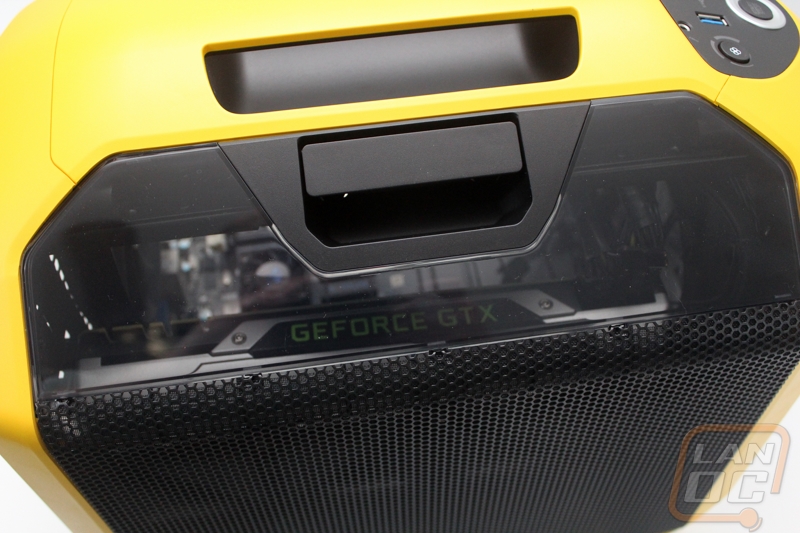
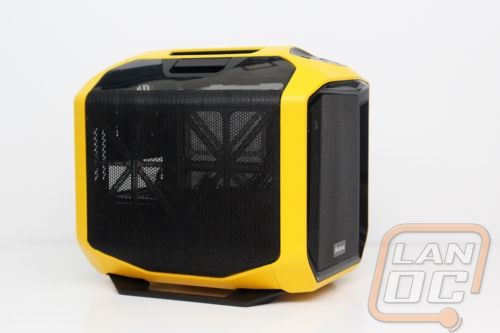
The other half of performance testing for me was figuring out just how well this case would work out as a LAN case. Sadly I didn’t have an event to take it too but it is clear that with the built in handle up top it will be easy to take to and from events. The interior light gives people a peek at your setup and the bright yellow will get their attention as well. As for table space it does take up more than cases like the Lian Li TU-200, but you do have a lot more room to work with inside of the case so it does make up for it.
