 We have seen a lot of In-Win products both through our office here at LanOC and as raffle prizes for the LanOC events. With the upcoming LanOC 12.0 we were in the market for a portable solution for our router, one that wasn’t built in haste on a late night in the middle of our last LAN like our current router. Intel had already provided a mini ITX motherboard and a half height network card that needed a home so we started our search there. We came across the BP655 from In Win that fit the bill perfectly. They were kind enough to supply us with a new home for our new router, now join as and see how this case sizes up (pun intended) to the competition.
Product Name: In Win BP655
Review Sample Provided By: In Win
Written By: Brennon
Pictures By: Wes
Specifications
|
Case Size |
S.F.F Slim Chassis (Ultra Small Form Factor) |
|
External Drive Bay |
5.25’’ x 1 |
|
Internal Drive Bay |
3.5’’ HDD (1’’) x 1 3.5’’ HDD (0.8’’) x 1 |
|
Front Ports |
USB 2.0 x 2, HD Audio |
|
Dimension (H x W x D) w/o Front Panel |
264 x 100 x 310 mm (8.2L) 10.4’’ x 3.9’’ x 12.2’’ |
|
M/B Form Factor |
Mini-ITX |
|
I/O Expansion Slots |
Low Profile Card Slot x 1 |
|
Power Supply |
Standard TFX 12V, 200W |
|
Safety |
Meets RoHS, CE and FCC Class B Requirements |
|
Security |
Padlock Loop / Kensington Slot |
|
Optional |
IEEE 1394 eSATA / USB 2.0 x 2 (at Rear Panel w/ Module) Chassis Intrusion Switch Screw-less ODD Bay Clips Screw-less Top Cover Clips |
Packaging
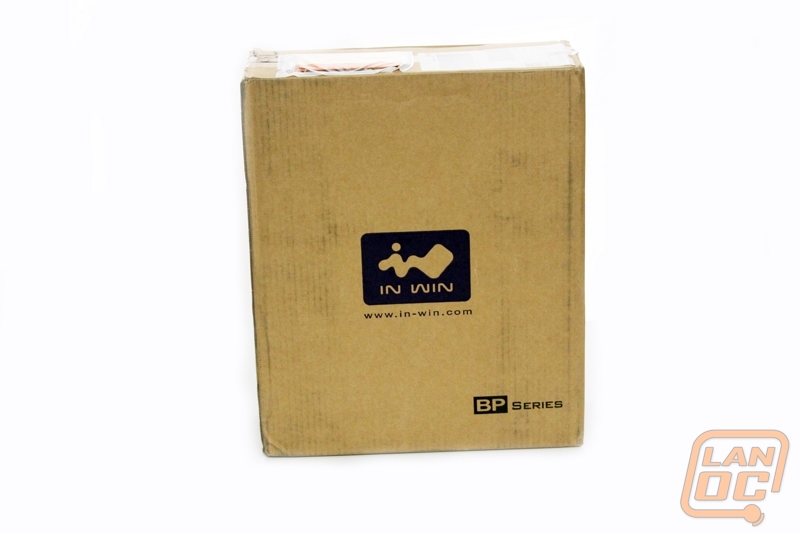
The first thing that comes to mind when looking at the case is “Business.” The case is packaged in an incredibly plain brown box. On the front is the In Win logo and a website URL in case we want to visit and pick up another of their products. Down at the bottom right we can see that this particular case is part of the BP series of cases. I guess the reason this package screamed business is because it is so plain and simple. It reminds me of the type of packaging that you might see tucked away somewhere in a big office building, the type that a business might order ten or even a hundred of for workers throughout the organization. I do not see this as being the type of packaging that is designed to sell on shelves in stores or aimed at enthusiasts who typically buy the fancy cases with flashy packaging.
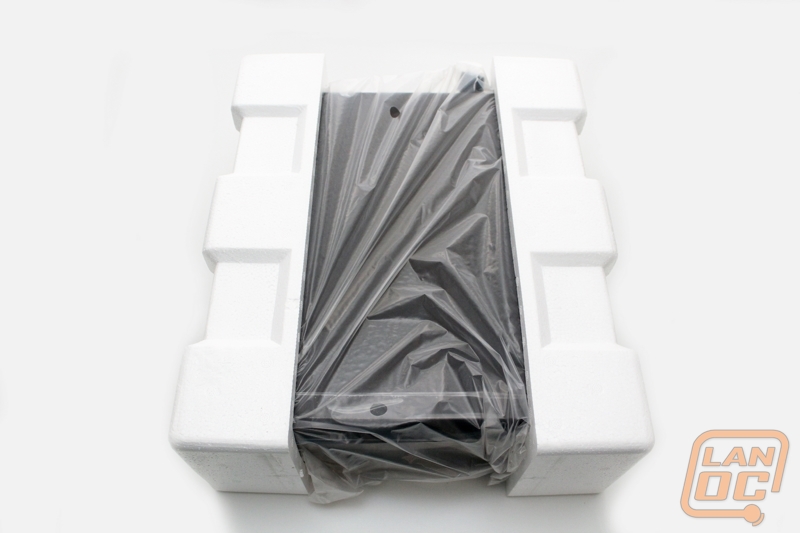
Upon opening the packaging we can find a common scene among cases. The case itself is wrapped in a plastic bag to protect it from dings or scrapes. The wrapped case is wedged in between two Styrofoam molds that hold the case in place during shipping. Also included were the typical screws and instructions that you would expect to see.
There was really nothing new about what we saw with the packaging of the BP655, nothing too flashy or extravagant either.
Outside
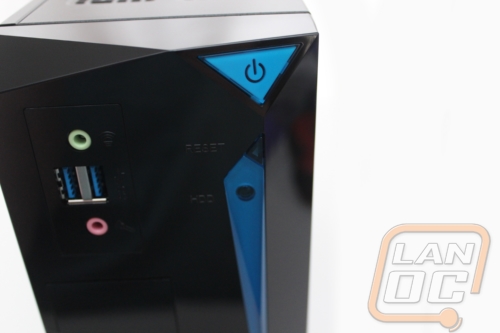
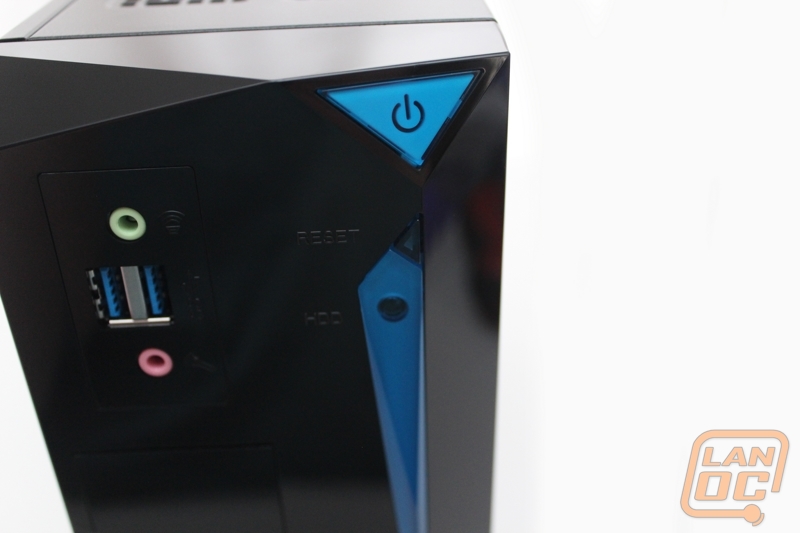
The first thing I noticed when finally getting the plastic wrap off is that the BP655 is a simple, clean case with a bit of edge to it. The front of the case puts different polygonal shapes to an interesting use making a unique but slick looking front. The power button is located at the top right corner of the front of the face and is set into the case with a blue color. I kind of wish they had gone with black for the button and the small divot below it. I feel like black would have given the case a completely clean and professional look. It doesn’t look bad at all it just doesn’t really fit with the rest of the case because it is all black.
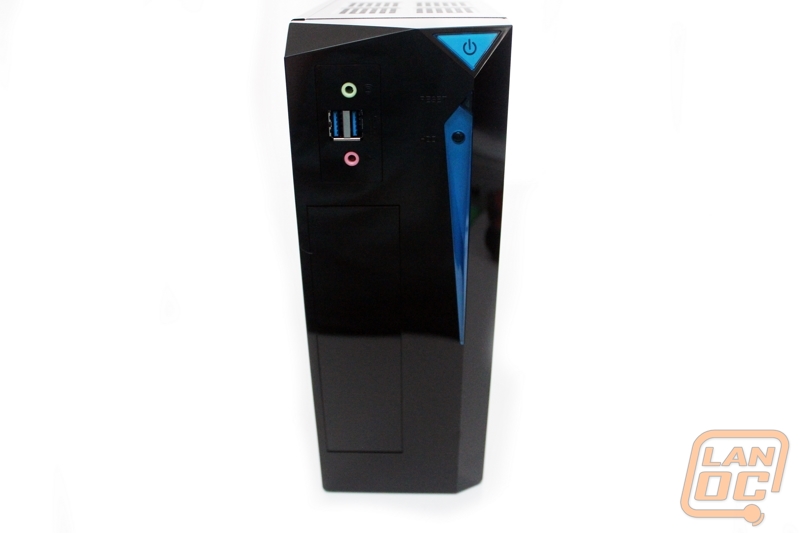
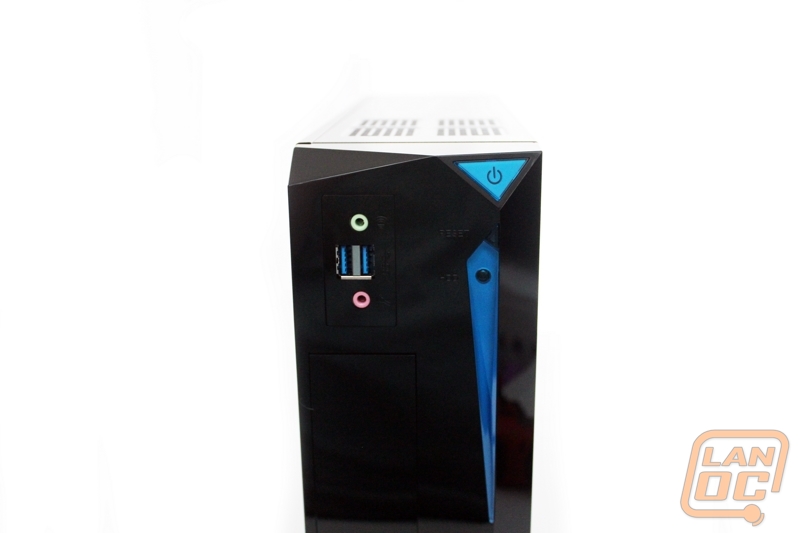
Also on the front are two USB ports, a frontal audio and microphone jack, a reset button, and a hard drive light. The reset button and the print that informs us what the light is for were actually initially overlooked because they are black just like the rest of the plastic behind it. Lastly there is a removable plate as a placeholder for where a CD/DVD drive could eventually go.
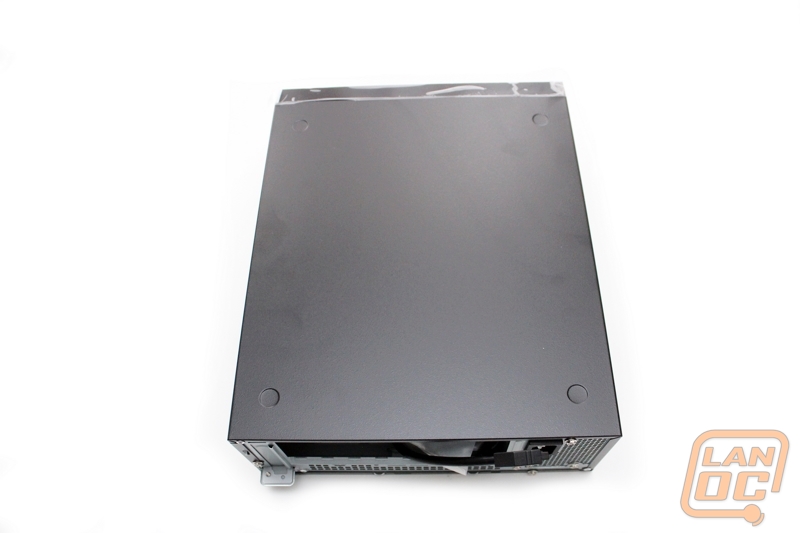
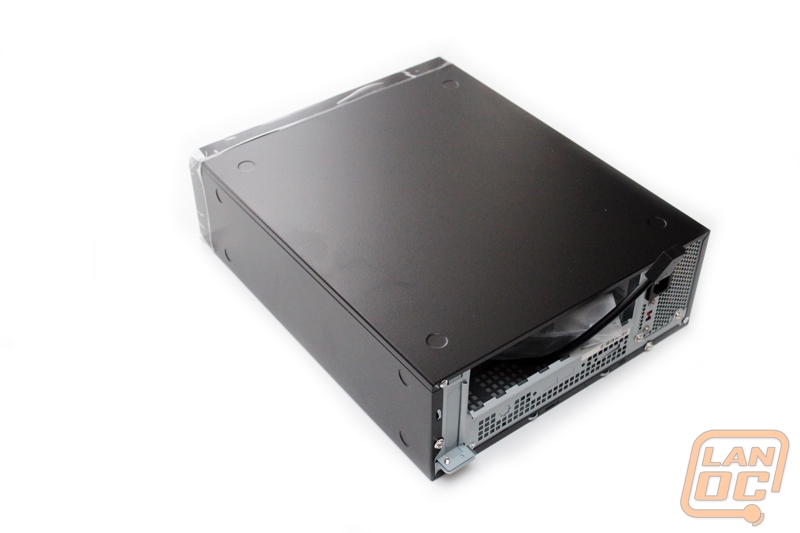
The front of the case is where any sort of style starts and ends, the rest of the outside is rather simple. On the bottom and one side of the case are just all black metal coverings. The other side of the case is also black, but has a nice vent to help with airflow on the case. Along with the side vent, we can find another small vent on the on the top of the case. This confused me a bit at first because I am used to power supplies being mounted on the bottom of the case, but in this design it is most certainly near the top.
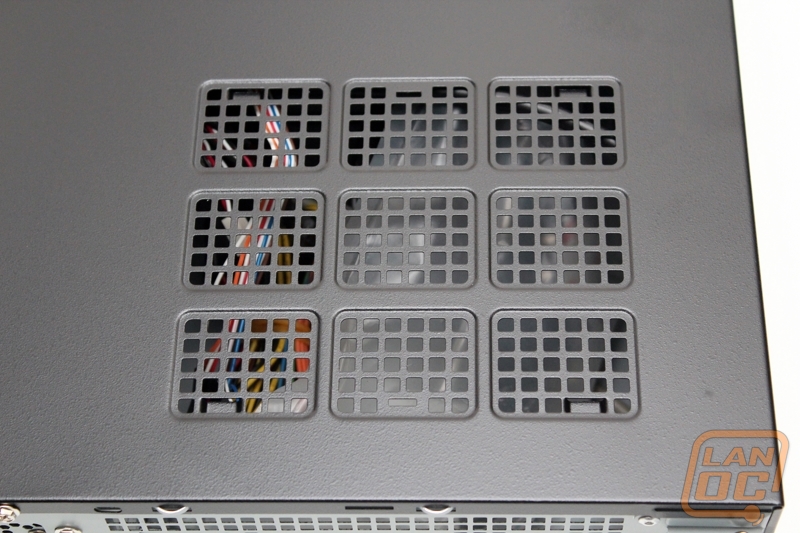
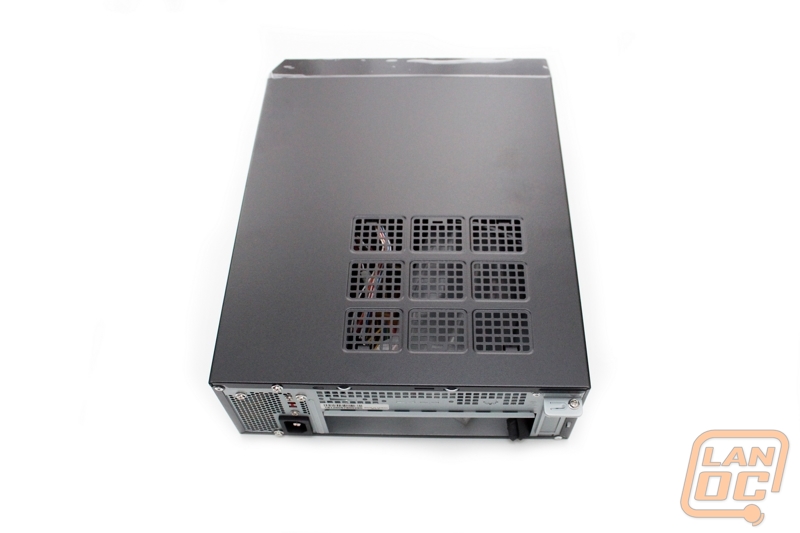
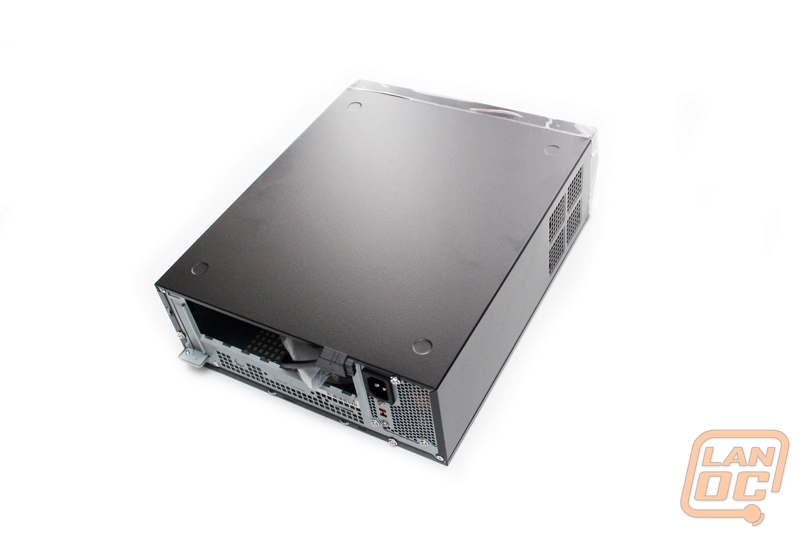
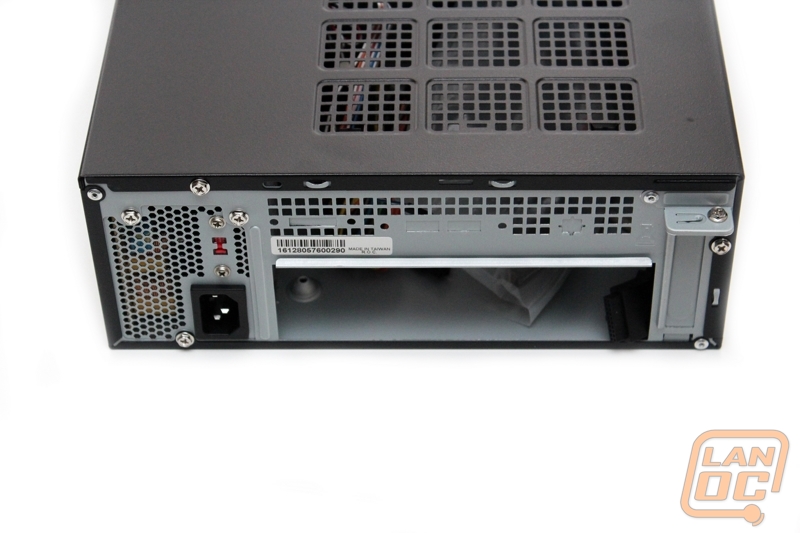
On the rear of the case we can find a few things. The first is the obvious and expected ventilation. With about fifty percent of the back of the case covered in vents, it is safe to say that this is where most of our cooling will be coming from.
Inside
One thing sticks out immediately when we open the case up to take a peek at the inside. That is that everything is separated. This is an interesting and unique feature. The power supply has its own little cubby that it slides into. This cubby is completely removable from the case. We will cover this a little bit more in our installation section. It’s also worth pointing out if it’s not obvious in the pictures, the case comes with its own power supply due to the cases unique size. The same goes for any CD or DVD drive we may want to install. The hard drives even have their own separate bay from everything else.
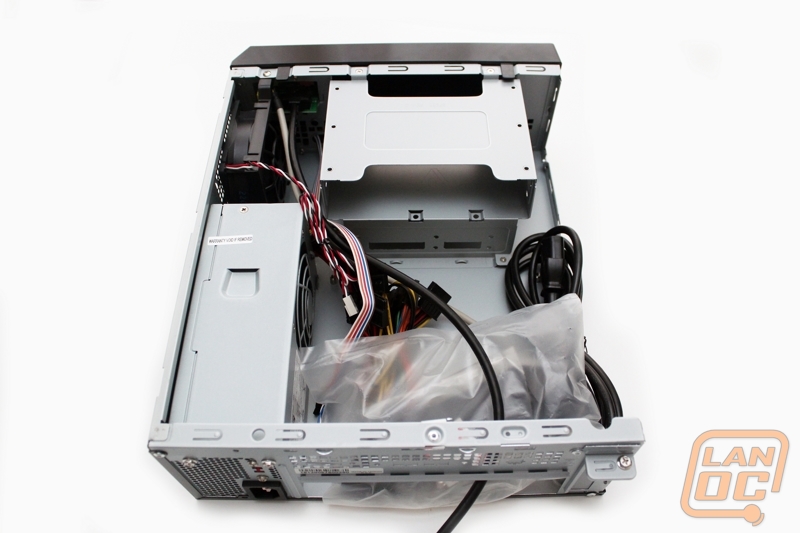
The next thing that we can see is the one and only fan that the BP655 seems to come with. This fan is strategically placed underneath the ventilation that we mentioned earlier on the top of the case. The way they have positioned the power supply, it will actually do additional cooling with its fan located directly next to the motherboard as well. It is quite clear from the overall amount of room in the case that this is definitely made for a smaller form factor. The amount of space is very limited and it certainly wouldn’t make a great case for anyone who had any bulky components.
Installation
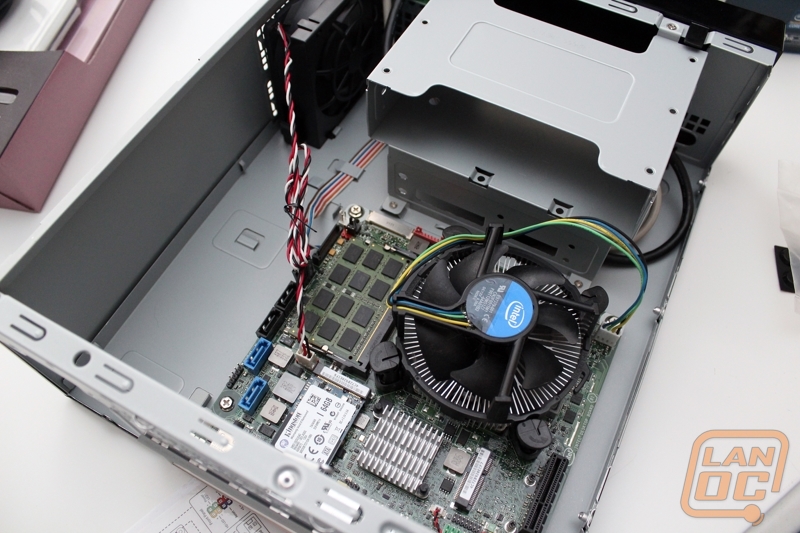
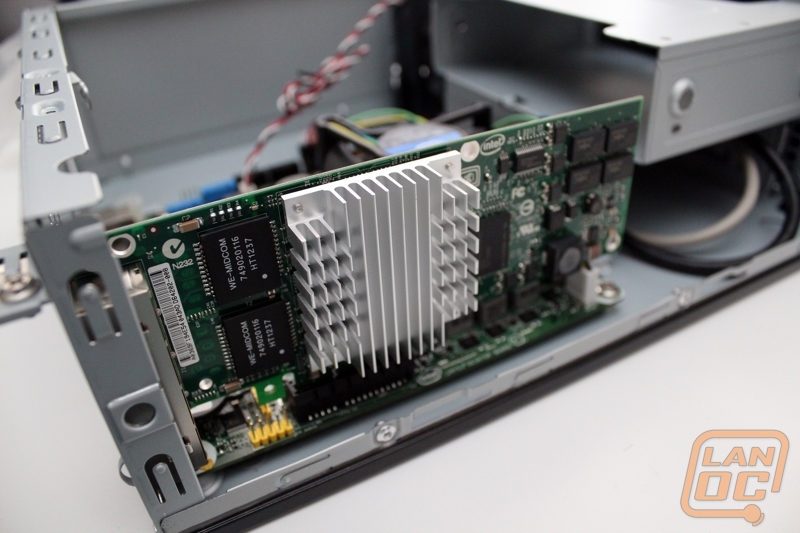
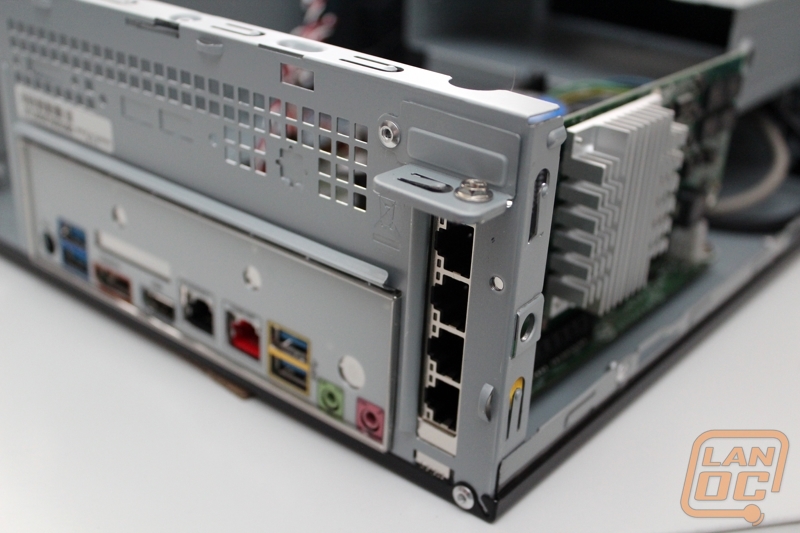
Before jumping full force into the installation it’s also important to know what we were installing into the case as well and before I tell you, I want to point out that this has to be the most overkill router in existence. Intel sent over a motherboard for us as well as our four port network card as well. The board they provided us was the DQ77KB, a low profile Z77 board designed for low profile installs, and this was especially evident when we saw the half height rear I/O plate that it also comes with. For the network card they sent the EXPI9404PT, a half-height capable 4 port NIC. To top things off, Kingston sent over a 64 gig mSATA SSD and we had 8 gigs of ram sitting around as well. I’m sure by now you have a few questions, like what CPU did we do with and what makes it overkill. Well at the time we only had one extra 1155 socket CPU sitting around, a 2600K. So not only does our router have way more SSD than it could ever possibly use as well as more RAM than needed, but we also have what is basically one of the faster CPU’s available in it.
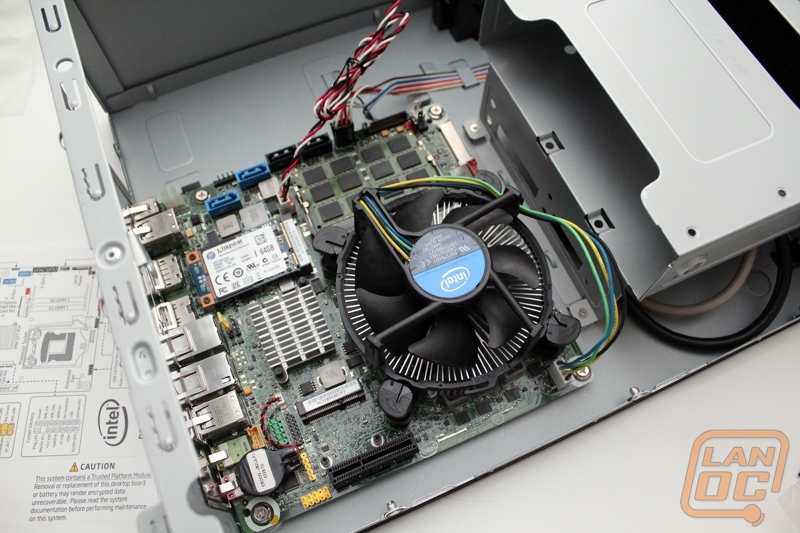
Before jumping to far into the installation I also need to point out one mistake we made in picking out case. The DQ77KB actually uses an external power supply, much like a laptop. That means the nice power supply that In Win provided with the BP655 would not get used at all. We aren’t the type to sit around a be upset at our mistakes though, we quickly removed the power supply for more room inside of the case and the hole it created on the back of the case turned into the best handle for our router that we could have ever asked for. Not only that, but it removed a good portion of the weight as well. Lemons meet Lemonade!
Moving past the power supply, I installed the motherboard that already had our RAM, CPU, and mSATA SSD installed. The motherboard went in with four easy screws, after installing the rear I/O panel of course. For those counting at home, you may have noticed that we have basically installed everything all in one easy to install package. After that we only had to hook up the front panel connections and our network card and we were good to go.
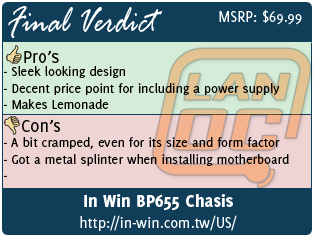
Overall and Final Verdict
At the end of the day the BP655 is a good case, but simply not a great one. First off the market for it is extremely limited due to its size and form factor. This is clearly the type of case that would be used in OEM situations rather than for a gaming rig or even just an everyday browsing PC. With that in mind it certainly performs its duties. It is a bit cramped, even with the size and form factor in mind, but everything still fit. The included power supply and removable cubby was a nice touch, but having to order a TFX form factor power supply specifically for this case could be a bit bothersome if the included one died. Possibly the most negative aspect of the case was the fact that while installing everything it gave me a metal splinter. This means that the case was probably not given the TLC off the line that was needed to keep my fingers from being attacked.