Installation
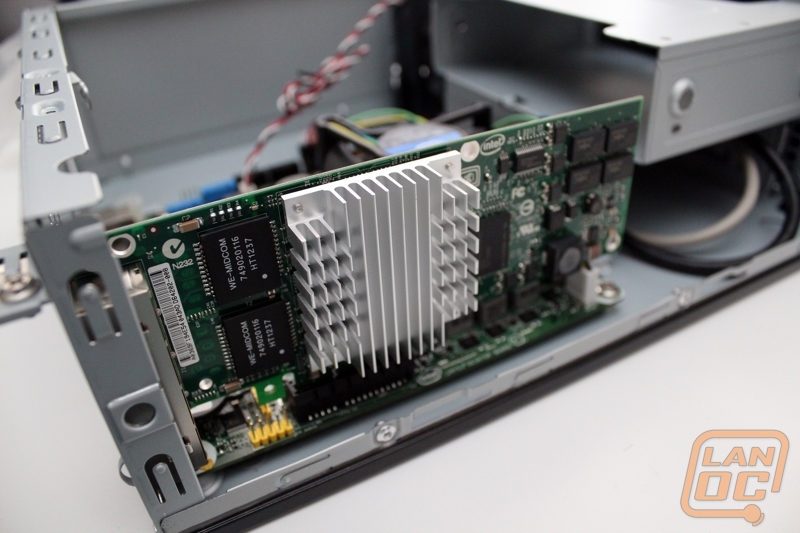
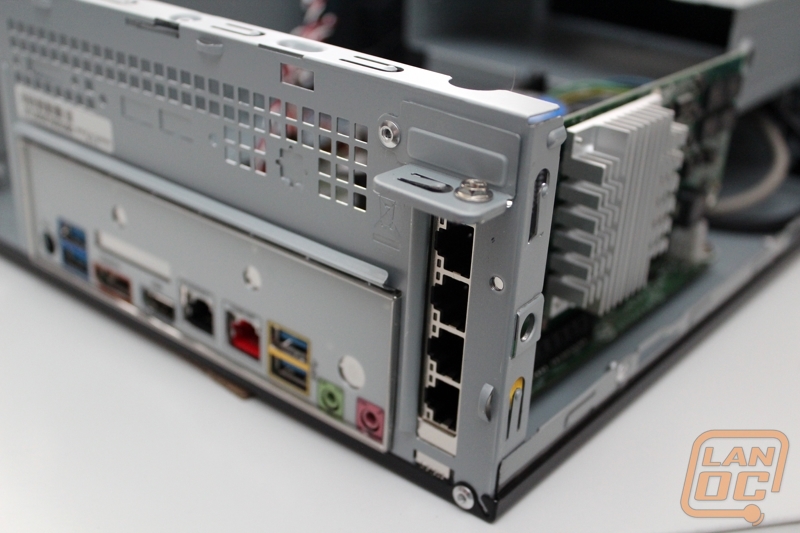
Before jumping full force into the installation it’s also important to know what we were installing into the case as well and before I tell you, I want to point out that this has to be the most overkill router in existence. Intel sent over a motherboard for us as well as our four port network card as well. The board they provided us was the DQ77KB, a low profile Z77 board designed for low profile installs, and this was especially evident when we saw the half height rear I/O plate that it also comes with. For the network card they sent the EXPI9404PT, a half-height capable 4 port NIC. To top things off, Kingston sent over a 64 gig mSATA SSD and we had 8 gigs of ram sitting around as well. I’m sure by now you have a few questions, like what CPU did we do with and what makes it overkill. Well at the time we only had one extra 1155 socket CPU sitting around, a 2600K. So not only does our router have way more SSD than it could ever possibly use as well as more RAM than needed, but we also have what is basically one of the faster CPU’s available in it.
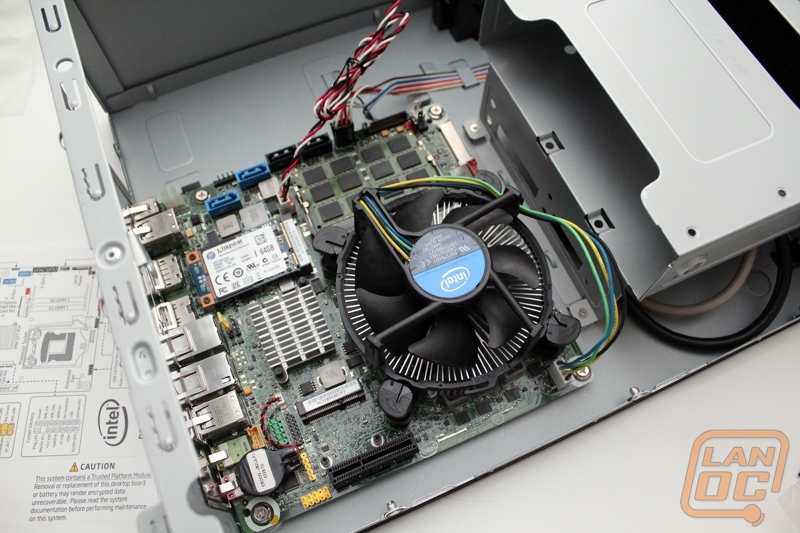
Before jumping to far into the installation I also need to point out one mistake we made in picking out case. The DQ77KB actually uses an external power supply, much like a laptop. That means the nice power supply that In Win provided with the BP655 would not get used at all. We aren’t the type to sit around a be upset at our mistakes though, we quickly removed the power supply for more room inside of the case and the hole it created on the back of the case turned into the best handle for our router that we could have ever asked for. Not only that, but it removed a good portion of the weight as well. Lemons meet Lemonade!
Moving past the power supply, I installed the motherboard that already had our RAM, CPU, and mSATA SSD installed. The motherboard went in with four easy screws, after installing the rear I/O panel of course. For those counting at home, you may have noticed that we have basically installed everything all in one easy to install package. After that we only had to hook up the front panel connections and our network card and we were good to go.