Installation/Performance
Test Rig
Asus P8P67
Intel heatsink
Seagate 1TB hard drive
OCZ Fatality 1600MHz DDR3 RAM
Antec 850 Watt Power Supply
When putting all of our build together in the HAF XB, I wasn’t sure what to expect really. I spend almost every day working with our test benches and the reason for going with test benches over normal cases is the ease of access and quick swapping that they provide. With Cooler Master advertising this as a test bench case, I was hoping installation would be as easy as in a test bench. To Start things off, I pulled off the side panels and removed the motherboard tray to open everything up. I went ahead and mounted our motherboard onto the tray while it was out. I noticed a few things while doing that. First, Cooler Master used nice black screws that don’t use the same thread type that some other cases use. They also didn’t preinstall most of the standoffs meaning I had to spend a little extra time installing them all. I don’t expect them to install them all, but the standoffs that match on both micro ATX and ATX would have been nice.
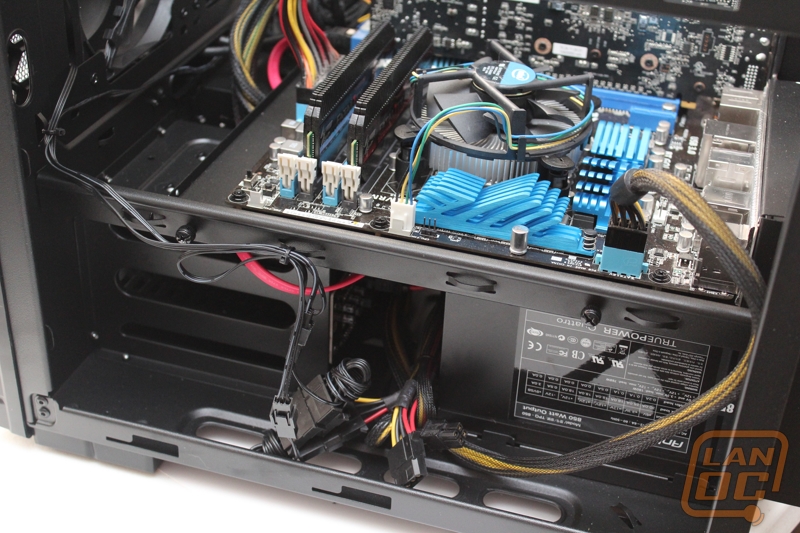
With the motherboard tray out I had full access to the bottom half of the case, something I was a little worried about when I first took a look at the case. I went ahead and installed our hard drive in one of the hot swap bays and put in the power supply as well. From here, because we didn’t need a DVD drive, I started wiring. The space between the power supply and the hard drive hot swap was tight as I expected. Because of this I did most of the wiring before I mounted the PSU. The zip tie tabs all over the case made a very big difference on keeping the wiring clean in a case that doesn’t have anywhere to hide extra wiring. Because of the lack of hiding places, I would still recommend going with a modular power supply. I routed all of the cables we would need up to the top, there is actually a lot of room in most cases, like with the 8 pin CPU power connection. There was room between the side panel and the motherboard tray mounts.
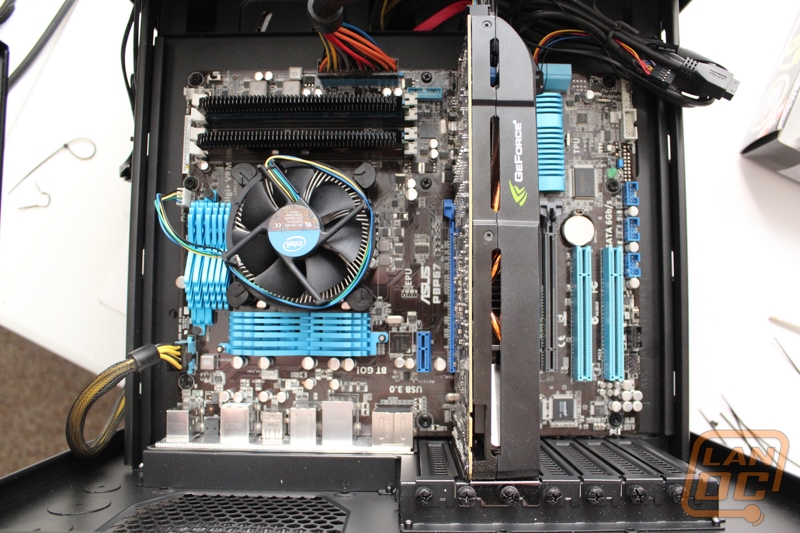
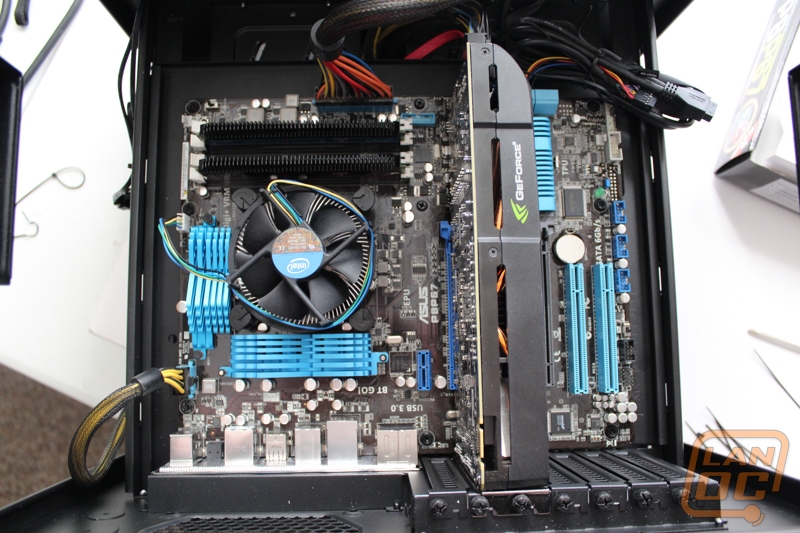
With all of our wiring ready dropping in the already mounted motherboard, cpu, and ram combo was as simple as the four thumb screws. This just left installing the video card and hooking up our wires to the motherboard itself. The video card installation was just as easy as you would expect, I am still a little unsure about the decision to have the motherboard tray not include the PCI slots, just for easy removal. Because of that when you want to remove the motherboard you will need to uninstall the video card first. Because we are actually planning on using this as a test bench for one of our writers in the future, I verified the length of each of the front panel connections, but I tied them all back up other than the power button. This is simply just to keep it simple when removing the motherboard tray, less to unhook and hookup. I can say that each cable has enough length and I love that they went with the black colored USB 3.o connection as well; the bright blue cables tend to stand out a little too much IMO.
With everything installed I had a little time to play around with everything. I was impressed with the cooling on the top half of the case with the two 120mm fans; this is actually a lot of cooling considering this is only for half of the case. I do think the case could benefit from a fan down on the bottom half if you end up installing a lot of hard drives. Because I would expect there to be only a few considering the XB’s two 3.5 drive bays, there shouldn’t be an issue. Noise wasn’t bad as well, at least when it comes to the case. Our PSU was especially noisy, but the rest of the build was extremely quiet. I think that as a test bench the HAF XB is going to make life easy for a lot of people. Accessing the back of the motherboard for CPU installation is still a little tough; a standard case actually gives a little easier access because you don’t need to remove the motherboard tray at all.
As a case, I really love its functionality. The carrying handles come in handy for moving the case around. I also found that the size is great for home use. I still think that because of the amount of space it takes up that you are going to have a hard time at LAN parties though. We set it up with a 23 inch monitor, keyboard, and mouse on half of a 6 foot table and couldn’t get it all to fit correctly, specifically the monitor. To me that is by far the cases biggest flaw. I did think of a solution to this. Imagine if you could set this case on its side when needed, it would fit just fine then.
")
