Performance/Installation
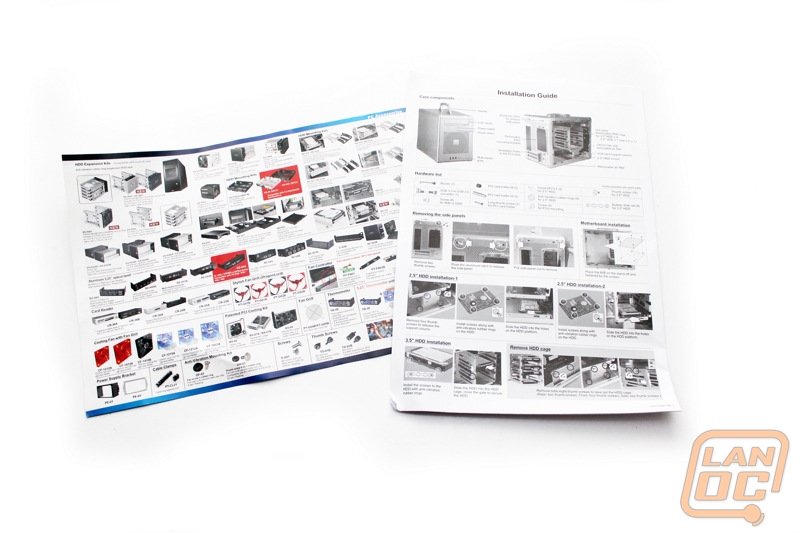
The instructions for the PC-TU200 come in black and white and are fairly small, in proportion to the size of the case as well. There is only so much they can explain about a small box. But they do go into detail on how to work the side panels, hard drive cage, and how it all comes apart.
We are packing the following components into the PC-TU200 for this build
Asus P8Z77-I Deluxe Mini ITX Motherboard
Crucial Ballistix Tracer DDR 3
Packing that powerful rig into a small case like the PC-TU200 is a challenge in itself. Installing the motherboard, CPU and ram was simple. I put it all together before dropping it into the case. For cooling space was VERY limited meaning I could go with some form of water cooling or the stock heatsink. The case only has the one fan location and at the time the hard drive cage was blocking the possibility of using and sealed water cooling kits. Next I put our video card into the case, being so long I had to remove the hard drive cage to install it around it after. For a PSU we went with something around the office, if I had my choice I would go with a new smaller PSU, but time was limited at the time. This normal sized PSU is a little too large for the PC-TU200, after wiring everything trying to pack the PSU in to bolt it down proved to be impossible without removing the hard drive cage. For me, this wasn’t a big deal because I wasn’t planning on running anything beyond the one SSD. But if you plan on running multiple hard drives, you have to make sure you have a smaller PSU. Going back to a trick I have used before, I double sided sticky taped the SSD up against the top 5.25 bay to keep it out of the way.
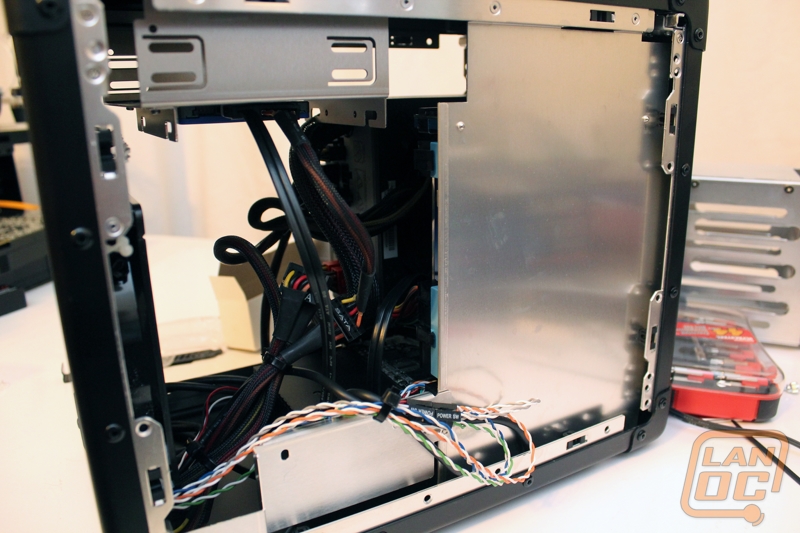
Even using a modular power supply we still ended up with a rats next of cables. Using zip ties to clean everything up helped, but without any place to hide the extra cables it was still a little messy. This is partly due to the cases small size and cables that are designed for large cases as well as the lack of room behind the motherboard tray.
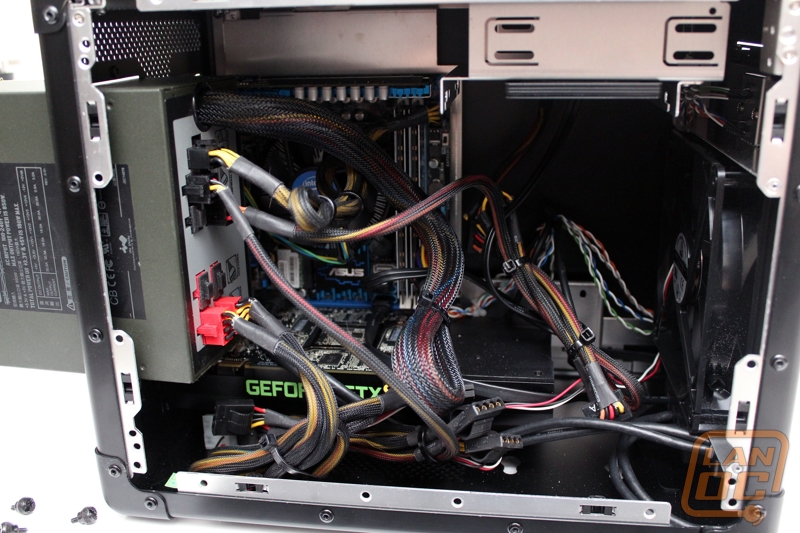
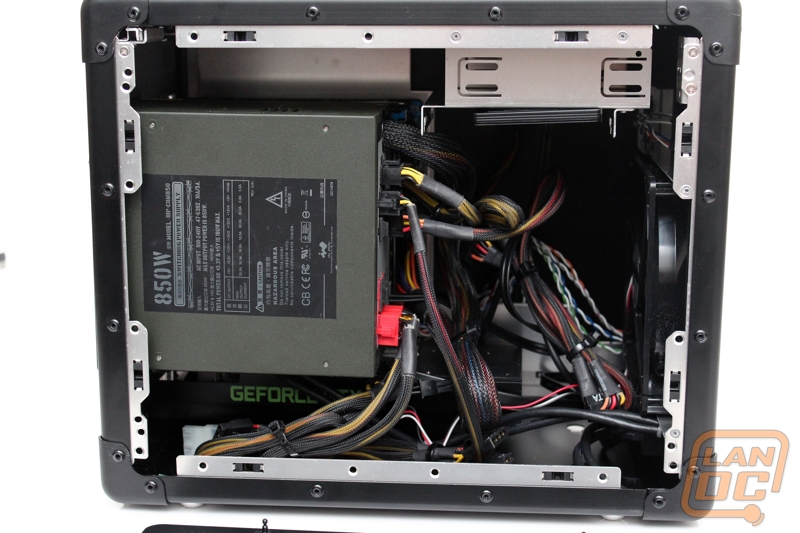
As mentioned previously, the area between the motherboard tray and side panel is basically useless for hiding any cables. I was able to tuck away a few small cables, but that was it.
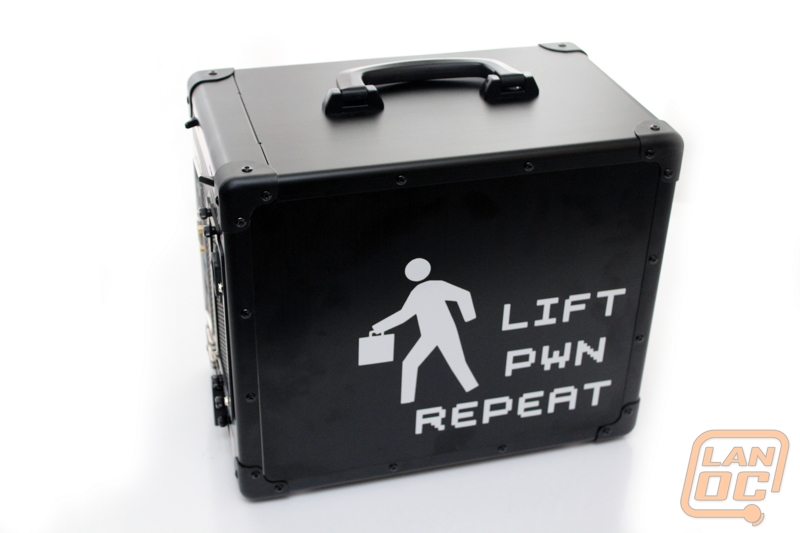
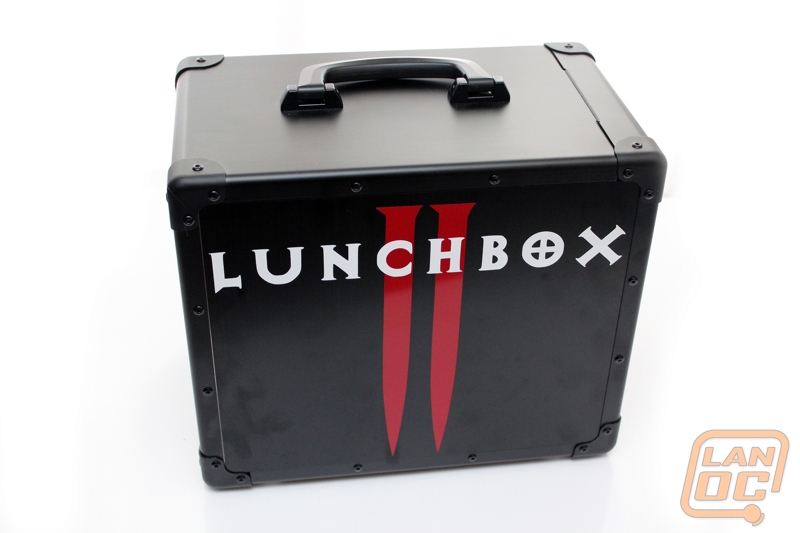
It wouldn’t be a proper lunchbox without artwork to match. I designed a lunchbox logo for one side of the case and on the other a put proper instructions on how to use our new creation, lift, pwn, repeat.
As for the PC-TU200’s performance. The most obvious thing to cover was its portability. I was able to grab this rig and go to a LAN the next morning when combined with my Thermaltake Battle bag that we keep ready to go with a monitor, keyboard, mouse, and cables. The handle up top along with the battle bag meant I was able to walk up a large set of stairs and open the door with my free hand, all in one trip.
Inside I put the rig to the limit gaming. I was concerned with the limited cooling that the one fan would offer. Surprisingly this wasn’t an issue at all for me, even when using a fairly high end GPU and a good CPU. I wouldn’t recommend going overboard with overclocking, but in this configuration there were no issues. Because of the single fan we had a second benefit, it is quiet! The only thing I could hear during normal use was the PSU fan and slight GPU noise when heavy in game. It was actually no worse than my gaming laptop.

")
