Installation
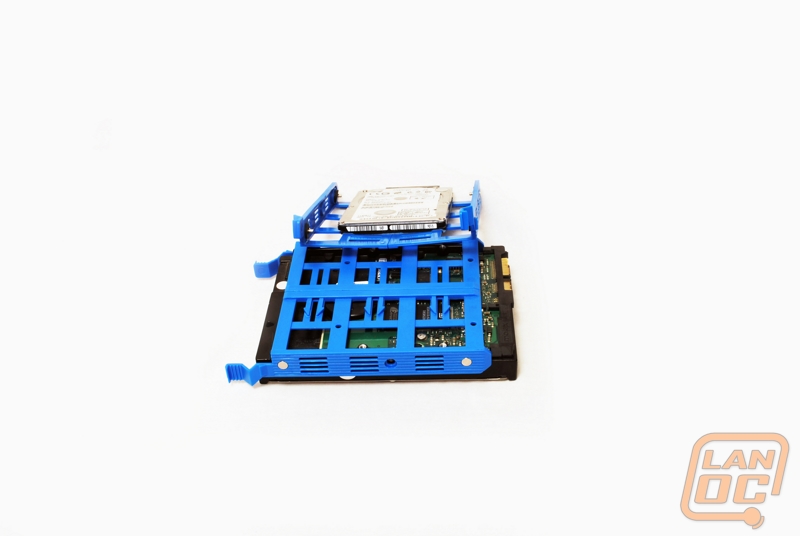
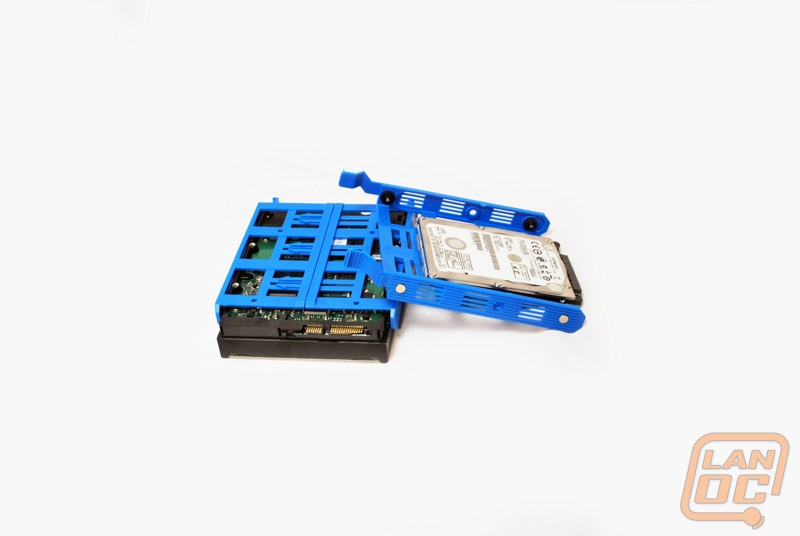
Revisiting the drive trays for a moment, 3.5” drives are quick and easy to install. You simply flex sides out a little bit and click the pins into the screw holes on the drive. On the tray there are also holes to support mounting a 2.5” drive. This is important now that SSD’s are becoming more and more common. (Not having 2.5” drive support these days is an instant disqualification in my book.) The upper 3.5” bay is removable if you want to eek a bit more room out in that section.
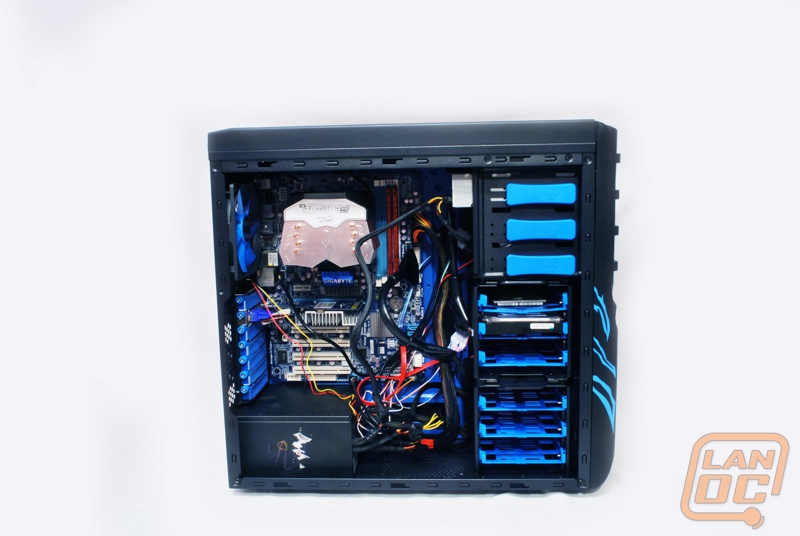
Once the mainboard standoffs were installed the install was rather easy. However, this is where I must pause and note a serious frustration I had with this case. It took me 30 minutes to install five standoffs. The included screw head (which fits over the standoff and allows you to install them with a screwdriver instead of trying to use ye ‘ole pliers) is the only way I was able to get the standoffs in. I suspect this is due to the manufacturing process. I strongly suspect that the holes are drilled and then the mainboard tray goes to the paint line. Once I got it threaded about halfway through it must have worn off enough paint that they installed. This is just a frustration to be prepared for.
Other than that, there was plenty of room around the mainboard tray to get everything installed.
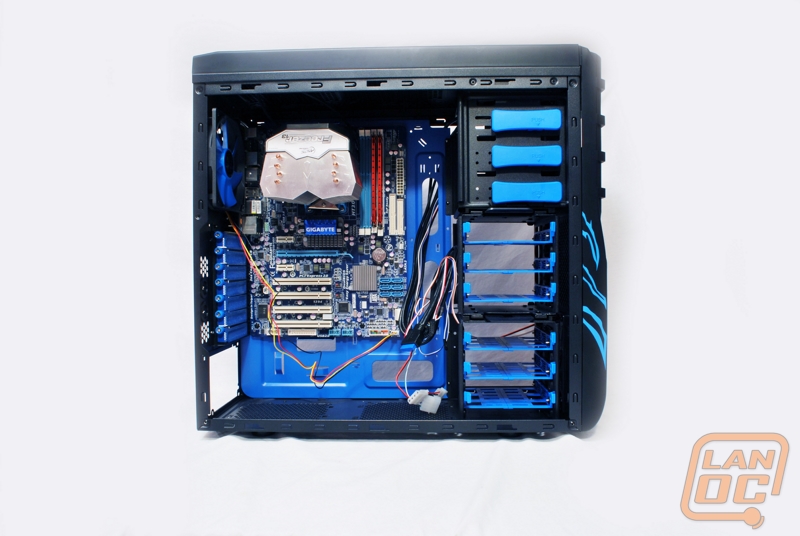
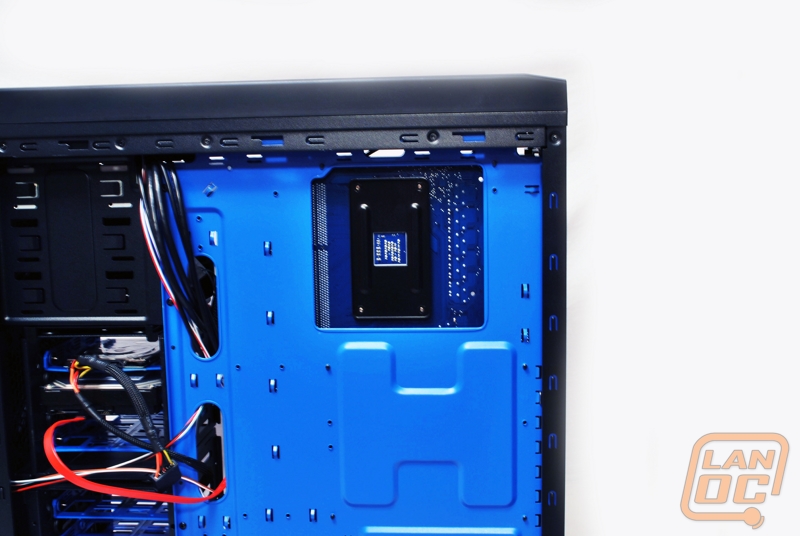
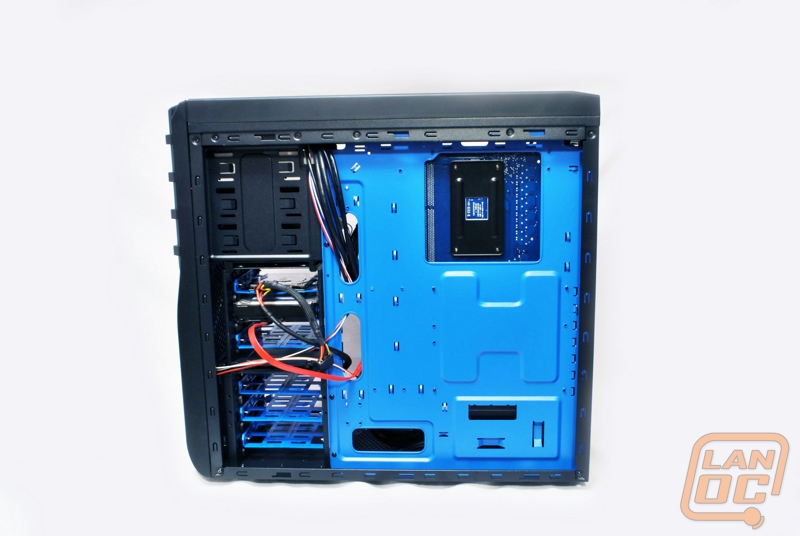
The backplate opening looks to be sufficient, but might be a little tight on some CPU coolers or a different socket type.
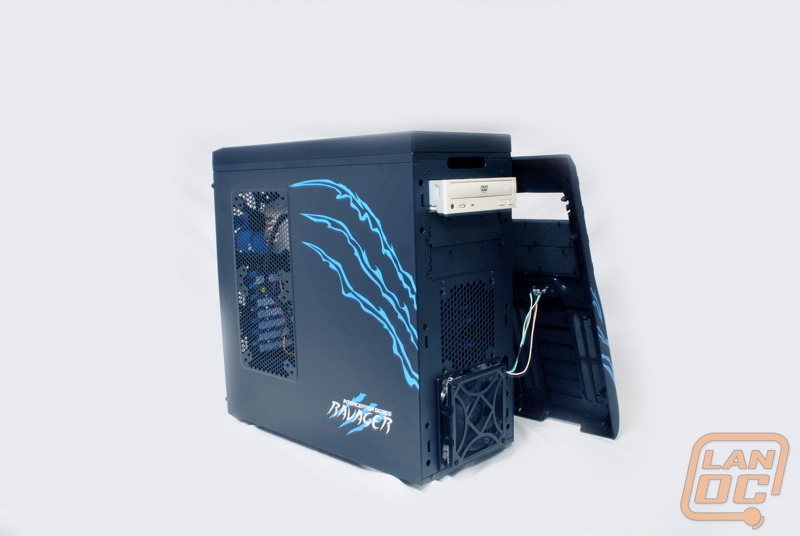
I would have liked to spend more time making the wiring pretty, but we didn’t have the time available. However, with the included ties and available room behind the mainboard, you should be able to do a pretty clean wiring job and keep air flowing through your case. Pulling the front of the case off you can see the included 120mm blue LED fan and what looks to be support for an optional second 120mm fan here.
Now if you have been counting, I have listed off six slots for optional 120mm fans. Apparently the specifications (which only list four optional locations) do not include an additional front or bottom fan. Personally I wouldn’t add an additional fan in either of those locations, but it is puzzling why they don’t tout six optional locations.