 The first case that I ever got excited about pre-release was the Cooler Master Cosmos. With a futuristic design packed full of features it was an impressive design. It wasn’t without its problems though and Cooler Master did a good job fixing them the Cosmos S. Of course the industry doesn’t stay still, manufactures have continued to innovate and change. Many of the features of both Cosmos’s are common place now. With competition like the 800D Cooler Master has been working on the new cosmos for a few years now, we even saw a fairly complete prototype almost a year at CES. Today we finally get to take a look at the result of all of that time and work with the Cosmos II.
Product Name: Cooler Master Cosmos II
Review Sample Provided by: Cooler Master
Review by: Wes
Pictures by: Wes
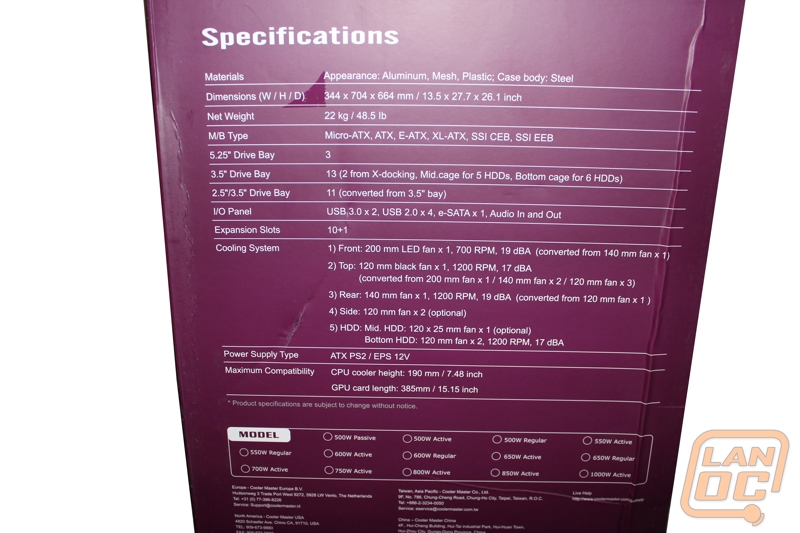
Specifications
|
Available Color |
Black |
|
Materials: |
Appearance: Aluminum, Mesh, Plastic Case body: Steel |
|
Dimensions (W / H / D) |
344(W) x 704(H) x 664(D) mm 13.5(W) x 27.7(H) x 26.1(D) inch |
|
Net Weight |
21.5kg / 47.3 lb |
|
M/B Type |
Micro-ATX, ATX, E -ATX, XL -ATX, SSI CEB, SSI EEB |
|
5.25" Drive Bay |
3 |
|
3.5" Drive Bay |
13 (2 from X-docking, Mid.cage for 5 HDDs, Bottom cage for 6 HDDs) |
|
2.5"/3.5" Drive Bay |
11 (converted from 3.5" bay) |
|
I/O Panel |
USB 3.0 x 2, USB 2.0 x 4, E-SATA x 1, Audio In and Out |
|
Expansion Slots |
10+1 |
|
Cooling System |
Front: 200mm LED fan x 1 (converted from 120/140mm x 1) Top: 120mm black fan x 1 (converted from 200mm fan x 1/ 140mm fan x 2 / 120mm fan x 3) Rear: 140mm fan x 1 Side: 120mm fan x 2 (optional) HDD: 120mm fan x 3 (2 fans for bottom HDD / 1 fan for Mid. HDDs) |
|
Power Supply |
ATX PS2 / EPS 12V |
|
Maximum Compatibility |
CPU cooler height: 190mm/ 7.48 inch GPU card length: 385mm/ 15.10 inch |
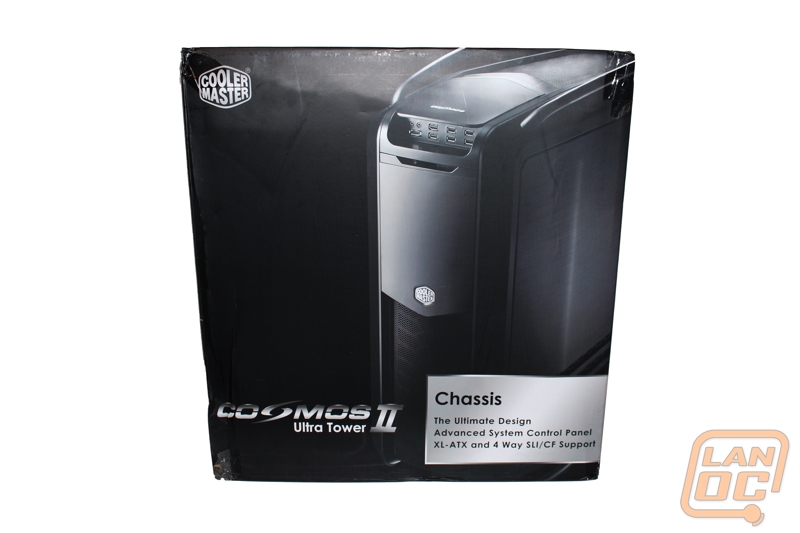
Packaging
When the Cosmos II came in I was blown away by the size of the packaging. This box literally dwarfed other case boxes here in the office. Across the front of the box there is a large photo of the Cosmos II from the top to the bottom. Along with the photo there are a couple other clues to the cases size right on the front event. Under the name its labeled an Ultra Tower something that would be hard to dispute considering the size of the box along. You also have a little information about the Cosmos II’s support for XL-ATX and 4 Watt SLI/Crossfire support.
The back of the box has three photos of the Cosmos including a nice shot of the interior, Cooler Master isn’t trying to hide anything on the packing. Each photo has multiple bullet points highlighted and circled showing off the cases key features.
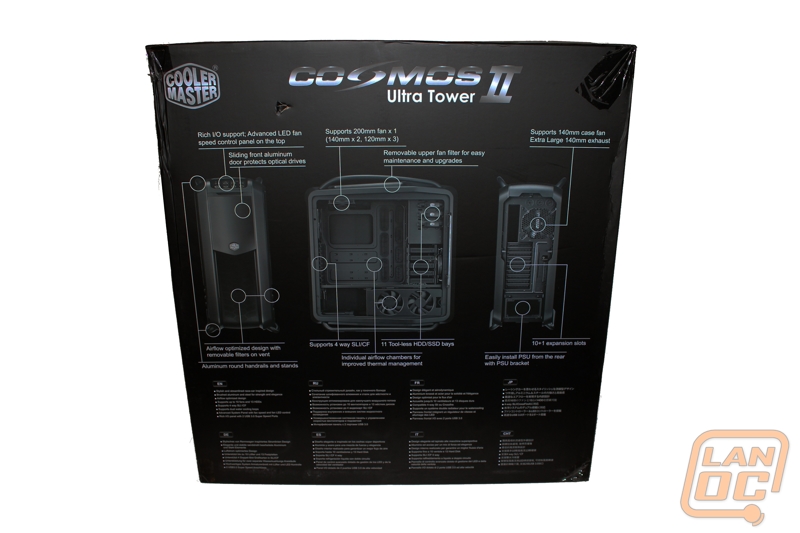
They even included a full specification listing on the side panel, this is especially nice to be able to spot the dimensions and weight of this monster case.

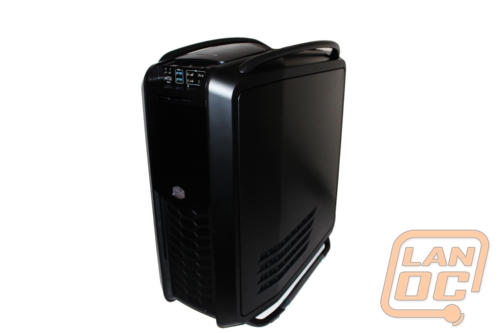
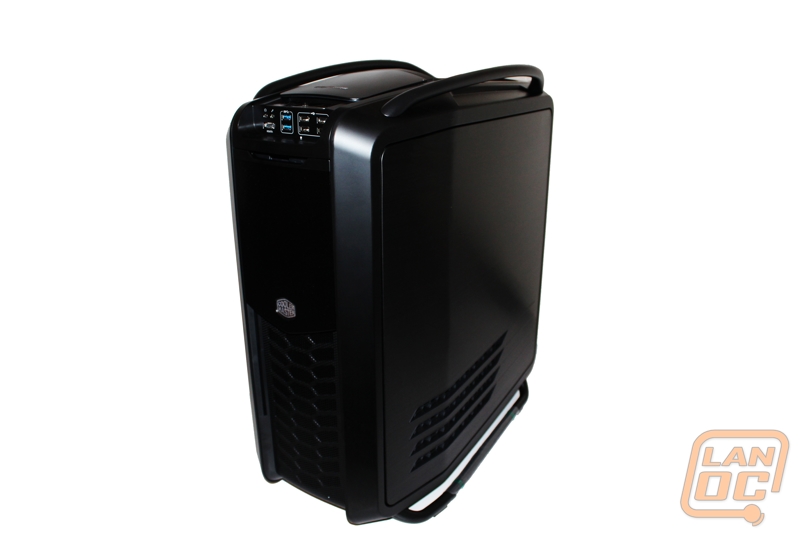
Outside
At first glance the exterior of the Cosmos II looks just like both of the past models. The large bars on each corner on the top and bottom are the signature style from the Cosmos line and really help give the case its style. Really in photo it’s hard to spot the biggest change from the past models to the Cosmos II, but in person it is clear as day. The size of the Cosmos II is just amazingly large, even when compared to the past models that were also large. This is the largest case we have had in to review, ever!
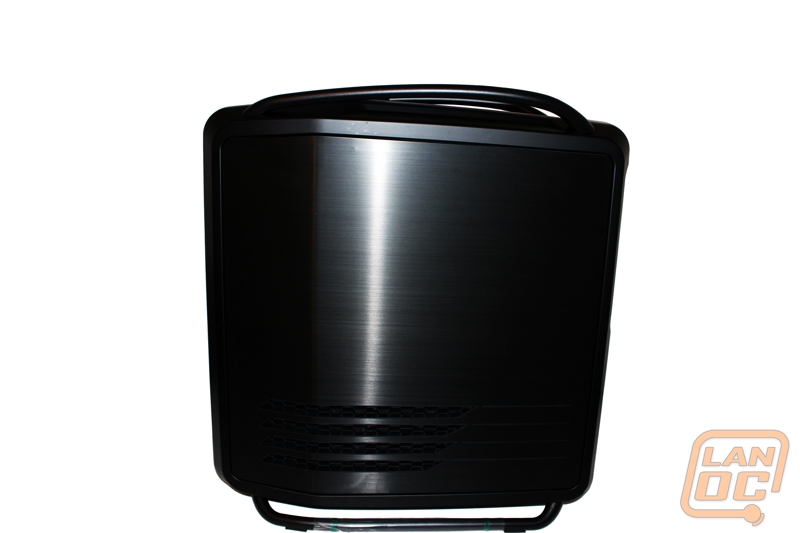
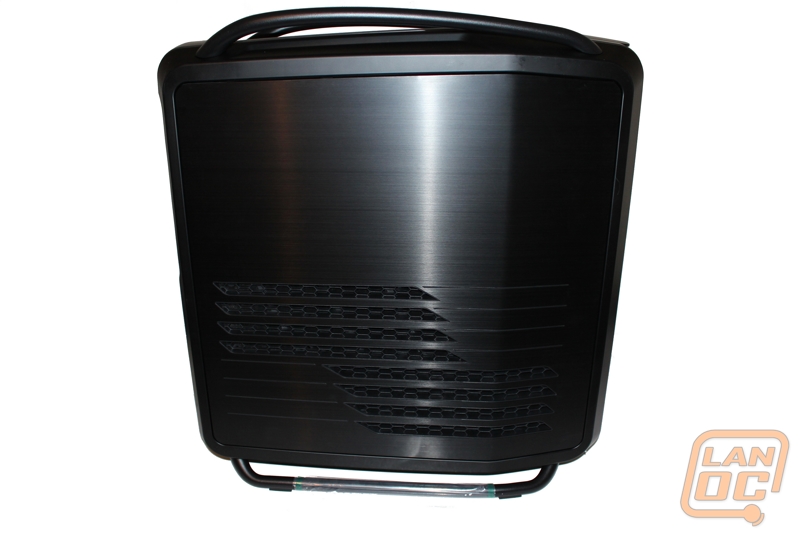
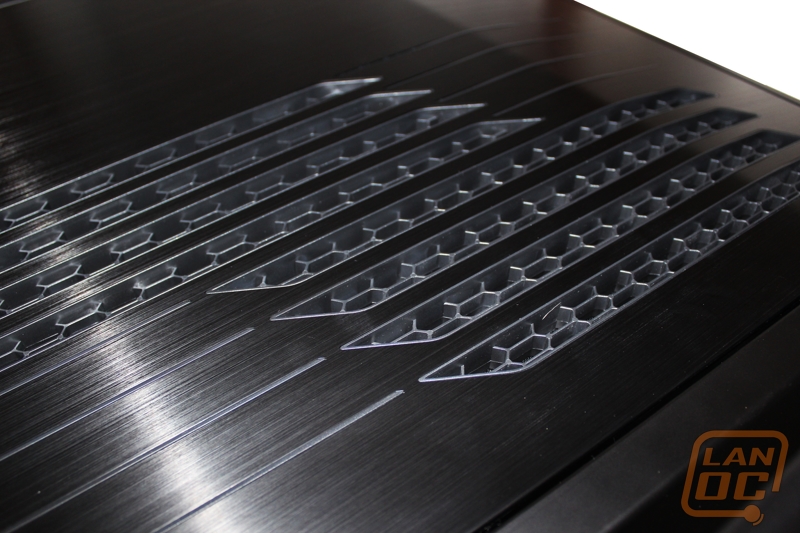
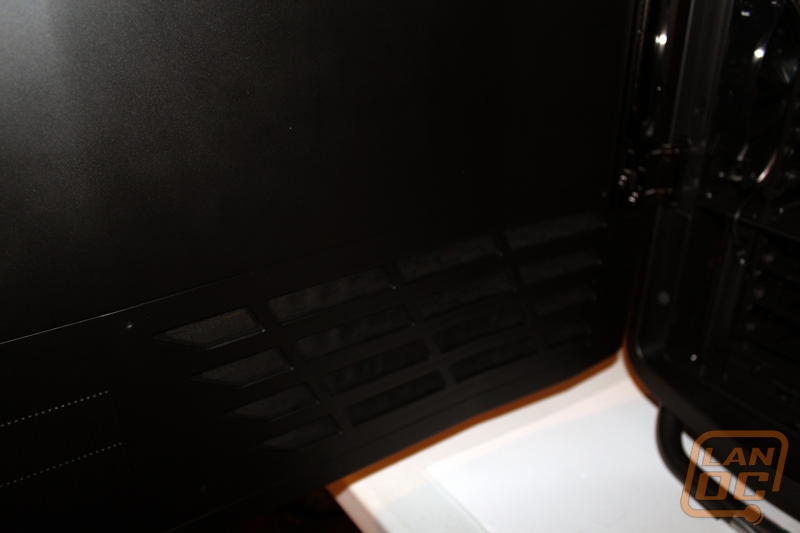
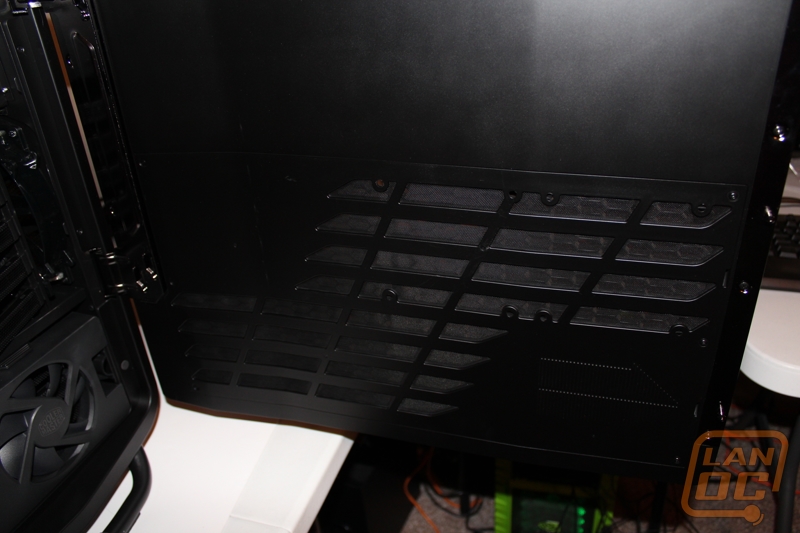
The right side panel is traditionally the boring side of any case. The Cosmos II for the most part is no different, but you do get a nice vent on the lower half of the door. In each of the four vents there is a honeycomb grill to keep good airflow while making it hard to see inside.
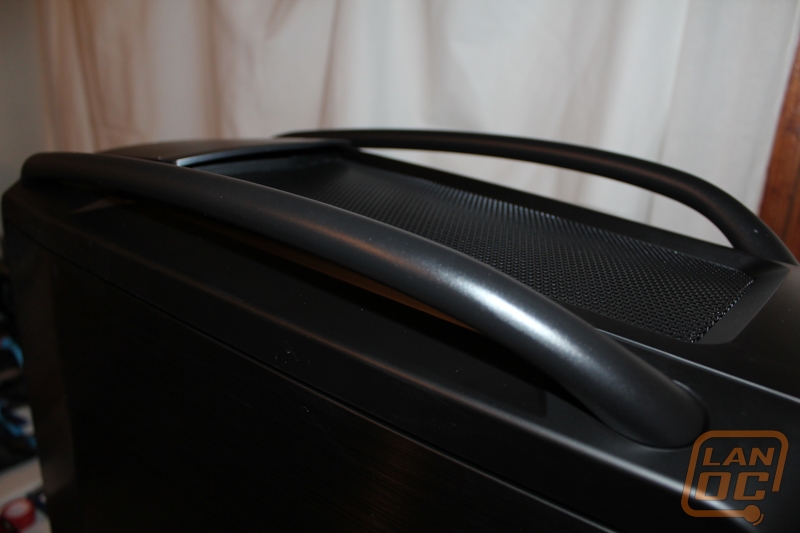
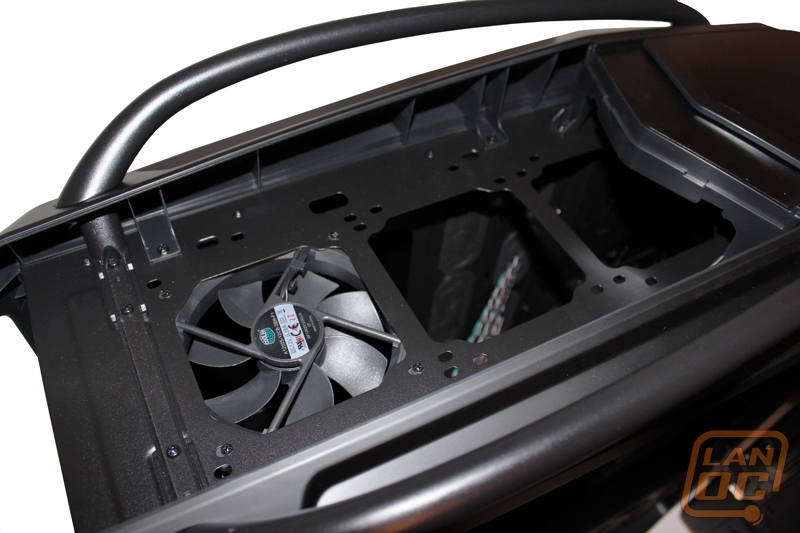
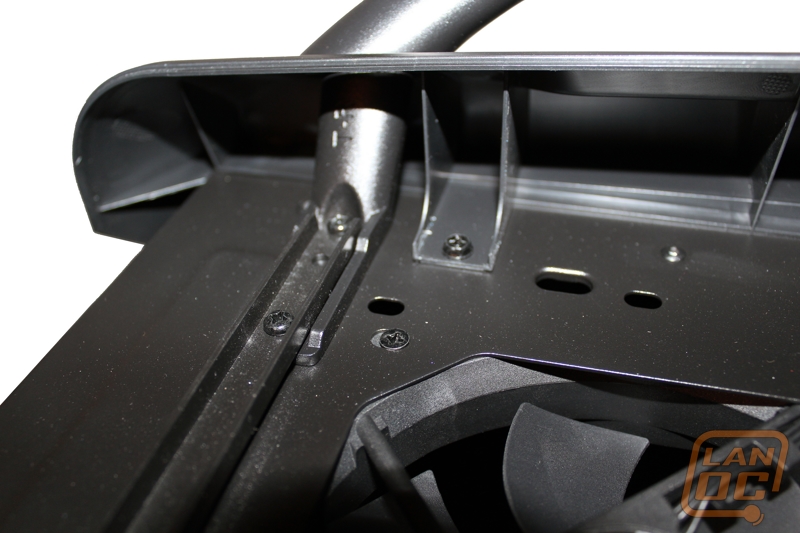
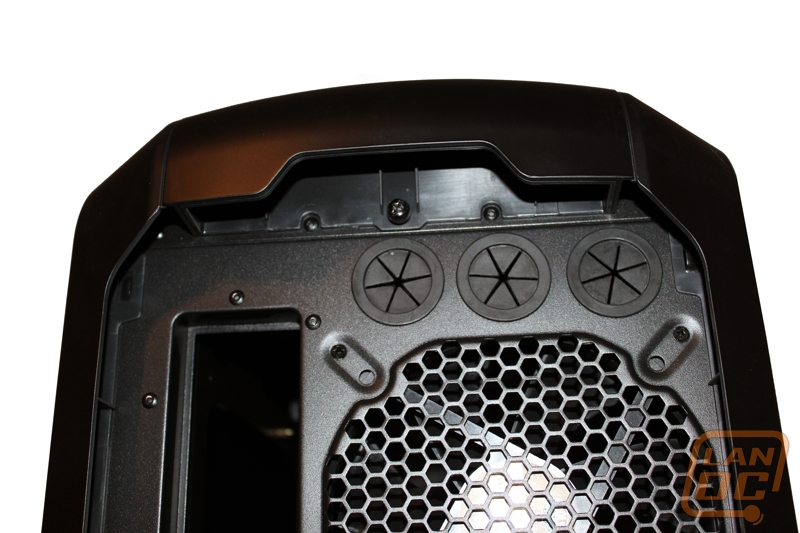
Up top the style bars are a little more “styled” than before. Before both bars would come up about an inch and go straight across. The new bars up top have more of an arch to them. In between the cars you also have the top mesh vent. The top panel is held down by a thumb screw on the rear, once removed the top panel slides off to give you a good view of the three fan mounts. With the top panel off you can also see the supports that make the top two bars capable of being able to hold the weight of the Cosmos II and your components.
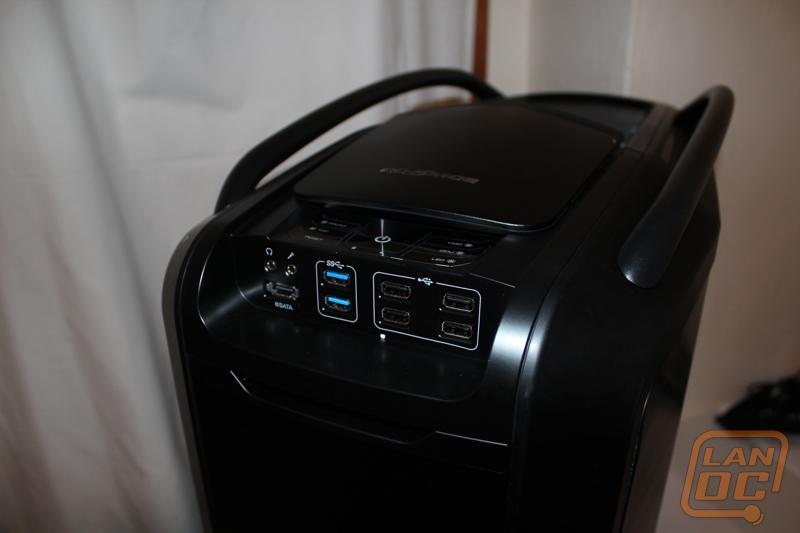
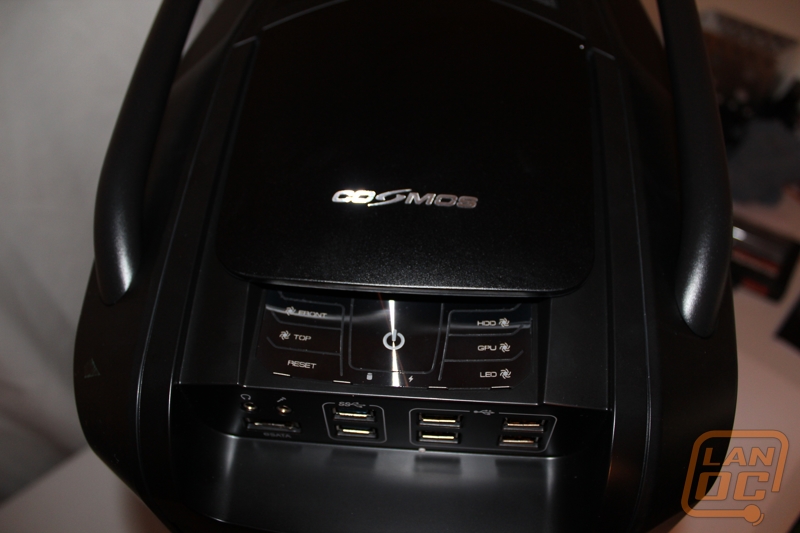
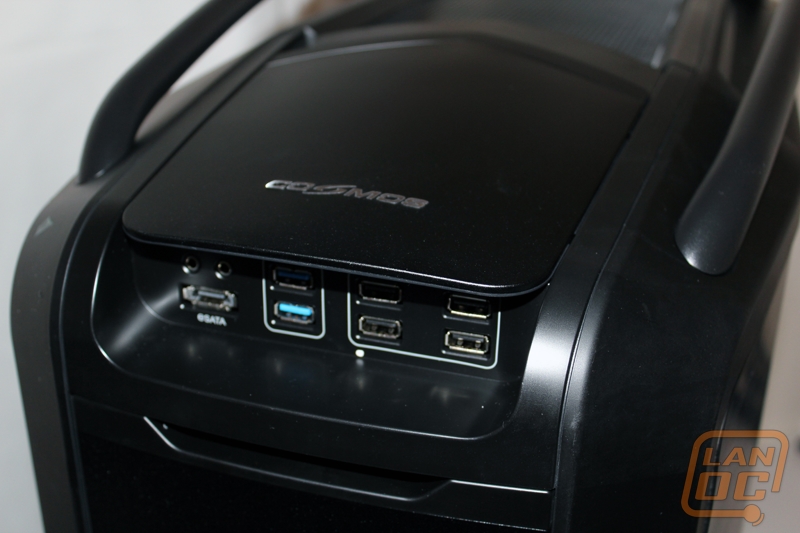
Also on top is the I/O panel and control panel. Cooler Master has broken to two up and put the control panel on top and the I/O panel just under the control panel on the front. That design will help prevent anyone bumping the power button while plugging in their flash drive. Also to help prevent bumps there is a cover that slides over top of the control panel when you don’t need to access it. This should prevent cats and kids from turning your PC off mid game; that is of course if they can even reach the top of this monster case.
The front I/O panel has four USB 2.0 and two USB 3.0 ports for good speed and the ability to hook anything you need up. You also have an eSATA port and your front microphone and headphone ports.
The control panel uses real buttons rather than the touch free design used on the Cosmos S. You have a total of six buttons. The large power button in the middle is surrounded by four different fan controllers for different zones along with one button that controls your fan LED lighting and lastly the reset button. The most interesting part of everything is how similar the control panels buttons look to an old razer cell phone. On the plus side we know it will hold up.
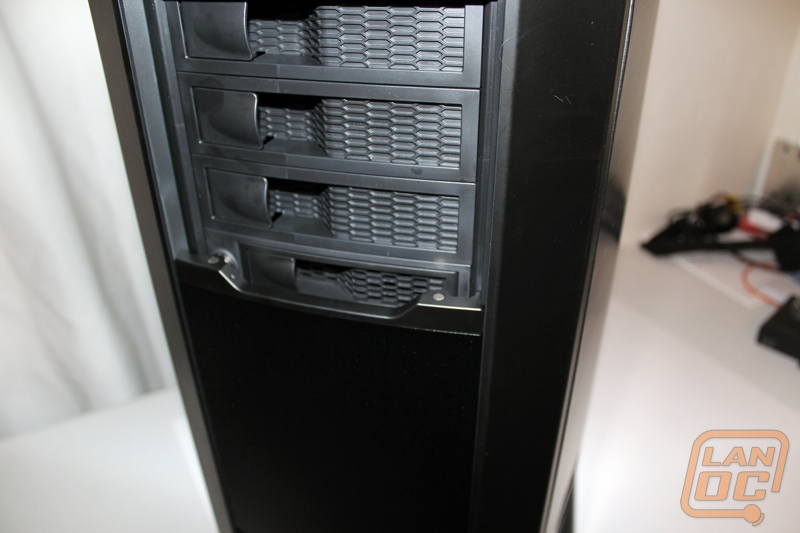
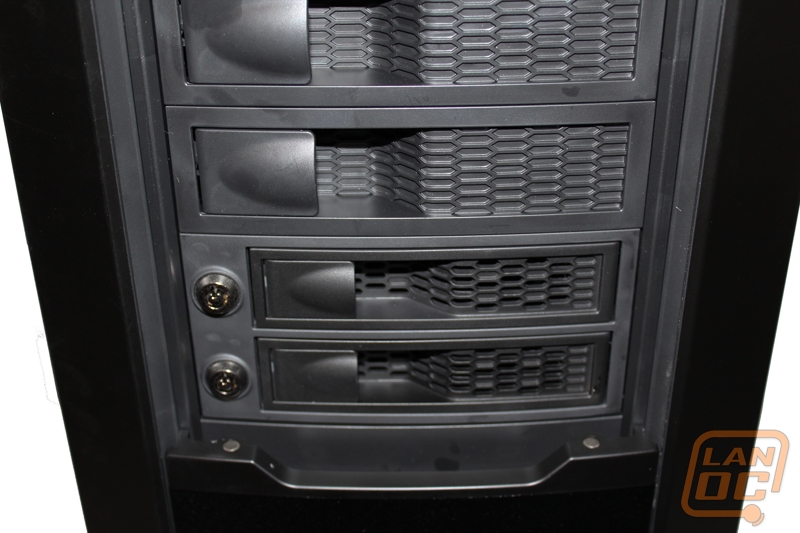
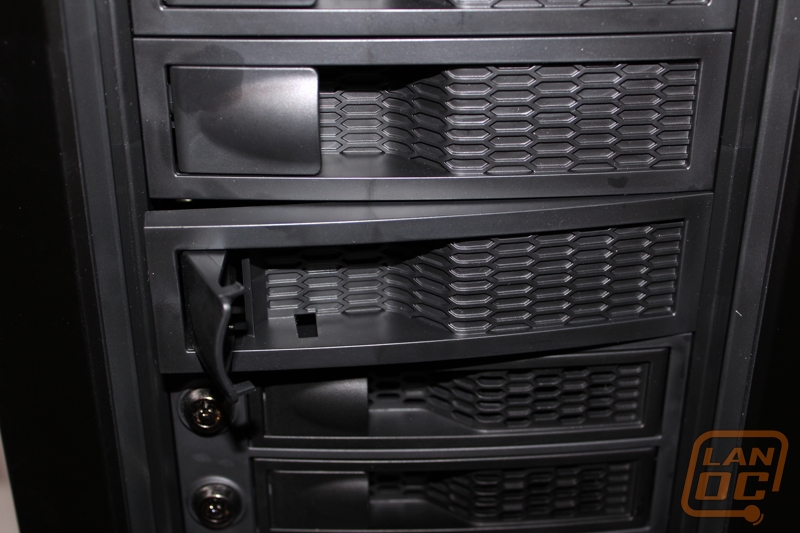
The front of the Cosmos II is almost a combination of the original Cosmos along with the S. The Cosmos II has a front door like the original but is designed with a long mesh front. The front door is unique, with a slight push it will slowly open itself relieving the exterior drive bays.
For drive bays you have a total of three 5.25 inch bays and two 3.5 hot swaps. Each of the bays is easy to access with the left side having a small handle that you pull on. The hot swaps have additional protection with key locks to prevent someone from pulling your OS drive out with the PC running.
The left side panel lacks a side panel window to see inside of the Cosmos II but does have additional ventilation when compared to the right side panel. It would still be nice to see a side panel window here.
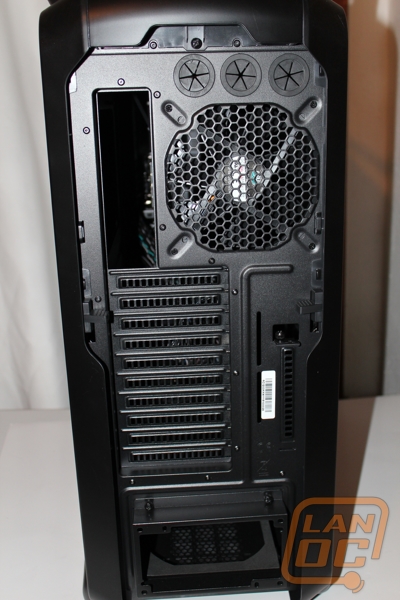
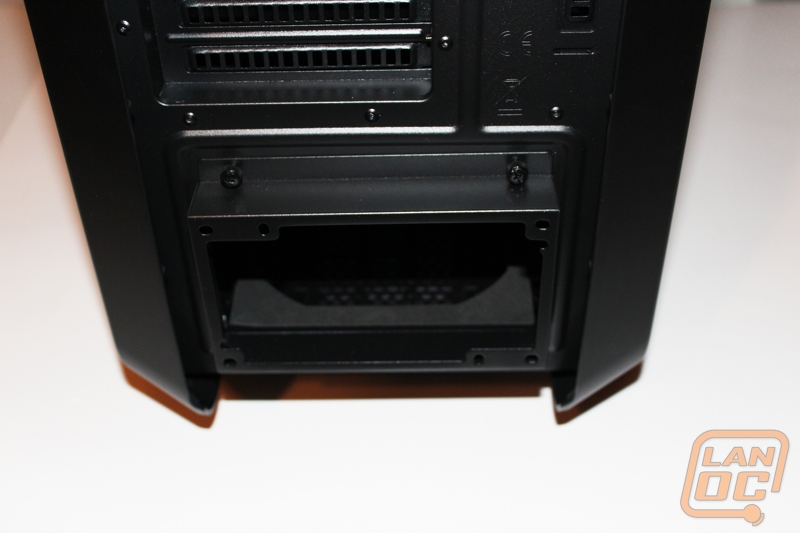
Around back on the back panel there is a lot going on. For cooling you have one 140mm fan but also each of the PCI slots are vented as a way to move air. Speaking of the PCI slots, there are a total of 11, 10 normal and one another the others sidewise. That is an impressive amount of expandability and the reason the Cosmos II is capable of supporting quad SLI and Crossfire. Down at the bottom the PSU cage is oddly shaped and sticks out over an inch from the back panel.
For water cooling up top there are three water cooling grommet’ed holes. You will also notice that the entire back panel has a nice black finish to match the rest of the case. Last but not least are the door latches. On the past models the doors are opened using latches at the top of the back panel, this time around the latches are in the middle. To open you push down on them and the door will swing open.

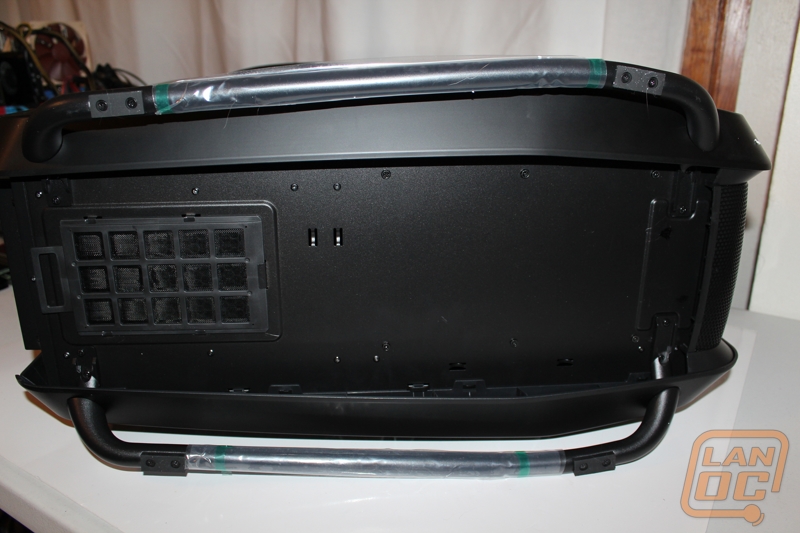
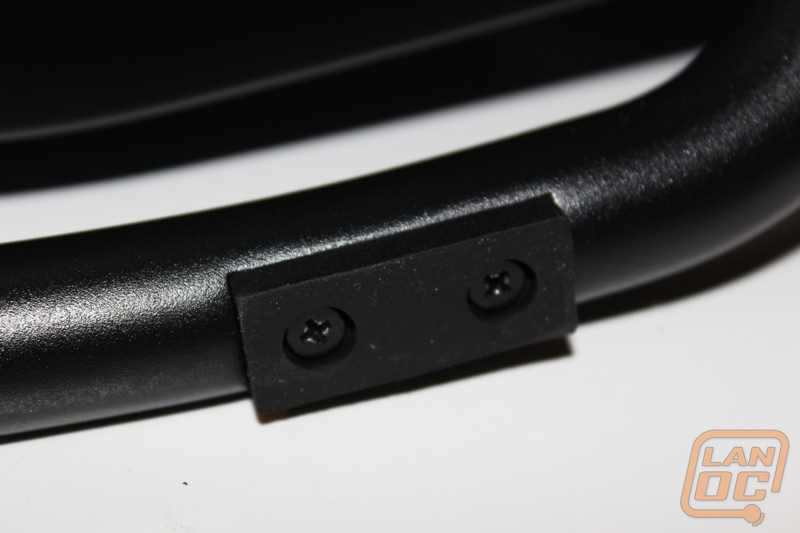
The bottom of the Cosmos II is where you can really see its size. The bottom has the same bars across them as the top. Unlike the past models Cooler Master has placed rubber feet on those bars to keep the case from sliding around, we will see how that works out. There is also a fan filter that can be reached from the rear that filters the PSU intake air.
Inside
Starting on the back side we get our first view of the Cosmos II’s giant side panels as we check out the area between the motherboard tray and the side door. Even though the door itself is very thick there is still more space for wire management than we would typically find, even on a high end case. You can see that Cooler Master routes all of the front panel wiring through this back area already but there is still more than enough room for the rest of the wiring needed. This is also a great view of the cases wire management holes and grommets. There are seven grommet’ed holes along with two at the top of the case that do not have grommets. Not counted in that is the full access you have to both the bottom and top hard drive trays. The access given at the rear means no problems packing all of the drives in this case that you would like. Normally wiring behind hard drive trays is especially cramped, but the added width of the Cosmos II means more than enough room this time around. As mentioned before you can also see the vents in the side panel, from this side you can see the finer mesh used to keep dust out of the case.
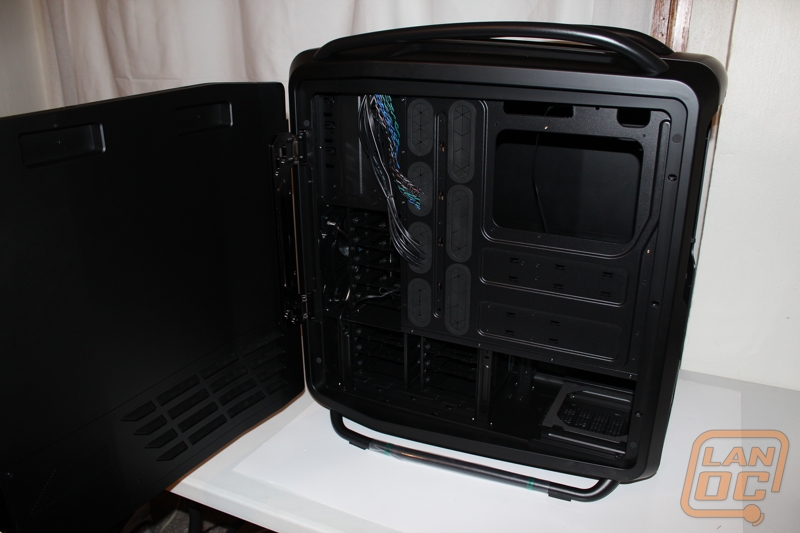
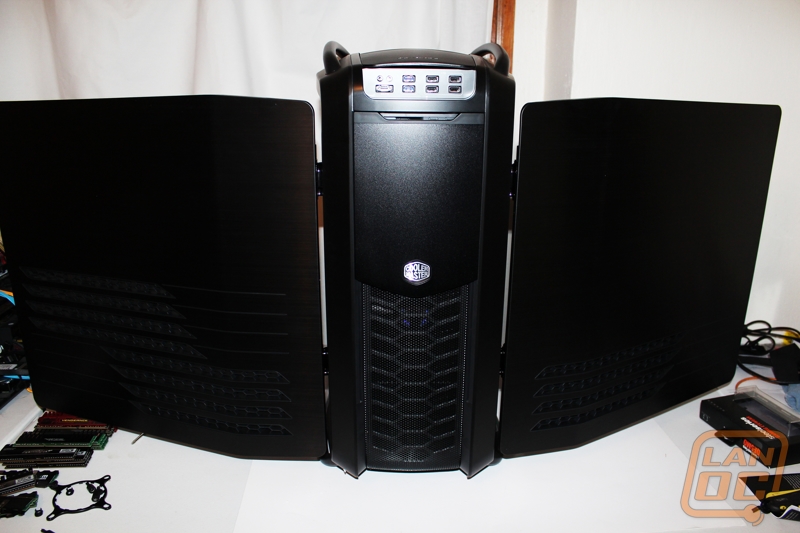
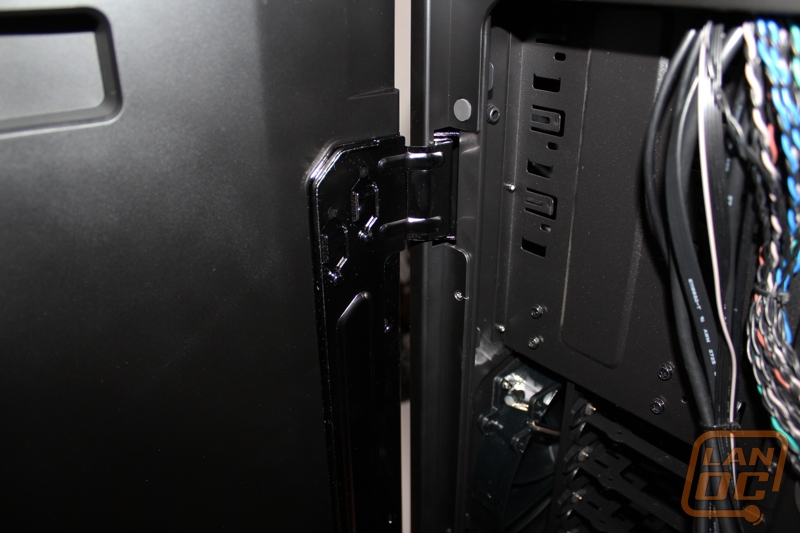
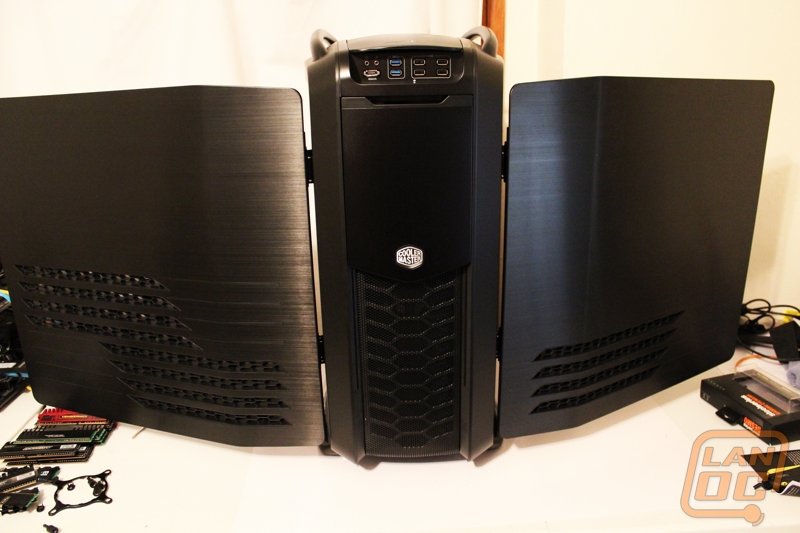
The side door mechanism is both complex and simple and functions like a car door. The first image below shows the hinge mechanism. You might be wondering why they went with a design apart from the standard hinge design we have seen on other cases with hinged doors. This design is stronger to hold the heavier doors but still allows the door to be lifted clean off of the hinges if needed. At the other end of the case there is just one small latch that works with the latches on the back of the case.
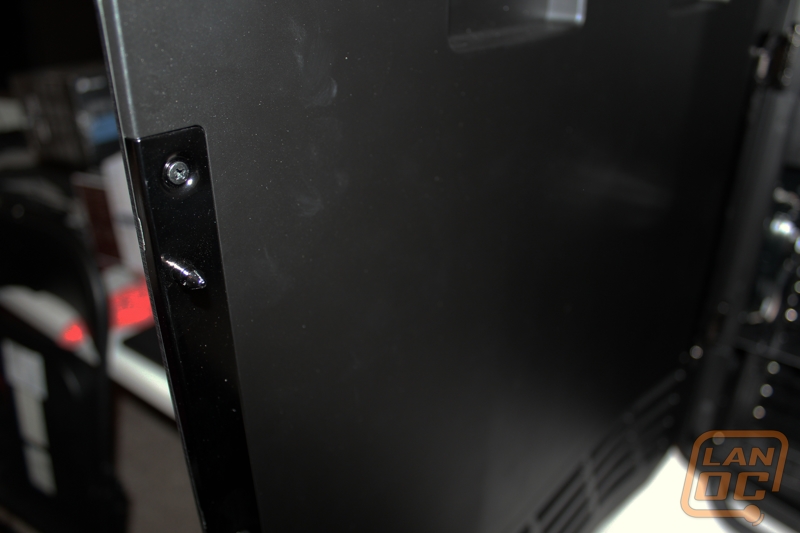
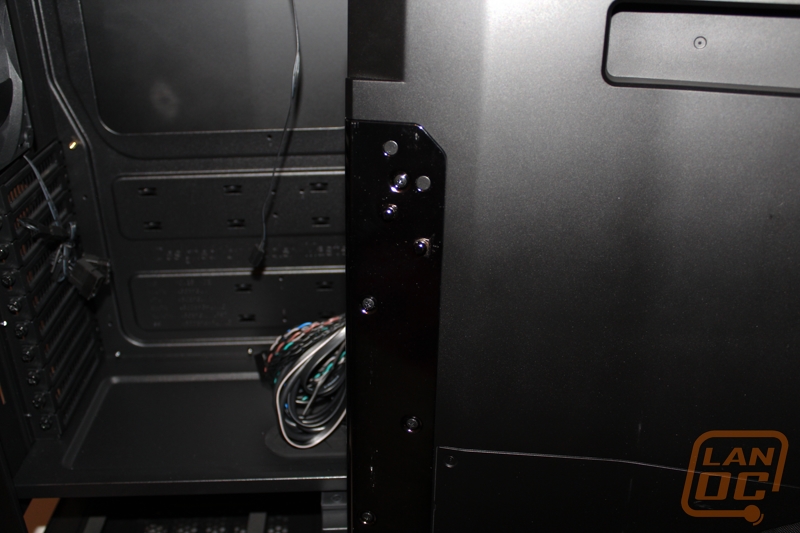
Each door on the Cosmos II is much thicker than a standard case side panel. Other than adding to the style I’m not sure what purpose this added thickness gives. Together the doors add up to almost two inches, space that could be used for something more useful.
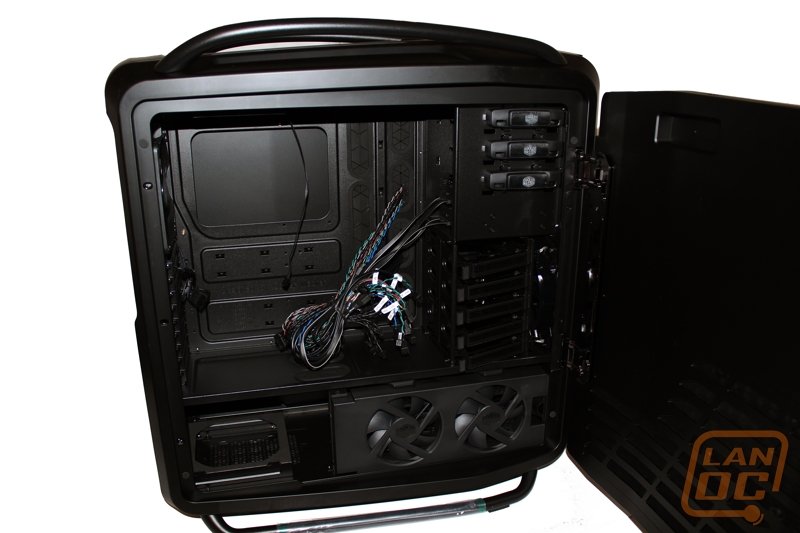
Standing back and getting a full view of the more functional left side of the case shows the amount of work put into the Cosmos II. Much like the 800D the interior is compartmentalized, but not to the extent that Corsair went with, something that later cause them problems with air cooling.
As you can see the left side panel has twice the ventilation as the right side, but otherwise they are just alike.
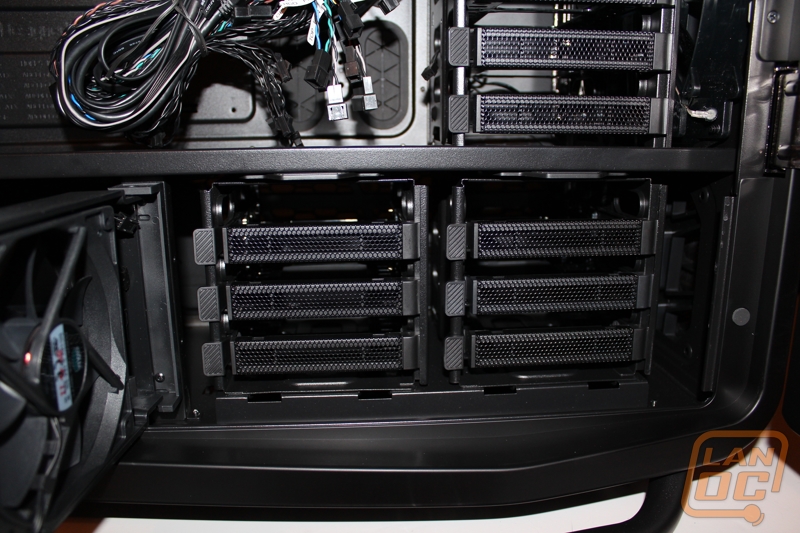
In the bottom right corner there is a hinged plate with two fans pulling cool air in through the vents in the side panel.
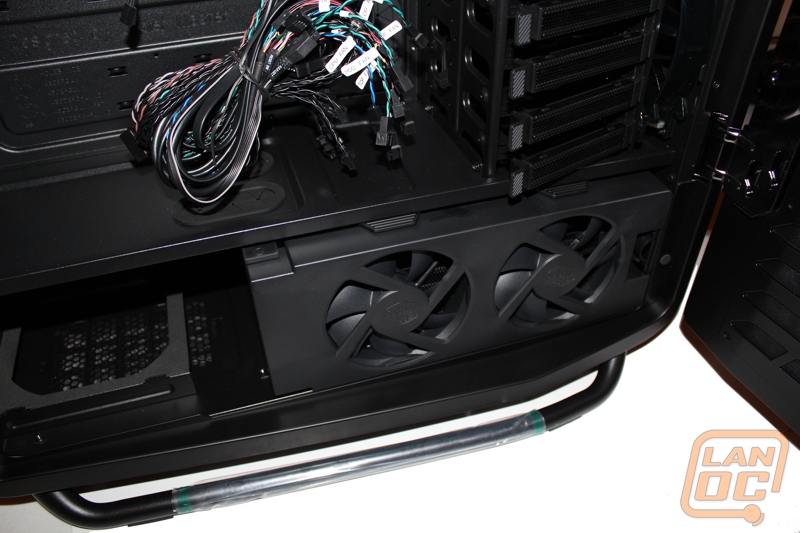
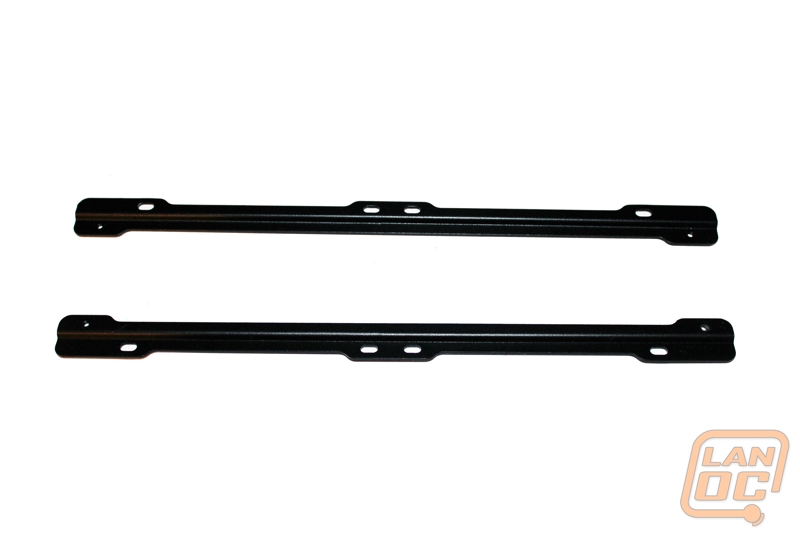
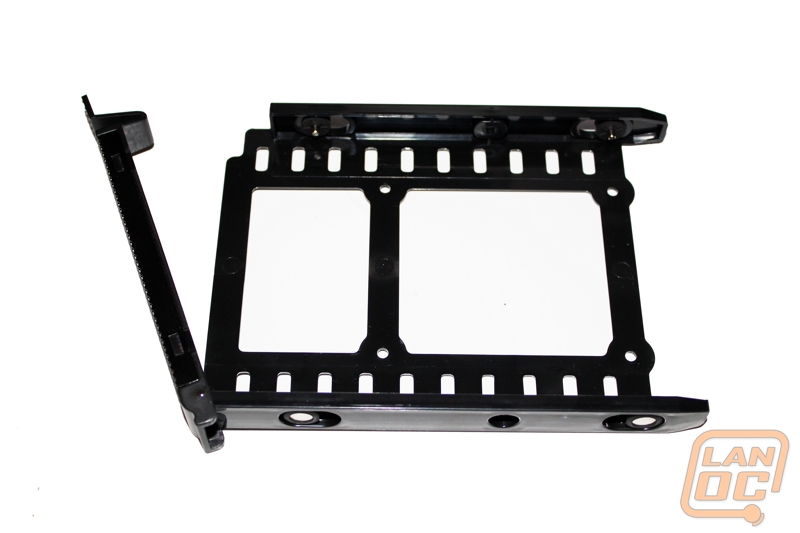
Behind those two fans are six hard drive trays. If you look closely you can see that each tray’s front latch is made of mesh to make sure they don’t block too much air flow to the hard drives. What is really interesting about this area is if you decided to go with water cooling in the Cosmos II you can remove both cages and Cooler Master included brackets to mount a 240mm radiator in their place, this way the fans can be put to use to cool your CPU or Video Cards.
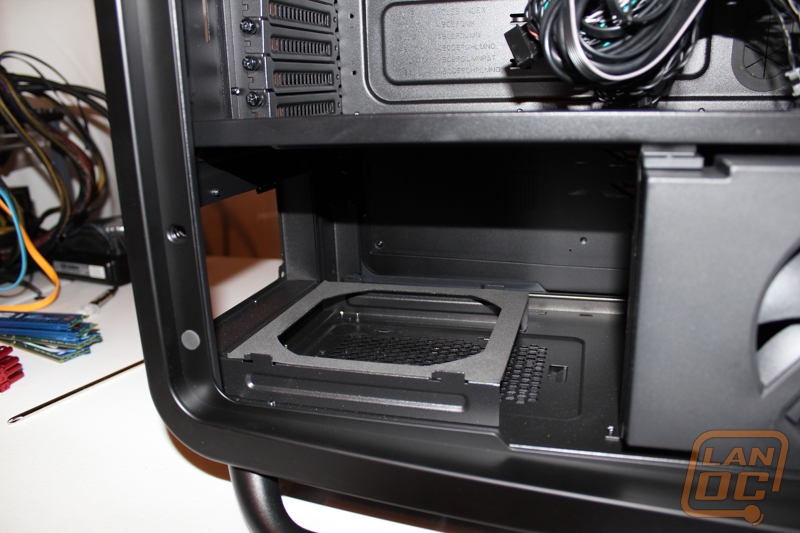
On the bottom left side you have your PSU mounting area. This area is design to work with modern power supplies that intake from the bottom and blow air out the back. With the adjustable plate under the PSU, once mounted, the PSU’s cooling is separate from the rest of the case.
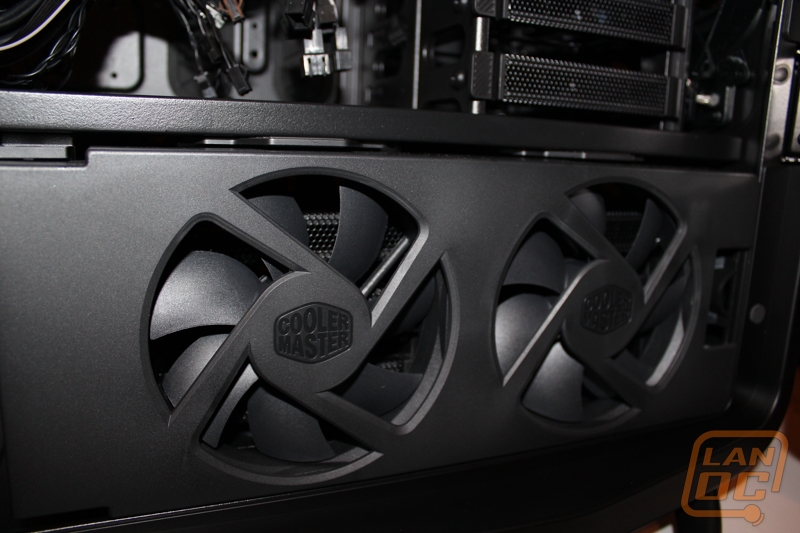
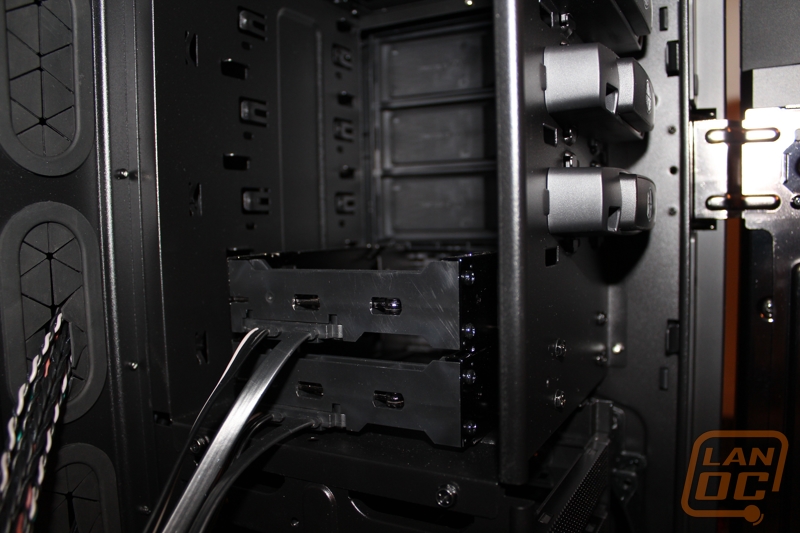
Above the bottom hard drive cages there is a second cage that holds five drives. Just like the bottom trays each tray has ventilation across the front. This time cooling comes from a 200mm fan facing the front of the case blowing in over all of the drives. Each of the trays holds a 3.5 inch drive with four rubber mounted pins. This design is tool-less and vibration free. You can also mount your 2.5 inch drives using four holes in the bottom of the tray.
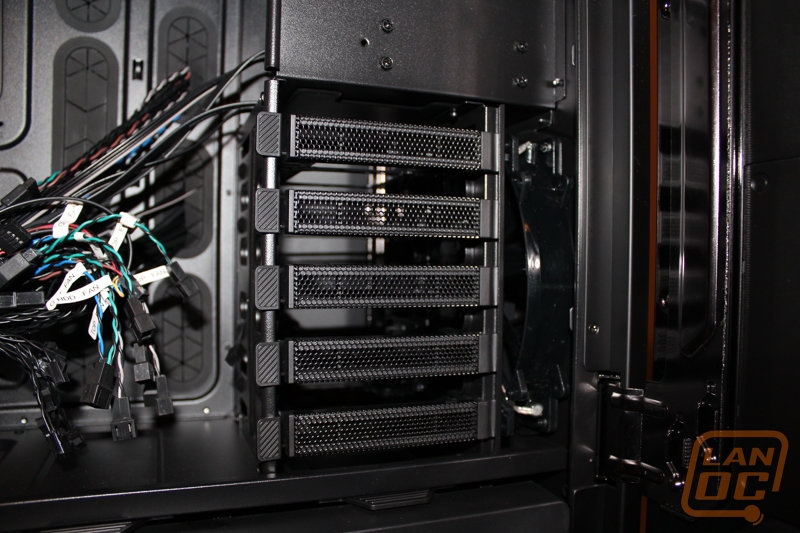
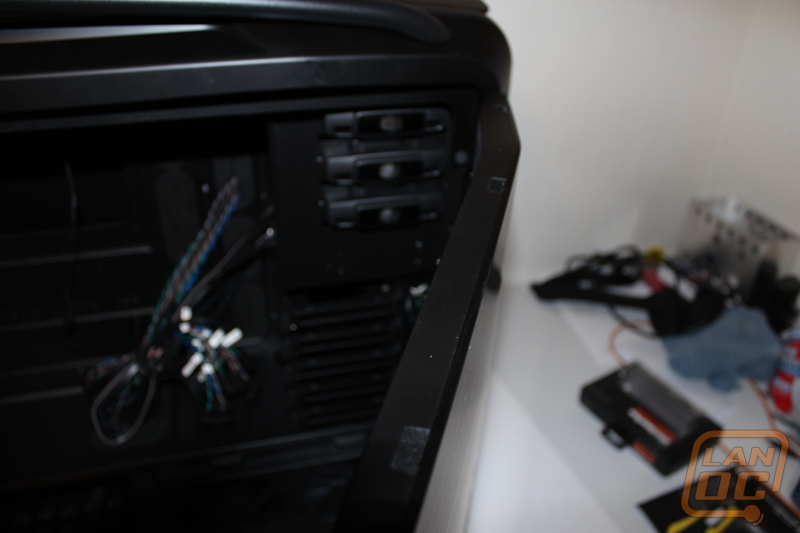
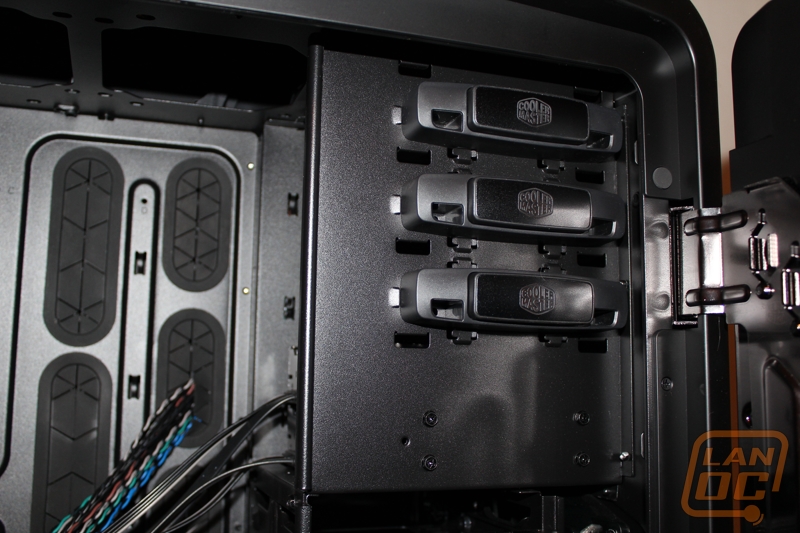
Above the second drive cage in the top right corner of the interior of the Cosmos II you have three 5.25 drive bays with the two hot swap bays below them. All three of the 5.25 drive bays is tool-less using a push button system similar to what we have seen on past Cooler Master cases, but with a little better style. The two hot spots have been wired for you meaning no unsightly SATA cables or power cables bundled up behind the hot swaps. It’s a shame there isn’t a side panel window to be able to see details like this.
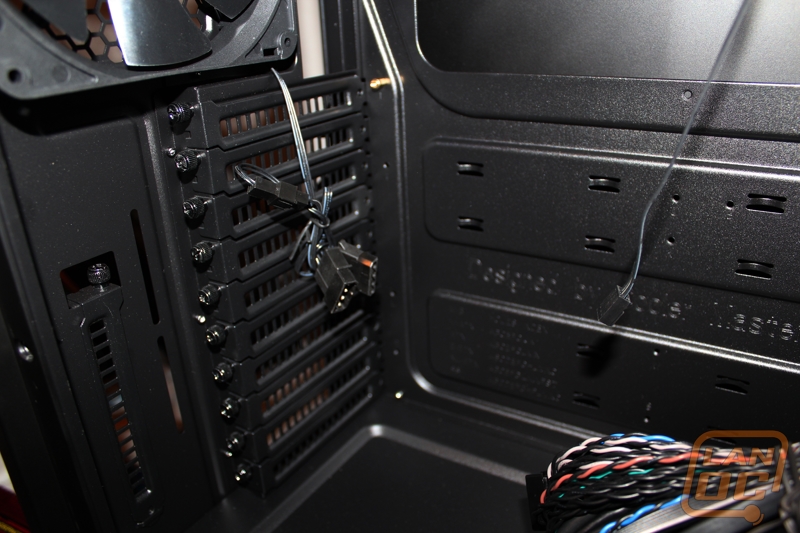
Even from the inside the 10 PCI slots stacked up on the back side of the case is still impressive, even after seeing it from the outside of the case. This is also a good view of the fan wires; it’s nice to see that cooler master made sure to go with black wiring on each fan using a thin easy to router cable type.
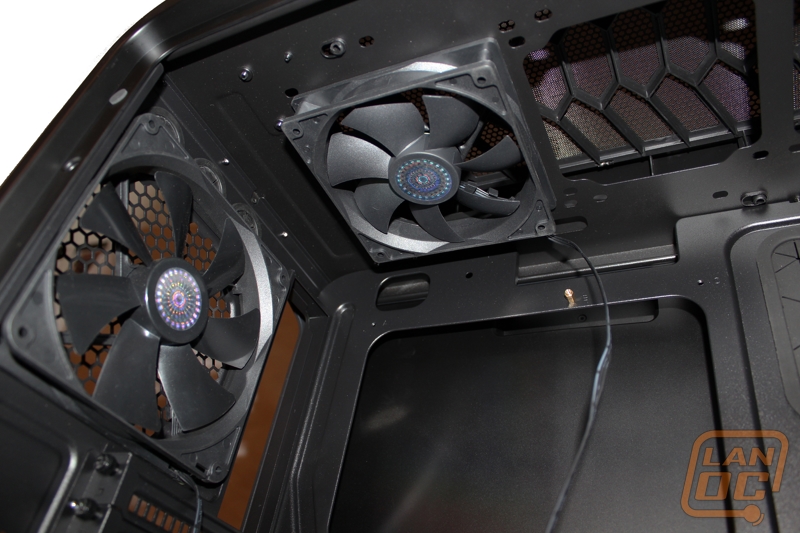
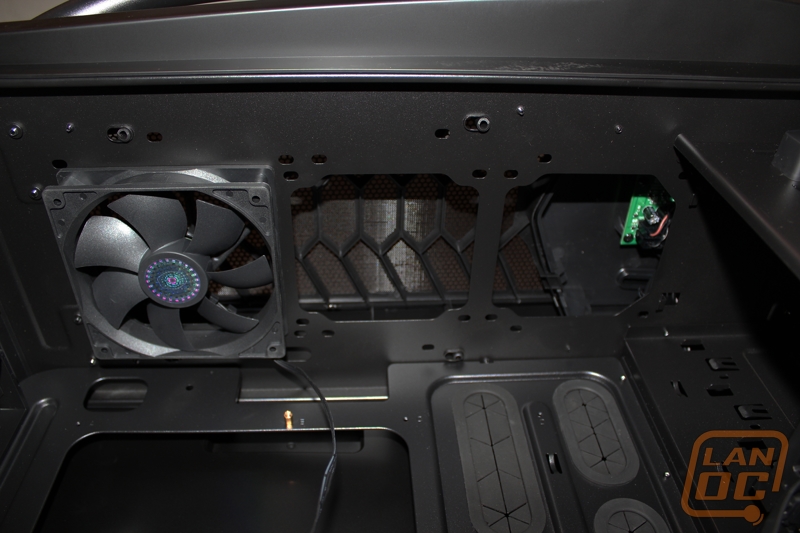
In the top right corner you have the 140mm fan blowing out of the back and a 120mm fan included along the top. You can also see the extremely large CPU backplate access hole. When compared to the 140 and 120mm fans you can get a good idea of its size. Next to the 120mm fan up top are two more locations for more fans as needed. It’s interesting to see the choice to go with 120mm fans up top when we have been seeing 200mm or larger fans on most cases. This is to have better compatibility with water cooling configurations, you can slip a nice 360mm radiator up top if your careful.
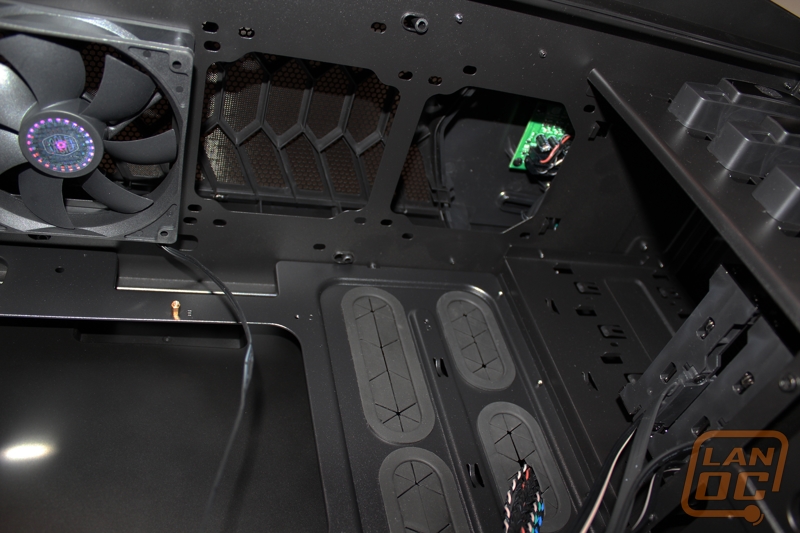
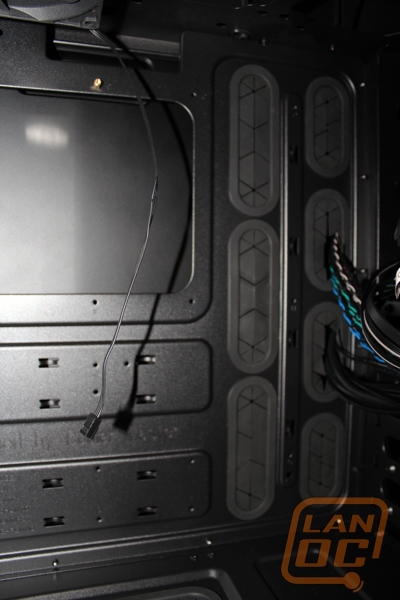
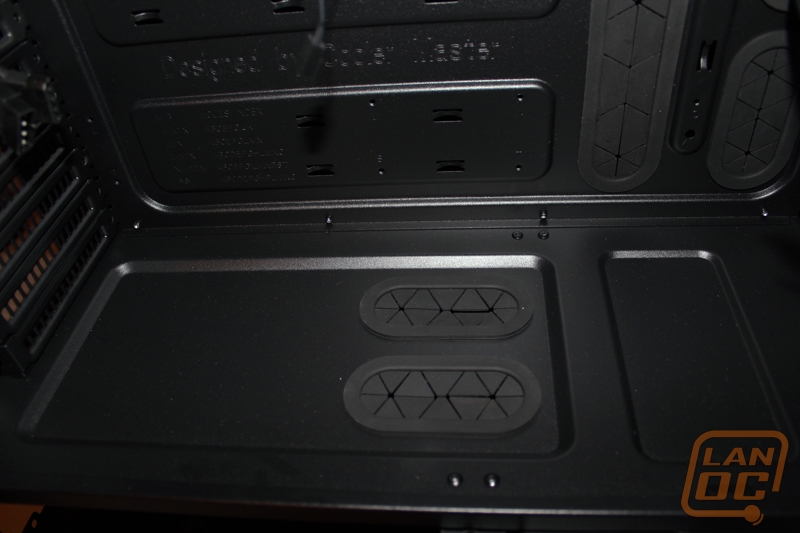
As mentioned before there are seven wire management holes with grommets visible from the back. These holes are laid out in a way that you can get wires to your motherboard no matter the boards’ width or height. What you couldn’t see from the back though are the two grommet’ed holes on the bottom plate that divides the top and bottom sections. These holes are good for both running wires to your video cards and for running tubing into the bottom section to that 240mm radiator.
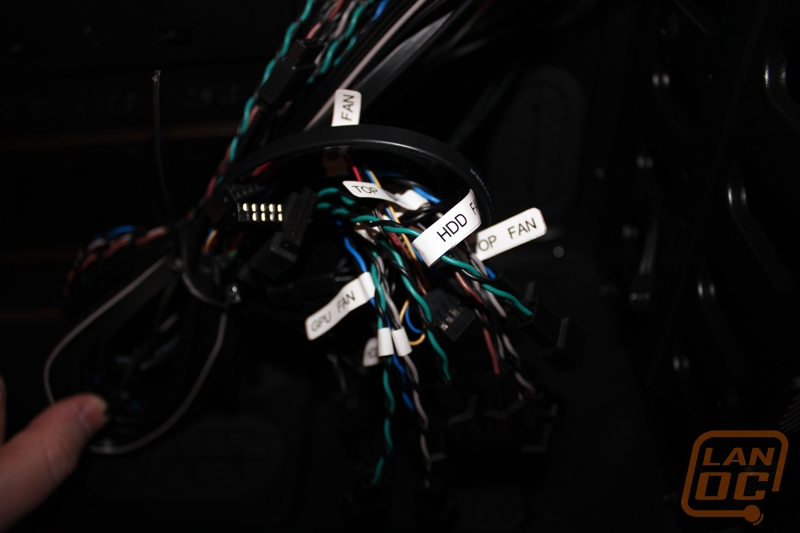
The entire fan controller wiring has been labeled with small tags. All of the other wiring is black to match the interior of the Cosmos II.
Installation/Setup
Working in the Cosmos II was a lot like working in the 800D, but with more room behind the motherboard tray. Before getting going I pulled both side panels off to make for more room while working in the Cosmos II. Dropping our Assassin motherboard into the Cosmos II went smoothly, something that very few cases can do because of its XL-ATX size. The only challenge I ran into while installing in the Cosmos II was the amount of wires you have to deal with. The front panel fan controller is wonderful but it would have been nice to have the included fans pre hooked up. Beyond that wiring was simple due to the amount of space behind the motherboard tray. I was especially impressed with the space behind the hard drive cages, even though I wasn’t hooking up a collection of drives, there was more than enough room for the wiring.
Performance
With everything up and running I’m sure you are wondering how the Cosmos II performed. We are going to break the performance up into two categories, sound/cooling and usability/convenience. Not only is it important that the Cosmos II keeps everything cool and quiet, but considering its price it’s going to need to be flexible and able to adapt to new builds in the future.
I can say without a doubt that Cooler Master was successful in making the Cosmos II flexible. The large CPU access hole and multiple wire management holes will allow you to change things up in the future if you decide to change your cooling, motherboard, or add video cards. Due to its size you can run full XL-ATX motherboards with support for up to four video cards, adding a card or two in the future could be the best way to increase your performance as card prices drop. On top of that the flexibility given with the removable hard drive cages is impressive. If you decide to go with water cooling in the future you’re going to have lots of options.
So how was the cooling performance? With Cooler Master going with a design similar to the 800D that we had trouble with I was a little concerned. As it turns out those concerns where unneeded. The Cosmos II has less cooling power when compared to the HAF X but it still has more than enough to keep even the hottest rig under control. If for some reason you need more you still have two more open fan locations up top. With a mix of fans from 200mm to 120mm noise levels were not bad at all. What helped keep things even quieter was the thickness of the side panels. Using the fan controller was also very easy, every push would give you a beep to confirm, and when you reach max or min a triple beep would let you know.
Overall and FV
I doubt that Cooler Master could have packed any more features into the Cosmos II, no matter how hard they tried. It seems they covered every angle as far as flexibility, wire management, and performance. The real determining factor on the Cosmos II is going to be your preference in case style and the price. When one of our members posted up a link to the Cosmos II originally it was a very polarizing case with some people falling in love with it and others unhappy with the style. It really comes down to those who like simple basic designs using all aluminum and people who don’t mind the use of plastic. Once you get past that the next problem is going to be the price, with a MSRP of 349.99 this is far from a cheap PC. Then again this is the largest case we have ever reviewed. When you compare the Cosmos II to the 800D, for 50 dollars more you are getting better cooling and support for larger motherboards and more video cards, if you’re looking for XL-ATX support it’s not even a question. Now the last thing you need to figure out is where you are going to put the Cosmos II, because of its size you may have to rethink your desk layout. Of course you’re going to want to have it out where everyone can see this monster, I know I would.