Installation
Hardware Installed:
AMD Phenom II X4 955BE 3.2 GHz
Arctic Freezer 13 CPU Cooler
Gigabyte GA-770TA-UD3 770 R
G.Skill 2gb DDR3 1600
Raidmax Hybrid 450w PSU
EVGA Geforce 9400 GT
HHD0: Samsung 1.0tb (3.5”)
The first thing you find when opening the case is what you would assume is the usual box of accessories along with the instructions. The brown cardboard box actually only contained drive trays. Where were the usual assortment of screws, standoffs, and other associated hardware? Cooler Master decided to get creative on us and include a built-in toolbox.
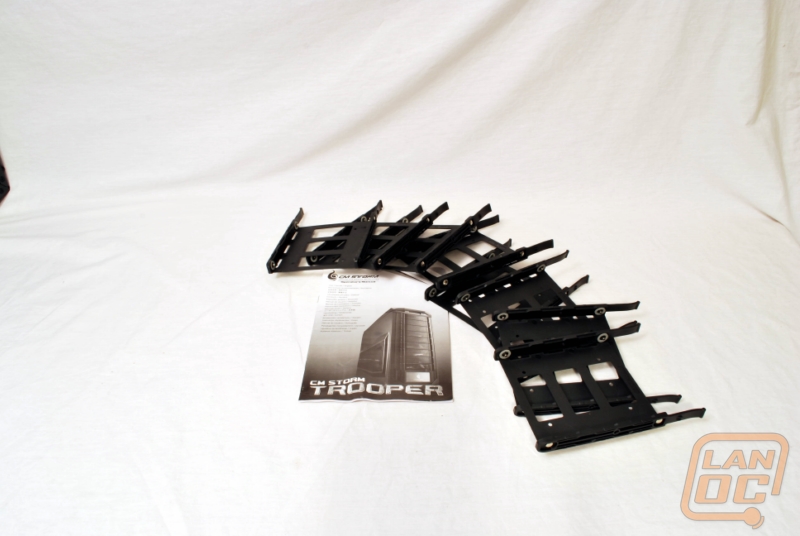

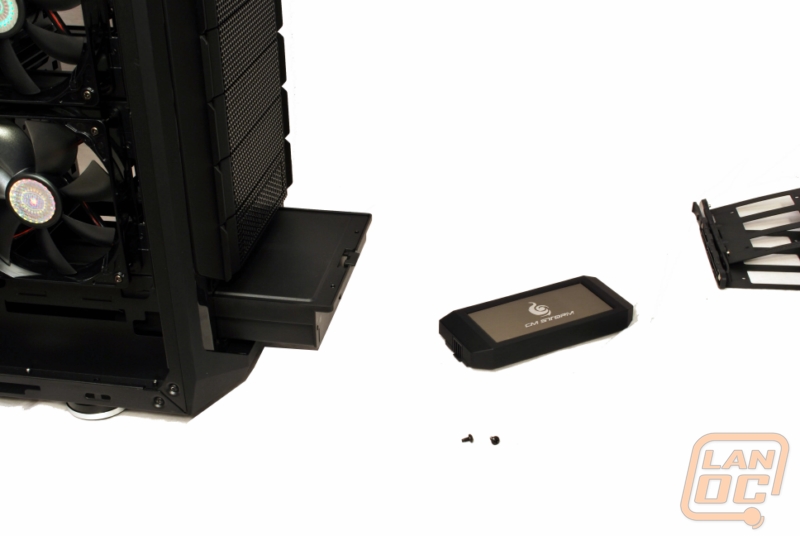
The drive trays themselves are simple to use. You clip in the drive, slide the drive into the bay, and that is it. While there is a 2.5” drive bay available inside of the case, you can also mount 2.5” drives to this trays and place them in the 3.5” bays.
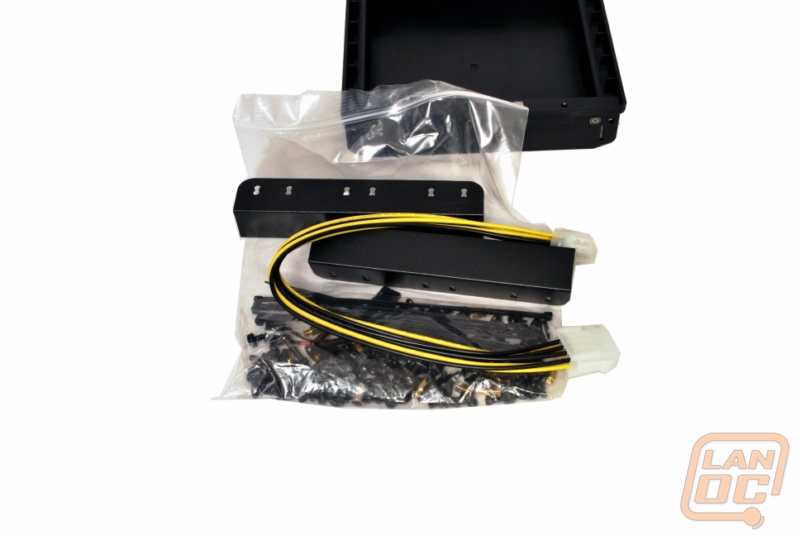
Two small screws need to be removed and the toolbox slides out of its hidden compartment. Now we finally locate the missing screws, standoffs, etc. I would have preferred some other system than having to screw/unscrew the toolbox, but it does mean it is secure inside of the case and won’t be moving around.
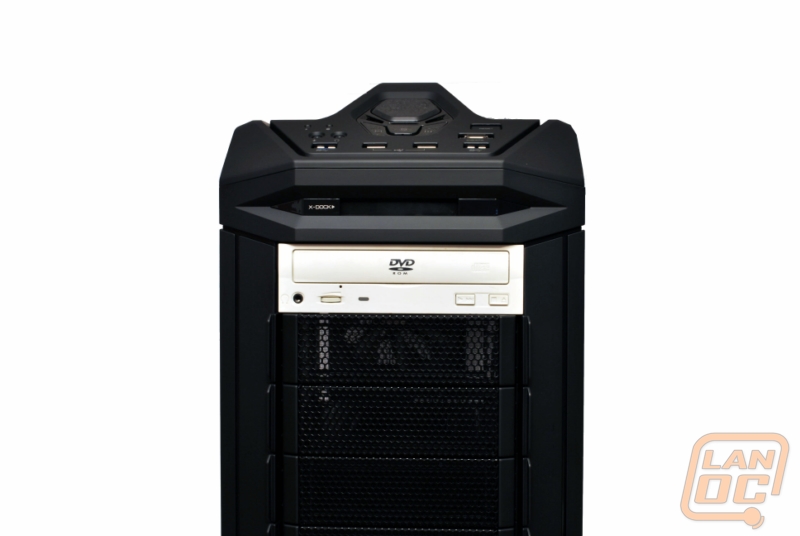
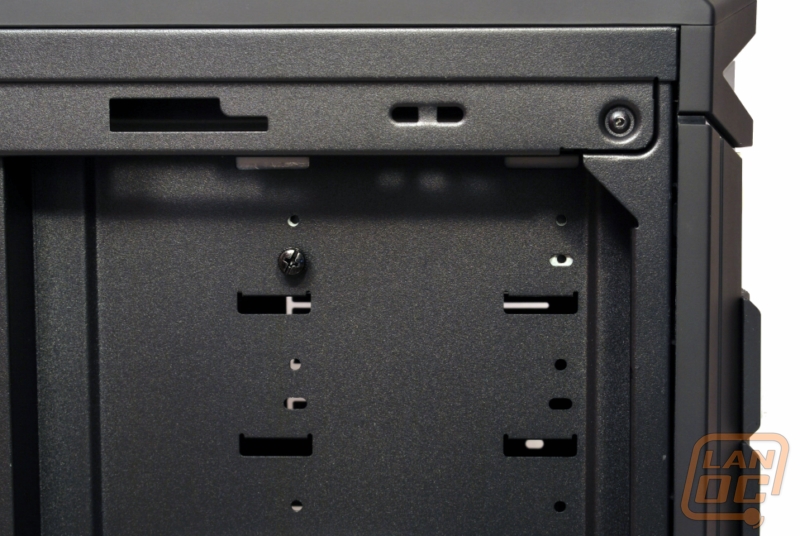
The drive bay covers are easy to remove. Simply pinch in and remove the cover. The DVD drive slid right in and is secured by thumbscrews. This is a bit more manual than I had anticipated and is a bit a-typical. The move has been to include tool-free retention system. The thumbscrews are a good compromise to make sure it is secure, yet easy to remove.
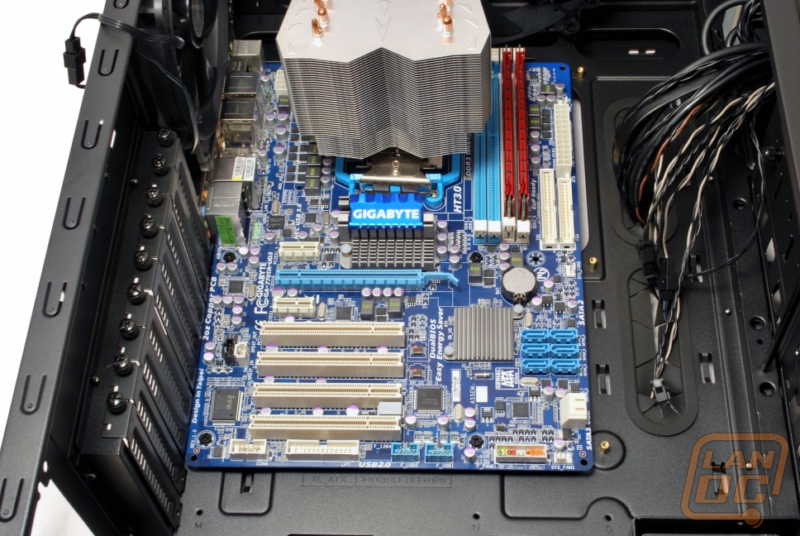
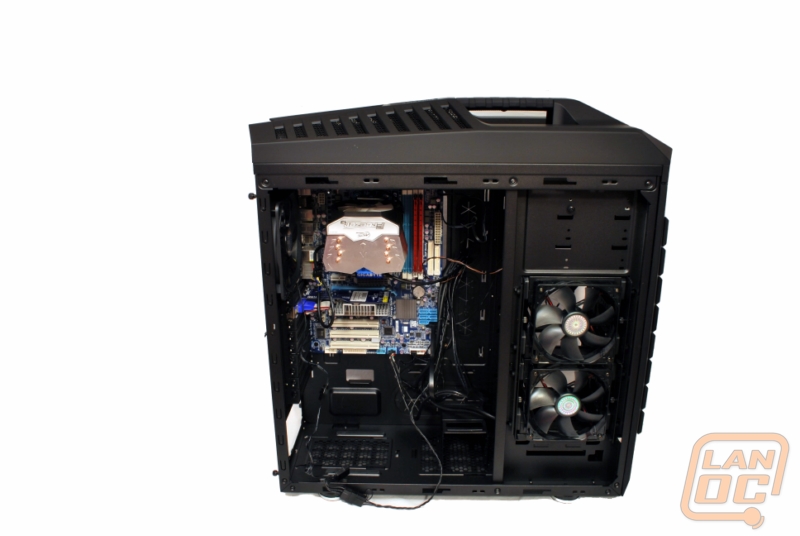
Getting the mainboard installed was easy. There is so much room in this case that getting the board placed and screwed down was a quick process. You will notice the board I am using here doesn’t line up completely with the standard ATX standoffs, but I have found that is actually pretty typical. Once the board is installed and the case stood back up, you can also see how long of graphics cards this case can support. Furthermore, you can see how the expansion slots actually push down past the bottom of the mainboard. You can fit a lot of expansion cards into this case.
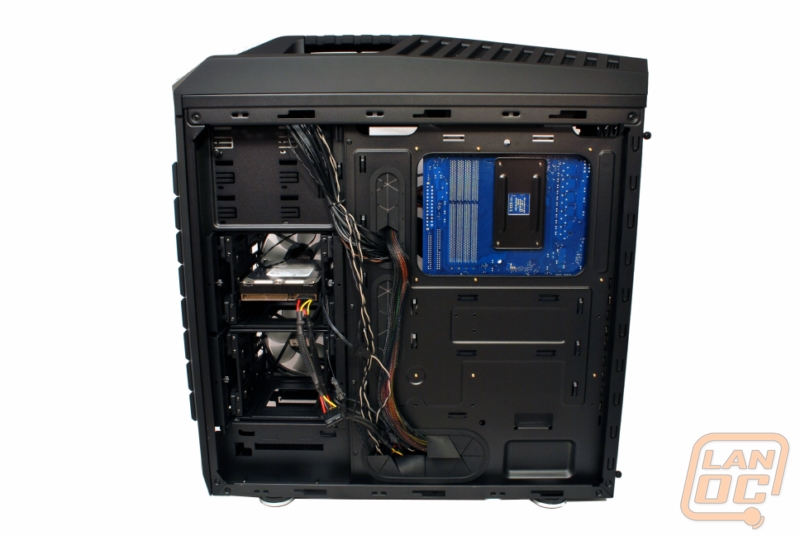
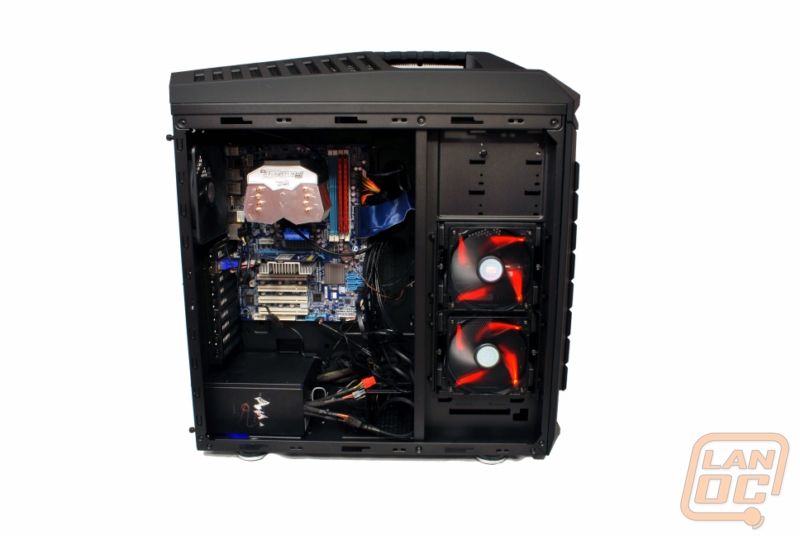
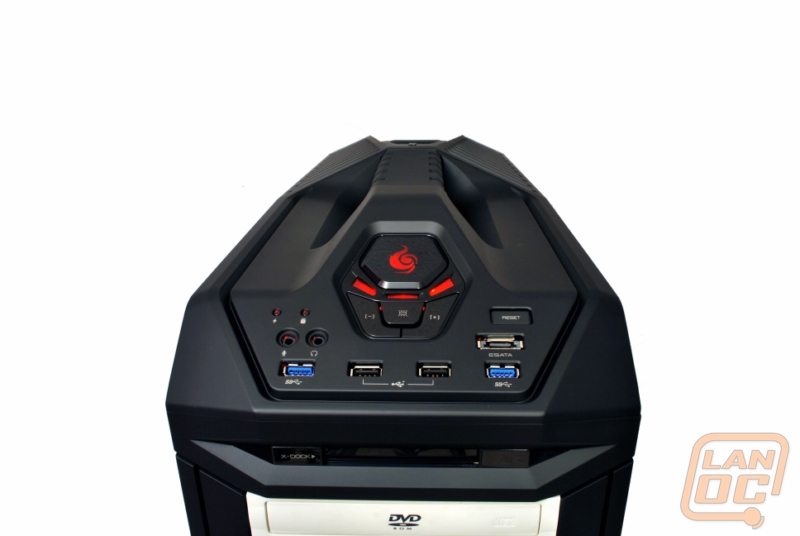
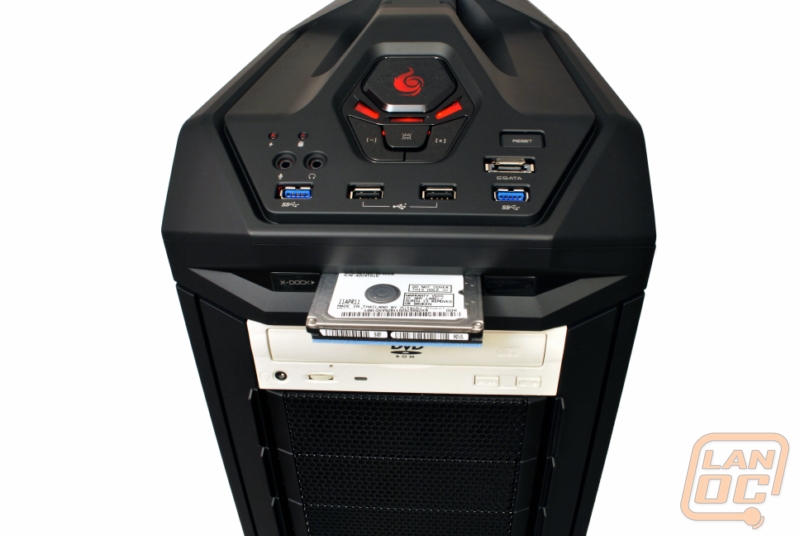
Turning the case back around, now with the mainboard installed we can see how large that cutout really is. There shouldn’t be any issue working with backplates on either AMD or Intel style boards. Installing the PSU and powering the case on, we can see the side 120mm fans are red LED fans. Depending on how you put the bay configuration, these will be either glowing out of the side or front. The front control panel has a red glow to it and the power button features the CM Storm logo. You can see the 2.5” hotswap bay in use in the last picture. I should note here that using a white drive in a black case drives me nuts, so during an actual built I would be placing a black drive here.
