Installation and Setup
As we spoke about the adaptability Corsair built into the 800D with all of its different wire management configurations in the Interior section of our review. Of course we couldn’t cover the 800D without testing it out completely. To do that we dropped one of our standard test rigs into the 800D. Here are the specs.
Intel i7 930 CPU Running at 2.8 (Stock)
Gigabyte X58A-UD5 Motherboard
Patriot Sector 7 Ram Triple Channel
Seagate Constellation 2tb Hard drive
CoGage True Spirit
Cooler Master Gold Series 1200 Watt PSU
Sapphire HD6970 Battlefield Vietnam Edition
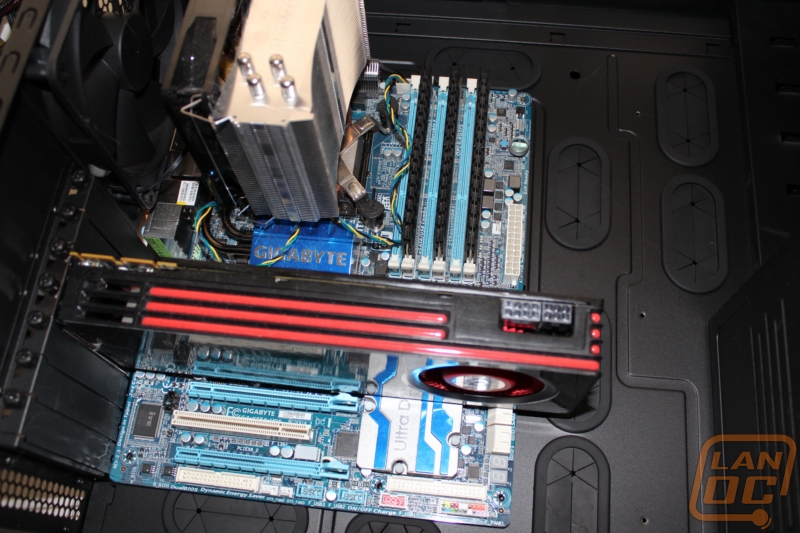
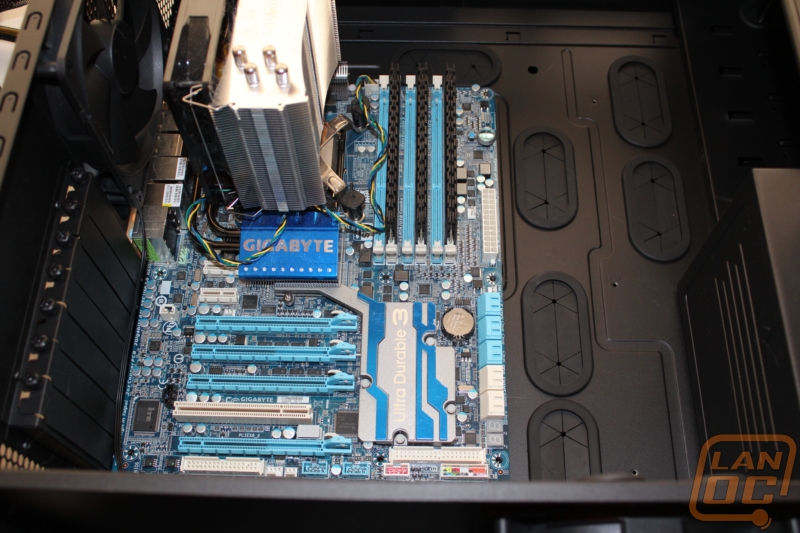
Dropping in our motherboard went smoothly with nothing important to note. With our motherboard installed we went on to our CPU, heatsink, and RAM. Even though Corsair provided a great trap door on the motherboard tray to install a bracket on the back of your motherboard if needed, our CoGage heatsink didn’t require it. I did go ahead and double check with the motherboard installed to make sure that we would have more than enough clearance to access it if we decided to change it up in the future. We have had a few situations in the past where an access hole was provided but some motherboards would still have clearance issues.
Even though I didn’t need to, I used one of the four hot swap bays on the front for our 2 TB hard drive. Installing the drive into the tray went smoothly and only required the four standard screws to keep it secure. While I was wiring the hard drive up I added all four SATA connections, if we need to add additional drives in the future it won’t even be necessary to open up the case at all.
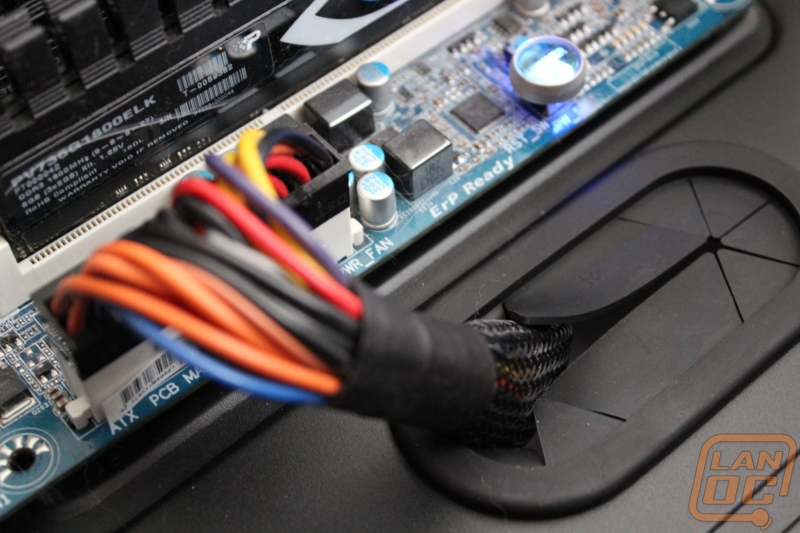
After dropping in our HD6970 the only thing left was to wire everything up. Surprisingly that was simpler than expected with the 800D’s built-in wire management. After packing the power supply into its section I routed all of the wires through the nearest grommet and towards the back. One at a time I routed each cable to its location and out the most convenient grommet. When it was all said and done you can hardly see any of the wiring through the window. Around back behind the motherboard tray there was more than enough room to pack all of the extra cables. The only issue I ran into was trying to reach our 8 pin connection up to the top left of the case. Between the case being large and trying to route behind the motherboard we had to dig out an extension cable to reach it properly.