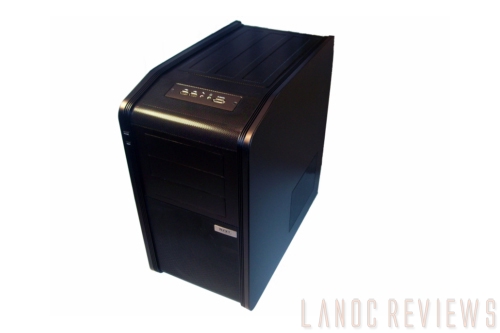
 Anyone who has had the pleasure of hauling a full tower loaded with expensive hardware to and from LAN parties will appreciate NZXT's approach to their aluminum chassis line and it's latest addition The Panzerbox. The Panzerbox is designed to be light-weight, portable, and support much of the enthusiast hardware popular among gamers and LAN goers. After returning home from a LAN only this past weekend, heavy steel mid-tower in hand, I was anxious to try this chassis out for size, literally.
Product Name: Panzerbox
Review Sample Provided by: NZXT
Review and Pictures by: Adam
| Specifications: | |
| Case Type: | Mid-Tower |
| Material: |
Aluminum |
| Front Bezel Material: |
Aluminum |
| Color: |
Black |
| Side Panel: | Solid w/ bezel |
| Motherboard Support: |
ATX, Flex ATX, Mini ATX, Micro ATX |
| Motherboard Tray: |
Yes |
| 5.25" Drive Bay: |
3 |
| Ext. 3.5" Drive Bay: |
0 |
| Int. 3.5" Drive Bay: |
2 + 1 (requires 5.25" external bay) |
| Expansion Slots: |
7 |
| Front I/O Ports: |
USB 2.0 x2, audio, e-SATA |
| Cooling System: |
Front 190mm, Rear 120mm, Top 190mm |
| Liquid Cooling Capable: | Yes |
| Power Supply Included: | No |
| Dimensions: |
244(W) x 445(D) x 445(H)mm, 6.3kg |
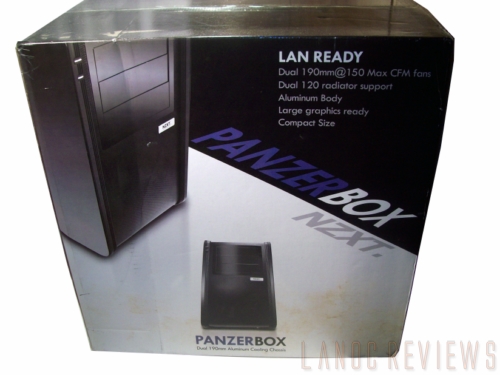
Packaging:
The Panzerbox comes packaged in a dual-color box, sporting choice action shots of the chassis. Though the words 'Panzerbox' and 'NZXT' are considerably the largest fonts on the front of the box, my eyes went first to the bold statement near the top: 'LAN Ready'. Since LAN party application is a large part of what we consider in reviews, I took this as a challenge.
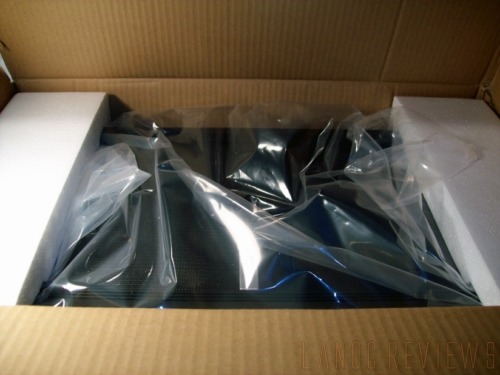
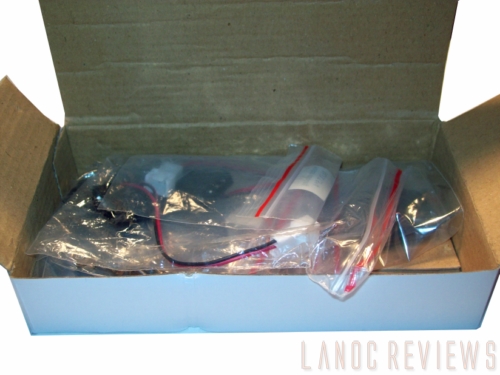
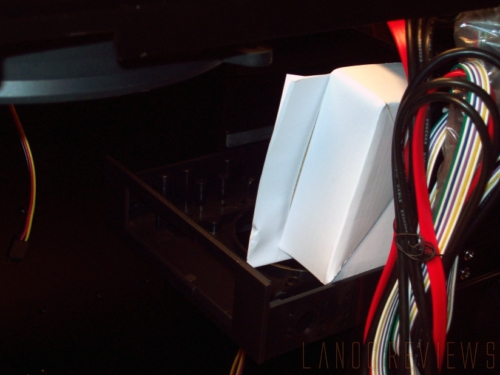
Inside, the chassis is packaged with the usual foam placeholders on either side, wrapped in plastic to protect the material from any external elements. The accessories and manual are tucked away in a 5.25" cage, secured with an annoying cable tie that must be cut off. Since NZXT has painted the interior of the Panzerbox, navigating a pair of scissors or knife in between the tight cable tie without scratching the finish can be difficult.
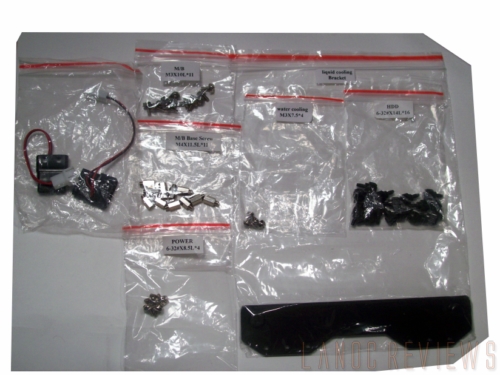
Once removed, the accessories box holds a plethora of hardware, including motherboard screws and risers, PSU mounting screws, hard drive thumbscrews, and a liquid cooling bracket. The manual does contain some useful information but the accompanying pictures are black and white and given the finished black interior, can be a little hard to interpret.
Installation:
The Panzerbox features a removable motherboard tray, a great option for LAN gamers, who are constantly swapping and changing hardware. Both sides of the chassis first need to be removed, this is done by removing the four outermost thumbscrews on the rear of the tower. Each side panel is then pulled straight out and removed from the rails on the interior of the case. The additional thumbscrews on the back will loosen the motherboard tray and let it slide out, so those will need to be removed as well.

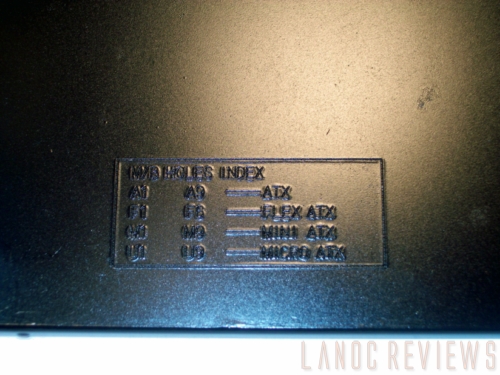
Once out, the tray includes a small reference key indicating specific holes that will need risers depending on your motherboard model. The Panzerbox supports ATX, Flex ATX, Mini ATX, and Micro ATX models. The risers and screws are included with the accessories.
Expansion devices and heat-sinks should be installed at this next stage. Up to 7 expansions can be installed, accessed by removing the beveled placeholders and secured via thumbscrews. When re-inserting the tray, make sure you line up the top and bottom with the rails on the interior so it slides in with no problems. Then re-secure with the thumbscrews that were removed previously.
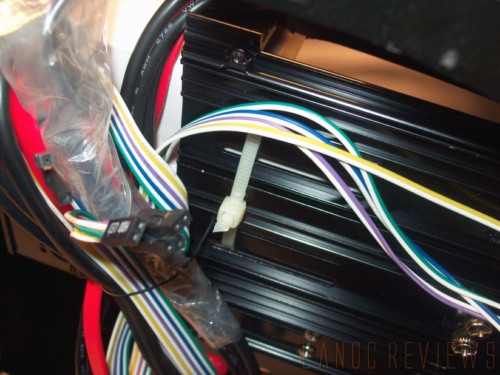
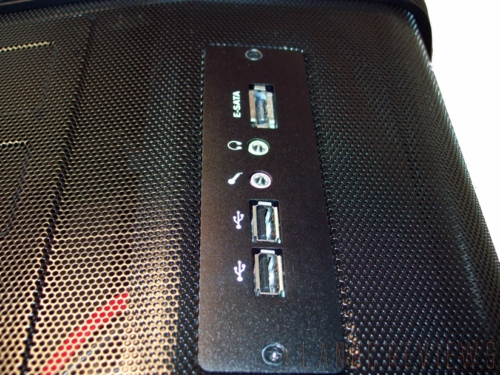
Once the motherboard tray is back in place, the front I/O panel can be connected to the motherboard. This includes two USB 2.0 ports, audio and mic jacks, and an e-SATA port.
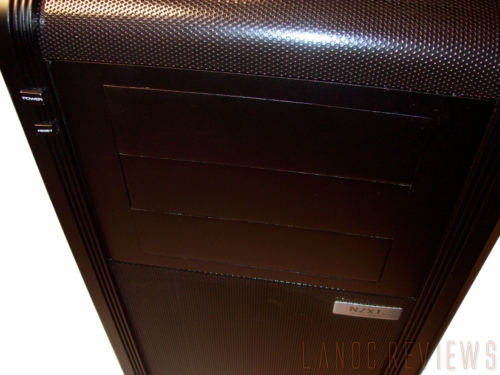
The Panzerbox supports three external 5.25" drives, and up to four internal 3.5" drives, as well as an additional external converted from an open 5.25" slot. Front bay covers corresponding to the desired slot will be removed, and the device slide in from the front of the case. The device will then need to be secured using screwdriver/screw combinations from both sides of the chassis. Again you'll need to remove both side panels.
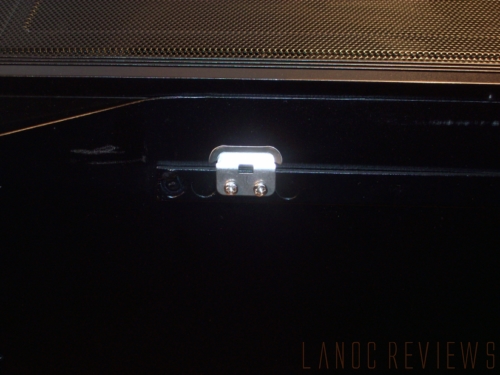
The hard drive cage can be removed for installation via a thumbscrew above the cage. Using the included mounting screws devices are installed on either side of the bay and then re-secured in the chassis.
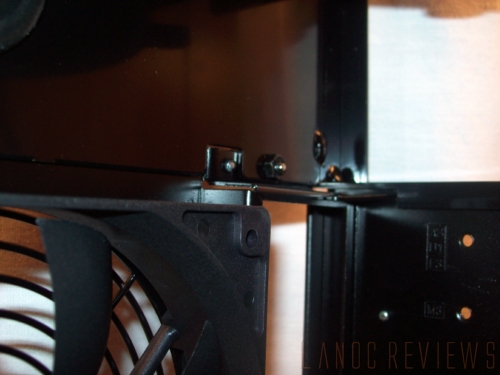
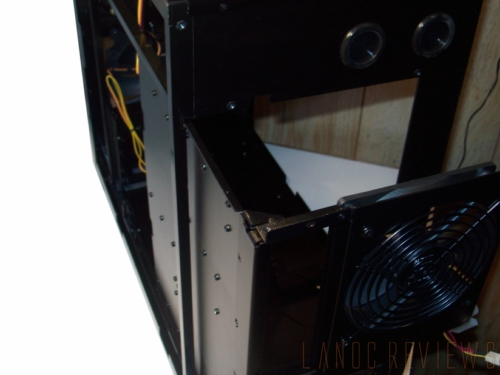
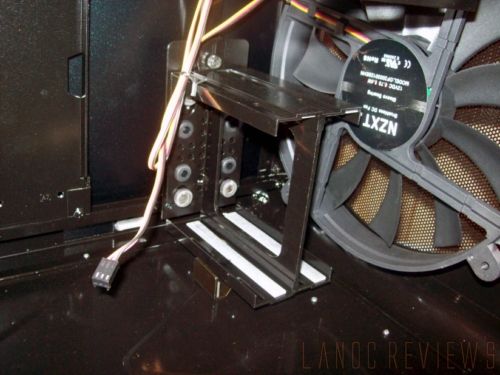
The power supply unit is installed with the width spanning vertically, resting on a lip for elevation. The unit is then secured using the included mounting screws. Replacing the side panels on the Panzerbox can be a little difficult and not to mention frustrating. There are four tabs on the inside of the panels and each are designed to fit along a slim rail on the chassis. Getting all of these to line up and stay in place took several attempts, each with the fear of scratching the finished interior.
Performance:
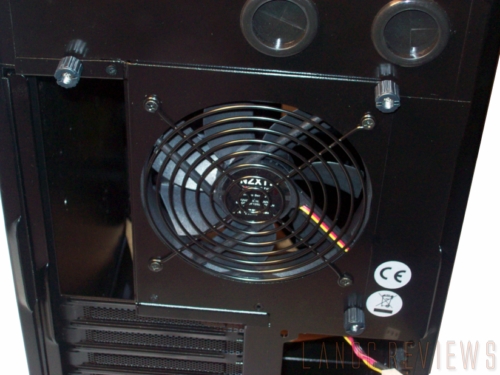
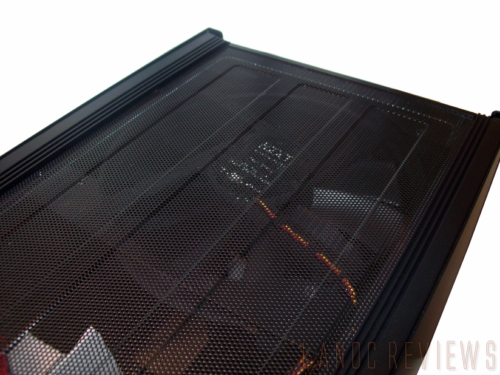
While neither of the side panels have any sort of fan, there are bezel rectangles on both sides of the CPU area to allow for heat to escape. Otherwise, the standard front/rear intake/exhaust system is used for cooling, with a large 190mm fan on top as well. The front fan is also 190mm and is directly in front of the hard drive bay. Drives will receive a good portion of the cooling. Given the smaller design of the case, there is a surprising amount of open area for air flow.
As mentioned before, the removable motherboard tray is a great addition to the Panzerbox. For a chassis geared towards the LAN crowd, constant alterations are made very often and having the option to pull your work area out of the closed quarters of any case is nice, even more so in a smaller dimension chassis.
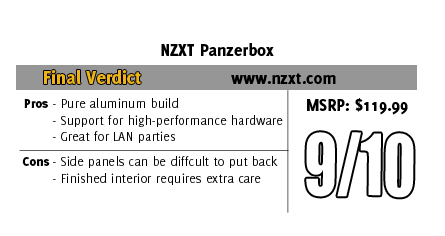
I was somewhat surprised when I first removed the side panels to see that the interior was painted. Having just reviewed the NZXT Tempest, a mid-tower that featured a windowed side panel, one of my complaints was the lack of a painted interior. Though the Panzerbox doesn't feature a window, so it's nice not to have to worry about the dull gray interior shining through the bezels. The MSRP of the Panzerbox is $119, which is a little higher than other mid-towers, but given the aluminum craftsmanship and design, it's one of the more reasonable options in its class.
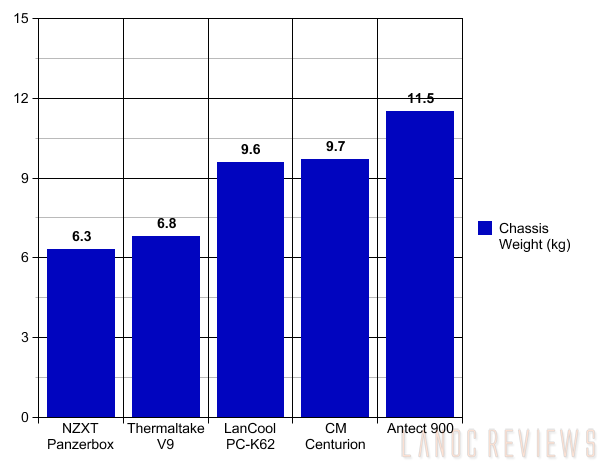
The Panzerbox is definitely one of the lightest mid-towers I have ever lifted. This is due largely in part to it's pure aluminum build. Even though it's made to be portable it's also made for gamers which means the case is water cooling capable, has dual radiator options, fits up to 10.5" video cards, and over-sized heat-sinks.
Overall:
Is the Panzerbox 'LAN ready'? With two 190mm fans and 120mm exhaust, support for high performance hardware, water-cooling, and a pure aluminum build I would say so. It's also one of the lightest mid-towers we've ever seen. With a decent price point, this is a great case for those who may be thinking about getting in LAN gaming, or for those who are simply sick of back pain.